Professionals and hobbyists alike realize that photography equipment is expensive. The high costs of gear and accessories is a fact of life for pros and enthusiasts but, for most everyone else, these costs can be downright prohibitive.
Price, however, shouldn’t hamper your creativity. In fact, a little creative thinking and some tinkering will make it possible for you to have all sorts of useful photography accessories, from tripods to lighting setups to macro lenses — all without the exorbitant price tags.
Interested in saving some precious coin? Read on to learn how.
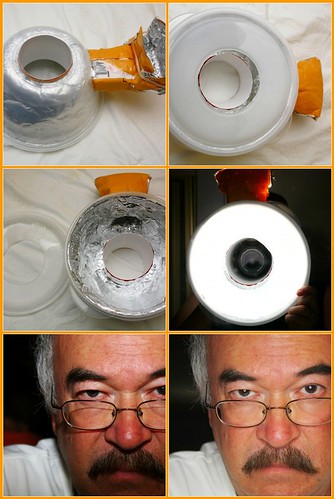
Ring flashes are popular with macro and fashion photographers; they provide a brilliant light capable of creating a unique appearance in portraits (catchlights in the eyes) and bright, even coverage for macro subjects. Ring flashes are also heavy and, of course, expensive. But if you’ve already got a flash (even better if it’s an old one) in your kit and a plastic container and some aluminum foil lying around the house, you can build yourself a ring flash in less than an hour and very likely at no cost!
String Monopod
Any time camera stability is of utmost importance, such as shooting panoramas or long exposures, a tripod is the best way to go. But tripods are bulky and heavy, and there are places where they aren’t even allowed. And a good tripod isn’t exactly inexpensive. The obvious next option would be a monopod. These are lighter, less cumbersome, but can still present some problems in terms of portability. Just because a monopod is less bulky than a tripod does’t mean you’re going to carry one around everywhere you go.
If affordability and portability are your main criteria for a method of stabilizing your camera, you might try making yourself a string monopod — or stringpod. Using an eyelet bolt and some heavy string or cord, you can fashion a device that, while not a replacement for a tripod or monopod, will certainly come through in a pinch.
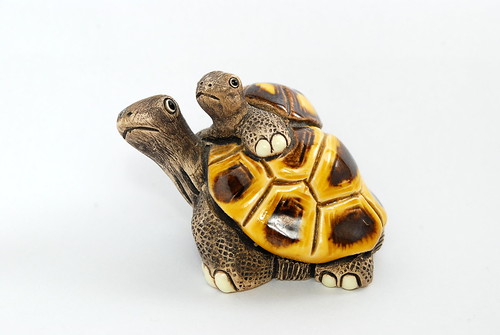
Messing around with macro by distillated, on Flickr
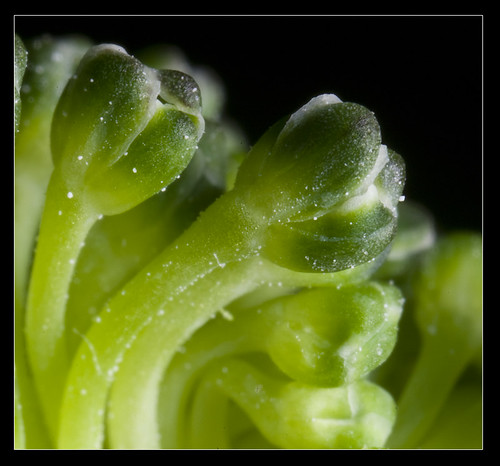
Broccoli Macro by Johan J.Ingles-Le Nobel, on Flickr
Macro photography gives a glimpse into a world bursting with details that we aren’t able to see with the naked eye. Close-up filters and extension tubes can get you close, but they can’t compare to what a dedicated macro lens can do, namely, provide a lifesize view of a subject. A dedicated macro lens can also put a nice dent in your budget.
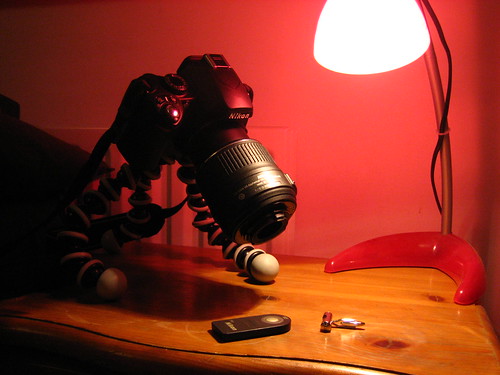
Not to fear, though; if you’ve got a 50mm prime and a zoom lens (your kit lens will be just fine), you can approximate the results of a real macro lens using the method described here.
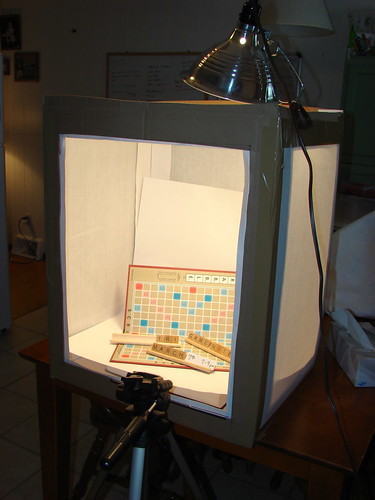
If you’ve ever wanted to try your hand at product photography, a light tent is a great thing to have; it helps create even lighting and eliminates shadows, making your product look its best. If you sell items on eBay, for example, you know how important pictures are to potential buyers; a high quality product shot could very well be the deciding factor in whether your item sells. Follow this tutorial to make a light tent out of stuff you probably already have on hand.
Home Studio
Who wouldn’t want a home photography studio, equipped with all the lights, reflectors, diffusers, and backdrops one could ever need? For most, that’s not really within reach financially. But, as with everything else on this list, there are creative, affordable solutions available.
What follows are two slightly different approaches to setting up a home studio. Go with the one that suits your needs better, or combine the two of them any way you see fit.
The first tutorial focuses mostly on lighting, reflectors, and diffusers, all of which the author claims can be obtained for around US$75.

The second tutorial is quite clever in its use of a relatively small space lit only by window. The only thing you might have to purchase is the seamless paper — unless, of course, you have your own creative substitute for that.
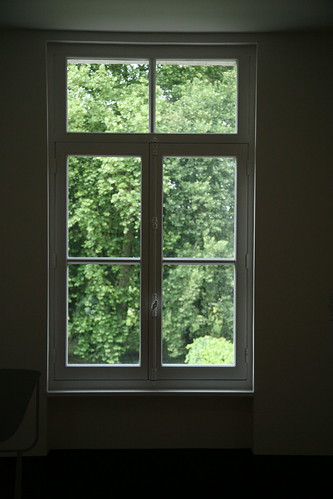
France, Aisne (02) Guise : Familistère : appartement, fenêtre, vue extérieure. by (vincent desjardins), on Flickr
Is there a common thread here? Yes. Work with what you’ve got. And if you don’t have it, there are certainly cheaper ways to acquire things that function comparably to what the pros use. Material and financial obstacles shouldn’t put a halt to your creativity; use those obstacles as a source of inspiration to expand your creativity.


