Photomatix has been the leading HDR photography software since 2003. While HDR photography has been around as an idea for many years, HDRsoft made it a public sensation with the advent of Photomatix. The most recent release of the Pro version of the software, version 4.2, is a major step up and ensures that Photomatix will stay among the HDR leaders in software for some time to come.
While the software is very easy to use, and pretty self-explanatory, there are some helpful tips for the beginner to HDR photography.
Why You Should Meter Your Shots
Since HDR requires multiple exposures of the same scene which covers the entire dynamic range, it is usually best to meter the scene manually to determine the proper number of exposures. To do this, first meter the brightest part of the scene and then meter the darkest part of the scene. So, if the lightest part of your scene reads at 1/60 shutter speed, and the darkest part read at 1/60 (both with the same aperture) then you would need a full 10 stops of range to cover the entire dynamic range. Typically 2 stop increments are all that are needed in a scene with this range, but you can take your exposures in 1 stop increments as well.
Brooklyn Bridge Sunset HDR / SML by See-ming Lee 李思明 SML, on Flickr
Don't Mess Up the Aperture
Always use a consistent aperture and only vary the shutter speed. Since changing the aperture changes the depth of field, combining exposures of the same scene with different apertures will create a very out of focus image. To make this easy, you can set your camera to Aperture Priority mode as well as auto-bracketing. Usually, you can choose 1 or 2 stop increments with the auto-bracketing feature.
Get Identically Aligned Shots
While there is indeed an option to align the exposures within Photomatix, this option is much less desirable than making sure that your exposures were shot from the exact same vantage point instead. To make sure that your exposures are perfectly aligned, the use of a sturdy tripod is essential. In fact, the use of a tripod and remote to trip the shutter is even better since touching the tripod and camera can cause subtle movement. This subtle movement may not matter much if you are taking only 3 exposures, but will definitely start to show with higher numbers of shots after combining in the software.
Get As Much File Information as Possible
If you simply can’t take multiple exposures of a scene due to a fleeting or moving subject, then shoot in RAW mode. A RAW file contains much more dynamic range inherently, and can be processed as-is in Photomatix. The other option is to process the RAW file into 3 different “pseudo” exposures yourself in your favorite RAW editor, and then combine the exposures in Photomatix the same way you would if the scene had been shot that way. Also, if there is a moving subject in your scene, you can choose “reduce ghosting artifacts” in the pre-processing menu. This will minimize the motion blur that is likely visible in your image.
Don't Feel You Always Need HDR
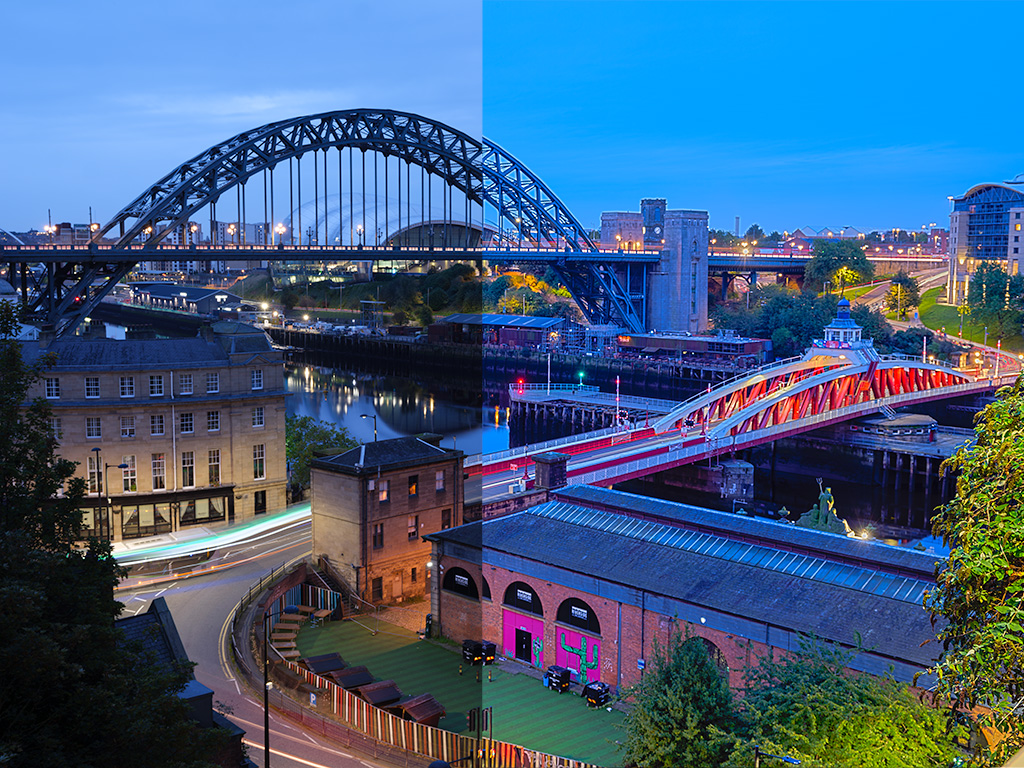
Not every scene is suitable for HDR. If there isn’t a wide dynamic range, meaning a high contrast scene, then Photomatix will often return a garish result. The types of scenes that work best for HDR are for example, a bright window in a dim room, or a landscape which has sunlit areas as well as darkly shadowed areas.
Like anything else, you get out of the HDR process what you put in. Practice makes perfect. The program is capable of a slew of HDR effects from barely-noticeable through to garish saturation. How you use it is up to you.




7 Comments
I haven’t used Photomatix yet. I’ve mostly been playing around with the HDR features that come with Photoshop. Is there a bid difference in quality – or is it just easier to use?
Yes, Photoshop HDR is still crap. Photomatix is much better and has yet to charge me for an upgrade.
GREAT!
I think the example given with the darkest and lightest areas of the scene both metering at 1/60 sec. Was a typo. My guess it was meant to be 1/600 sec for the brightest and 1/60 sec for the shadow areas.
Logical on the face of it, David, but that wouldn’t yield 10 EV as suggested in the example. If we follow your lead, and assume the writer intended a faster shutter speed for his first example, it would have to be 1/32,000th. My camera doesn’t go that far. Have a look at my reply above and see if that makes any sense to you.
Quote ” if the lightest part of your scene reads at 1/60 shutter speed, and the darkest part read at 1/60 (both with the same aperture) then you would need a full 10 stops of range to cover the entire dynamic range. ”
if the brightest and the darkest read the same both say 1/60th, should it not read 1/60 and 1/6th of a second
Again, Dan, apparently correct, but the increments of shutter speed that yield 1 EV difference are geometrical in progression, i.e. 1/30th would be 1 EV darker luminance in the subject. 1/15th would be 2 EV darker. The writer just didn’t apparently think out his example very well. Have a look at my explanation above and see if it makes any sense to you. 🙂