The microstock model is a relative newcomer in the world of commercial photography. Previously, only an elite few were able to make a decent living with stock photography since it required a lot of specialized training, expensive equipment and the elusive knowing the right people at the right time. The advent of digital photography turned this traditional stock world upside down and has made it all but obsolete. Anybody with a decent digital camera and a basic knowledge of photography has the potential to earn money with their photos now. However, in order to really make it big and earn a living with microstock, there are some things that are very important to know and do.

Know the Basics – You must at the very least be trained in the basics of photography. The vast majority of people who own a DSLR do not really know how to use it beyond turning the dial to auto, and leaving it there at all times. Perhaps you can get lucky every now and then and squeeze off a great shot in this mode, but those moments are truly going to be few and far between. Everybody who is truly successful in any commercial photography vocation has received training in some way, even if they sought out this training completely on their own online or in a book. Most have taken classes and/or have degrees in photography and know the fundamentals of light and exposure.
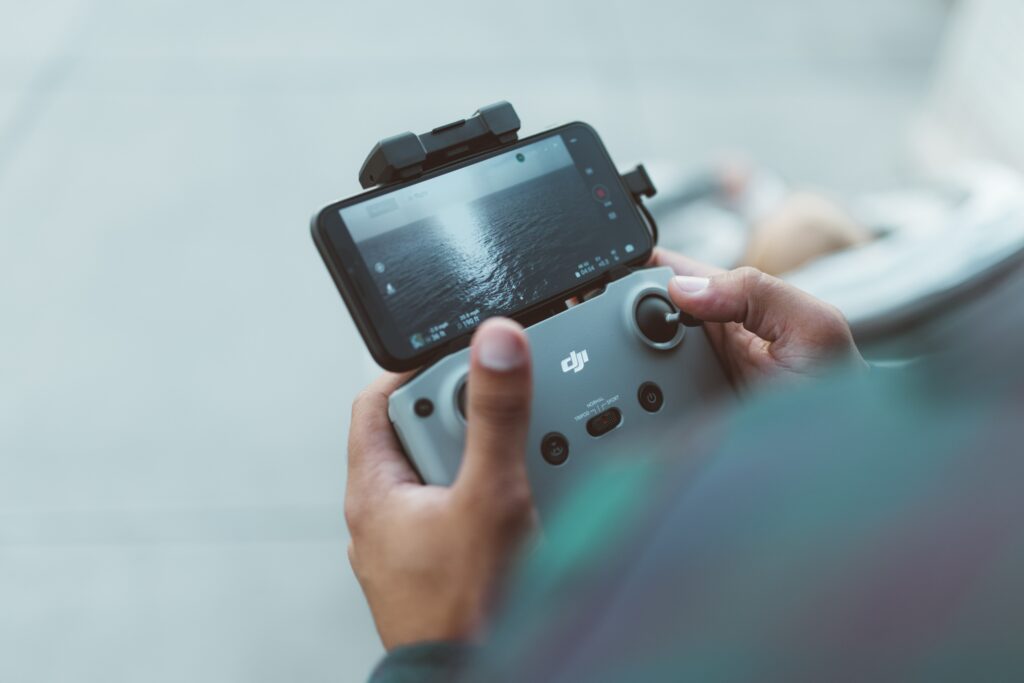
Look for Imperfections at Full Size – Every single image you hope to submit to a stock site must be inspected by yourself at 100%, which is something that the reviewer will certainly do as well. Many times a photo can look perfectly in focus and free of any noise or artifacts when viewed at a small resolution, but can be horrible in quality when viewed at 100%. There are ways to help minimize or even prevent these issues in the first place. Whenever possible, use a very low ISO setting. 100 ISO is best. Also, the use of a tripod for any stationary subjects will ensure that each and every exposure is not blurry from camera shake. Finally, choose the proper aperture and shutter speed for your subject to be sure that each part of the photo is fully in focus. There are a few occasions where a photo might be accepted if there is deliberate blur for creative effect, in the background for example, but most of the time stock sites want crisp focus throughout the image.

Create Quality Descriptions and Keywords – Create detailed descriptions and use every keyword that could reasonably apply to your photograph when uploading it. However, never “keyword stuff” or include unrelated keywords with the intention of getting more views. This is something that became a very big problem for stock sites at one point and had to be cracked down on to make the process of browsing for images a better experience for customers. Generally, you will sooner or later get caught and warned or possibly even banned from selling your photos. When brainstorming keywords, focus mostly on descriptive words and don’t worry about including a lot of conceptual words since they are rarely used in search. For example, if you are uploading a photo of a woman’s hand getting a manicure include words like “nail polish” or “manicure” and not concepts like “femininity”. Always check your spelling and remove useless words from your title such as “and” or “the”.
At Least Consider Free Images as “Loss Leads” – Some stock sites have the option to donate some of your images either permanently or temporarily to the free section. While this may seem counterintuitive, it is actually a very good idea. The free section gets a ton of traffic and often leads to a photographer's premium portfolios getting noticed, and therefore more sales.

Focus on the Larger Networks – Focus most of your energy on uploading to large and very established popular sites. There are many small and relatively unknown microstock sites popping up all over the internet. However, the process of uploading and keywording images is very time consuming and wasting hours of your time for no return doesn’t make sense. You could instead be spending that time taking more photos to build your portfolio on sites that do make sales. The larger your portfolio is the larger your income generally. It’s truly a numbers game. The average photographer will earn about $1 to $2 per image, per month so a large enough portfolio can really rake in good money.
Research Images That Sell – Think about what the customers who buy stock images are truly looking for and why. Most of them are designers and bloggers, so some subject matter is simply not going to be commercially viable. Hence the very common image rejection reason “this image is not commercially viable”. When first starting out, it pays to look at the images which are most downloaded and get a feel for what sells.
Find a Niche – Finally, there is an immense amount of competition in the microstock industry, and your work will really need to stand out in order to make significant sales. After getting a general idea for what is currently selling, consider coming up with a unique style or subject matter to focus on. You just might find a niche that so far holds no competition but is in demand nonetheless. The worst that could happen is that your images are rejected and you have to try a new idea.
Rachael Towne is a photographer, digital artist and creator of photoluminary.com


20 Comments
What stock agencies is it worth submitting to? Is the industry highly fragmented with everyone getting a small piece, or are top 3 players catching 85% of the business? If so, who are the top 3?
In my experience, and in the experience if many others, the top two stock sites are iStockphoto and Shutterstock. Then Dreamstime and Fotolia are probably tied for 3rd. If you shoot a lot of textures then Texturevault is pretty lucrative as well.
The rest of them haven’t been worth my time.
I haven’t made a dime on iStockPhoto, but after joining Shutterstock, have made two sales in two days. Shutterstock are far more strict on image quality than other sites too.
Ummm. And Fotolia. And if you’re looking for high-end stock at a premium. Then you want 500px.
Hey, Rachel,
Thanks for the great tips. Now you put this stock idea on my head. And I wanted only a hobby!
Good tips. But I would add that, as a graphic designer, I use concept words when searching for images almost as much as i use specific words–especially when I’m not married to a specific image but want to find images to fit a concept I’m trying to convey.
I really like http://www.photostockplus.com
Whenever I have questions I can call them up and they give me feedback right away.
I am interested in stock photography I need tips on hjaw to tag the photos.Thanks
I use dreamstime. Feel free to take a look. I have not posted many but already have a few sales. The key is quality and volume.
https://www.dreamstime.com/jefferstom_info
As a pro photographer I was pleased to read the importance of not shooting in auto mode. I really never learned the auto modes as I was taught manual mode and manual focus with tripod and that always stayed with me . I can’t count the the number of times when I’m out photographing and along comes somebody with a very expensive dslr camera set to auto and no tripod . When talking with them they all seem to think that the camera makes the image and the more expensive the better the image quality .Then they go and try to sell their images thinking their the greatest images out there . Fact is no camera can replicate what it see , therefore it’s best to shot with creativity in mind.
https://www.AnthonyPaladinoNaturePhotographer.com
Really great, positive article. Thanks!
Nice article on photography.
Thanks
For me, istock is my best site. I like it because they have partner sites where they post your photos…I get as many sales from their partner sites as I do from istock itself. And, once you get accepted, they accept nearly all your photos, so you build up your portfolio quickly!
I also use Fotolia, a good seller for me, Shutterstock and Bigstock. I sell very little on other sites, not worth it for me.
hiya, I’m just curious with stock photography, do you work on the image before putting it forward? or leave it as you took it? I have a few (well alot ) of images that I manipulated for my degree work and I have been wondering about putting them forward…..
I would like to try my hand at stock photography but, although I’m not new to traditional photography, I have only being using digital for less than two years and am flummoxed by PhotoShop and Lightbox which I can’t get my head around at all. Is it really necessary to put each and every photograph through this software? Or will the average stock site accept images that have been carefully handled in-camera? Assuming you’re using a good enough camera, of course. Thanks.
I registered with dreamstime a few years back. When accepted I submit 10 images and 9 was declined. So I gave up and never submit anything again. Earlier this week I log in to the site and to my surprise, the only image that was accepted was alreading making 2 sales (got a few cent from it).
I know, I gave up too early, but I just wandering if it is easy to make money there, or my single accepted image has just struck dumb luck, twice.
Thanks for this….I’ve started traveling the country with my husband who must travel for work….I take pictures out of the passenger side window while he drives….don’t know if I’ll find a niche for photos such as these, but I’m doing some research just to see, of course I take pictures while we aren’t moving also, but I do have some really nice shots going 80 mph down the highway lol!! Thanks again for the helpful information and the site….I intend to check it all out!
Never underestimate the power of good keywords. If your photo can’t be found, due to inadequate keywords, no one is going to buy it. My website has lots of information on keywording techniques, keyword resources, and free online tools.
https://photo-keywords.com/
Hi Rachael,
Iam new to stock libraries, this is a very helpful write-up. Just a followup question, is it good to load you highest resolution image/size (say a 50mb file) right at the time of submission or when iam submitting for approval
thanks
Hello,
Do you know any efficient tool to perform keyword tagging? I tried to do it in Lightroom but it don’t find it very friendly when tagging a lot of pictures.
thank you for advice