Whether you’re a beginner in photography or pursue it as a hobby, we're pretty sure you’re always eager to learn some interesting tricks that will help you get better results. Today I'll share some tips and tricks that I've utilized over the years. Just for the record, this article does not follow any particular order or skill level, it's just a collection of helpful photography tricks.
1. Create a Blurred Background
I know when I started out, my biggest difficulty was getting the blurred background. You can do that with almost any lens combination possible. If you have anything that can go around f/3.5 you can get a sufficiently blurred background in order to separate your subject from it. The trick is: zoom in as much as possible, open the aperture as much as possible and get as close as possible to your subject. Those are the things that affect how blurry you background will be. Zooming in creates zoom compression which brings the background closer, thus increasing the blur. The wide open aperture creates smaller field of focus which is magnified by the distance to subject. All three create nicely blurred background when combined.

Photo by Jonathan Kos-Read
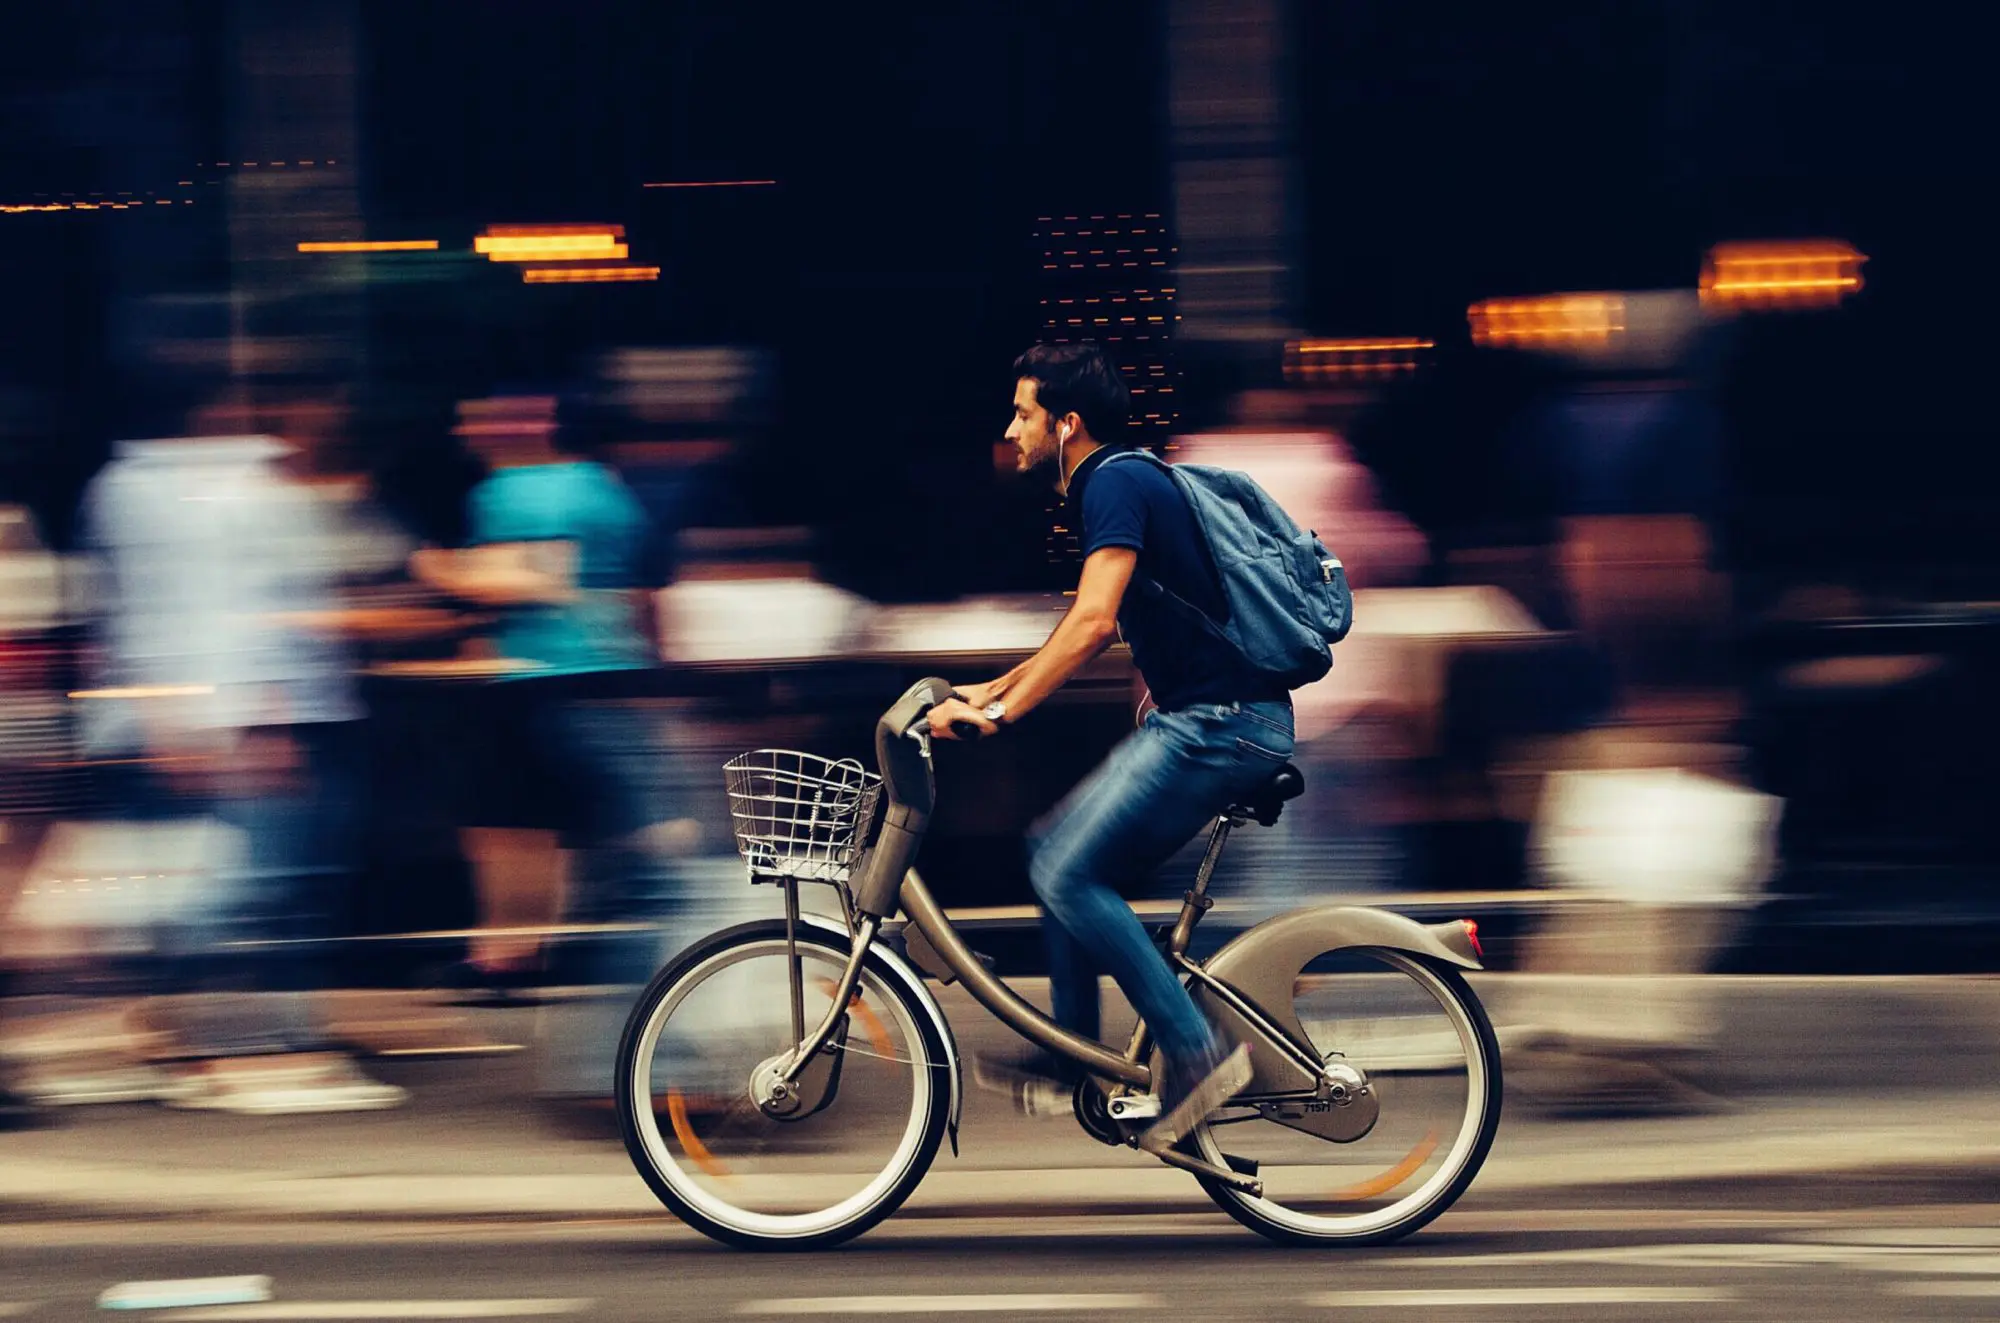
2. Capture Motion Using Panning
Photographing vehicles in motion can look really cool. You see that on commercial shots all the time. It is actually not that hard to achieve. All you need to do is set your shutter speed to slower speeds, something around 1/10th of the second would do (you can go even slower if you feel confident enough) and to track the subject blindly. This means that you’ll need to anticipate the motion a bit while the shutter is open. Easy way to do this is to follow the car for a second or two before snapping a shot. Use one of the marked focus points and align it to the rear view mirror, or tyre of the car and follow it as precisely as you can. It is that simple. Takes some practice to master, but it is no rocket science.
3. Capture Motion With a Long Exposure
While we are at motion, you can use the long exposures to create motion relative to the background. Per se, set your camera on a tripod, wait until it gets dark and shoot a busy street. The car lights will leave trails but there will be no sign of the cars whatsoever. All you need to do is use long exposure. And under long exposure I mean 10-to-30 seconds of exposure. Even more if you want.

4. Freeze Fast Subjects
It is always fun to see something that you don’t really see often. For example popping a water balloon, or see every particle in the water falling from a waterfall. Freezing motion, that is. You can do this by using fast shutter speeds and/or flash. With the shutter speed of 1/1000 of a second or faster, you can freeze many such blink-and-miss sights in great detail. All you need to do is have enough light to pull it off. The possibilities can be endless.

Photo by Qrodo Photos
5. Photograph Bokeh
Even though the technique is really covered in the first item on this list, there is a slight difference – bokeh is created when you have lights in the background that are small in size but a bit powerful. Like Christmas lights, for example. They won’t blend with the background that much, instead they will create circles of specular lights, most commonly known as bokeh.

Photo by Nick Harris1
6. Macro Photography on the Cheap
This is something that can be done in many different ways, from having dedicated macro lens, to free handing lens in the reverse end. Using dedicated lens is pretty much the easier and most expensive way to do macro. However, there is a cheaper option. You can get a magnifying filter that can turn your regular lens into macro one. Another option is to have macro rings attached before your lens. Having the lens further from the camera makes the same effect as macro filters, but with great amount of light loss. The difference is: with the macro rings you lose light, and with the macro filter you sacrifice sharpness. Whichever works best for you is fine. Another option is reverse fitting a lens on top of another lens. Per se, a fixed 50mm reversely attached on to the classic 18-55mm lens will act as a macro filter without losing quality.

Photo by RamónP
7. Shoot Backlit Subjects During Sunset and Sunrise
With the sun in the frame, photographing subjects, especially portraits, can be a bit challenging but if done correctly, it can often result in amazing photographs. The thing is most of the times your subject will be a silhouette. You’ll need to use flash to compensate or use a reflector to bounce back some of the sunlight on to your subject.


2 Comments
One of the best macro photographers out there, Thomas Shahan, uses a fairly inexpensive set-up, that includes a set of extension tubes and a reversed prime. Check out his videos and, of course, amazing insect photos.
Indeed. There are so many options to achieve the same effect. Fun part is, that because the subject is small, you don’t need huge soft box for nice and soft light. Anything around 20cm in diameter will do just fine. Before I got my flashes I used to use standard desk lamp shooting through A4 paper sheet and it did just great.