IR, VR, OS, it seems photography these days is all about acronyms, but what do these three examples have in common you may ask? Well these are all acronyms used by different manufacturers to indicate that their lenses are image stabilized. So what is image stabilization? Well put simply it is a means, either mechanical, optical or digital to reduce camera shake when shooting handheld. It was originally developed to reduce shake when hand holding video cameras and started life in the big broadcast video cameras. These days technology has marched on and most cameras above the budget compact level feature some form of image stabilisation.
There are three basic forms of stabilization, lens, sensor and digital.
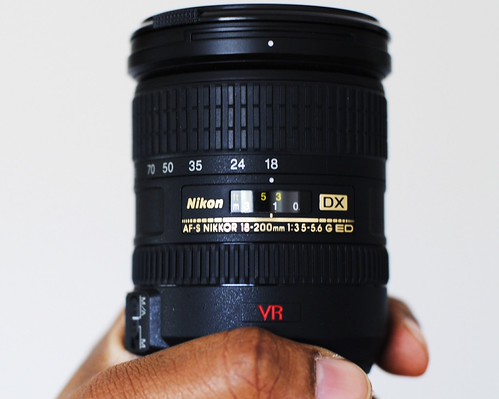
Lens Stabilization – This was the first form to be developed mainly for video cameras. In the early 1990’s Canon realized the potential of this technology and started putting it into SLR lenses giving them the suffix IR. The technology rapidly gained popularity and Nikon soon adopted their own version, VR. Optical stabilization works by incorporating tiny gyroscopic sensors controlling an electromagnet on one element of the lens. When the sensors detect movement, they shift the lens element to correct it. Early versions corrected pitch and yaw but more recent versions will correct rotation and even detect if the lens is being panned. Lens stabilization is generally regarded to be the most effect version, however as it has to be built into the lens, it makes the lenses more expensive and heavier.
Sensor Stabilization – Originally introduced by Konica Minolta, and improved upon by Sony, this technology uses the same gyroscopic technology as lens stabilization only the electromagnetic motors are attached to the camera’s sensor rather than the lens. The advantage of this is that it will work on any lens that fits the camera meaning you can stabilize any image regardless of lens used. The disadvantages are that the sensor has to make larger movements to correct shake which in turn means the lens coverage has to be wider than the actual sensor size. This generally makes sensor stabilization slightly less efficient than lens stabilisation.
Digital Stabilization – Mainly used on video cameras, this is the new kid on the block and requires neither the lens or the sensor to move. Instead it uses software to workout how the image is moving and then crops into the image to counteract the motion. The obvious disadvantage of this is that it reduces image resolution depending on how much shake is detected.
Image Stabilization in Real Life – So why and how do you use image stabilization? Well the most common use is in low light situations where you have no tripod and cannot or don’t wish to increase the ISO. Most stabilizers claim to give a 2-4 stop advantage over non stabilized cameras. For example if you found that the slowest shutter speed you could hand hold is 1/125th of a second without stabilization, with it switched on, potentially you could shoot at around 1/15th of a second and still get a sharp image.
The biggest gains occur when using telephoto lenses where the chances of camera shake are higher due to the high magnification of the image. Telephoto lenses also often have smaller maximum apertures meaning that less light will arrive on the sensor, therefore requiring a slower shutter speed.
As mentioned earlier, some more recent systems have extra modes to them. The normal mode will correct shake under average hand held situations, some camera’s have an active mode which corrects for extreme shake for example when shooting from a moving car, this mode is also useful for panning for example in sports or wildlife photography.
As a rule of thumb, you should only use image stabilization when it is really needed. If you have good shutter speeds and sharp images, switch it off, as you are actually running the risk of degrading the image. Also most manufacturers recommend switching it of when the camera is mounted on a tripod. For all systems it is well worth having a read of the manufacturers manual so that you can truly optimize your use of this excellent technology.
Jason Row is a British born travel photographer now living in Ukraine. You can follow him on Facebook or visit his site, The Odessa Files. He also maintains a blog chronicling his exploits as an Expat in the former Soviet Union


4 Comments
You left out Pentax. All their camera bodies are stabilized except the 645D.
Otherwise a nice summary. Thanks for putting it together.
Grest article. Pentax is also a large user of sensor based stabilization and I think was the first to stabilize rotation too
My Nikon D5100 instructions advise to switch off VR before switching off the camera. Presumable there is a reason for this, maybe to do with VR parts not being mobile and less secure in a stored lens. But it is a big nuisance routine to remember to follow. Members of the photographic club to which I belong , many of whom are Nikonophiles, seem routinely to ignore this instruction, and are surprised to hear about it. They just leave VR on regardless except when in a tripod. Anybody care to comment on this ?
I see you are not a Canon user, Canon uses IS not IR. IS is image stabilization not IR ( Image Reduction?) Nikon is VR vibration reduction
Dan C