Let’s be honest, Mac users are getting a little spoilt when it comes to image editing. Of course there is the seminal Photoshop available to both Windows and OS X users but also, there is Pixelmator 3, an excellent budget choice, along with some equally good freeware offerings. Arriving into this mix over the past few months has been a new kid on the block, Affinity Photo.
Although not immediately obvious, Affinity is being developed by graphic software giant Serif so as you would expect, it is already a well honed product even for a beta. There seems to have been quite a bit of publicity about this new software, possibly driven by the open Beta testing being offered. Being slightly intrigued, I decided to take a look for myself.
The Interface
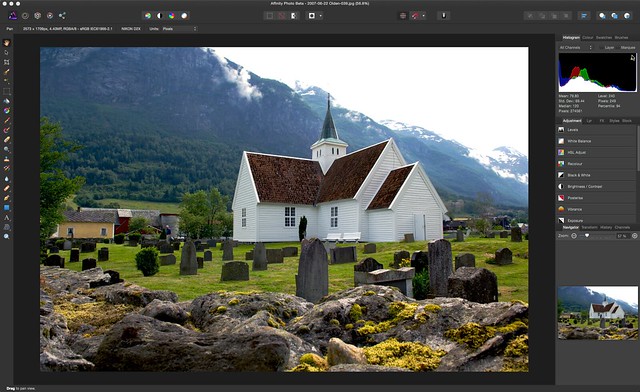
My first impression of the interface were that the splash screen was pretty but the interface itself nothing revolutionary. It goes for the dark look, much like later incarnations of Photoshop and indeed, the layout is not dissimilar to Photoshop. The traditional toolbar is placed on the left and the histogram and palettes to the right. On closer inspection though, the palettes are in fact the adjustment tools, levels, white balance, brightness and contrast etc. Above the histogram are a series of tabs for color swatches and brushes. Running along the top of the screen, underneath the menu are a series of icons that remain greyed out until you import a picture.
I was initial disappointed that the individual sections of the interface could not be undocked, however, a look through the menu revealed a Separated Mode where all the major elements of the interface can be moved individually.
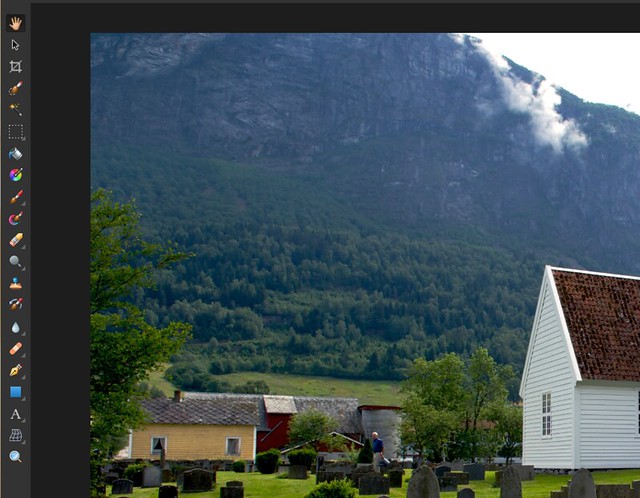
Importing a photo, is entirely standard. From the menu go to File, Open. Because there is not cross operating system compatibility, the interface will be very familiar to Mac users.
Editing a Photo
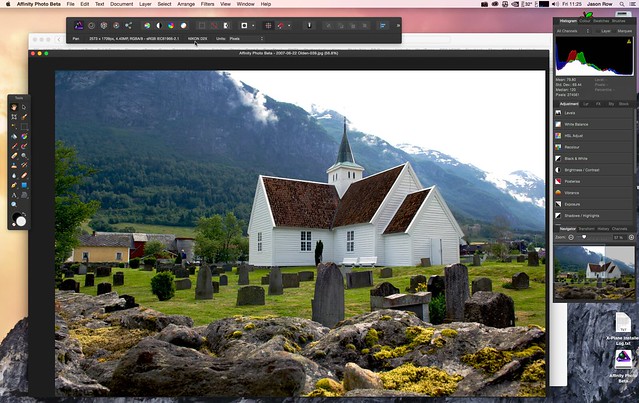
With a photo is imported, the icons under the menu are activated. From the top left there are five “personas”. These are specific modes that Affinity can operate in. The first is Photo Persona, this is a traditional photo editing mode. Next comes Liquefy which as its name suggests allows you to transform and distort your images. Third is the Develop Persona, Affinity’s built in RAW support although not yet implemented on the Beta I was using. Next along is the Macro Persona. This may be slightly confusing as it refers not to macro as in close up photography but as in scripting languages. In that respect it is similar to Photoshop’s actions, allowing you to program repetitive corrections. Lastly we have Export, which is self explanatory. Clicking on each of these personas, changes the palettes on the right side of the screen, for example selecting the Export Persona changes the palette to show all the export options.
The Personas – specific modules for different tasks
Returning to the Photo Persona, we can see that by clicking on one of the palettes, it will open up with a number of preset thumbnails. Clicking on any of these will further open an adjustment window to allow fine control over the correction. Its a neat and easy way to go about correcting your images.
Levels adjustment in the Photo Persona
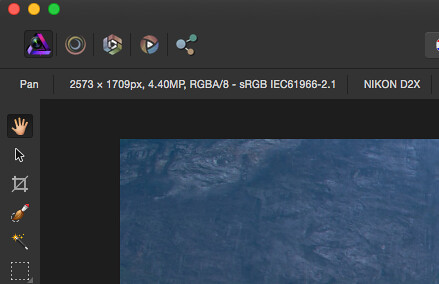
The toolbar to the left is very traditional, containing many tools that will be familiar to Photoshop and Elements users. Like Photoshop, some of the icons are multi function, clicking the mouse over a triangle on the bottom left of the icon will reveal further choices.
The Toolbar, left, will be familiar
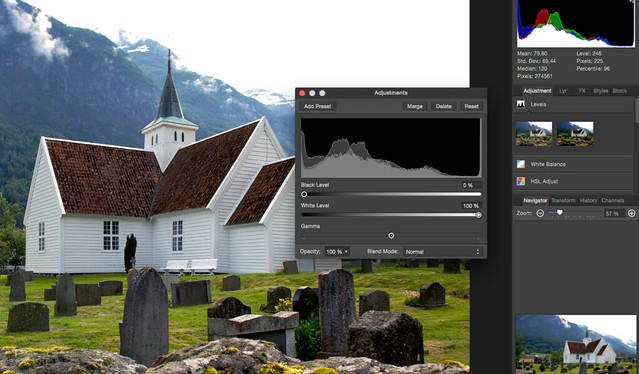
Layers are supported, being shown as a palette on the right of the screen. Again the layers operation seems very similar to Photoshop and includes a comprehensive set of Adjustment Layers to allow for non destructive editing of your images. What is initially missing is a Curves adjustment tool. There is one available for adjusting RAWs in the Develop Persona but as this was not implemented in this beta I cannot say how it works. For general photo editing in the Photo Persona there is a comprehensive Levels tool.
Filter are represented by the usual suspects and are available from the top menu. Filters include blur, sharpen and distort tools along with a number of others.
As this is Beta software it would be unfair to make a critical judgment on it. My own impressions of using Affinity are that the Beta is already a slick piece of software and that the final product will certainly be something to take a look at for Mac users.
The Open Beta program is available here.
Once released the software will be available from the Apple Mac App store for $50 with two years of free updates.


1 Comment
Great look through the app Jason – although the build you used is a bit old now, it’s changed a lot in the last few weeks 🙂 Macro persona has gone temporarily until a free update after launch, and thanks to great feedback a lot of polish has been introduced. So have great features like Live Filters and a saveable History. Still more to come, too…