One of the basic things that a beginner photographer needs to master is proper Exposure. It's the foundation for a good photograph, therefore it is a skill that needs to be mastered early on.
Exposure is entirely dependent on 3 things in a camera:
- Shutter speed,
- Aperture,
- ISO.
Shutter speed and aperture can increase or decrease the amount of light reaching the sensor of your camera. ISO on the other hand, is entirely responsible for the sensor’s sensitivity to light.
Learning how your DSLR works and getting the most from it is how to get your hobby off the ground. Well, this course “Essential Photography Skills: Beginner Digital SLR Training” will do just that. Don't take our word for it, just read through the client feedback!
What Is A Proper Exposure?
Basically, every picture you take has been exposed somehow. The term exposed comes from the fact that the sensor/film is exposed to light which is focused by the lens, and you get a picture.
The amount of light that the sensor is exposed to, as mentioned before, is dependent on the shutter speed and aperture. By manipulating those settings you need to achieve proper exposure.

A properly exposed picture would be one that is not too bright, nor too dark. While this is a tad subjective, especially when it comes to creative expression, in technical terms, a proper exposure in when you see the histogram of the image and it is evenly spread: not too much to the right, nor to the left.
Clipping
In photography, there is a phenomenon called clipping. This means that when the picture is overexposed there is highlight clipping occurring on the image. In other words, there are areas on the image which are pure white and there is no detail whatsoever.
The same can occur with the shadows, where you’ll find areas that are completely black, without any details there as well. In a proper exposure, these areas will be completely gone, or basically minimal.
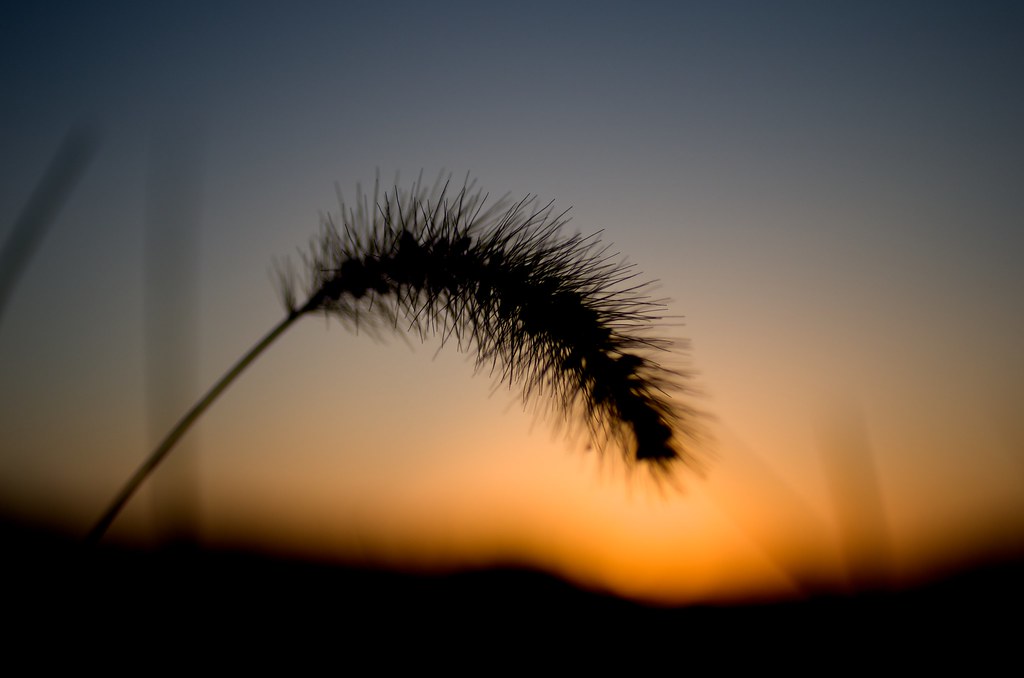 Photo by Takuya ASADA
Achieving A Proper Exposure With The Exposure Triangle
First of all, you need to understand at least basically what the three camera settings do in order to be able to manipulate them properly.
Aperture: The opening of the lens. Meaning that it controls the amount of light passing through the lens by opening or closing the aperture.
Shutter speed: The speed of the curtain that stands right in front of the sensor. With the shutter release button, the curtain exposes the sensor to the light focused by the lens. The speed of the curtain determines the length of the exposure, increasing the amount of light hitting the sensor.
ISO: The sensitivity of the sensor. This setting makes the sensor more or less sensitive to light, effectively increasing or decreasing the amount of signal (generated by light hitting the sensor) generated from it, but proportionally the noise is increased or decreased as well.
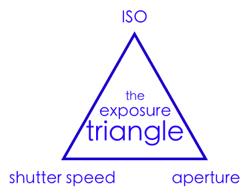
Photo by Michael Hernandez
The exposure triangle basically shows that you need to choose two elements that are vital to you, and then compensate with the third. For example, if you need to capture action, you will probably pick a fast shutter speed and wide aperture and compensate with the ISO.
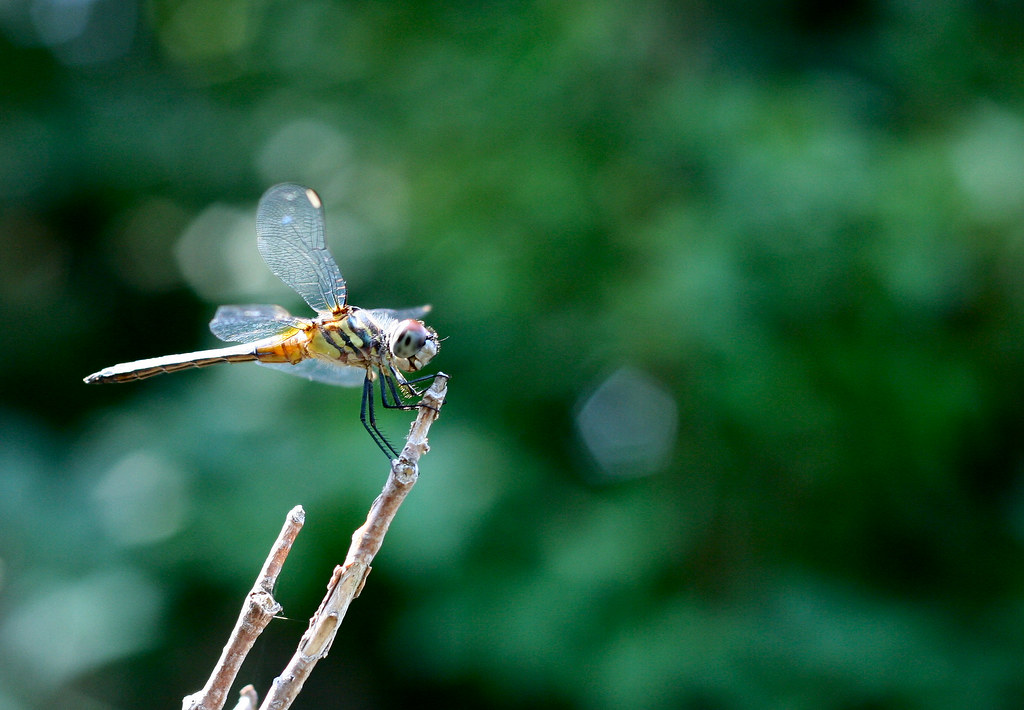 Photo by Dr. Wendy Longo
With a little practice, you’ll be doing this without even thinking about it. For reference you can check out the Av or Tv modes on your camera, they do that basically. They give you two options that you can control (ISO and aperture, or ISO and shutter speed) and the camera figures out the third setting based on the metering.
How your DSLR works is absolutely essential in understanding how to expose images correctly. Well, this course “Essential Photography Skills: Beginner Digital SLR Training” will teach you just that. Don't take our word for it, just read through the client feedback!
Tools
The best aid for the perfect exposure is your light meter. When you are looking through your viewfinder, your light meter is always in your sight. Use it to meter your exposure properly while manipulating your settings.
After you snap the picture, the histogram will give you the data you need. There you can judge whether you have overexposed or underexposed your picture.
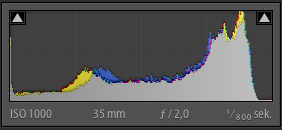
Photo by Emil Oberg
Additionally, most cameras have a thing called ‘blinkies’. Basically, a setting which will show you the clipping from over exposure by a blinking overlay on your picture. That way you can know exactly where the clipping occurs and judge whether you are okay with it, or you need to take the picture again.
 Photo by Takashi Hososhima
Summary
Achieving the perfect exposure is not that hard really, it just requires some practice and understanding of your camera. If you are observant enough and you utilize the tools your camera provides, paired with the knowledge of the 3 basic aspects of photography, you won’t have any issues mastering this.
After some practice, you’ll be doing all this hassle without even thinking about it, purely as a habit. You will even start to have the settings in your head even before you take the camera in hand.
Last chance to check out, this course Essential Photography Skills: Beginner Digital SLR Training. “This step-by-step video series covers the basics of photography, from how your camera works, exposure, shutter speed and aperture, all the way to what inspires you and how to compose your images for maximum impact”.
Further Resources
- 4 Tips to Help You Get the Perfect Exposure in Your Photographs by Dzvonko Petrovski
- Exposure Compensation: Use it to Master Exposure and to Explore Your Creativity by Sheen Watkins
- 10 Minutes To Understand YOUR Camera Modes by Jason Row


