Composite images, if they are realistic enough, require some trickery to be created properly. It requires both photographing and post-processing skills in order to do it right. However, the skill you'll need in post-processing is, in this case, of far greater importance than the skill required for taking the photos themselves.
For this tutorial, I’ve intentionally shot the photo that needs to be composited against a complex background. In other words, I’ve chosen a photograph that it is not shot on a pure white background which would make for easy selecting. You might think that this is unnecessary torture, the reality is that you won’t always have the luxury of selecting from a perfect background. So in this tutorial, besides the selection tools, I will also demonstrate manual masking since it is a really important skill you need to master for almost any photo edit.
I would recommend using a pen tablet for this. If you don't use a pen, then your masking skills with a mouse must be pretty good. I know mine aren’t, so I absolutely need a pen tablet.
Keep in mind that attention to detail is vital as the details themselves are the things that make up a good composite image. If you fail in the small details, people will see right through the image. So be prepared to spend a good deal of time on the image in making it perfect. Unfortunately, this is the only way to go. The reward is well worth the effort because this process can create something you would otherwise be unable to photograph. There is also a risk of a complete failure, but chances for that are slim if you have done everything right.
How to Shoot the Best Images for Compositing
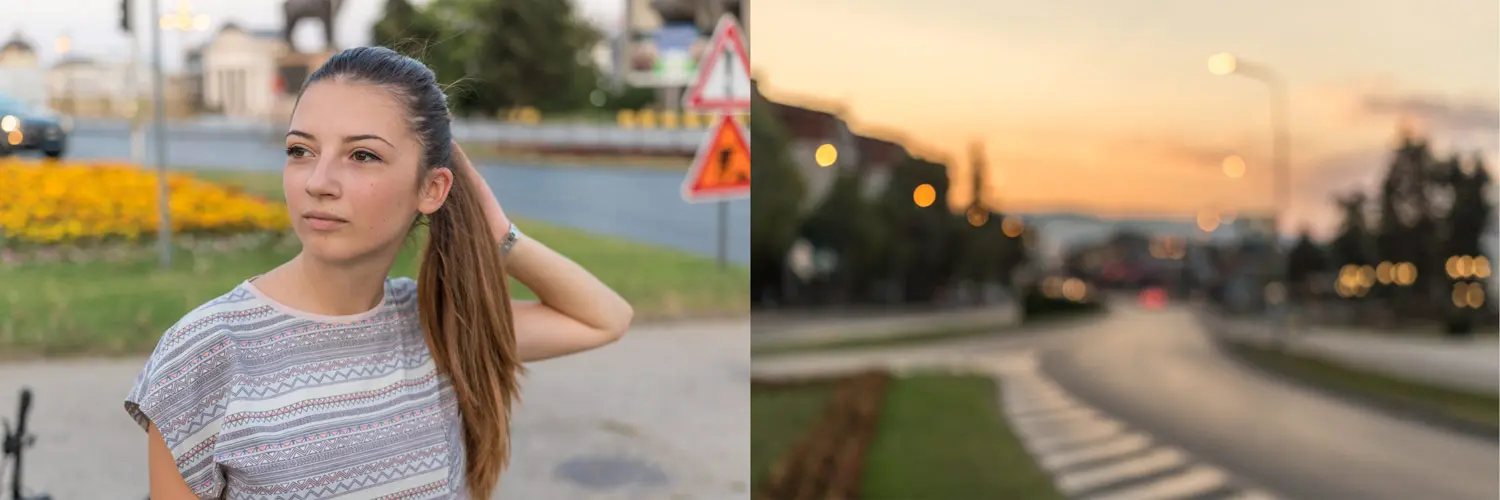
It is imperative for you to know that using the same lens and approximately the same focus distance will result in the most realistic-looking image possible. This means that if the distance from the camera to the subject is five meters and you're using a f/1.8 lens, then you should try to use the same settings for the background. Shutter speed doesn’t matter here, nor does ISO (unless there are drastic differences, such as the portrait being shot at ISO 100 while the background is at ISO 12,800).
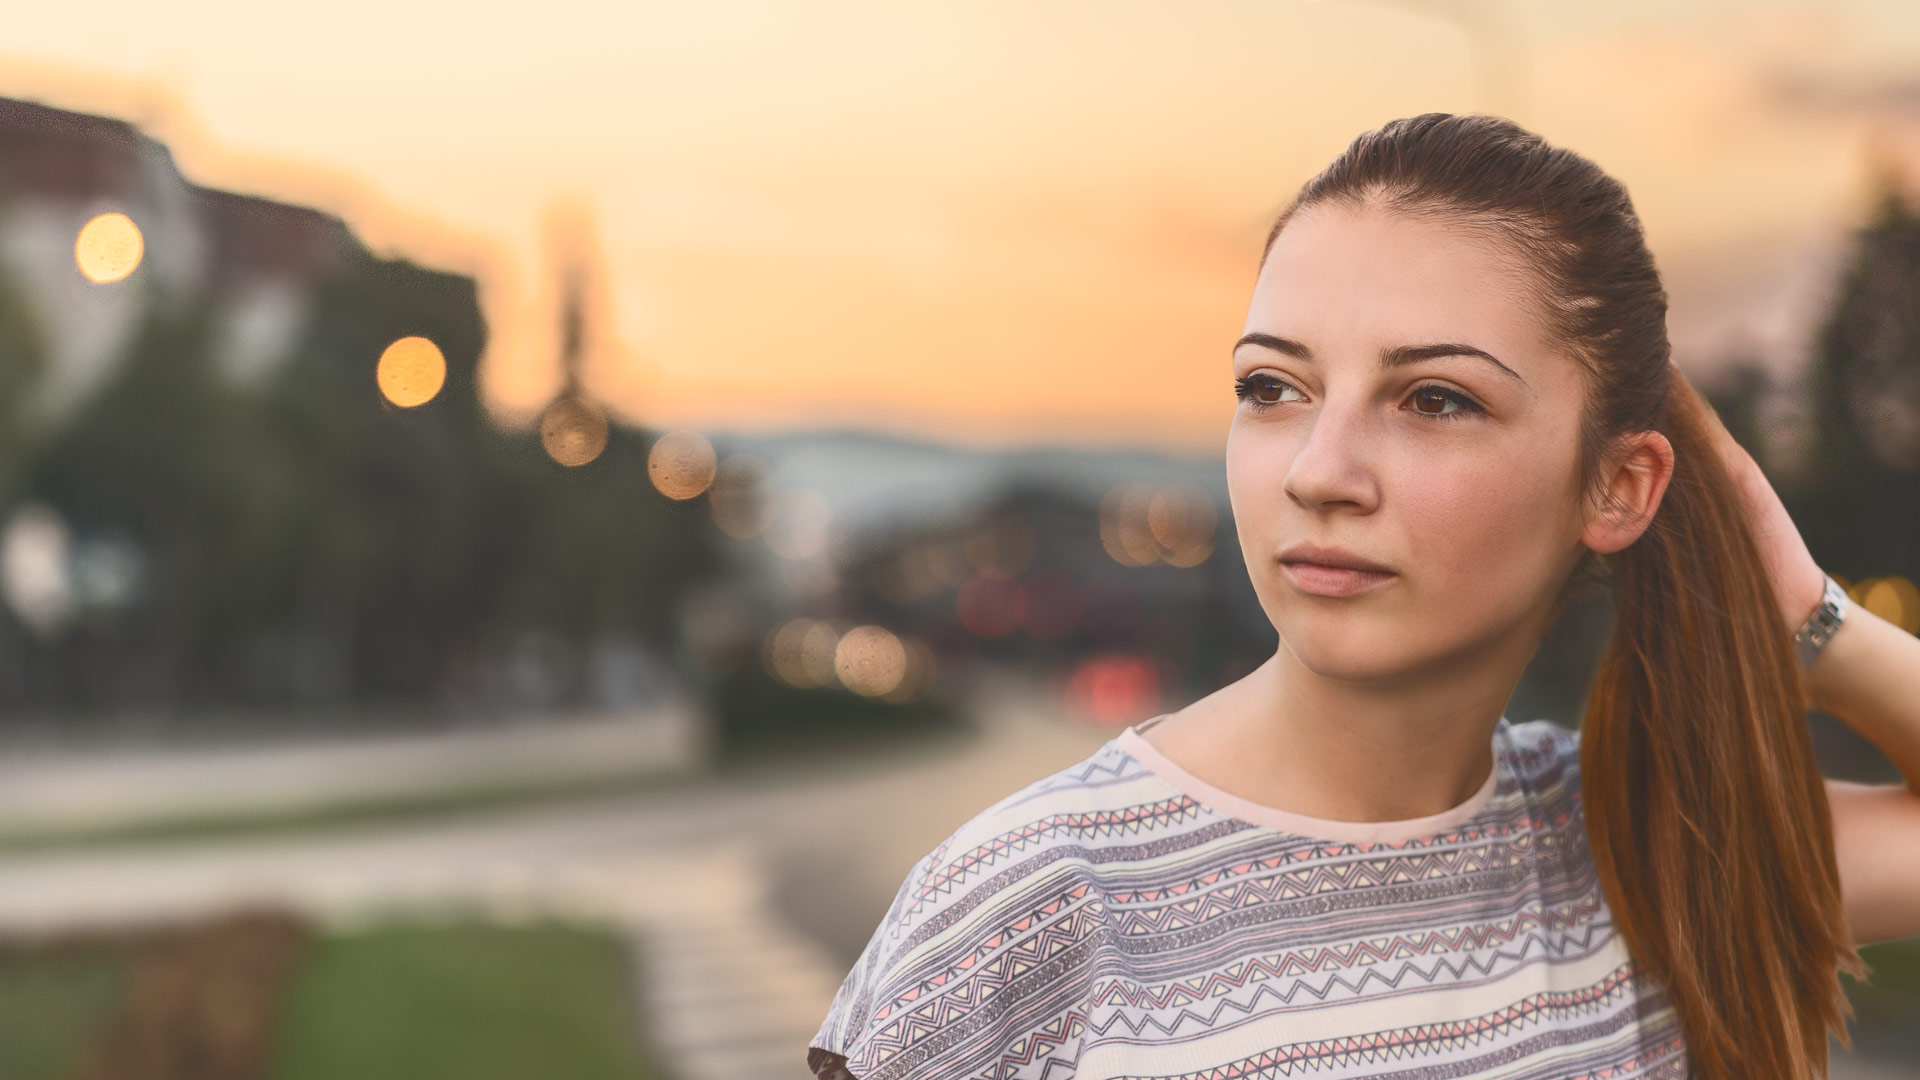
Additionally, be very aware of the light, and while shooting the portrait, leave some room so that you can modify the light afterward to fit the background. This means that it’s better to have light that's rather flat in the portrait so that you can modify it later.
How to Get the Lightroom Edits Right
The goal here is to color-match the photographs between themselves as accurately as possible. Since the background in this case is an HDR image, it will have a slightly wider dynamic range than the portrait, but that is the general idea you're going for. After they are merged together, the difference won’t be noticeable.
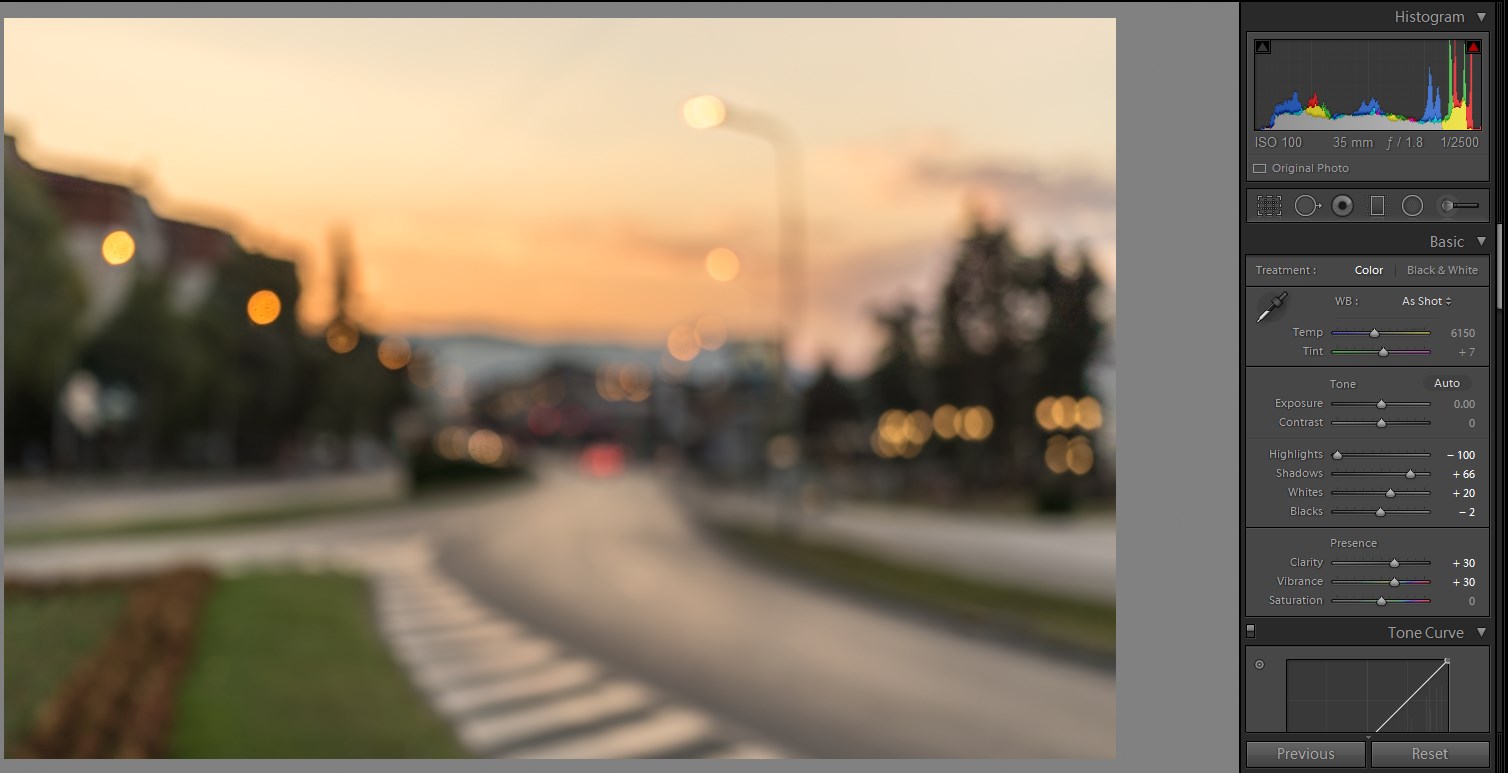
Matching the color temperature is done using the white balance sliders. This has to be done with naked eye. For me, it is rather easy since both pictures are shot at the same time of the day from the same location. The only difference here is that the sun is coming from a different location in both images.
After you have matched the color temperature, do your Lightroom edit on both of the images. Don't leave any clippings anywhere when you do your edits because you might need to make some adjustments later on in Photoshop and the clippings can be an issue.
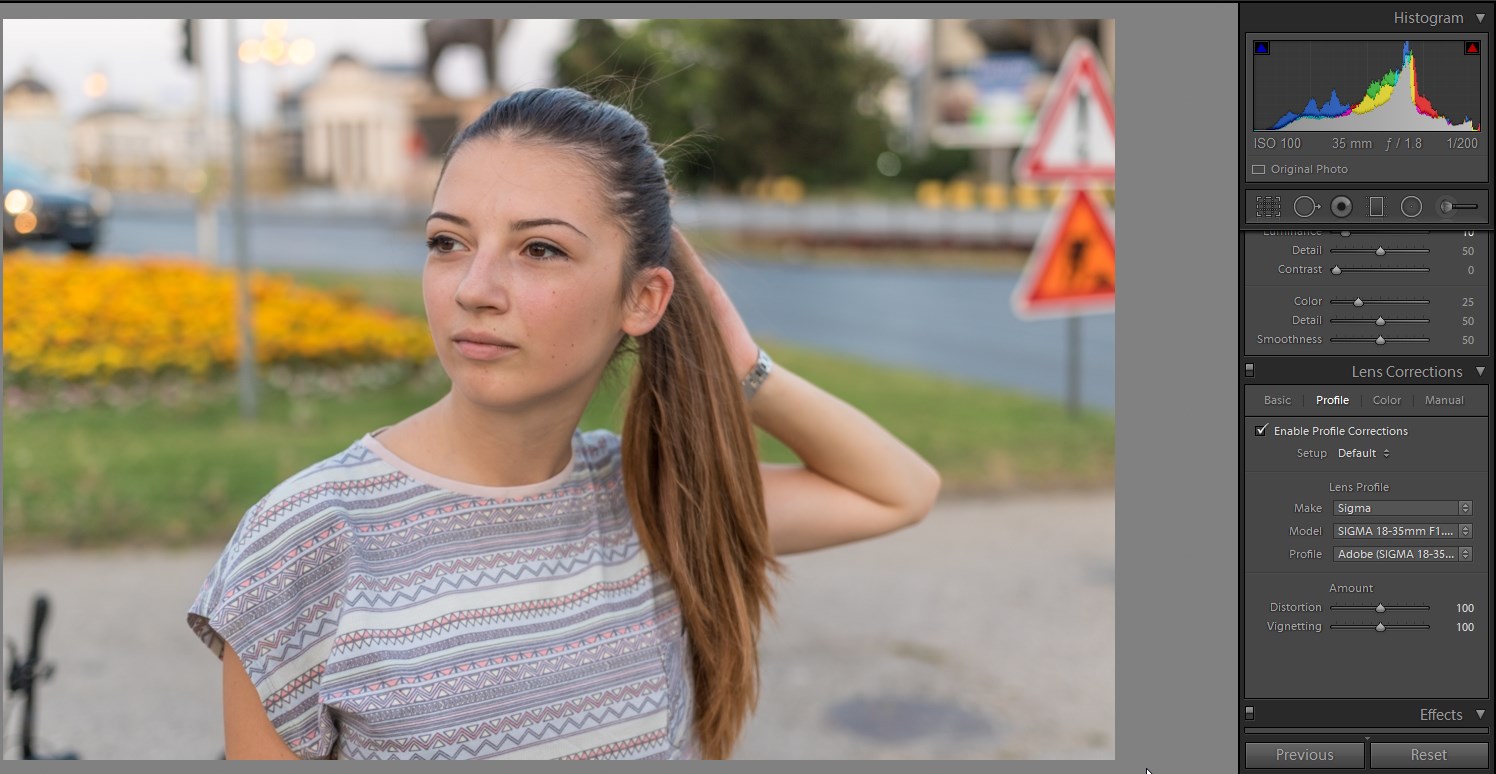
Don’t forget to correct for the lens, de-haze if needed, and apply a proper camera profile. Chromatic aberrations need to be compensated for as well, as they can become more visible after you do the sharpening and Photoshop work on the image. Don’t do sharpening in Lightroom – you will sharpen the final image as soon as it is complete. You can do noise reduction, but don’t overdo to the point that you lose details. Some noise is actually good because it will keep the image looking realistic.
After you are done with all that, visually inspect the images again, looking for anything that wouldn’t match up in the final picture. This previsualization is important because you’ll have to start all over if something doesn’t fit right.
When you are completely satisfied with both of the images, open both of them in Photoshop. You can do so in several ways, but right click -> “Open as layers in Photoshop” while having both images selected usually does the trick.
Stay tuned for the Photoshop portion of this tutorial.


