This is a guest post from the folks at Travel Photo Stock.
Have you ever had a great model who, for whatever reason, did not get a clean shave? Nobody wants to dwell on armpits, but we all have them — even our models. While a bit of stubble is quite fashionable for George Clooney's face, it can be a bit less attractive for the armpits of a fashion model who's been in an all day shoot and is beginning to “show.”
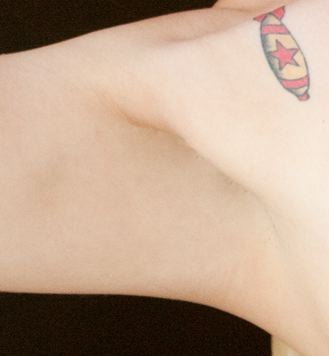
Fortunately, we have post-production tools that make it a snap to make your model's armpits as smooth as when she finished shaving in the morning. Take this example:

As you can see, this model with her beautiful porcelain skin has dark hair, and her shave was long enough ago that our fine high resolution digital cameras show that to some disadvantage. So, we open her up in Photoshop, choose the patch tool, and off we go:
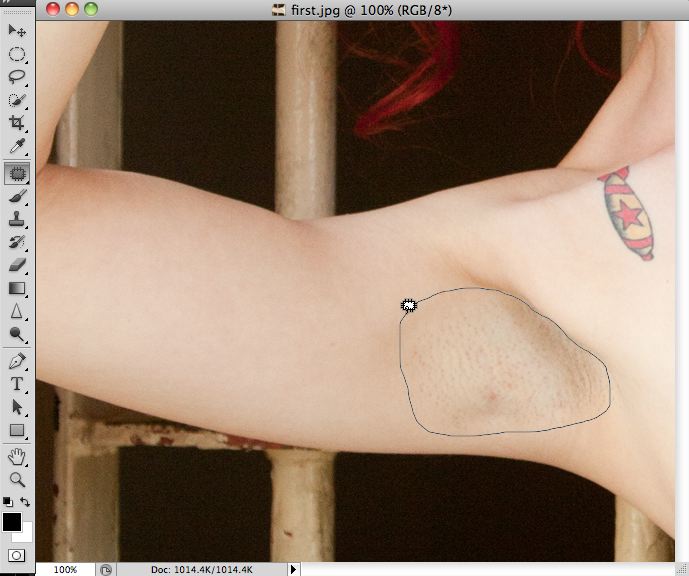
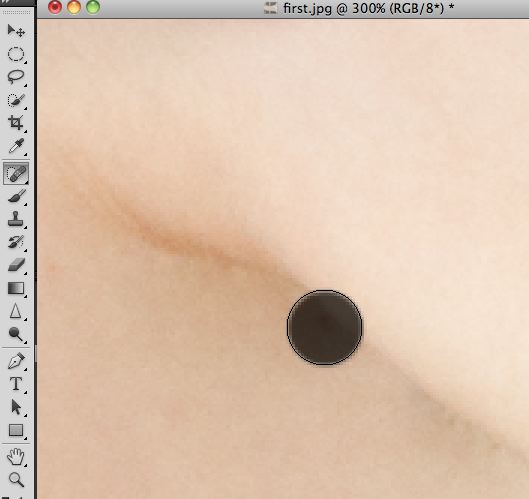
Note that we've used the patch tool (look in the tool well on the left to see which one it is. In this example, we've lassoed the armpit, taking care not to get the part on the right outside the armpit. Now that the selection is made, simply drag the selection over to an area that has a texture that is more desirable, as follows:
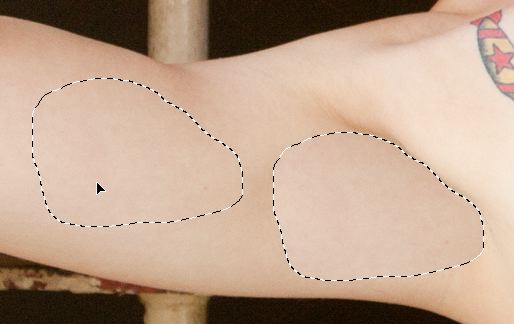
At this point, you'll see in the preview that the colors don't exactly match up. Don't worry about the color matching. Photoshop will do the blending later. Focus on the texture — is it similar to what you want. Now, release the mouse button. And you get this!
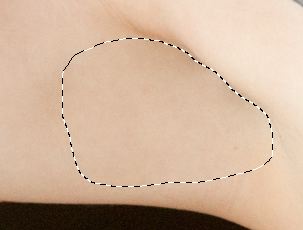
Simply deselect using Cmd+D (or Ctrl+D on a PC) and you'll see a nearly perfect shave (400% view).
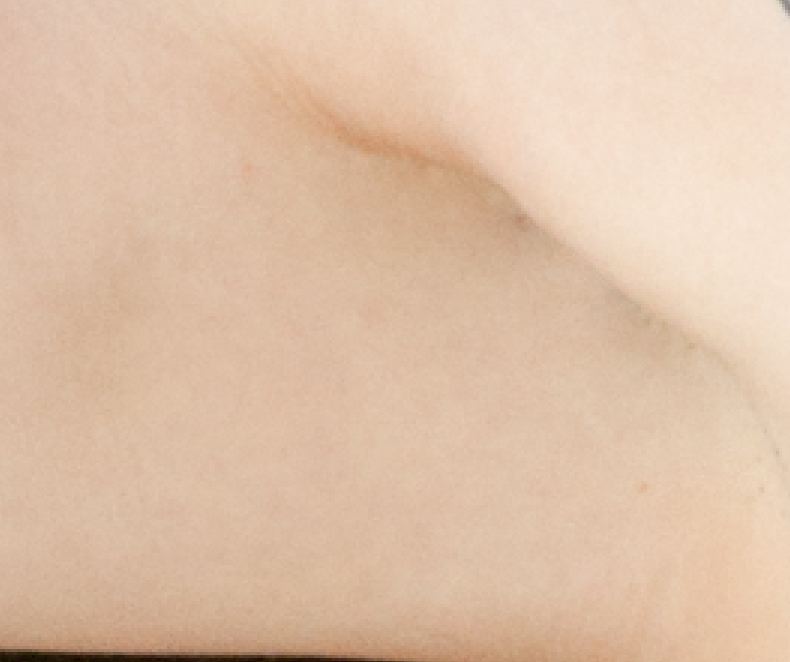
Finally, select the spot healing brush tool to touch up the few remaining areas that might need a bit of extra attention (again, 400%):
And you get the final result:
I hope this is useful to you as you get your images ready for use. Your beautiful models will love you for it and it's so quick!
For more of our images, have a look at: https://travelfotostock.com.


5 Comments
Nice one. But it’s the face stubble I have problems with. At times the man looks as though he needs a wash not a shave.
It can be hard finding a suitable area of skin for a man, but often the cheeks or forehead work if you are trying to patch face stubble. The main tricks are not to do it all at once (make several patches and fix the rest with the spot healing brush), not to obliterate the shape of the area by removing too much shadow relief, and being willing to do some cloning near the transition edges. Or… carry a small electric razor on shoots 🙂
Definitely a tried and true technique. The healing tools like Patch are extremely smart about melding texture and tone/color.
For slightly more control, I find it helpful to copy the section I’m working on into a new layer. That way, you can adjust the opacity of the layer if the ‘fix’ went too far (like when working on the face). Also, it makes it easy to do a before/after check to see if you’ve over-healed and made things too plasticy, and then easy to just remove the layer and start over!
its a great help and it will help me to touchup the the photograph…. thank you I have started my photography please send me some tips to improve my photography… thank you….
its a great help and it will help me to touchup the photograph…. I have started my photography please send me some tips to improve my photography… thank you….