Blurry images are the bane of a photographer’s existence. I’ve yet to meet a photographer who has ever stated anything even remotely resembling the following:
“After spending a day out with my camera, I don’t mind unloading my memory card and discovering that 75% of my photos are blurry.”
Nope. Never. Unless you intend a shot to be blurry for some artistic reason, blur is something everyone tries desperately to avoid and rightfully so, as this can easily render a perfectly composed shot of your ideal subject useless.
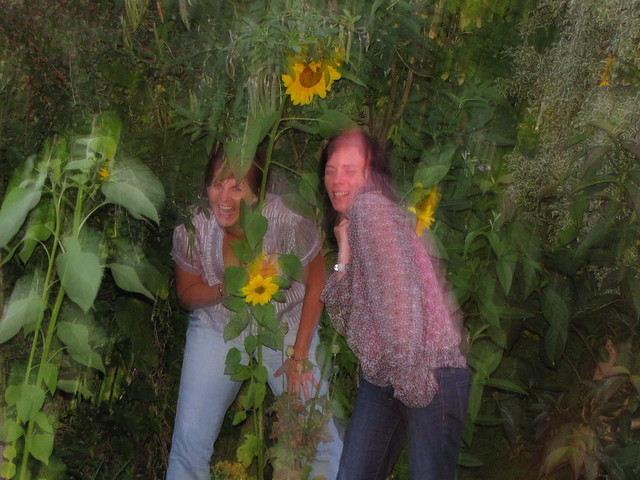
Photo by James
If you’ve been struggling with blurry images and don’t know what to do about it, there is a relatively uncomplicated solution to your problem that won’t require you to dip into your bank account or carry around any extra gear. But before we get to that, let’s take a quick look at the most common culprit of blurry images: camera shake.
The Impact of Camera Shake
There are a few different factors that might cause your photos to come out blurry, including missed focus or a dirty or damaged lens, but more often than not the problem is camera shake. This refers to the blur that is introduced via camera movement — however slight — during the making of an exposure. It can be particularly troublesome at slower shutter speeds and longer focal lengths as the human hand simply can’t be held perfectly still.
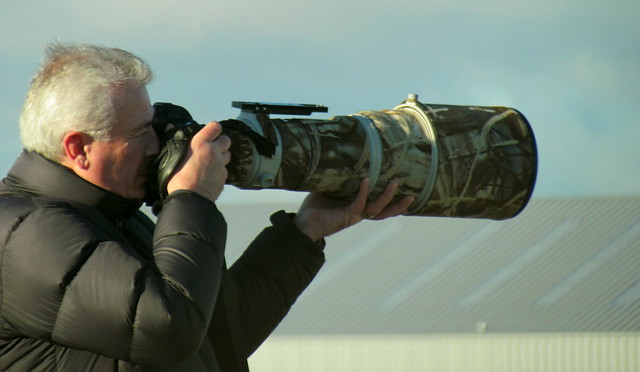
Photo by ozz13x
Imagine trying to hold a 1-foot wooden rod out in front of you. Now imagine trying to do the same with a 10-foot rod. Which do you think will shake more violently in your hand?If we apply this principle to photography, with the length of the wooden rod being analogous to a lens’ focal length, it’s a bit easier to see why it’s more difficult to get successful hand held shots at longer focal lengths. Just as longer focal lengths increase subject magnification, so do they exacerbate the effects of vibrations transmitted by your hands. The only way to overcome this is to increase your shutter speed. However, you can’t just use some randomly selected shutter speed as long as it’s faster than what you tried previously; there’s a method to it and there’s some math involved, but it is really quite simple to determine the right shutter speed to prevent camera shake.
The Reciprocal Rule
You may find this rule disguised in other names (“the law of reciprocity,” for example) but they all mean the same thing and work the same way:
When you are hand holding your camera and you want to ensure that your images come out free of camera shake, whatever focal length you are using should serve as the lower limit for your shutter speed. As an example, if you are using a 100mm lens, your shutter speed should be at least 1/100th of a second. Using a zoom lens set to 250mm? Set your shutter speed to 1/250th of second or faster. Easy, right? Yes, but there is an important caveat to consider. This specific implementation of the reciprocal rule applies only to full frame DSLRs (or 35mm cameras).
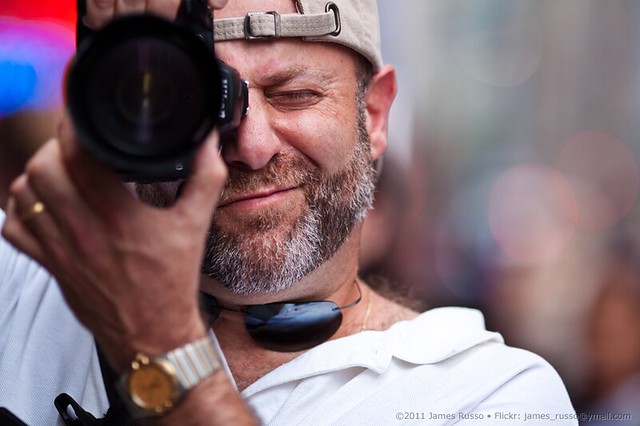
Photo by James Russo
In order to adapt the reciprocal rule to crop sensor cameras (APS-C, 4/3rds, APS-H, etc.), you have to account for the camera’s crop factor by multiplying the crop factor by the lens focal length. If, for instance, you are using a focal length of 100mm on a camera with a crop factor of 1.5x (commonly used by Nikon, Sony, Samsung, and Fuji APS-C cameras) you will need to set a minimum shutter speed of 1/160th of a second (100 x 1.5 = 150, but you won’t find 1/150th on your camera so go up to 1/160th). Using a camera with a crop factor of 1.6x (the current Canon APS-C standard) and a focal length of 100mm will yield a minimum shutter speed of 1/160th of a second (no need to round up this time).

Photo by Santiago Atienza
Although this is referred to as a “rule,” remember that rules can and often should be broken. All this talk of reciprocals should be taken as more of a handy guideline to help you minimize camera shake. The rule isn’t totally fool-proof, and it’s a good idea to err on the side of speed; if, by applying the reciprocal rule, you determine you need a shutter speed of 1/80th of a second, don’t hesitate to shoot at 1/100th of a second.
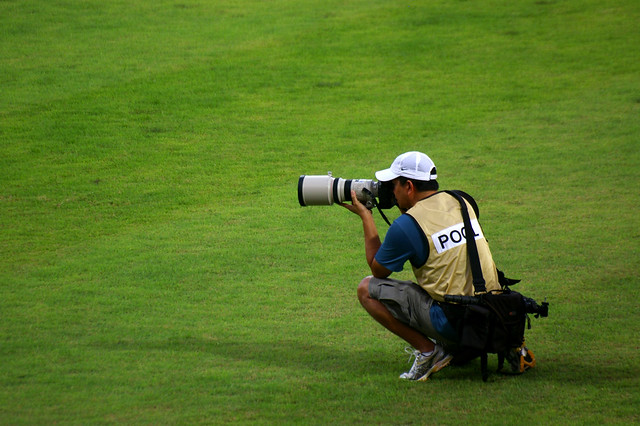
Photo by Julie V.
There you have it. When you can’t or don’t want to carry a tripod or if you don’t own a lens or camera with image stabilization, you still have a reliable means of avoiding the crushing disappointment of blurry shots. Good technique + the reciprocal rule = blur-free photos.


23 Comments
Thanks Jason, a good summation. May I also add a couple of things, even though you’ve alluded to a couple of them in the last sentence or two:
– proper posture and camera holding technique is also important to reduce camera shake.
– if you have a camera or lens with an anti-shake switch – use it! Just remember to switch it off again when you use a tripod…
– be as healthy as you can. Being out of breath will definitely increase shake. I don’t know of an algorithm to factor it in, but being fit enough to not be out of breath when you get to the top of the hill really helps! 🙂
– use things around you that might help, like a wall or a tree branch.
I can definitely attest to these, and a good example from my own experience was last year, when I was doing some urban exploration of abandoned buildings, here in Finland near where I live. One day I found an old disused Rye Mill (I do understand the legalities of doing such things, and I know it’s a civil matter, if I get caught, and mostly all the owner can do is tell you to leave, which I’d be happy to do without any fuss. Plus I never touch anything and I never break and enter. If there’s no easy way in, then there is no way in.) but I didn’t have a tripod. Because of the unexpected surge of adrenalin, my heart was pounding so hard I could hardly hold my camera still at all. I took quite a few shots in there but they weren’t to my satisfaction. They were all blurry. I took one image though which I really loved the composition and light of but it was obviously not up to standard in any other way.
So, I decided I would revisit the site just for that shot alone and take the tripod. I did go back, but because of my haste and adrenalin (again) I forgot to turn the image stabiliser off on my lens. When I got back home and opened the image in Lightroom, guess what? It was blurry still. Lesson learned big time but I don’t know if I’ll go back for a third trip…
So much adrenaline! : )
All great points about other ways to avoid blurry hand held shots. I wonder how many people take into account how their physical fitness might affect their photography. Something to think about.
Thanks for sharing, Simon!
You said
” I forgot to turn the image stabiliser off on my lens.”
Why do you have to turn off the stabilizer?
Would you explain more about it please?
That surprised me too. I never have turned off “image stabilization” on my camera. Why would I want to do that? I have noticed that some tripod images have been blurry despite having been on the sticks. I attributed that to wind.
Image stabilization should always be turned off when on tripod. Prove it to yourself by taking some pics with and without it.
No worries, Jason. By the way, I always enjoy your posts.
Excellent thoughts on camera shake. I am having problems with sharpness and claity regardind landscape photography
Good points. I also am aware of my stance if there are no walls, posts etc in the right place. Make sure your elbows are are tucked into your sides and your feet are a bit over “hip width”apart and relax. Tension is one of your biggest enemies. Related to fitness and tension, I often take a deep breath before I “shoot” and slowly let the breath out, timing triggering the shutter to the point just as my lungs are empty. It helps to relax you and stop the problem of being out of breath. Oh yes and if you don’t have a tripod and there are no suitable flat walls, try holding the camera against the vertical edge of a wall or lamp-post etc. I hope these help.
“Elbows in, breathe out.” That mantra has come in handy for me plenty of times.
Nice post but I wanna know the specs on the mega lens (with camo because Cabela is taking over the world NOT because there is ANY shooting moment that really benefits from camo).
LOL. Yeah, that thing is pretty serious. If I ever find out the specs for it you’ll be the first one I tell.
The camera strap can also be your friend here: put it around your neck (Photography’s only rule – put the strap around your neck!) and wrap it firmly around your hand to take up slack, then you can hold the camera more solidly. Even with a monopod to assist, using the strap to brace the camera is important.
Also note that your heart rate slows down when you breathe out so, before you release the shutter take in a big breath and slowly let it out, releasing the shutter about half way through exhaling. If you are panting take in a couple of long slow breaths first and don’t HOLD your breath – it will make you shake AND speed up your heart rate = double damage.
For a long lens also hold the lens underneath and brace your elbow against your chest to stabilise it. Find the balance point of your camera / lens combination and try to hold the camera there with your other hand.
I’m sure everyone here knows these tips anyway but it can help to be intentional about them if you only do them by instinct.
You’re absolutely right…it’s one thing to know this stuff, but it’s great to get to a point where you do these things instinctually.
Thanks for the post. What I find difficult is that when I make my shutter speed faster to avoid taking blurry pictures, it makes my pictures too dark. How do I compensate for the fast shutter speed in terms of lighting? Should I boost my ISO? But wouldn’t that make my pictures more pixelated? Any advice would help.. I am a beginner just starting to explore the manual settings. Thanks.
Yes, you do run the risk of underexposing your shot when you increase shutter speed but there are a couple of ways around that. First, use your lens’ maximum aperture; f/1.4, f/2.8, the wider (lower f-number) the better. It lets in more light. Your other option is to boost ISO. I don’t know what kind of camera you have but most DSLRs out there right now handle high ISO pretty well. You shouldn’t have any problem shooting at ISO 1600 or higher if you really need to. And there’s always noise reduction software if you don’t like the amount of noise in your shot. : )
Andrew, you can also try shooting in RAW,, you can increase the exposure compensation in PP dramatically
Thank you Jason and Saab for your very useful comments I was planning to head out later today and your advice will certainly help given the location I heading to.
Interesting – but there is a disconnect between the lenses in your photos and the shutter speeds you mention. Your discussion is on speeds appropriate for short lenses, not the big zooms in the illustrations. I can’t imagine using less than 1/1000th with those.
One thing I often do in addition to all the included advice (posture, bracing, breathing etc), if I think camera shake may be a problem is to set the shooting mode to continuous & take a burst of maybe 5 or 6 shots. The action of pressing the shutter can introduce shake, so often the first image may show signs of it, but if you are holding everything steady, the second or third image will often be steadier.
I have had problems with blurry images using a mono pod & a 70-200 mm VR Lens. I was shooting oval ice track snowmobile races in sub zero weather, with sleds traveling in excess of 90 mph. NOT IDEAL CONDITIONS FOR CAMERA OR MY BODY. My fingers were freezing holding my camera for so long, I thought the monopod would help absorb some of the “chill” . Indeed it did, although at a high price……
The base of the monopod could not support the weight of the camera & lens – needless to say every shot had camera shake. I have never used it again! I’m sure I made a million mistakes. I’m hoping you guys will have some recommendations……..THX!
Physical fitness plays a huge roll along with any physical aliments you may have. I have three vertigo disorders along with knee disorders which makes certain shots a challenge for me. I have had to learn to readjust how I shoot and the positions in which I shoot to compensate for my conditions. This is challenging in itself. I tend to weave and bob naturally now so tripods are a must unless I use the continuous burst mode and hope some days.
I have passed my 80th year and find that my eyes aren’t as sharp, muscles ,(I use the word longingly), not so good . Being steady is something I still remember. When I am shooting wildlife I pray for bright sun, slow animals and a shutter speed somewhat south of the speed of light. When I am shooting from one of my blinds I get great help from two wondrous items, a tripod and a cable release. Above all, Love what you are doing.
Well I never knew that! I’ve never turned my stabiliser off!! I’m always moaning that my images are not ‘Tack’ sharp, my family say, that’s a great sharp shot, but I want them as sharp as the pro’s…..grrrr! Will I ever get there?
Great comments everyone, thank you!