Food photography has become an extremely popular branch of photography. When you think about it, who isn't taking pictures of their food these days? Professional photographers aren't the only ones snapping appetizing shots of good eats – almost everyone with a smartphone is doing this, as well. As a photographer, you now face the challenge of making your food photography really stand out from the crowd of hashtagged plated pics. You need to make it recognizable from first glance as something utterly unique.
Like all other photography genres, your food photography should follow the same rules regarding composition and light.
Composition
For simplicity's sake, we'll group all elements under the category of composition except for light and post-processing.
How to Get the Framing Right in Food Photography
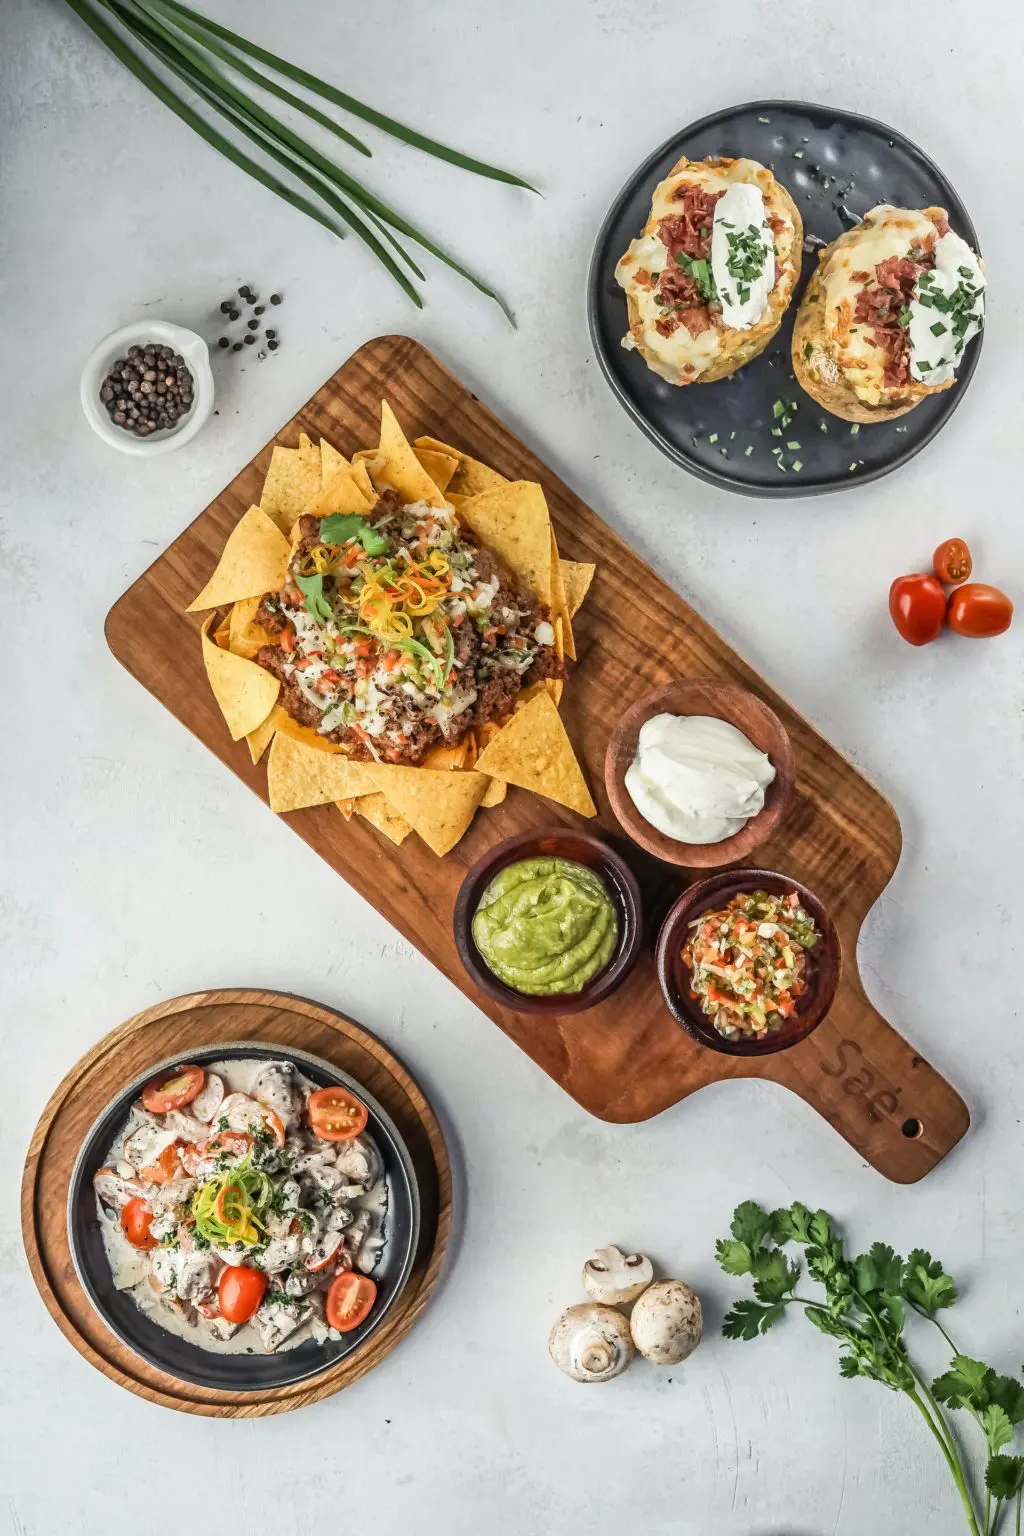
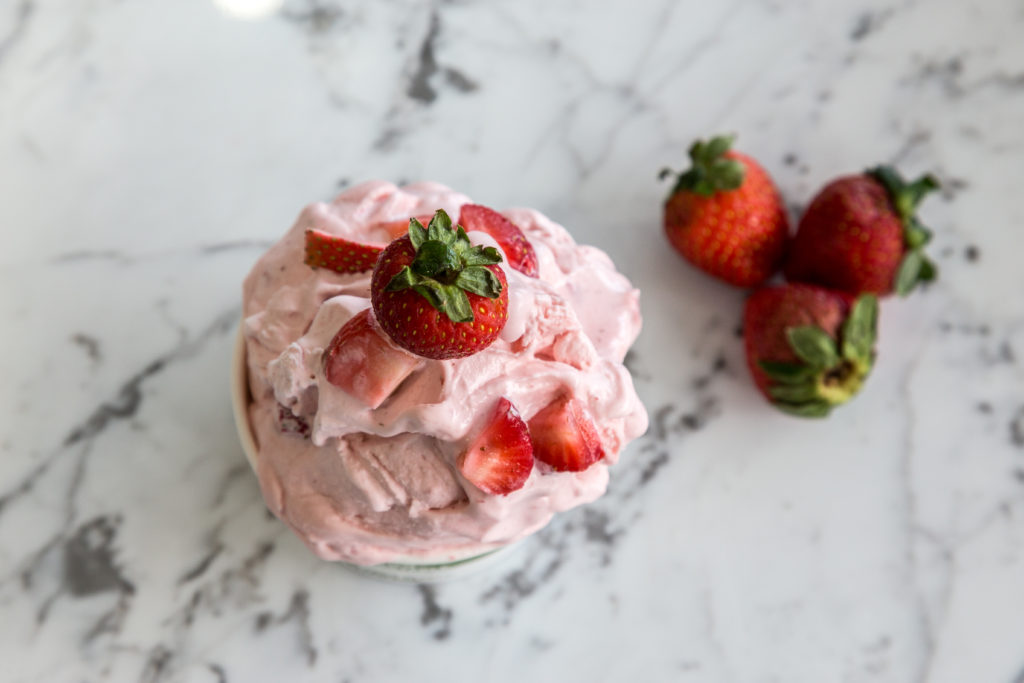
In capturing their food on camera, people typically go for the top-down angle. There's nothing wrong with this. Actually, it can look pretty sharp if your plate is nicely arranged. But you do have other options! Food is flexible. You can do close-up shots without much issue. You can crop the picture to include or exclude whichever elements you see fit.
Cutlery, dishes, table settings – any of this could enhance the picture, but isn't vital to have a great food shot. The entire serving plate may complement the photo nicely, but you may also choose to leave out most of it. There isn't necessarily a right or wrong. Framing your food shot is usually a pretty simple affair.
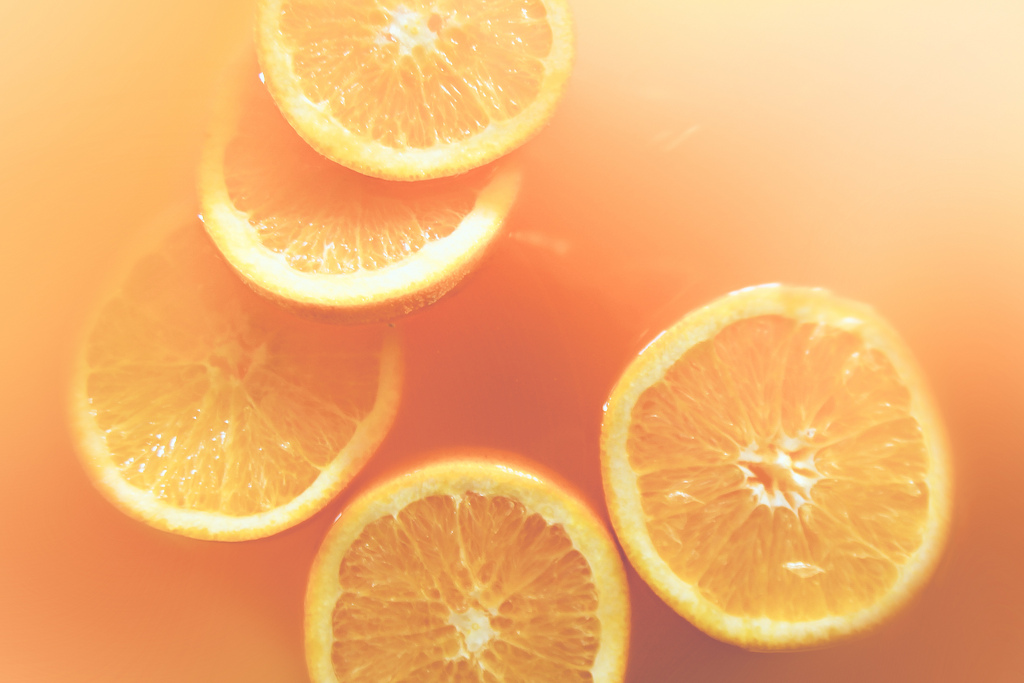
Depth of Field Strategies for Food Photography
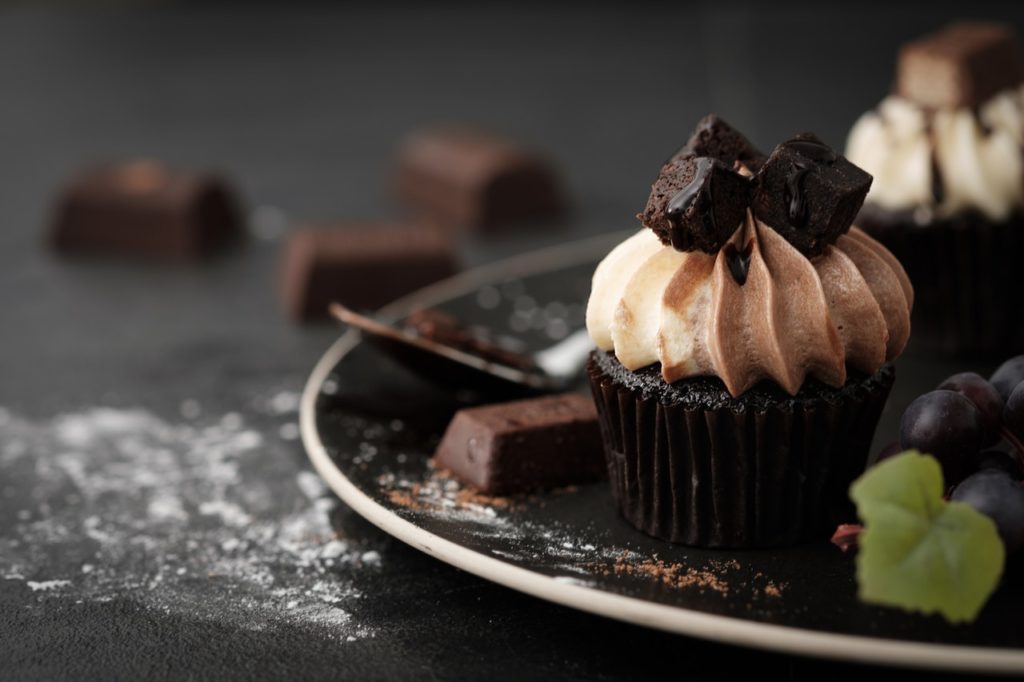
It's easy to create a really shallow depth of field when you're focusing in so closely on food. This usually works well in photography, in general. But with food, it's best to have at least half of a dish in your field of focus. This will keep your picture from focusing on one piece of food, alone. That could take away from the eye-catching appeal of other details in the dish.
You're aiming to showcase an entire dish, so be careful that your depth of field reflects a balanced depiction of it.
You can also use focus stacking to achieve a blurry background and a wider field of focus. If you take several shots at wide apertures, you’ll still have bokeh (if you have a background at all, that is) while still keeping most of the dish in focus. This depends on how many shots you take, so it's completely under your control.
The Keys to Great Color in Food Photography
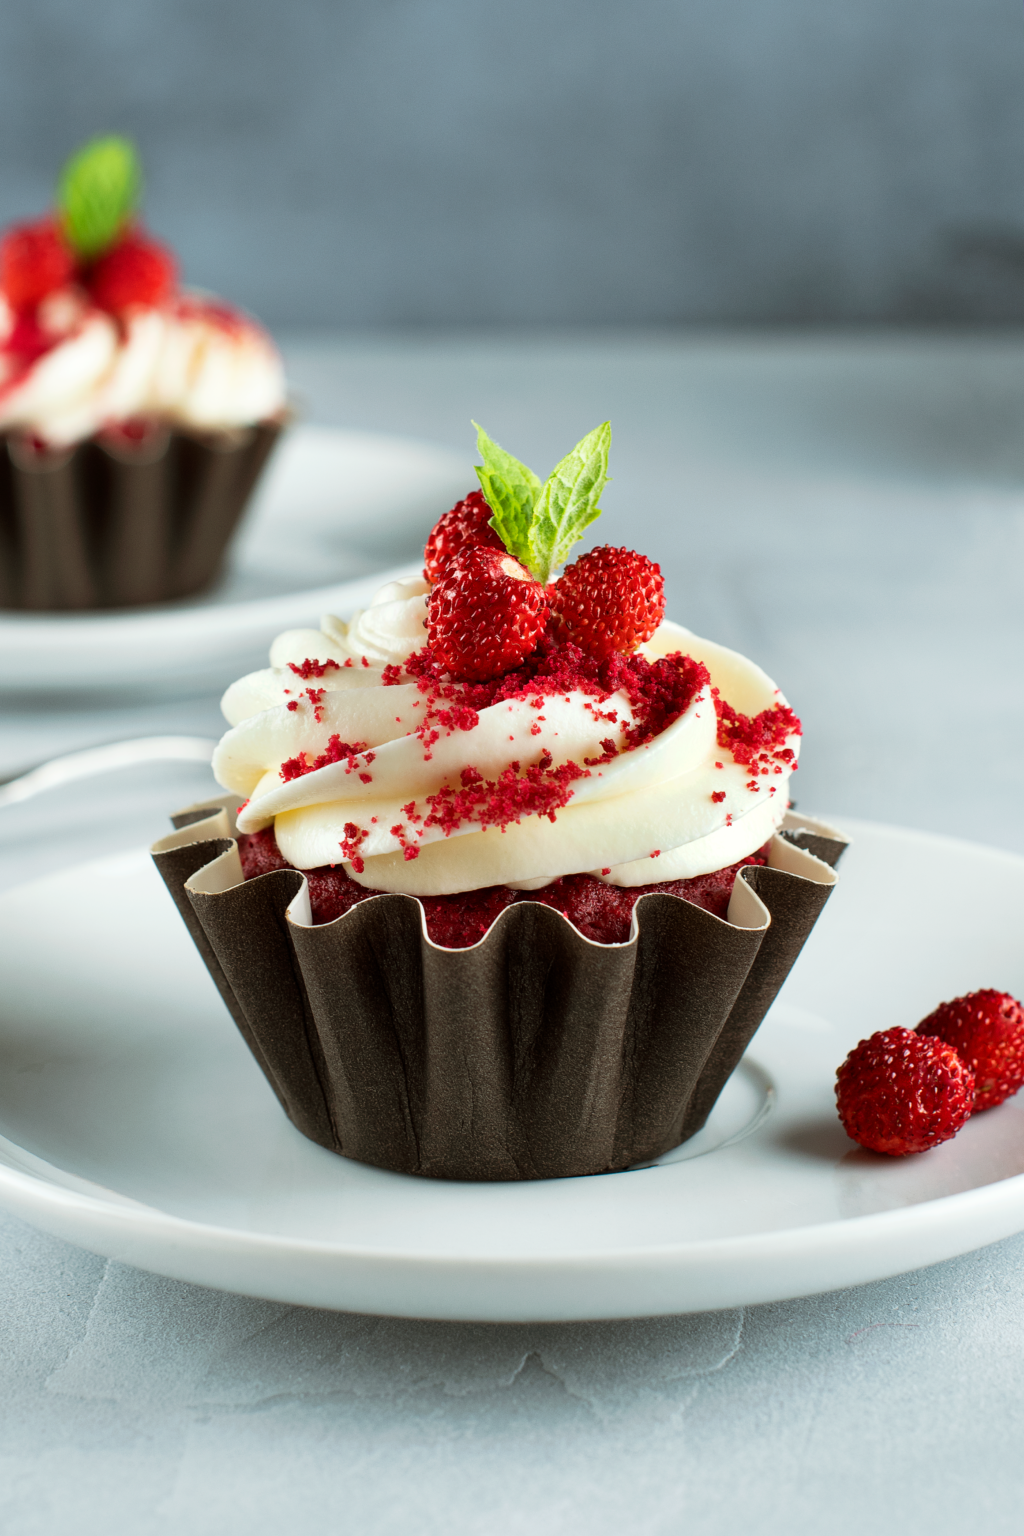
You need to be very aware of color when you are photographing food. The color isn't just about what you think looks good. You may be working a paid gig for a chef or company seeking to promote their food. You'll need to coordinate with these individuals to make sure everyone's expectations are met. Here's a helpful guideline for arranging food by color: set up colors by contrasting (orange-blue, red-green) or neighboring colors (red-orange-yellow, yellow-green-blue).
The dish itself can be comprised of only one or two colors, and you can complete the palette using the surface the dish is resting on. Make sure that you don't have too many colors competing for dominance in your scene. That would distract from the overall photo.
If necessary, alter the colors a tad in Photoshop. But don't overdo it! The dish needs to be as realistic as possible.
How to Treat the Light
Your ultimate goal in shooting food is to make it look appetizing, and harsh light won’t get you there. Soft and neutral light (neutral from a color-temperature point of view) will make the food look pleasing to the eye.
When using artificial light, large diffusers are a must. If you can’t get your hands on some, you’ll probably need to bounce the light off the ceiling. Or you can use tablecloths as a makeshift scrim. Practically every restaurant should have plain white tablecloths on hand for you to use.
Photo by Mariagrazia Berardo
If you are using natural light (which I usually prefer), it's a given that you should avoid high-noon light. It's definitely way too harsh. You can use it if you use a top-down scrim to diffuse it, or diffuse it through the window using window curtains or scrims. Otherwise, try to go with early morning or late afternoon photo shoots in order to have plenty of soft lighting available.
With luck, you may run into overcast weather at high noon. You can't ask for diffusers that are any better or larger than clouds!
Post-Processing Food Photographs
Food photography requires a considerable amount of post-processing. This is mainly for color-correction and cleaning up the scene. Whatever you do, make sure that the photo accurately represents the dish, so do not alter it too much. You can clean up any imperfections, even reshape certain food pieces if you think that it will improve the aesthetics, but do not do make major changes. If those pictures end up in a menu for a restaurant, they could falsely depict the dish, which will result in dissatisfied customers.
Photo by Daniel Nimmervoll
Summary
If you don’t have the urge to order or make and then eat the dish in the photo you took, then the photo is just not good enough. The goal should always be the same: take a picture which makes the viewer hungry. This can be achieved if you properly light and compose your photo. For an even more in depth look at food photography, check out our other article on how to photograph food.


