One of the best ways to present your images to friends and family is with a slideshow. With today’s huge flat high definition flat screen TV’s a well produced slideshow can convey the drama and emotion of your digital images. As with any presentation, you need to do a little planning and follow some simple guidelines but overall, slideshows are a simple and effective way to communicate your images.
In this article I am going to give you some general hints an tips on producing slideshows. I am using Apple’s Final Cut Pro X as my production software but there are any number of decent slideshow and video editing products for both Macs and Windows available, the chances are you probably have one already installed.
Keeping it Short Avoids Boredom
The first two rules of producing an engaging slideshow are to keep it short and have a point. The first rule is important, there is a reason for the old jokes about watching a slide show of your friends holiday snaps, and that is, that it gets boring. Try to keep your slideshow under ten minutes, this means it will be inside the attention span of most people.
Create a Story to Engage Your Audience
This leads us to the second rule, by having a story to your slideshow you will keep the viewers engaged and hopefully enthused enough to return when you produce your next one. To tell a story, you need to need to find a selection of images that have a common theme. It might be a chronological trip to a city or it may be an obscure photographic obsession of yours. Whatever the theme is, stick to it. Look for images that not only work together, but try to find a selection of different angles and zooms for each section of your story.
For instance if you are showing images of Notre Dame in Paris, show a wide view or two from different angles, then show some details, a shot of the door can then lead your story to the interior images.
Try to avoid mixing daytime and night shots, if you have a particularly nice night shot, use it at the end of the sequence. Select perhaps three times as many images as you expect to use and copy them all to a dedicated folder.

Editing Your Slideshow for Best Results
So once the images are selected, the next phase is the edit. The most important part of this, in my opinion, is music selection. It is the music that will convey the emotion and sense of place to your audience. Think about your subject and look for music that suits, try to avoid cliches, for instance, Land of Hope and Glory on a slideshow about London, look for music that suits both the location and the mood that you intend to convey.
You need to remember that if you plan on uploading your slideshow to video hosting sites such as Youtube, that you will need to have permission or a license to use that track. There are some very good tracks available free for non commercial use, just Google “Creative Commons Music.”
Choosing an Order for Your Images
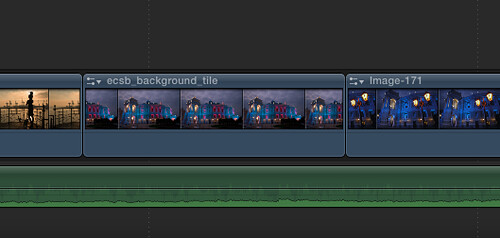
With your soundtrack on the timeline, it is time to layout the images. Lay the images down in the order that your want to tell the story. Don't worry about timings and effects yet, just get the story laid out. With this done you can now time the images to the music, try to vary the pace of the images through the production, a slideshow with images all changing every fours seconds can not only be boring but also a little hypnotic.
The Art of Tasteful Transitions
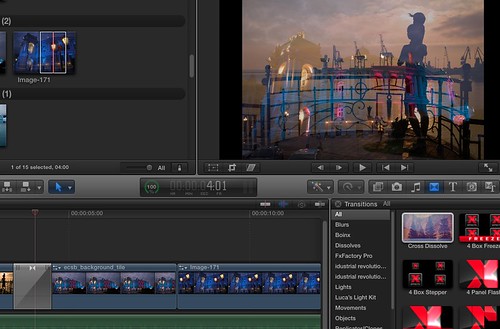
Once you have the timing sorted, it is time to add what’s known as transitions. This is the effect that is used to change one image to the next. The most common is the dissolve, and these can be very powerful in conveying emotion. If you are moving between two beautiful landscapes with slow, majestic music, a long slow dissolve can work wonderfully. Dissolves are also useful for move between two images that do not gel together well.
There are many other types of transitions available, depending on your software, some can look bit amateurish but others work really well. If you are in a section that is fast paced, you can dispense with the transitions completely and just cut between images.
Other Effects That You Might Want to Use
One other powerful option that many slideshow programs offer is the ability to pan, track or zoom into an image. This gives still images a sense of movement and can be a very useful tool. Try not to use it on every image and vary it’s use, for example don’t follow a pan across an image with another pan.
Once you are happy with your final result, it’s time to output it. If you plan to show the slideshow on a TV, output to a .mov or .avi format as these are the most commonly used formats. Many TVs these days accept USB flash drives making it quick and easy to show your masterpiece to your friends and family.
Jason Row is a British born travel photographer now living in Ukraine. You can follow him on Facebook or visit his site, The Odessa Files. He also maintains a blog chronicling his exploits as an Expat in the former Soviet Union


2 Comments
Thank you for this article! I have my own slideshow production business that I started a few months ago. I create slideshows from cherished family photos, add music chosen by my customer and then add transitions. I do everything that you mentioned. This is confirmation for me that I am on the right track..plus the satisfaction of my customers!
Hi, would like to know where you get your music to make as a background that is free and no legal thingy whatsoever. Thanks