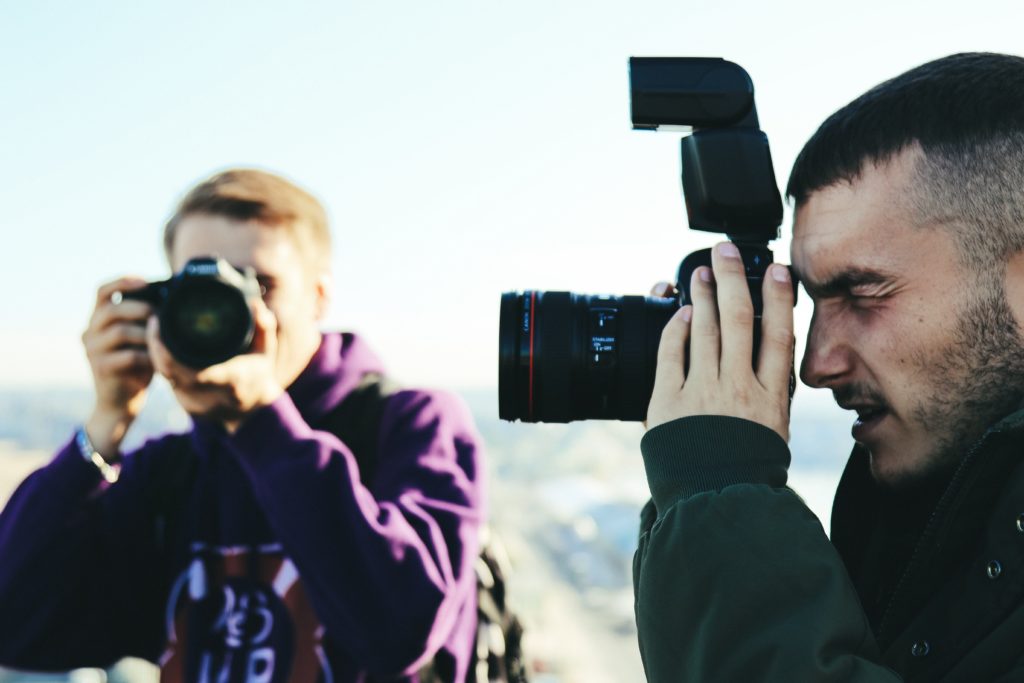
It won't be incorrect to say that essentially, every photograph is a light painting. Indeed, most of the time we are capturing the light that is available or we are adding light through strobes or other light sources. However, light can also be used as a brush and one could essentially paint a picture in the photograph with it. It is a bit more complicated process than our usual photography and it is almost completely done blind – you can see the result only when the shutter closes – but the results can be impressive.
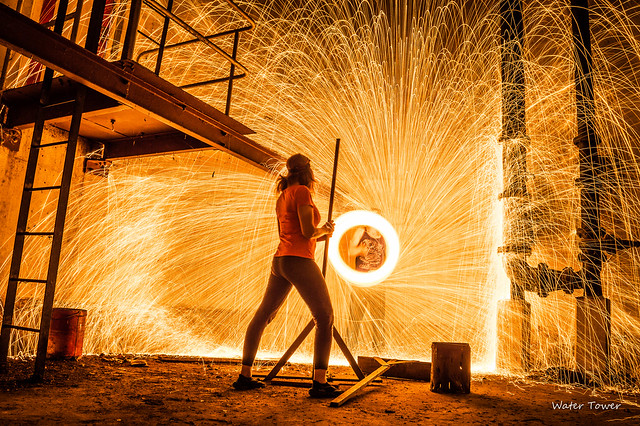
Photo by darkday.
So how do you photograph light painting? Surely, there are many different ways of doing that, but I’ll try to guide you into the most common one, and possibly most interesting one to do.
Get Your Gear Ready
Firstly, you’ll need a DSLR camera (or a camera that is able to shoot longer exposures and has aperture and ISO control), tripod, possibly a neutral density filter (or something makeshift that will act like a ND filter), one or multiple light sources.
The Setup
For you to set your camera as stable as possible, a tripod is essential. Set your shutter speed to several seconds. Actually, set the shutter speed as long as you need to complete the painting. For some things 5 seconds is enough, for others you’ll need 2-3 minutes. After you have chosen the right shutter speed, use aperture and ISO values to compensate for the exposure to be correct. If you can’t achieve normal exposure like that, use ND filter. Note that the ND filter will also decrease the exposure of the painted light.
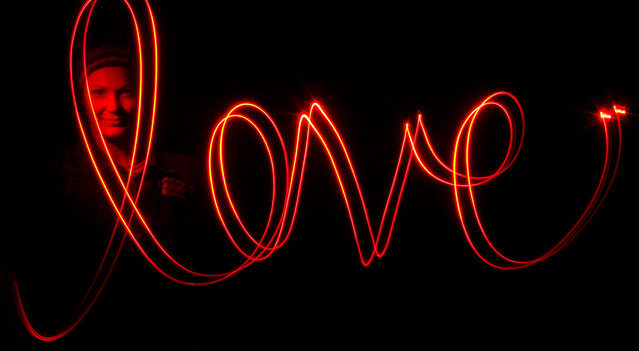
Photo by Monkey Mash Button
Painting With Light: When the Fun Begins
Get your light, start the shutter and paint on the stuff in your frame. You can point the light at the camera and you can write words and stuff, or you can find a good landscape, and paint it with different colored lights. The choice on the painting methods is up to you and is limited only by your creativity. Also, you can use fireworks to create some fun light paints, since all those sparks will leave a trail of light. Similar way of painting are the famous spark orbs, which are done by attaching steel wool on a wire, lighting it on fire and spinning it in a circle around you.
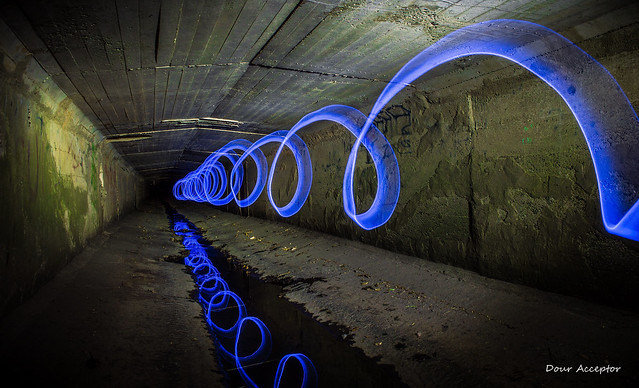
Photo by darkday.
Additional Ways to Create a Light Painting
It doesn’t always have to be you that introduces the light for the paint, you can use the setting to do that for you. For example, you can use the lights of the cars on the streets to paint light trails for you. Or you can use the powerful light that coastal lighthouses have in order to paint a way into the sea or the pier. The possibilities are truly endless.
Freeze Action With Flash
Long exposure means that if you want to be in the frame, you’ll have to stand motionless for the entire frame. This can be done, but it makes the photo a two-man job. Instead, you can use on-camera flash or an off-camera flash and set it to second curtain or you can do the painting yourself so that the flash lights and freezes your position at the end of the frame. Neat, right?
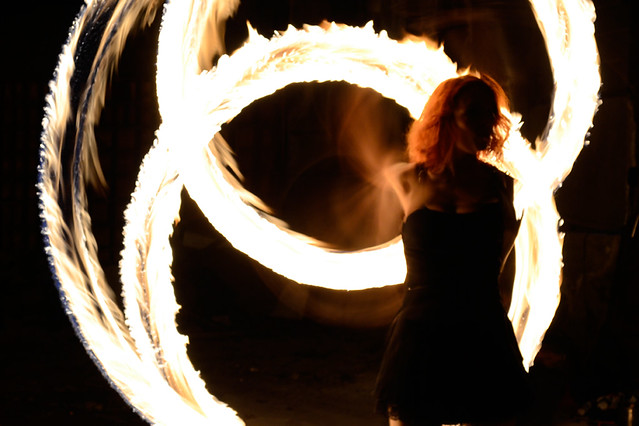
Photo by Nykaule
Combining Different Light Painting Methods for Amazing Effects
Let's take light painting to another level. For example, you can use the rotation of the Earth to create star trails for you, and you can use soft and dim torch to light paint the parts of the setting that are not lit by the stars or any other lightsource. There are many options here, and I’ll leave some up to you.
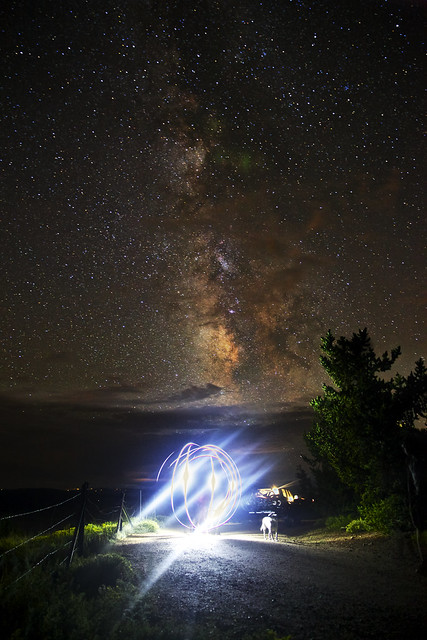
Photo by Zach Dischner
Post-Processing: The Finishing Touches
You’ll need to expose precisely from the beginning since most of the longer exposures create decent amount of noise, and if you underexposed in the beginning, correcting the exposure will introduce even more noise, which will cost you great deal of detail in the process of cleaning up the noise generated. You will also need to shoot raw, since 90% of the time you’ll need to correct the highlight-to-shadows ratio. Have in mind that the ambient light will be greatly overpowered by the torches that you will use in the painting process.
A Note on Safety
Safety always comes first! That applies to you, everyone near you, and the environment. Great part of light painting involves fire and/or electricity, so make sure people in the area know what you are about to do and make sure that you won’t do any damage on something or hurt yourself. If you plan on doing stuff with fire, bring fire extinguisher with you because you don’t really want to be charged with arson now, do you?
I hope that this will introduce you to another fascinating world of photography and that you have more creative ideas to get going. Getting to know light painting will help you greatly in shaping any source of light for any purpose and it will also give you a better understanding of light.