Behind the often stolid walls of our galleries and museums lies objects of often indescribable beauty. Art, archaeology, artifacts taken out of their context and displayed for us to admire, comprehend, understand and where we often feel the inadequacy of our own capacity to duplicate, replicate, imitate or emulate.
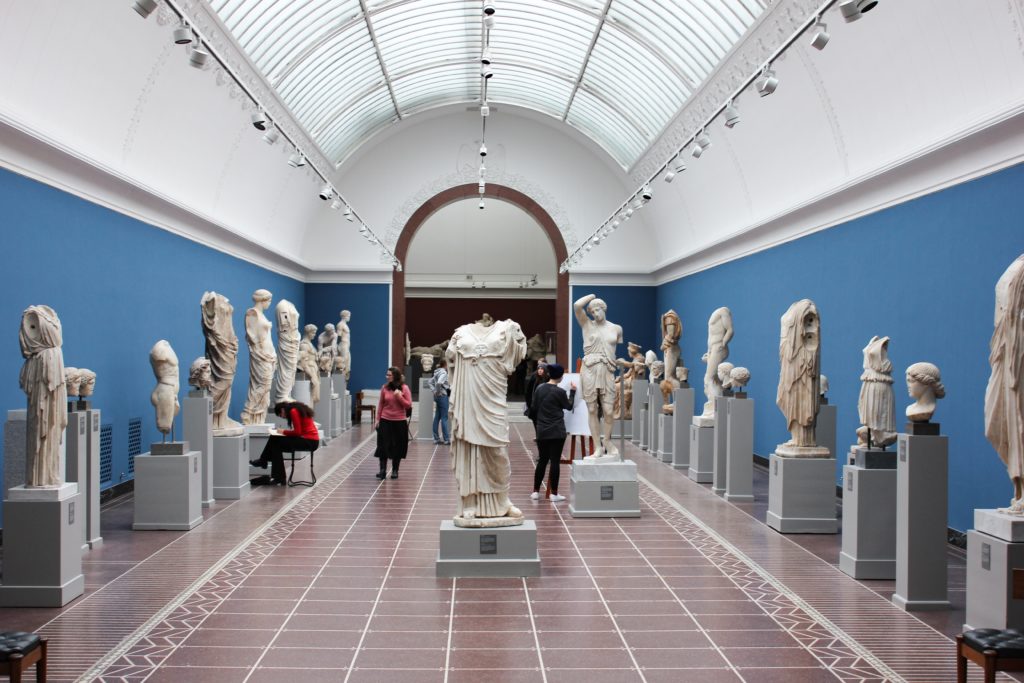
Never fear. These are also places where you can produce your own piece of art; photographs. Not necessarily of the art work, but all the contents of the building.
Here are some ideas.
The building.
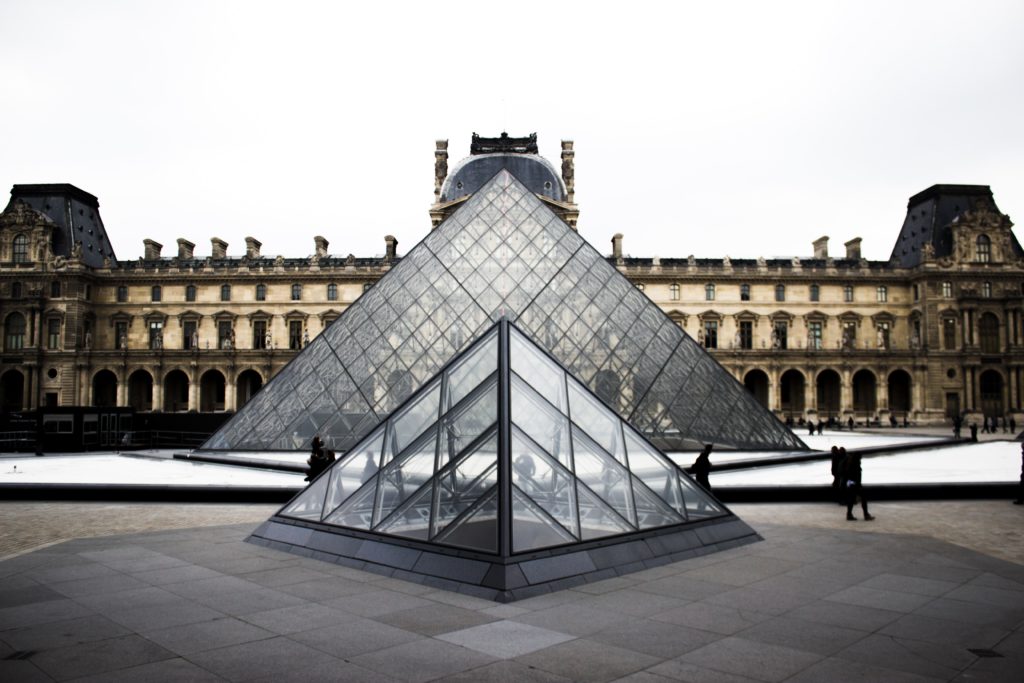
It seems such buildings are either relics of a time past or flashes of contemporary brilliance in a modern world. Either way, they are worth photographing. Keep an eye out as you approach for vista's and views that highlight the character of the building.
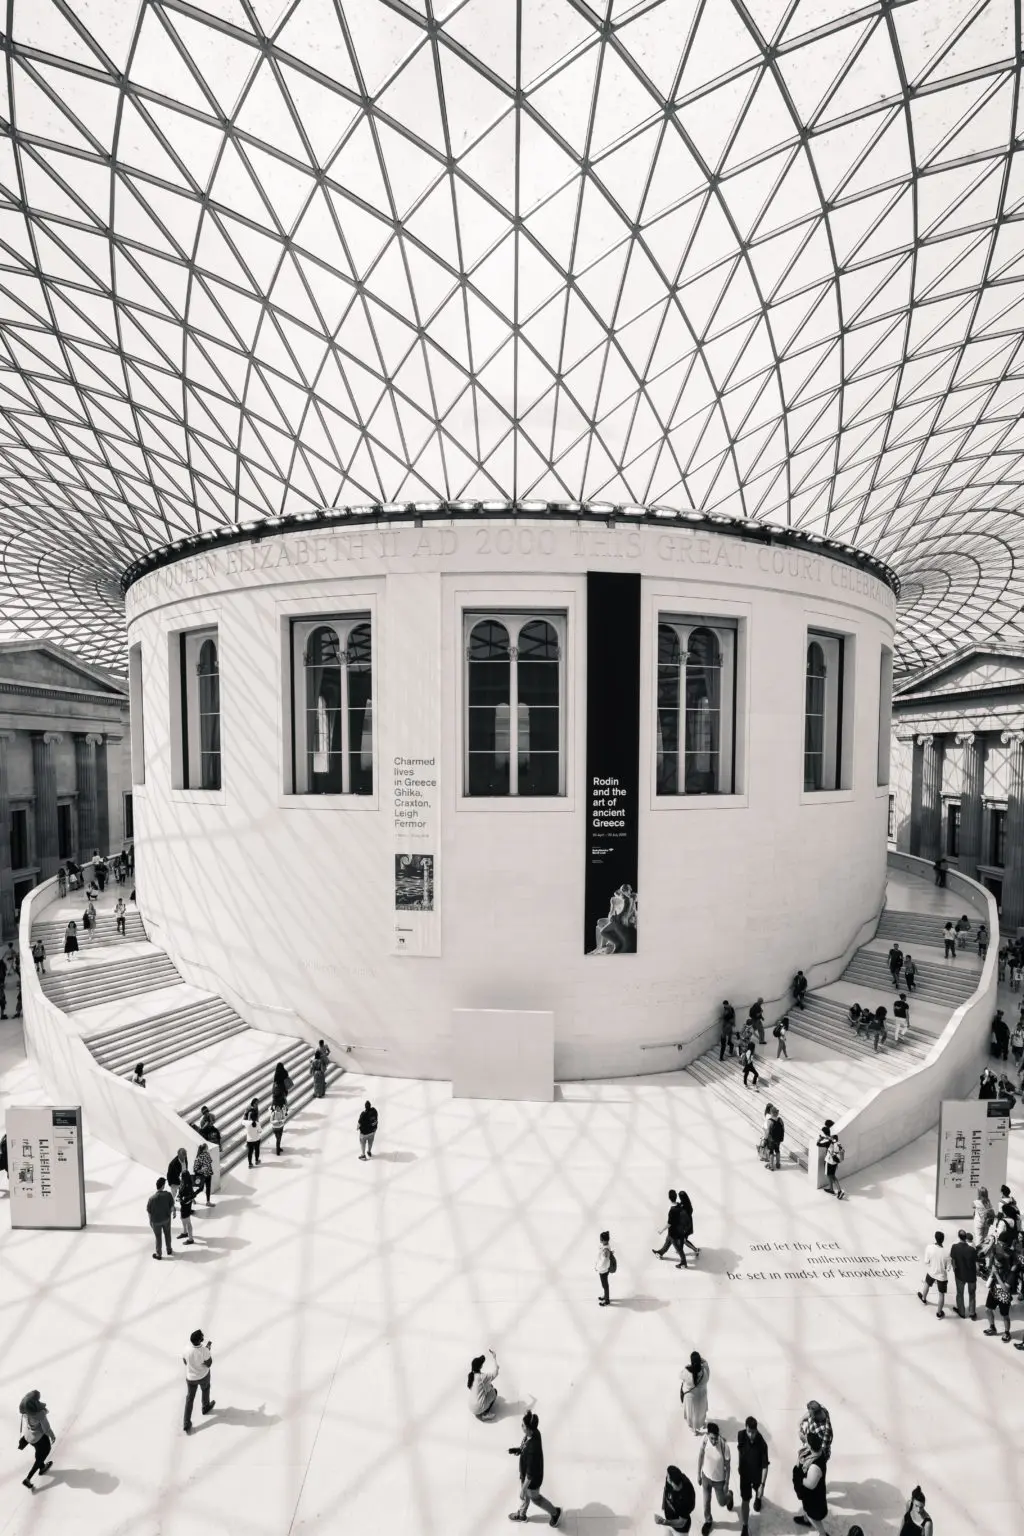
They usually have pretty spectacular entries that will provide interesting interactions with line, space, texture and people. Before going in, spend some time watching.
Equipment and precautions.
Once you are inside, check with security on the taking of photographs. Public galleries and museums in Australia will allow you to take photographs without flash or use of a tripod of all but special exhibitions and some indigenous works. In fact, they downright encourage it. Private galleries may be less welcoming.
There may be a restriction in carry bags and back packs in some galleries. This means you may not be able to carry a bunch of lenses. Choose wisely. My favourite is a 5omm f:1.4 (in my pocket) and a 24-70mm f:2.8 (on the camera).
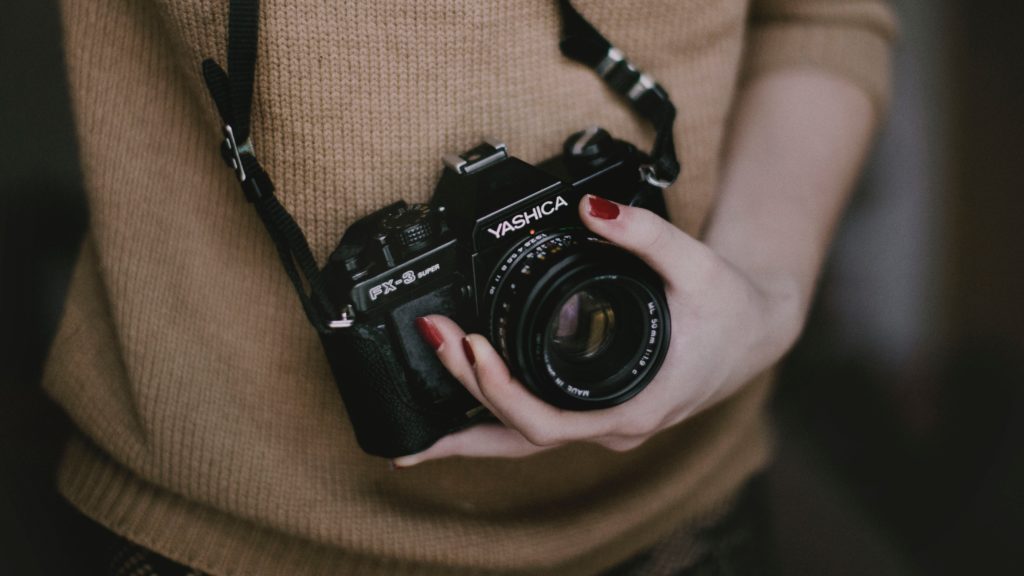
Although you might want to get a few shots of your favourite works, you might be better off buying a print at the gift shop. You won't do it justice shooting in the lighting conditions of the gallery. Concentrate on using the art work as a backdrop for other things you see.
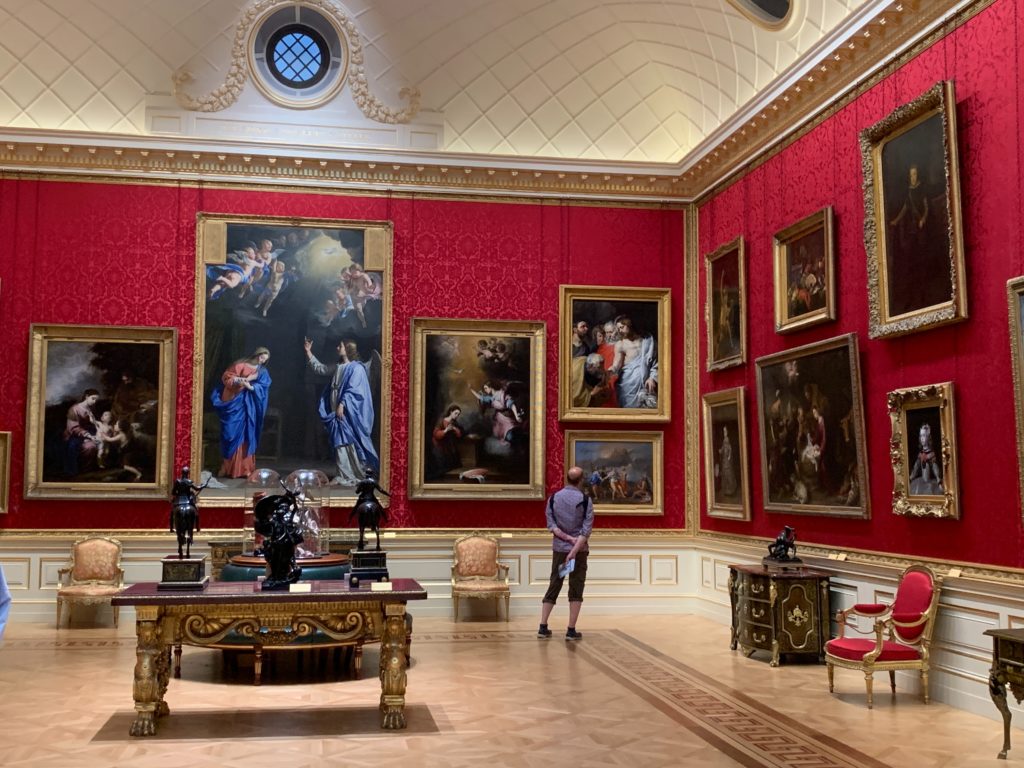
Lighting in galleries and museums is usually quite subdued and varied in colour temperature. You may need to consider the lens you use. Something fast (2.8 or less is helpful) and maybe give the ISO a nudge or 2. Even so, a steady hand is in order to cope with those long shutter speeds, often found to be 1/30th sec or less. Forget the long telephoto lens for this work.
What to photograph.
Firstly, enjoy the art and exhibits. After all, that's what you're here for, right!
Don't be afraid to shoot a few of your favourite items. Sometimes its worth considering groups or fragments. Details can be quite exciting to capture, especially if the lighting is interesting. Create your own artwork by abstracting and blending. It helps you to ‘focus' on the exhibit as well. You may find you're looking as you have never looked before.
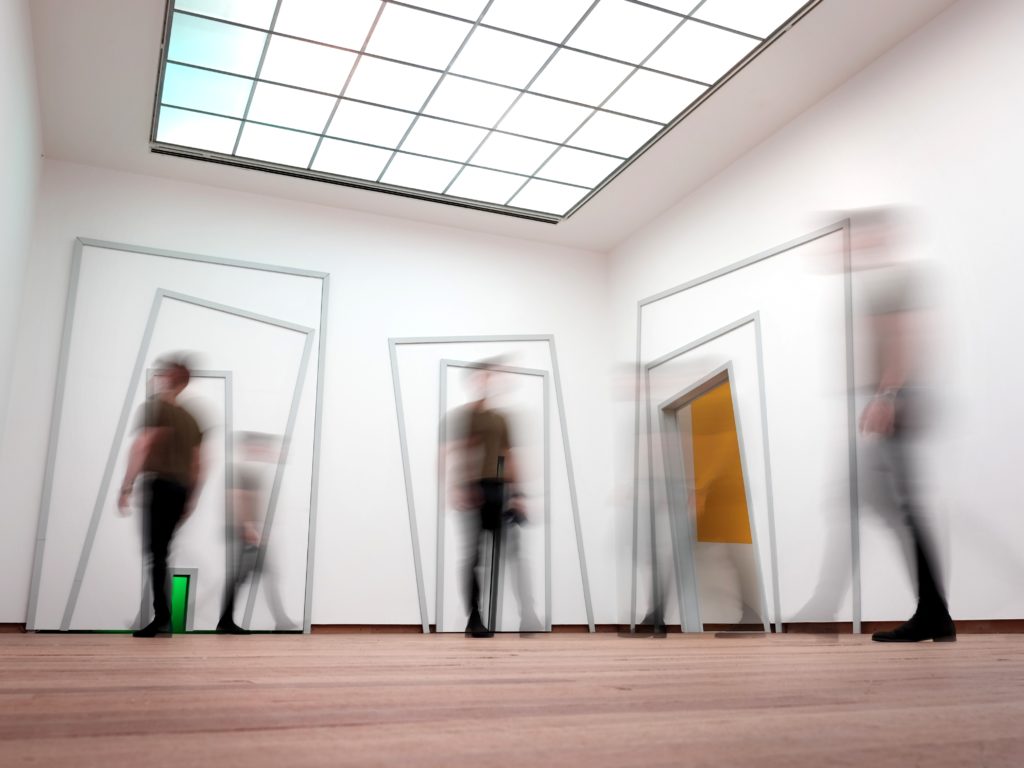
But don't hog the show. There are others in the gallery. And don't get too close. You pay for what you break.
Now that's out of the way, take notice of the people. They are all intent in doing what you have just done; looking and discussing. Everyone seems to move slowly and purposefully (except the school group from Asquith High who are intent on breaking the all-time speed record for art appreciation). Why, there are even some who seem to understand the abstractions or identify with the shapely form of a nude maiden in brass. Yeah, right!
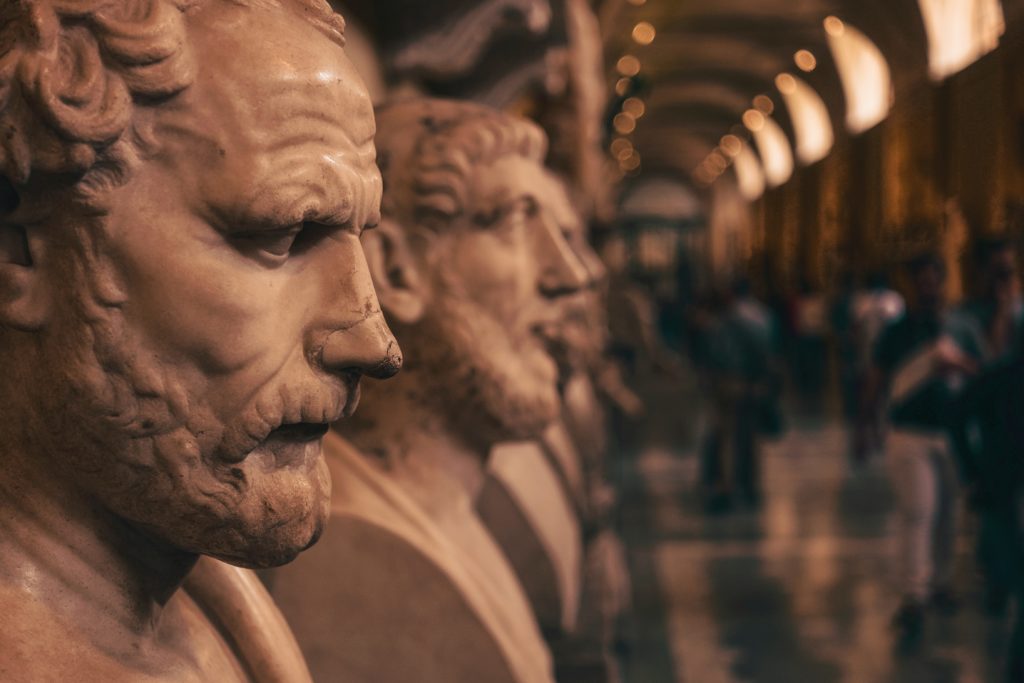
Search for a PoV that provides a relationship between art and viewer. Allow the contrasts and contradictions feed your imagination. Place things in and out of context. Use your shallow depth of field to present a sense of mystery, a feeling of watching and being watched. After all, this is a shared space between the art and the admirer. Embrace that feeling and be the observer.
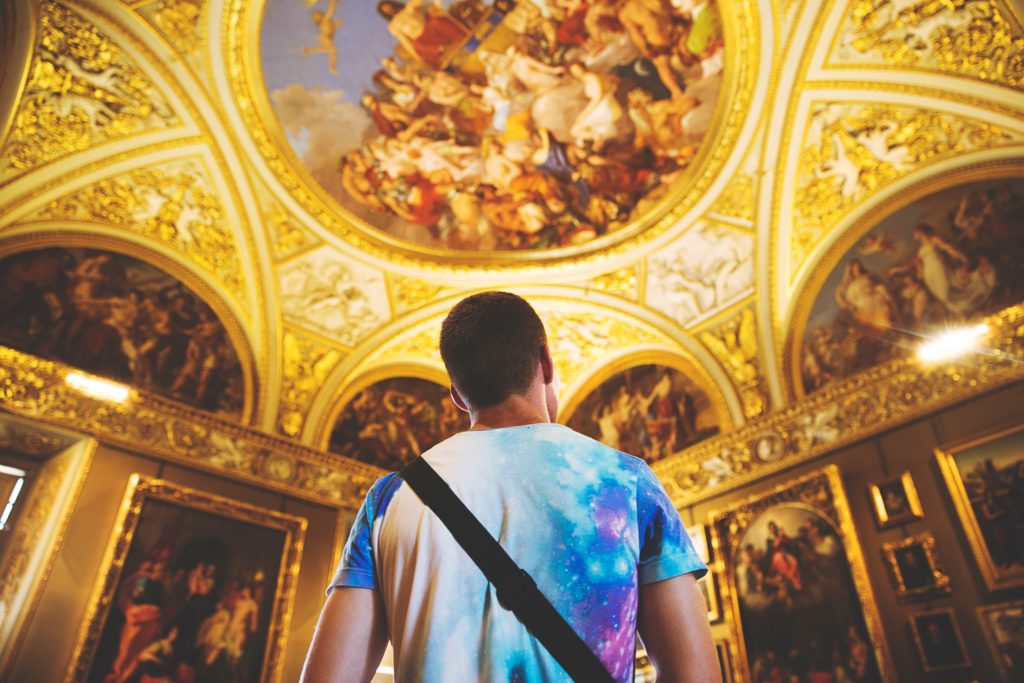
As you wander, become conscious of the interior itself. It seems the decorators of such buildings like everything to have an artistic feel, even the chairs, vents, stairs and elevators.
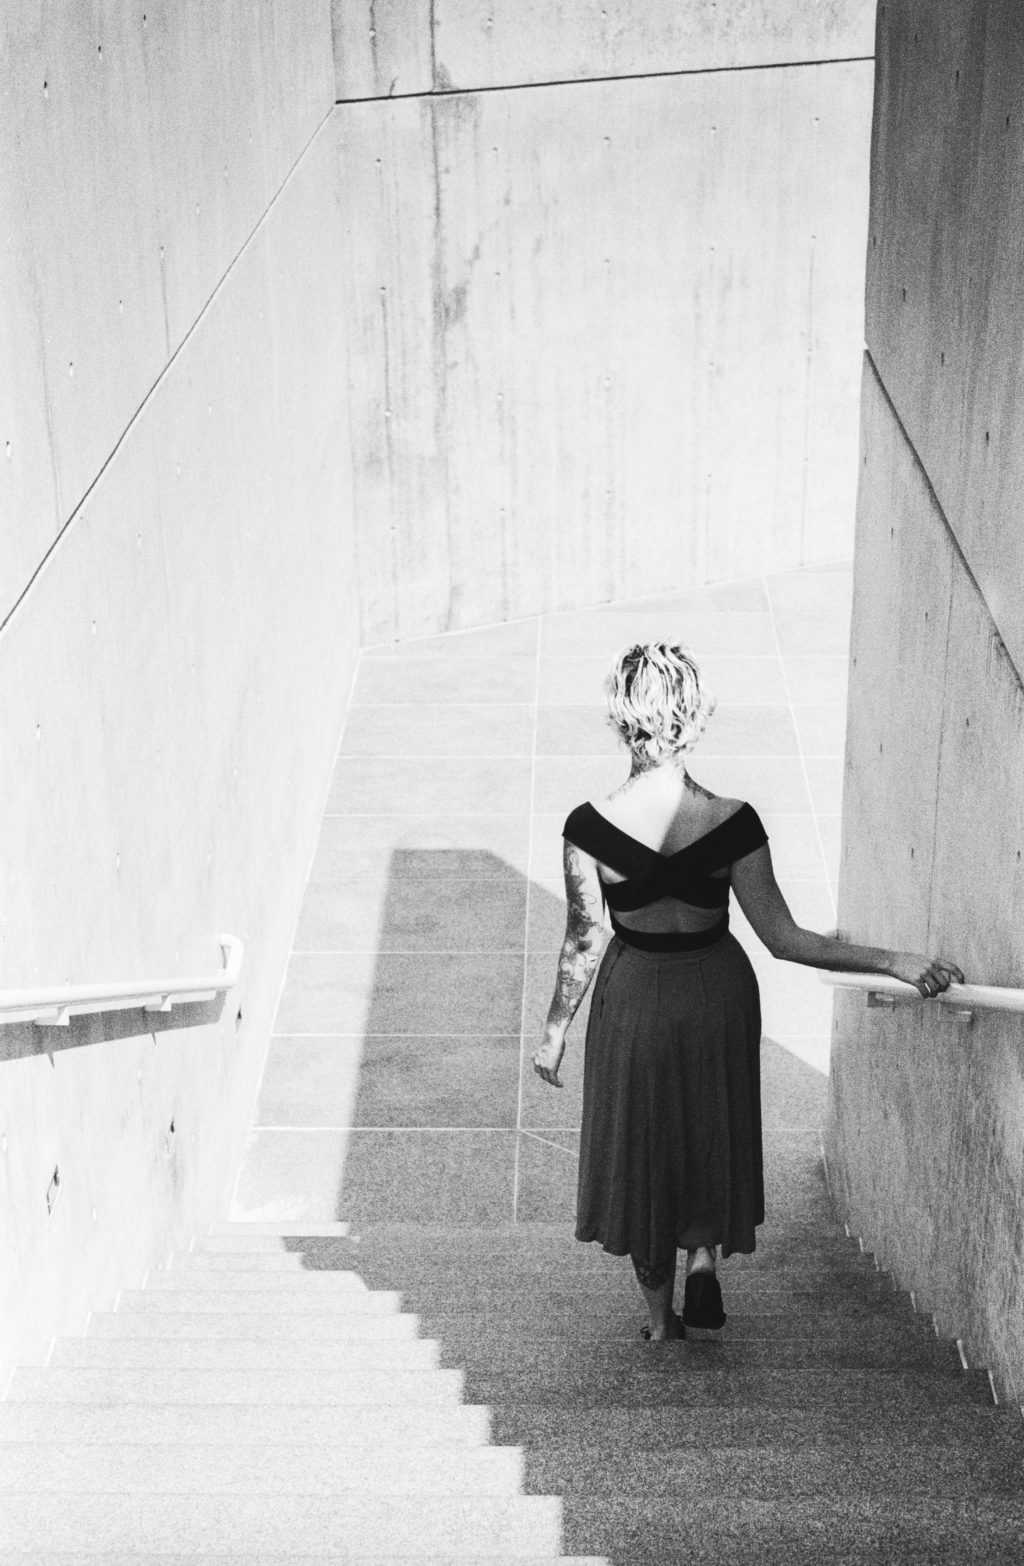
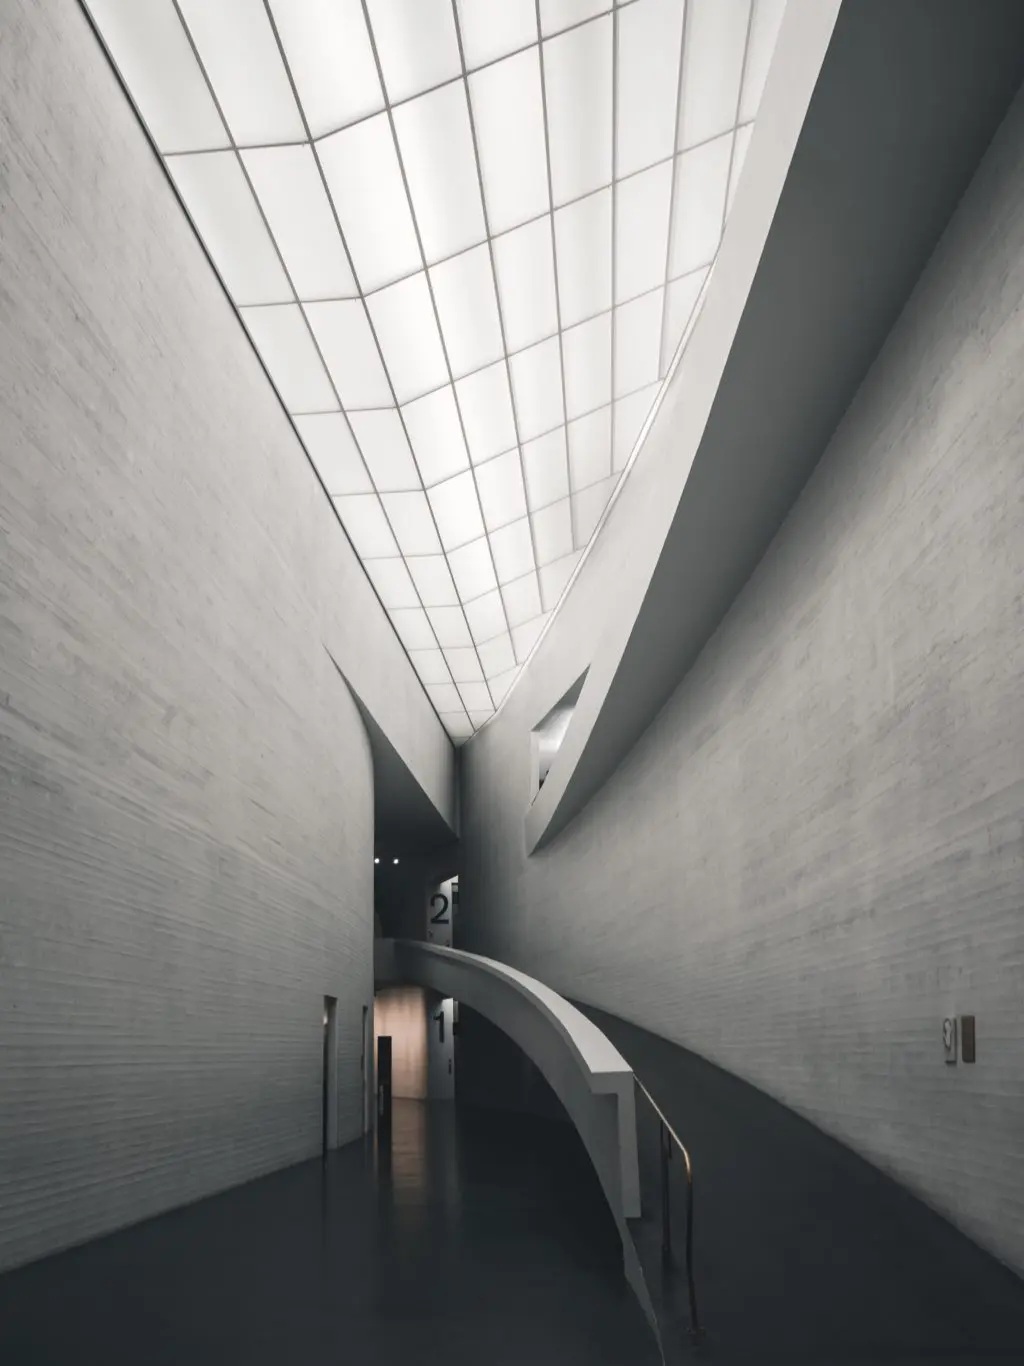
And the light. Oh, how the light plays against the walls and corridors. Those expanses of white interrupted by a splash of colour, a shadow, a doorway or window to the outside world are an endless supply of frames for the flashcard.
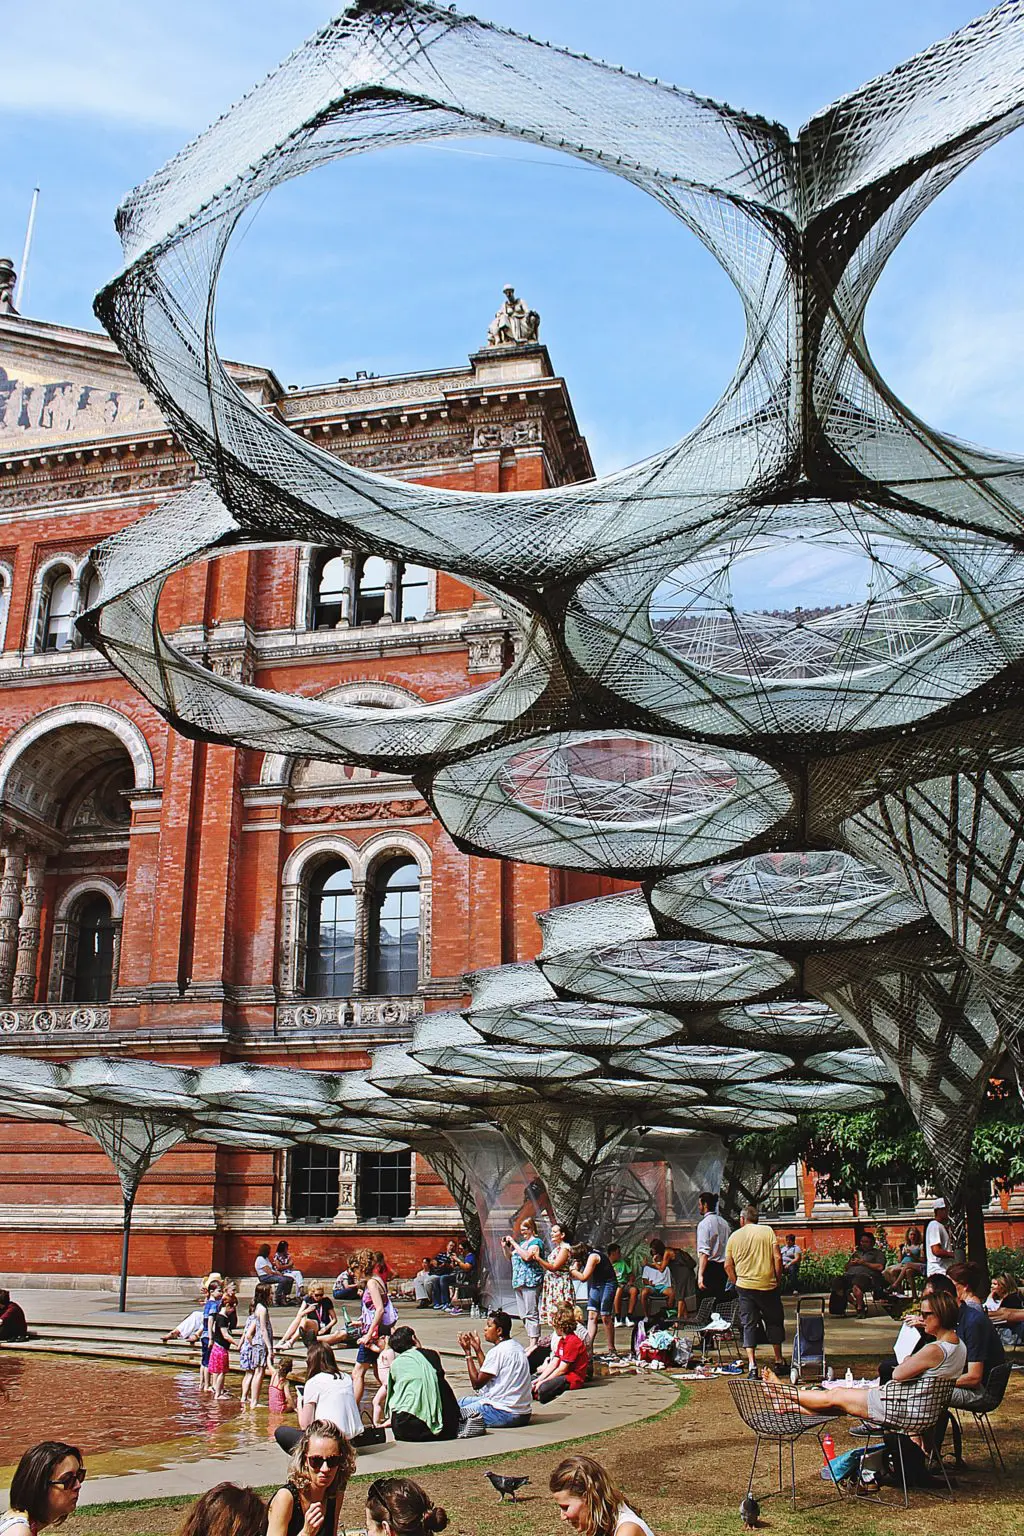
Then, when you are done, adjourn to the coffee shop. But don't put the camera away yet. There is always an opportunity to see others relaxing in the warmth of an early spring day sipping on a latte and nibbling on something they will regret tomorrow when they put on last summer's dress.
This is a guest tutorial from Light Stalking community member and professional photographer and teacher, Tom Dinning. Check out Tom’s photography website and his blog for some great photos and tutorials.

5 Comments
Lovely article as usual @tomdinning – I love your simple writing style that still has an ability to tell a story and be witty. And of course, some pretty captivating photographs
Are you watching me or something? I’m sitting outside an art gallery with my camera bag about to walk in!
Enjoy your day, Aaron. Sent some piccies when you’re done.
Great article and an avid museum goer. I will take some of these tips with me on my next museum trek. Thank you Tom
I enjoyed this article very much. I really love taking pics of statuary and it gave me some good tips. Thank you.