The song “Somewhere Over the Rainbow” recalls for many of us the thrills we experienced the first time we saw “The Wizard of Oz”. Decades later, the late and great Hawaiian singer Israel “Iz” Kamakawiwoʻole brought back this sweet song that was mixed with “What a Wonderful World”. The rainbow, with it's many colors, clean arc and contrasting backgrounds, not only inspires music but photography too.
Photographing rainbows requires the right place, the right tools, creative composition, at the right time. Time is also of the essence as they come and go very quickly.

1) Finding a Rainbow
Rainbows can occur when water and bright sunlight are present. They are commonly seen before and after storms. Rainbows are often seen in the mist of waterfalls, fountains and water sprinklers. On a beach, rainbows can appear on the mist riding the surf. A fundamental fact is that the sun needs to be behind you and casting light into the water.
2) Lenses
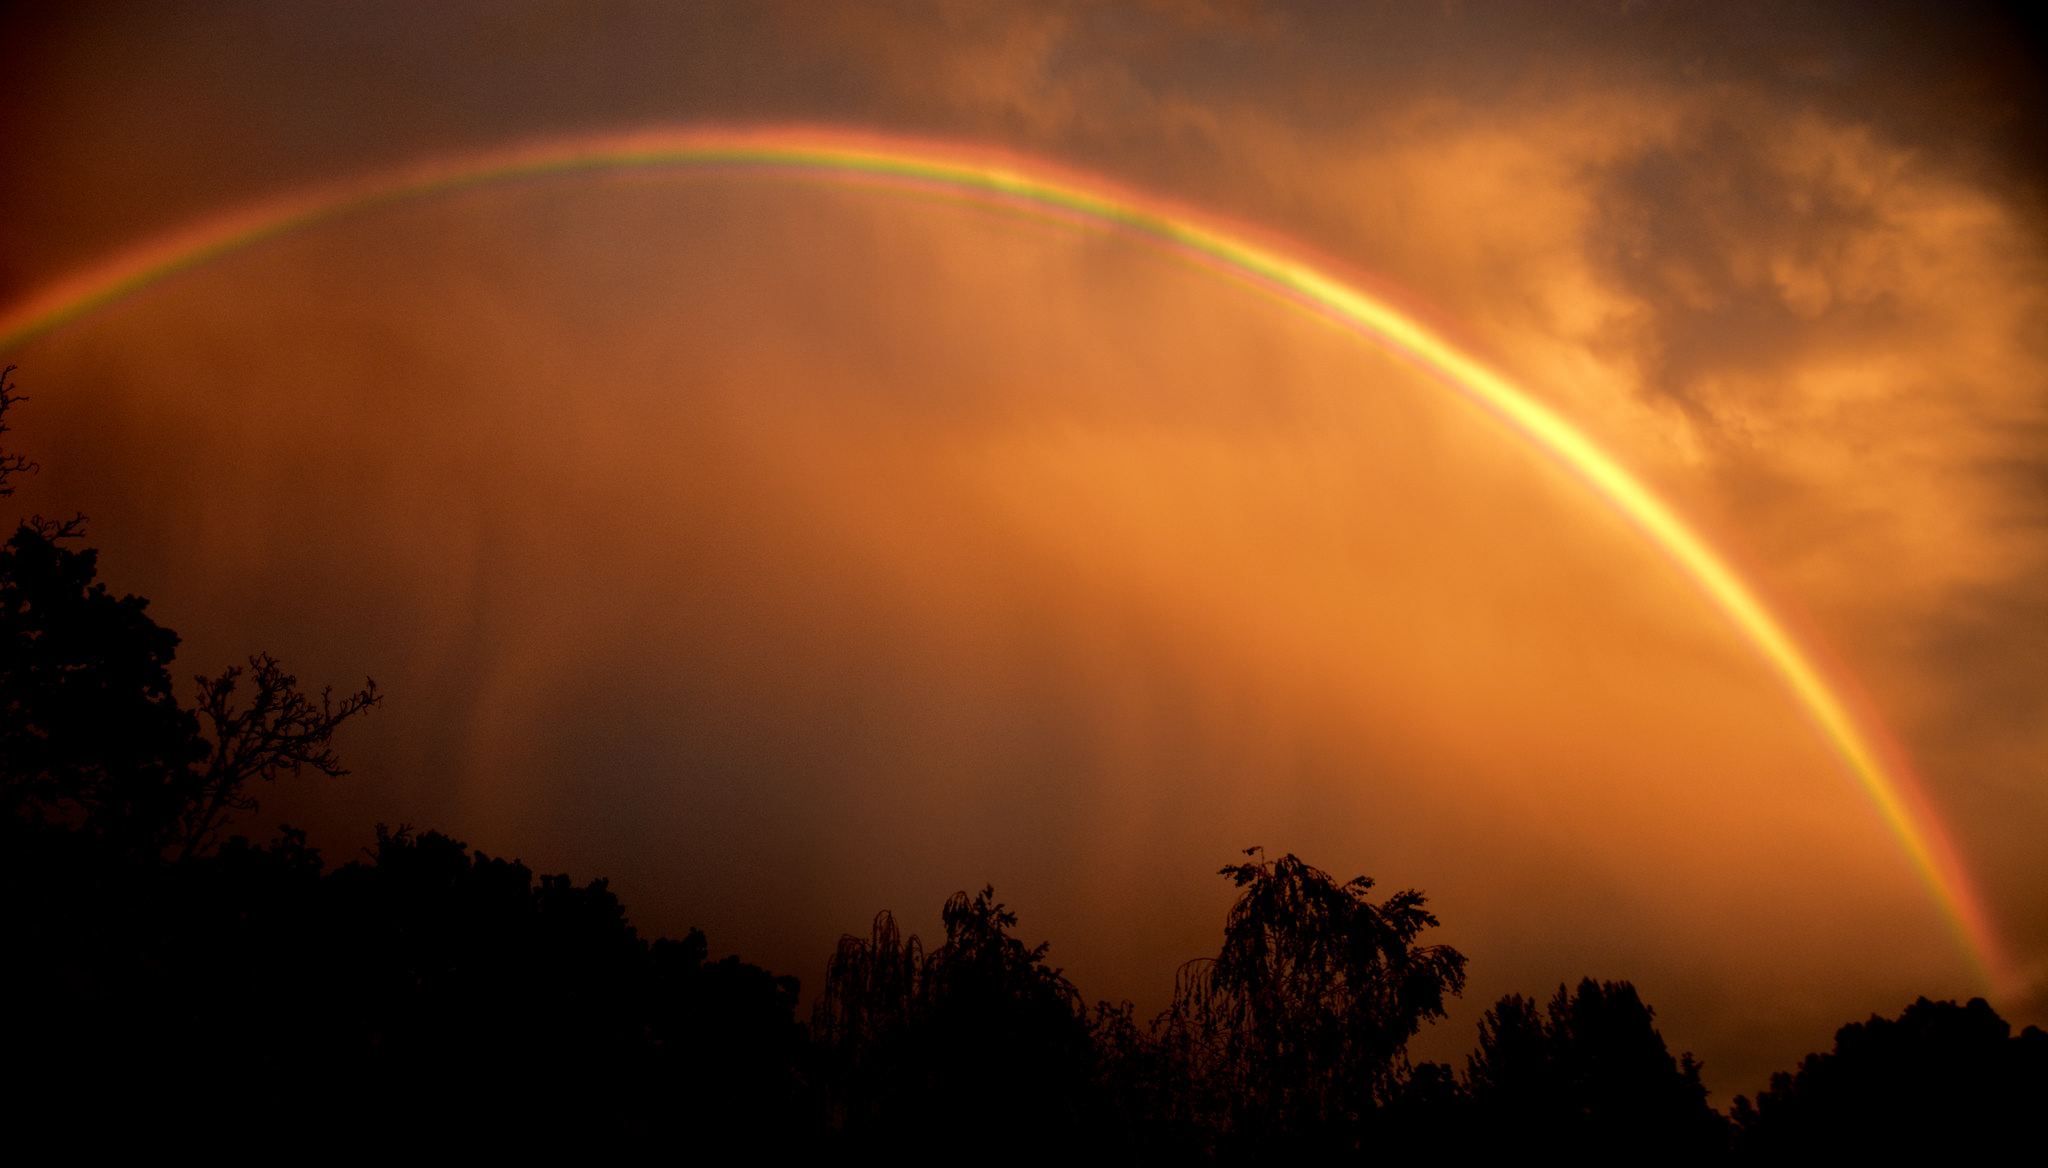
A single rainbow is far reaching. If you're lucky, a double rainbow may occur. The width and height of a rainbow calls for a wide to extra wide angle lens. A 24mm can take in a full rainbow on a full frame camera. If it is a double, a wider lens may be needed. Since the sun is coming from behind you, watch for shadows while your taking the photo and also in post processing.
A telephoto lens is effective when targeting smaller rainbows such as a fountain, sprinkler or ocean spray.
3) Three Tools
Polarizing Filter – this filter can enhance or soften the colors. Turn the filter until you have the desired look and intensity. When working with rainbows and the filter, going back and forth between looking at the sky normally and then through the viewfinder will help guide your adjustments.
Tripod – even though the light may be bright enough to have a fast shutter speed, the tripod helps in terms of getting the composition right. This includes ensuring the camera is level (virtual horizon gage) and that the camera is stable across multiple exposures of the same chosen composition.
There may also be low light situations with rainbows.
Using a small depth of field will slow down the shutter speed. The stability of the tripod combined with a remote release will improve image quality.
Remote release – the remote release will take the place of pressing the shutter. The outcome is a sharper image.
Check out the article Four In Camera Tools that can Help You Create Beautiful Landscape Images.
Composition
This is so true when photographing rainbows. If the image is crystal clear, but the context is cluttered with buildings, billboards the overall photograph loses impact. Since the rainbow is far reaching, working with a large depth of field conveys (small aperture) the ‘bigness' of the overall scene.
When photographing a full rainbow, identify an eye-catching subject that complements the scene. Examples include leading lines, like a highway or railroad track; a lone tree, flowers close up with the rainbow in the distance, a cloudy, moody sky. Speed to composition is important as this is one subject while fairly stable, fades very quickly.
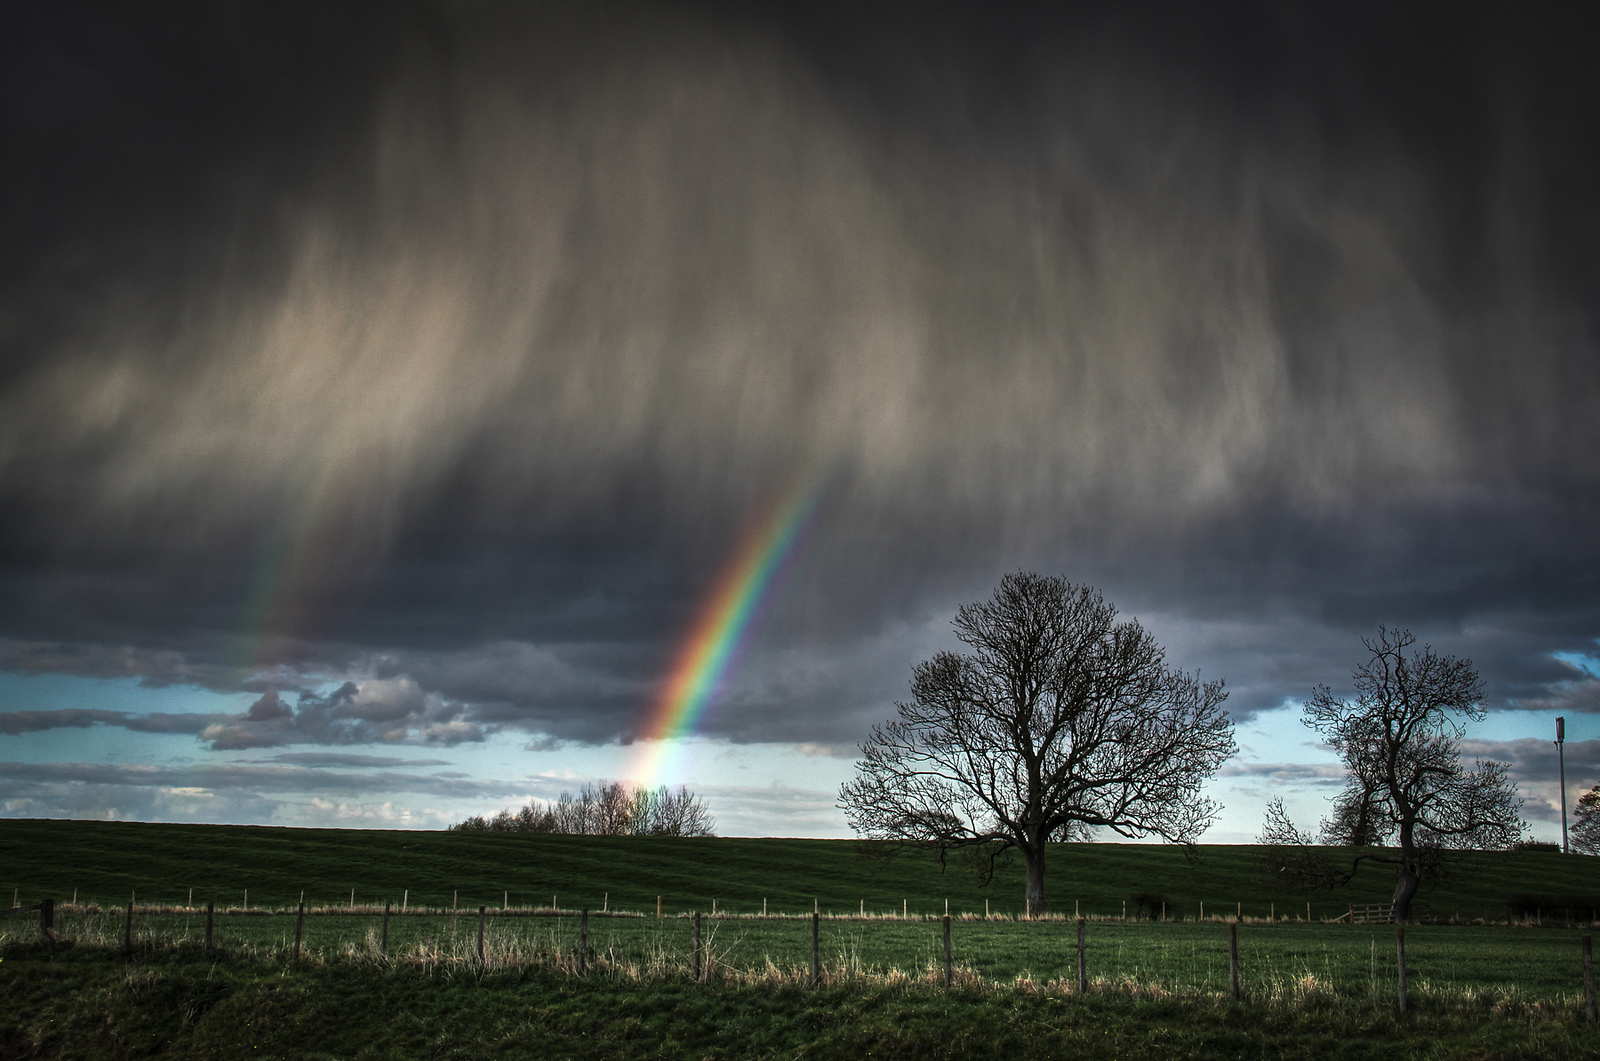
If using a telephoto and a small section of the rainbow, the end of the rainbow could be on the right or left of the image to carry the eye upward with the curve.
Colors, contrasts, lines, and shapes converge gently in rainbow photography. Keeping the tools in the camera bag and being on the alert when rains happen will help ensure you get to explore rainbow photography.


