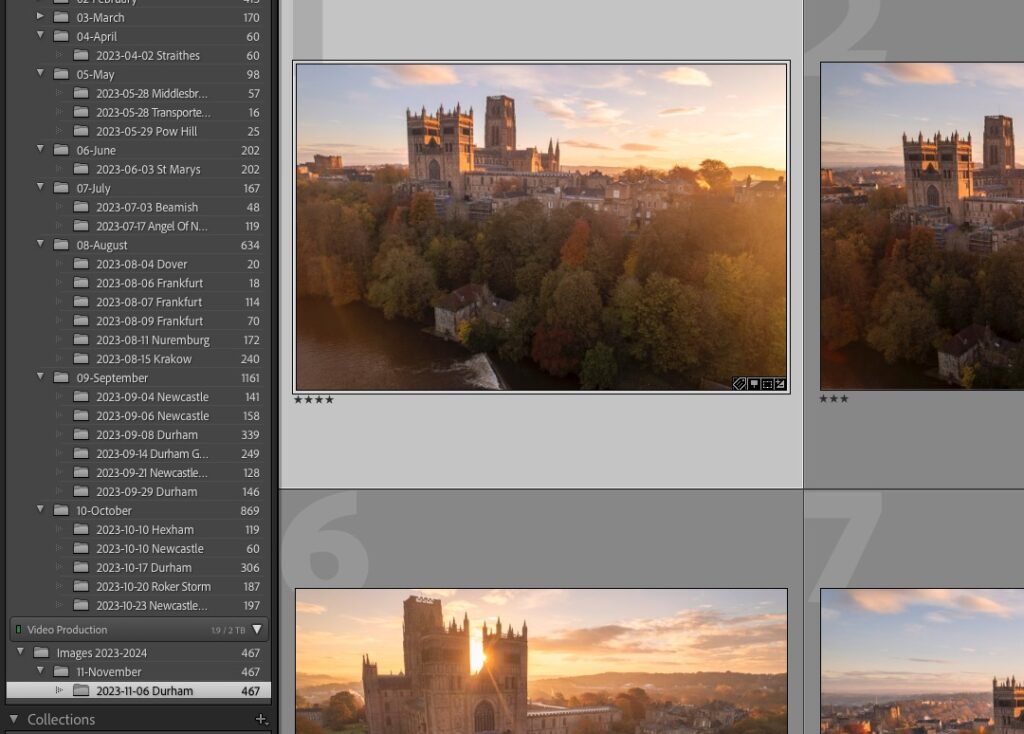
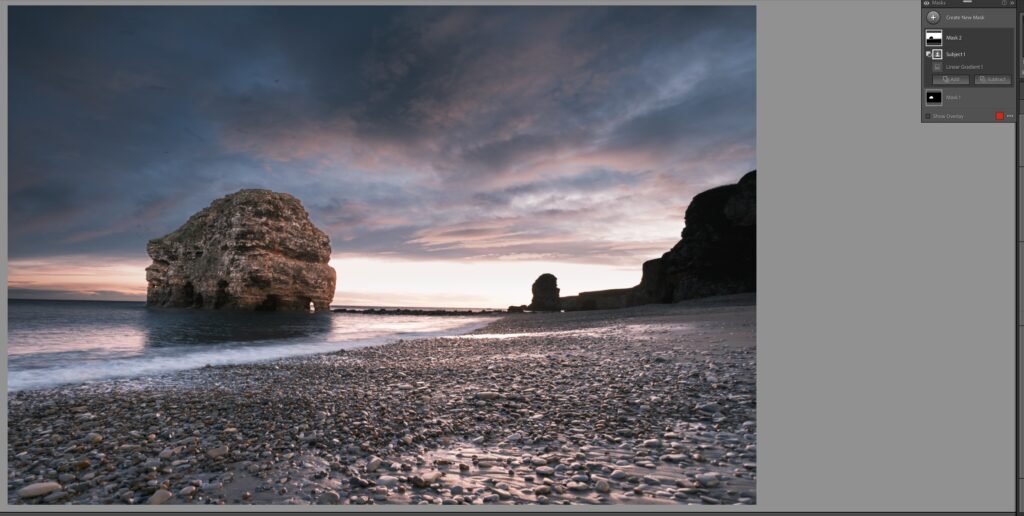
Lightroom Tips and Tricks – You ain't Seen Nothin' Yet
Lightroom has become a very popular tool for photographers since its release in 2006 and has grown tremendously over the years to be one of the best post processing tools out there.
The simplicity of this application together with its powerful features that lets the user organize their images and pull out the last bit of detail from their raw files has made it a go-to app for the majority of professional photographers.
For example, a majority of the top 25 images of the year 2016 on Flickr were post processed using Adobe Lightroom – pretty staggering!

Some Great Tips for Lightroom users!
1. Give Your Colors a Big Boost with the Luminance Tool
While shooting outdoors, it can sometimes be difficult to expose correctly for the land and the sky in the photograph and this can be rectified using the luminance tool in Lightroom.
Some users may be tempted to use the saturation slider and doing that will result in the whole image getting overly saturated. Not the best move. Using the Luminance Tab (deals with luminosity) in the HSL panel will do the trick.
If for example, you need to enhance the blue sky in the picture, reduce the luminance of the blue channel to get the blue colors darker and if it is a different color that you need to enhance, reduce the luminance of that particular color. This lets you to selectively enhance specific colors in Lightroom.
2. Save Yourself Valuable Minutes! Applying Your Presets on Import
Most photographers who do batch processing, dealing with hundreds of images at one time will usually want to reduce post processing times by automatically applying a preset on import. If you have a preset that you always use after importing pictures, then right click on that preset and select “Apply on Import.”
You should now see a “+” sign next to that preset to say that it is active. Any pictures that you import from now on will have this preset applied on import.
3. Specify Your Image Sharpening
All Lightroom users make use of the sharpening tool at some point and it is one great tool to bring in some fine details to an image. However, if you do not use this tool effectively, it may result in unnecessary areas getting sharpened, especially while working on portraits.
The sharpen slider is in the “Detail” panel of the Develop module and all you need to do is, drag the Masking slider to the right while holding down the “Alt” key till there is a white outline on the areas that you wish to sharpen.
This will now tell Lightroom what areas of the image need to be changed when you make changes to the Amount, Radius and Detail sliders in the “Sharpen” panel.
And did you know…?
Holding down the “Alt” key while using the Amount, Radius and Detail sliders in the “Sharpen” panel will allow you to see the effect taking place clearly in Black and White!
Here are some further uber-quick tips if you didn't know them already!
4. That Old B&W Preview Trick
To preview a photo quickly in B&W, just press the “V” key on the keyboard to toggle between B&W and color. Neat.
5. Landscape or Portrait? Or Landscape? Damn it.
To flip the orientation of your images (Landscape and Portrait) quickly, press the “X” key on the keyboard while using the crop tool to toggle between both orientations.
6. The Lightbox Effect….
To dim the display for just the panels in Lightroom so that the photos stand out for better viewing, press the “L” key on your keyboard. Pressing “L” key once, dims the surrounding areas, pressing “L” again makes the surrounding areas completely dark, and pressing “L” again returns back to the original screen.
So there we have it – a bunch of very useful Lightroom tips and tricks for you to take away.
Further Resources
- 5 Immense Time Saving Tips for Adobe Lightroom Users by Jason Row
- 10 Very Useful Tutorials on Lightroom for Landscape Photographers by Lightstalking
- Lightroom 6 and CC 2015 – Adobe’s Photo Editing Suite by Jason Row
Further Learning
To really ramp up your Lightroom knowledge and skills beyond these few tips, be sure to check out Lightroom Power User by Shotkit which will put you among the more advanced users of the program very quickly.


1 Comment
Thanks for the tips, it’s realy helpful especially for me as a newbie 😀