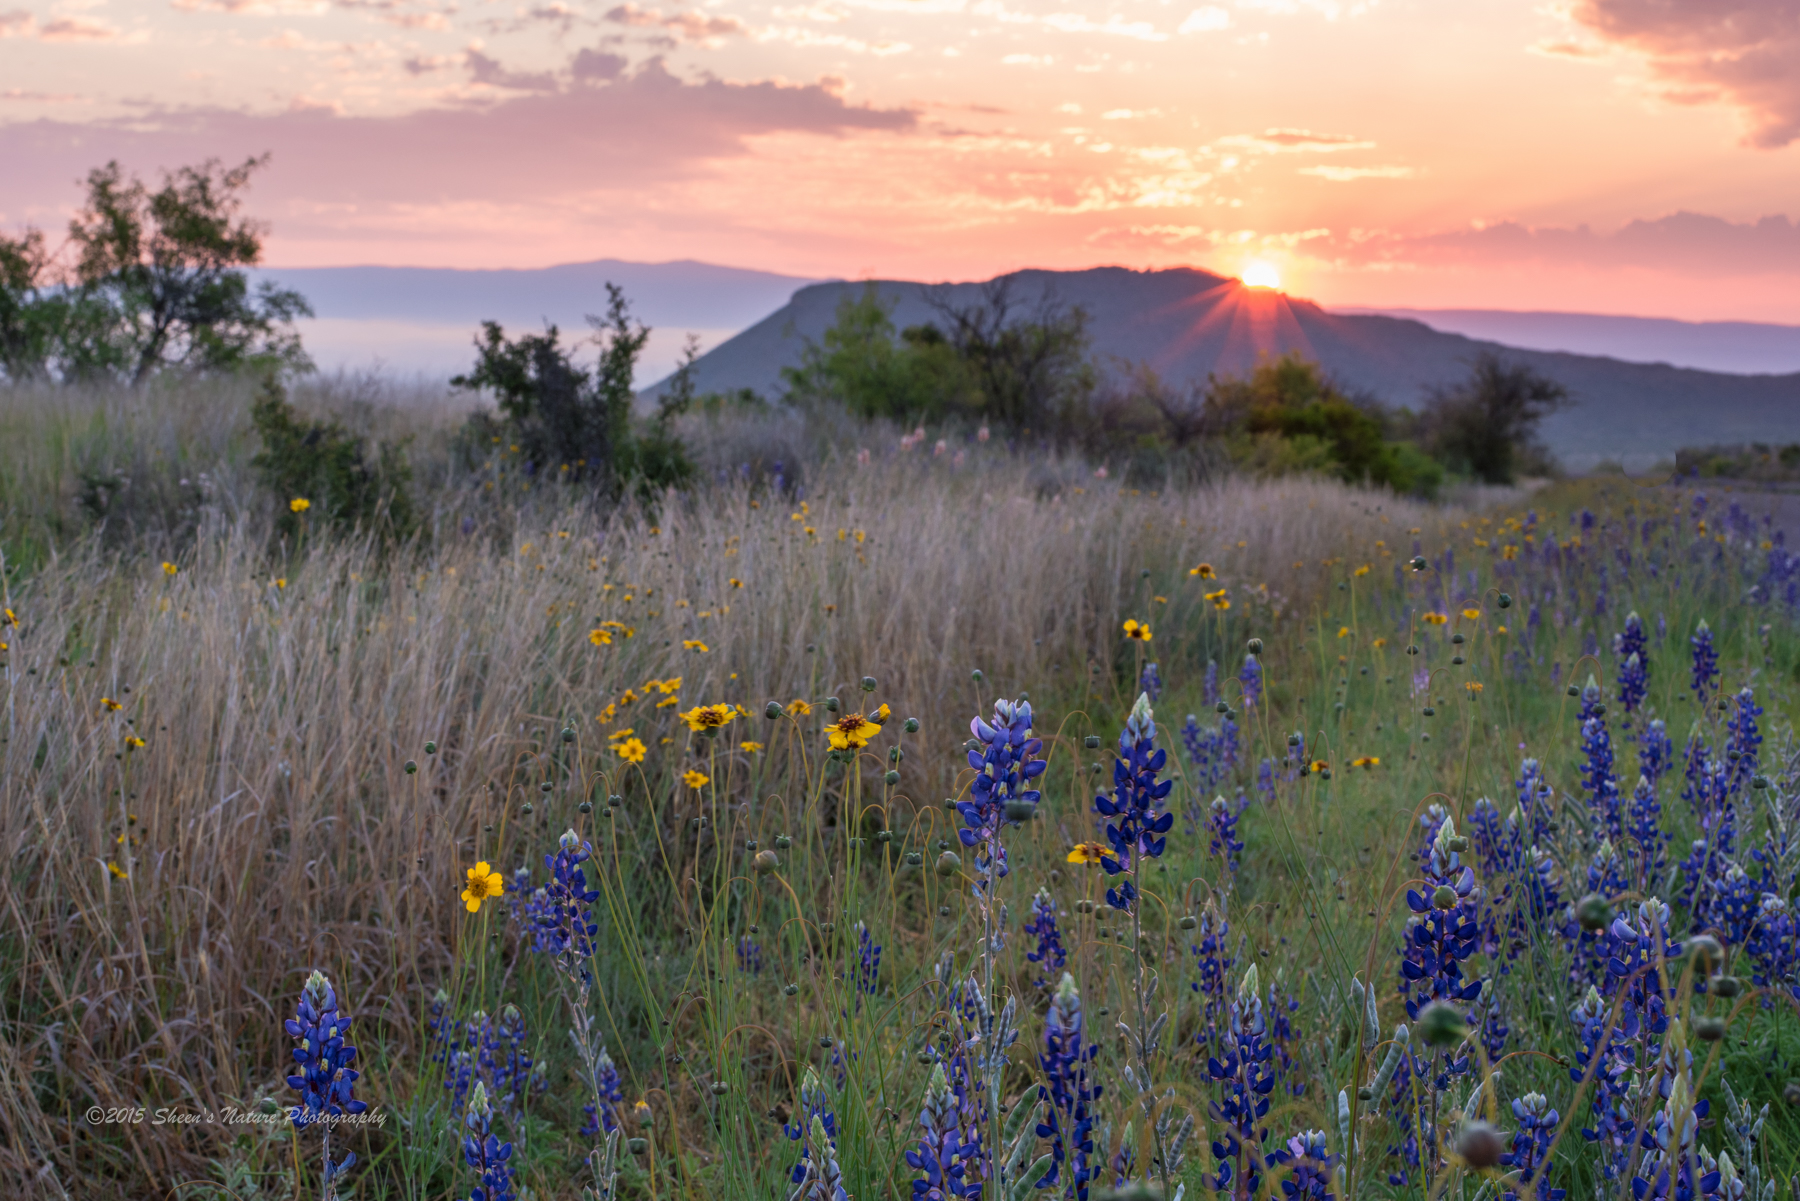
Time and timing is so important in outdoor photography. For sunrises, you need to get up early to arrive with setup time to photograph the blue hues before the sun crests the horizon. If it's golden hour images you're after, there's a short window before the day's light becomes a bit harsh and the lighting starts to flatten the color. If it's bees and butterflies, early in the morning with good lighting as they move slowly until they warm up with the day. We're definitely not limited by the number subjects we want to shoot. We are limited by the number of hours in the day and it's available light.
These 5 planning tips and 5 easy to carry tools don't extend the day's light but they may help extend and keep your time behind the camera from spinning away.

5 Productivity Planning Tips
Be patient – This goes along with the saying of “hurry up and wait.” Photographing sunrises and sunsets are not just about the sun's position sinking or rising at the horizon. It's being there early, well before sunrise or waiting patiently after the sun sets for more dramatic color and hues. For birds and nature, take one last walk where that bird was spotted before leaving. Bees and butterflies? Find the flowers where they are moving about and wait a few minutes, they will come to your flower, particularly if it is loaded with pollen.
Study the composition in Live View Mode, check the edges; review the histogram – A few seconds of upfront work prevents a lot of not-so-necessary time in post processing. Inspect the edges to ensure all leaves, petals, and other desired features are within the frame. If you know that you typically crop an image, be sure to leave a little extra space surrounding your subject.
Multiple shots, different angles, same settings….and move on – It's easy to get enamored with a subject and take many, many photos. For landscapes, flowers and still subjects, we should take many shots with different settings and angles. Then take a few moments to review your work and keep looking for more. For birds and moving animals, this is particularly true. However this is the one subject where I recommend sticking with the bird (or animal) for a bit as they move quickly. Getting the right shot from a composition, settings and clarity standpoint requires forethought and living in the moment by switching settings on the fly.
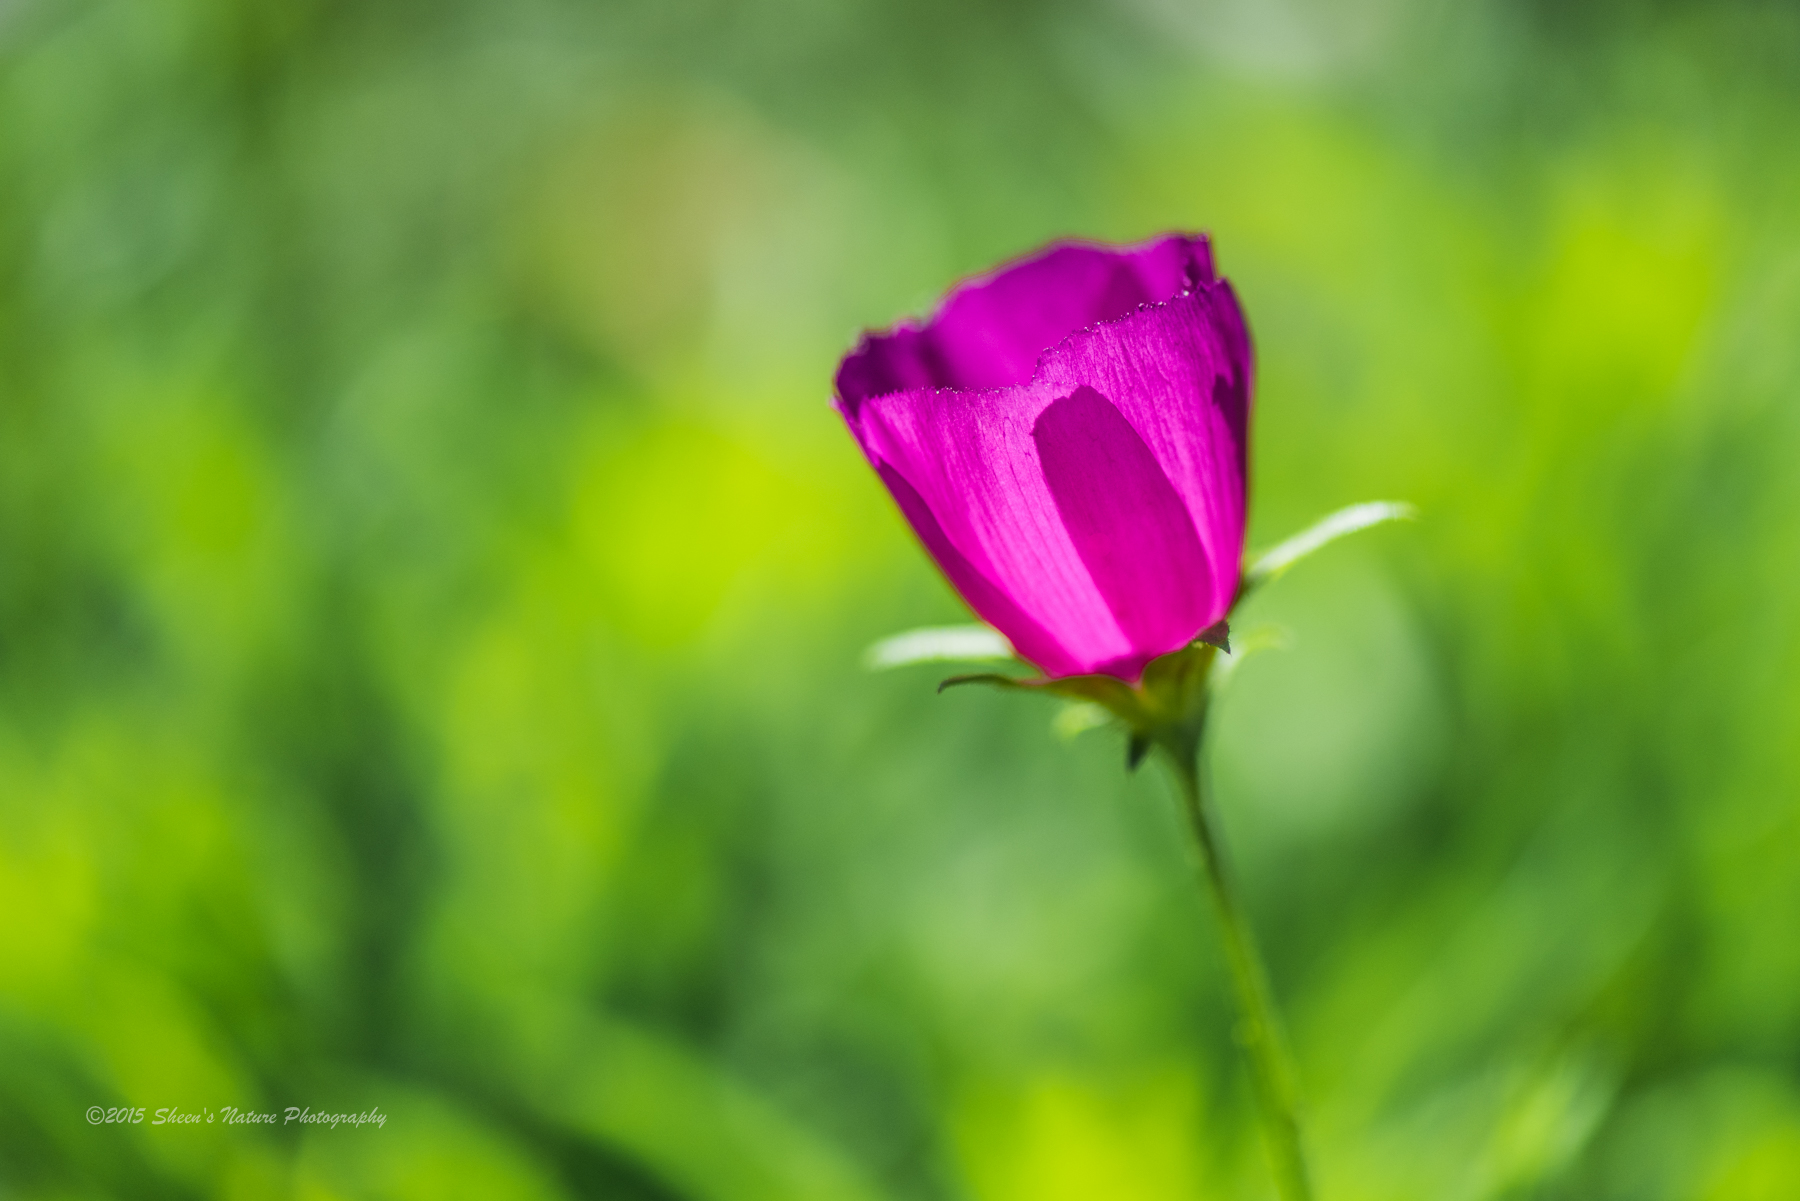
Clean the area (weeds, scrag, grass blades, shadows) – When working with close-up photography such as macro, wide angle, etc. Inspect the area for distracting debris. If you see that ‘little stick' behind the flower in the viewfinder and plan on cleaning it in post processing, you've already taken a productivity hit. Simply remove debris and keep shooting. For wide angle, watch for your shadow, particularly with the sun coming over your shoulder.
Plan and Be Prepared for Mother Nature – After you've reached your destination, mother nature may serve a different plan. Instead of a richly hued blue hour, it's gray, cloudy and overcast. Have your personal foul weather cover nearby and also a rain sleeve (very inexpensive) for your gear. Be flexible versus heading back home, the outcome may delightfully surprise you.
5 Tools to have in your Bag (vs. leaving behind)
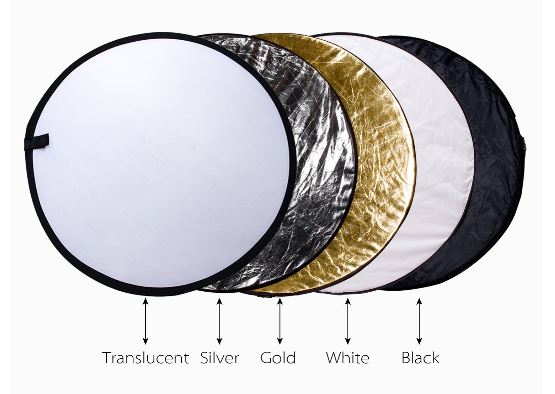
Photo reflectors and shields – These little disks will help shield the sun or backlight and image. Weighing just ounces, they may be the difference in having a well-lit, composed flower vs. an okay image because the tip of the leaf had too much light or a harsh splash of highlights.
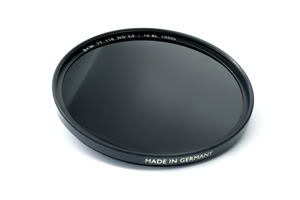
Neutral Density Filters – Their function is to control the intensity of light passing through the lens to the sensor. They do not affect the color of an image. They allow the photographer to create desired conditions. Examples include slowing the movement of water for the silky effect or reducing the overall light combined with a large aperture to maintain a shallow depth of field.
Circular Polarizers – These sunglasses for the lenses are great for eliminating harsh glare, extending your photography time to later in the day when the rays are more harsh.
Tripod – What article would be complete without this recommendation? A necessary tool for stability in low light situations, use in bracketing for blending, clear sharp images, compositional planning and the list goes on. From quality table tripods that work well in ground level photography to larger scale tripods, they positively impact image quality.
Pack Snacks & Water – Carrying gear, photography set up, being out in the elements and mental concentration all burn calories. It's not fun to have to leave the scene when you're on a creative roll just because your hungry. Staying hydrated is important too. At the very least, keep some bottled water and a light snack such as nutrition bars, cheese and crackers, etc. with you to tide you over.
Bonus tip: store your lightweight accessories in one spot versus multiple locations or across multiple camera bags. If you use a daypack as an example, keep these accessories in one of the storage areas. You'll always have them with you.


