Do you ever feel the need to have an artificial light source when photographing? You don’t have to look any further, as you probably already have a useful tool at your disposal – the much-maligned on-camera flash. This can fulfill many of your lighting needs during times when you absolutely need additional lighting and the best thing is – you don’t have to pay for any additional equipment. There may be people who tend to think they don’t like the look in the photographs where they used a flash but there are definitely times when you can use the flash to create some great images. Here are some ways to do just that.
1. Use It in Daylight
You might never have thought of popping up the flash during daytime when photographing. However, you will be surprised at how useful this would prove when your subject is back-lit. Called ‘fill flash’, it helps eliminate unwanted shadows when shooting portraits.
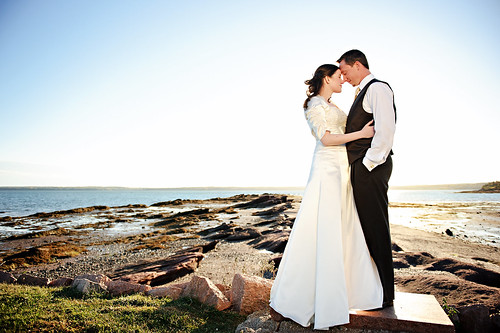
Maggie & James – Wedding by seanmcgrath, on Flickr
2. Bounce It or Diffuse It, or Even Change Its Color!
Don’t write the on-board flash off just because you think it cannot be customized to suit your needs. Using DIY accessories at home, you can work wonders with it in ways you never thought of. You can use tracing paper or the always handy paper napkin to diffuse the light to eliminate harsh shadows and make your portrait photographs more pleasing. You can also customize the direction of light by using a cigarette box as a snoot to bounce the light off the ceiling. You can use colored gelatin paper to adjust the color of your flash, or use any colored translucent piece of paper as a filter.
3. Use It as a Catch Light
A catch light can transform a dull portrait into a rather brilliant one. That little spark in the eyes from the light can add a different depth to your portrait images. You can pop up the on-board flash to use it as a catch light. Even wildlife photographers use this technique while creating portraits of animals and birds.
4. Balance it With Ambient Light
Using flash does not mean that the background in your images or the ambience should always turn out dark. By using Slow Sync flash, you can expose for a longer duration to get a good exposure for the ambient light before the flash fires to record the subject. This way the image does not look unnatural and makes the use of flash seem less obvious to others.
5. Use Flash Exposure Compensation
You can control the power of your flash using Flash Exposure Compensation. In spite of being a solid feature, people hardly use it. It’s very useful when using flash at a close distance from the subject and you want to reduce the effect of the bright flash in the photo. Using a flash exposure compensation of –0.3 or –0.7 works well in such cases. You can also bracket your photos for multiple flash exposures at the same shutter speed, aperture and ISO. This is called Flash Bracketing, just like there is Exposure Bracketing.
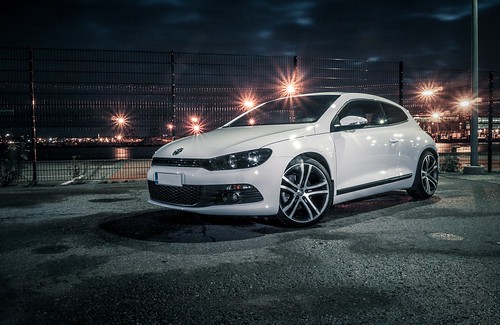
Scirocco by neekoh.fi, on Flickr
6. Expand the Range of Your Flash
A flash unit can be used for lighting only up to a certain distance. The on-camera flash is no different. Keep moving the subject further from the camera (keeping all the settings same), and you will notice the subject getting lesser light each time. But that doesn’t mean you can’t use your flash to light farther subjects. All you have to do is boost the ISO by a stop or two.
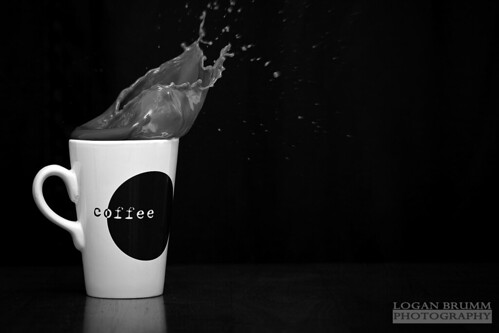
Caffeine Rush. by Logan Brumm Photography and Design, on Flickr
7. Experiment With Slow Sync
There are two ways in which flash synchronization works: first curtain sync and rear curtain sync (also called slow sync). In the first case, the flash fires at the beginning of your exposure whereas in the second case, the flash fires at the end. Though both options provide you with creative opportunities to exploit, it is going to be the latter that you will likely use more often. If there is subject motion in the image and you use a shutter speed slow enough to capture motion, the motion trails will form behind the subject when using rear curtain sync as the subject is recorded at the end of the exposure. This gives a much more pleasing effect when compared to the same shot using first curtain sync. This photograph below is a good example to demonstrate the slow sync effect.
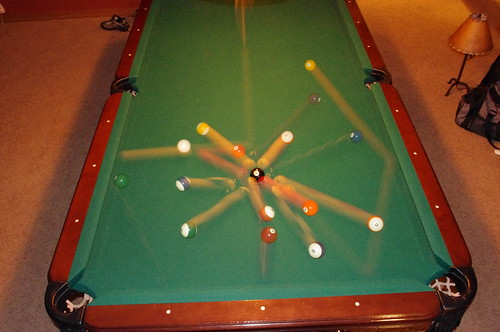
Exposed Billiards by brian.demaio, on Flickr
Additional Tips on Using On-Camera Flash
You can use flash during rain to capture raindrops as beautiful bokeh. Focus on infinity and use the on-camera flash to take a photograph. Of course, make sure to protect the camera from rain using an umbrella or a camera cover. It could even be snow.
You should definitely try using flash when photographing action scenes. Since a typical flash duration lasts for 1/1000 sec, this gives you a huge advantage when you want to freeze a subject in the frame.
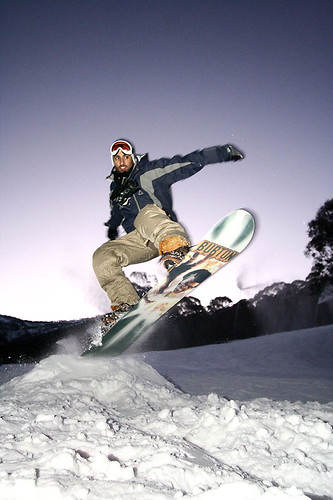
Snowboarder – Gavin by snappED_up, on Flickr
Other Useful Links
- DIY: Flash diffuser using paper – Make your own flash diffuser in 5 easy steps! Another one, using a milk carton.
- How to Fight the Bright in Flash Photography – A nice article to learn about how to use flash bounce and diffuse effectively
- 7 Basic Things Every Photographer Should Know About Flash Photography – A good read to know the fundamentals about flash photography!
- A Brief History of the Flash in Photography
- An Explanation of Slow Sync Flash


5 Comments
Thanks for a VERY helpful article.
Many thanks.This is very helpful. I’ve been trying to connect my Canon EOS 600D to my tried and trusted Metz flash, without much success. This article revisits a technique that I used a lot with film photography all these years ago.
I never knew what’s the importance of slow sync, the 1st curtain and the 2nd curtain now I partially get it. I’ll try using it more now…
Excellent article, thank you. easy to follow and well illustrated.
Re. 1st/2nd curtain flash I’m not proud of this but a time when 2nd curtain would have been a better choice!
https://flic.kr/p/e4GpoW
Slow synch is NOT the same as rear/2nd curtain synch. Slow synch is using flash with any shutter speed slower than the synch speed of the camera. Slow synch can be used with either 1st or 2nd curtain synch. Second curtain synch created the “trails” behind the balls plus slow synch created the bright room effect seen in the pool balls shot.