In the days of film, negatives were converted to photographs by 1) using chemical baths for dipping in the dark room or 2) sending to a photo processing lab. Due to the cost, expense and time spent processing in the darkroom, many photographers chose sending their negatives off to the labs. As technology evolved to digital, many cameras now offer options of shooting in JPG, RAW and both at the same time depending on your specific camera. We'll cover a brief description of RAW and JPG, followed by two key benefits of shooting in RAW.
What is JPG?
JPG is a standard file format type that was developed by the Joint Photographic Experts group. When JPG is selected, your camera becomes the processing lab. You've made decisions on the settings and taken the picture. Before you see the photograph, your camera has rendered the image based on what it saw using your settings. This includes reducing digital noise, applying sharpening, adding blacks, manipulating shadows and applying color tones, hues and luminance. In other words, a lot of post processing control has been turned over to the camera.
This leads to the primary benefit of working with the JPG format. The files are ready to be used upon download from your camera with no or minimal processing needed.
Note: When creating the JPG file, the camera also makes the decision to get rid of information that it didn't use. The data not used is discarded and no longer available, even in post processing software.
What is RAW?
As JPG is a camera processed file, think of RAW similarly as a digital negative. A RAW file is a record of exactly what the camera's sensor saw using the settings you selected. Since it is the original recording, all of the data is there to be worked with in post processing. After processing with your own workflow software, the file is then exported to a JPG (or other) to be printed or shared.
RAW is 1) Easy and fun and 2) Provides versatility and control.
Easy and Fun
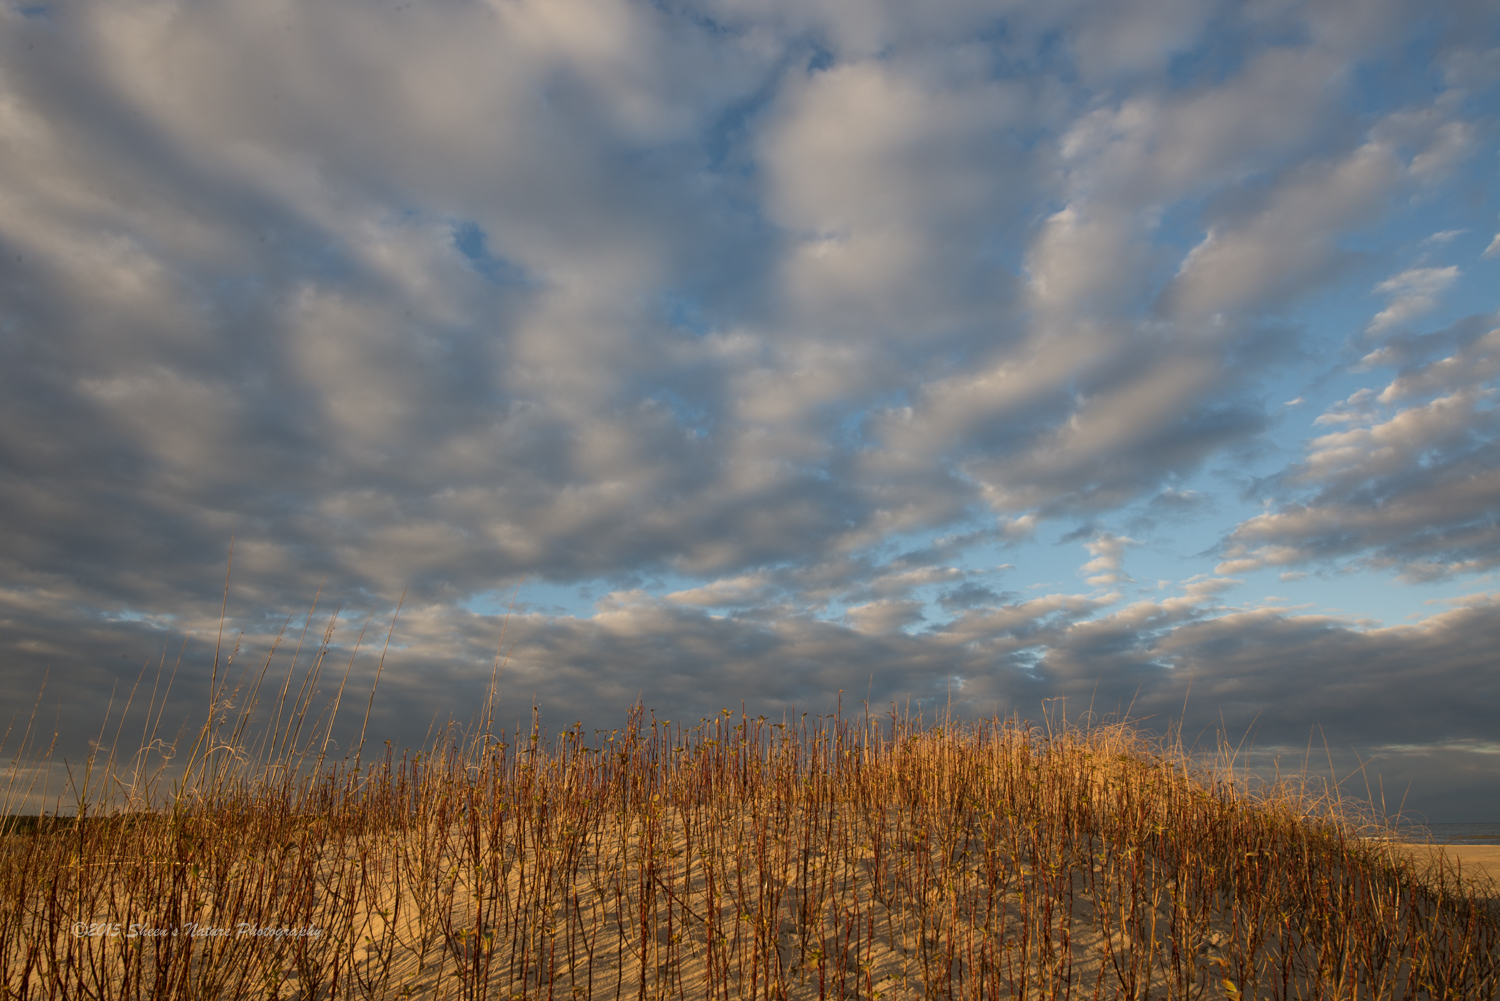
For some, there's a perception that shooting in RAW is hard or difficult. Quite the contrary, with practice, trial and error, it's easy and enjoyable. Shooting in RAW and processing images requires a bit more time in post processing. When the digital RAW image appears on your computer screen, it may appear a little flat or more dull than you remembered. That's because it's the ‘negative' waiting for you to ‘digitally dip' the image using post processing software. Post processing brings the image to life.
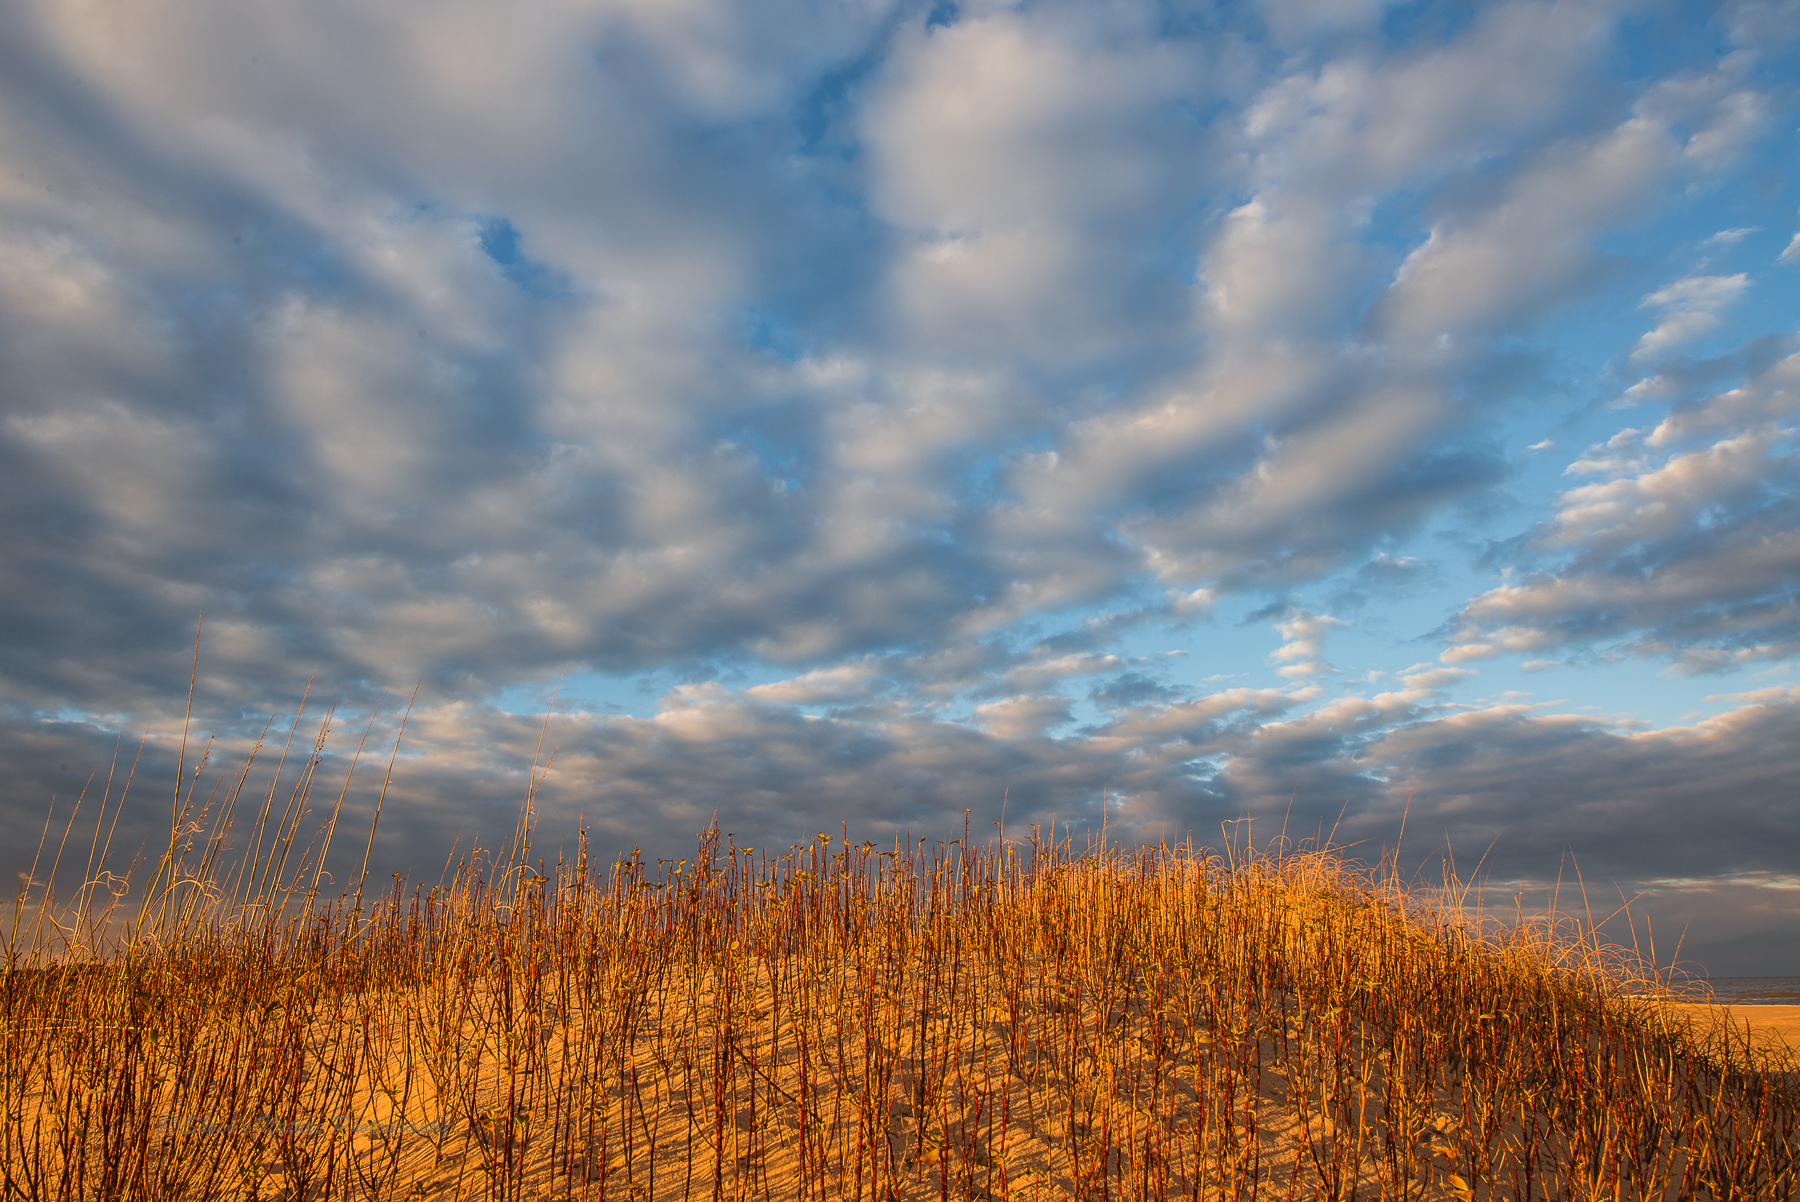
Let's look at the same RAW image right out of the camera and then after post-processing in Lightroom. You'll notice that the sky and colors are flat and boring. With a few touches of the sliders in Lightroom (aka ‘digital dipping), the colors come to life. The processing included minor adjustments of exposure, color saturation, lifting of shadows and vibrance.
Post processing software requires an investment in time to understand the file management system, how to use the tools available and to develop your own image processing workflow. Examples of two post processing software options include (if you have a favorite that's not listed, you are welcome to add it in the comments):
Different photographers have their own personal preferences in workflow. To see an example of my workflow, refer to: Lightroom & Wildlife Photography: How to Create Magical Impact
Versatility & Control
We all like to have some level of control in our lives. Some of us may be more control freaks than others. Using RAW, we have control over white balance, tonal range (this refers to the darkest shadows to the brightest highlights), temperature, shadows, highlights, color, etc. We can make adjustments many times over without damaging the information in the file.
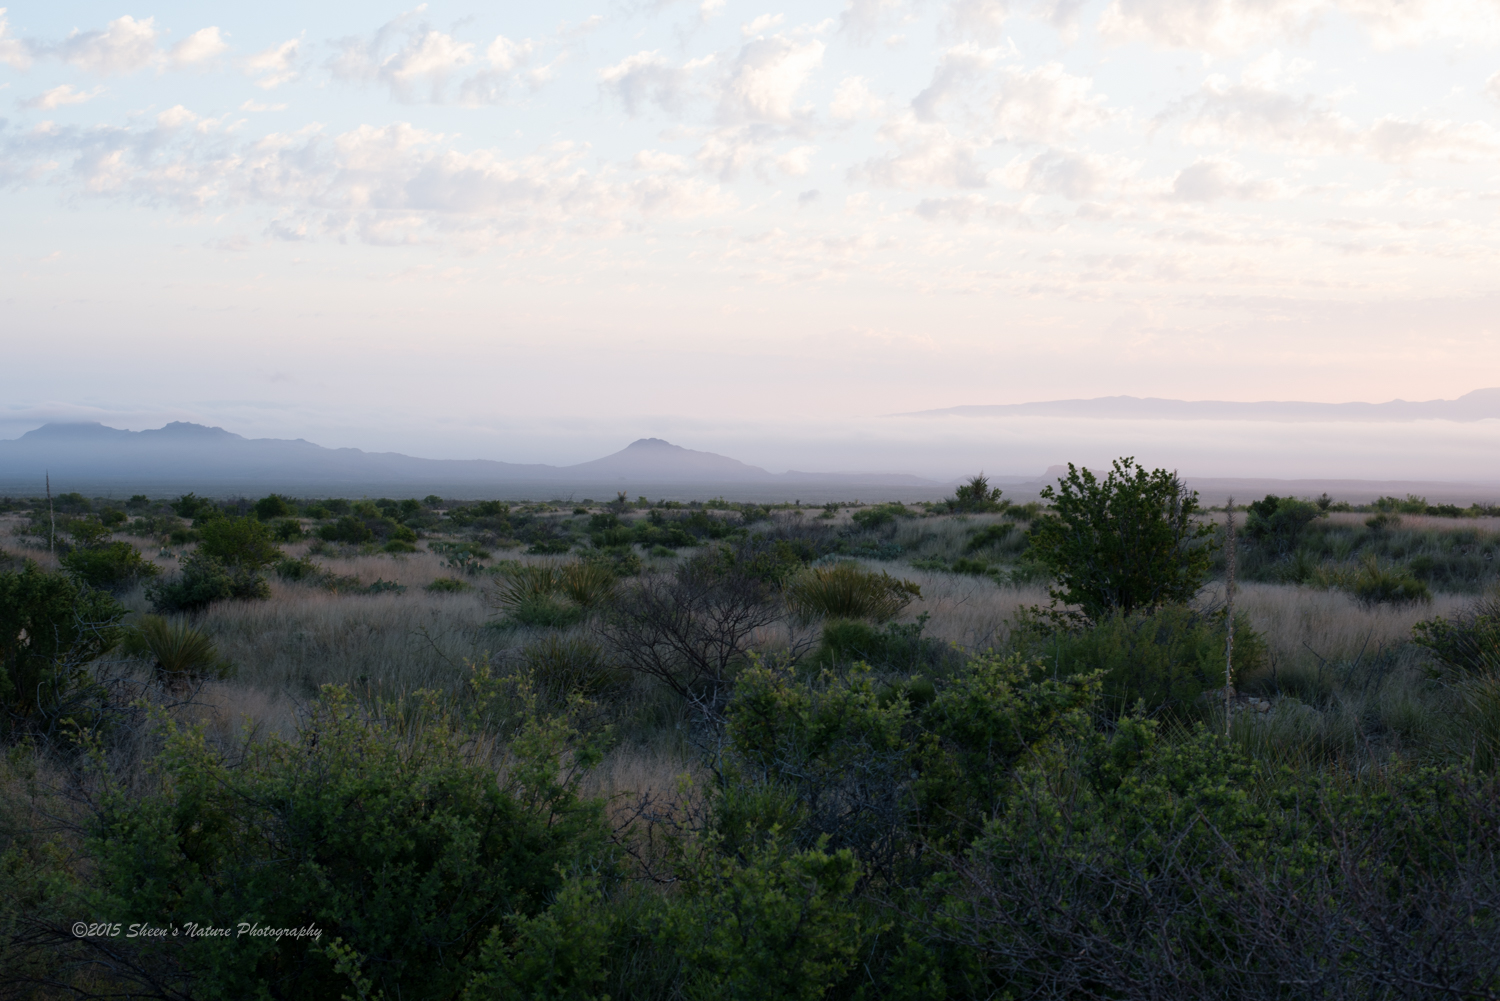
In the original RAW image below, the colors are very washed out. The photograph was taken right before sunrise. I had set my camera to auto bracketing so I would have multiple exposures of the same photograph. The first is the original RAW image was a bit overexposed. The details are faint, the sky is almost colorless.
Here's the same image with post processing adjustments applied.

Considerations with RAW:
- Larger files as a result of all the data in the image, requires more disk space
- Requires post processing software
- An investment of a bit more time in learning and developing your own workflow, upfront and over time
- Complete processing & creativity control over the image in post processing
If you're just getting started with photography, I recommend starting with RAW or shooting in both RAW and JPG. The later eats up memory on your cards but good to try a few times. With digital I started with RAW and am glad that I did. As my post processing techniques have evolved and changed over time, I've gone back and reprocessed some of my early digital images. With RAW, I had the original file and all the details to work with.


