
Products and macro photography have quite a lot of things in common, for instance:
- They require lots of light,
- Controlled circumstances,
- And the ability to come in really close to your subject.
Additionally, product and macro shots are basically more on preparation rather than shooting. You’ll need a bit of planning and quite a lot of resourcefulness to be able to do what you have envisioned. Often some math will be involved as well.
Luckily, most of the things you’ll need can be found for extremely cheap or they are household items that you already have.
When it comes to product and macro photography, understanding light is a really crucial element which you NEED to get right in order to produce the images your want to the quality you expect. This guide on “Understanding Light” will give you a huge boost to your photography and enable you to understand how to make incredible photography.
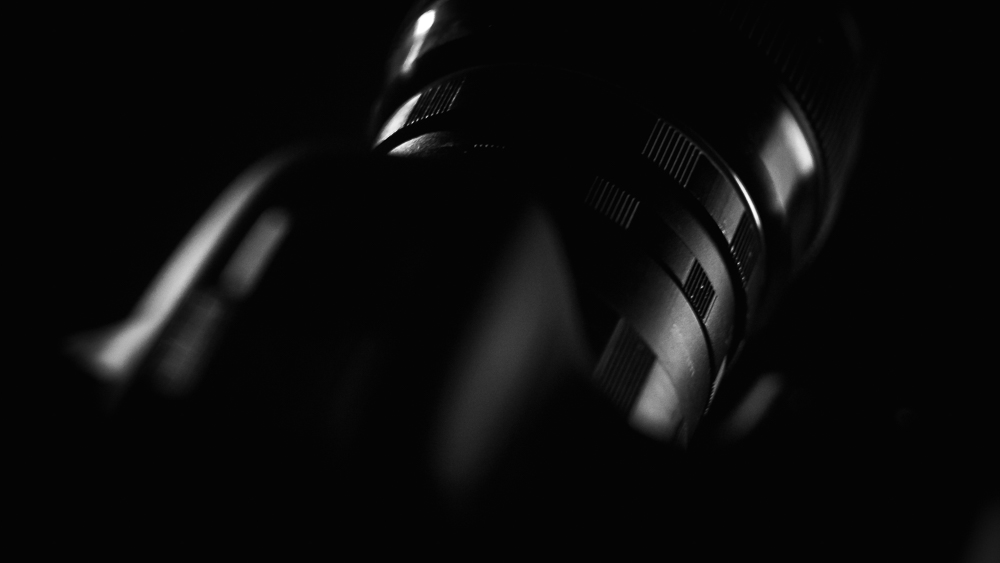
How To Use Extension Tubes For Close Ups
Without extension tubes, you’ll need a lens capable of focusing at close distances, but those lenses are expensive. There are workarounds though.
You can use macro extension tubes on most lenses and turn them into macro lenses. The downside of extension tubes is that you lose a significant amount of light, but you keep the depth of field.
Extension tubes for most cameras are quite cheap, they will set you back no more than $15. They are basically aluminum or brass tubes that have the camera mount on one end, and a lens mounts on the other. In between, you can adjust the width by adding or removing sections of the tubes themselves.

Make no mistake, extension tubes will get you really close to your subject and depending on the lens you are going to use, the distances and magnification can be really great.
Older manual lenses are preferred for macro tube usage due to the ability to adjust the aperture by twisting the aperture ring, electronic aperture lenses (basically almost every modern lens) don’t have the ability to alter the aperture without having the camera communicating with the lens.
Often you will find yourself not being able to focus at all with certain lenses, this happens when you shift the minimum focus distance to be shorter than the length of the lens.
Basically, the focus point is somewhere inside the lens. You can resolve this by unmounting some of the sections of the extension tube since you’ve separated the lens too much from the sensor.
Make sure that the length of the lens plus the extension tubes aren't too large. Vintage lenses are heavy, and extension tubes are the weak spot in the contraption so you might damage the camera if you extend the lens too long. Always be very aware of that since it can easily tip a tripod due to shift in the center of gravity.
Product & Macro Lighting Setups
Light for both genres is quite similar, the difference is only in the scale. One thing that you need to remember about light, which applies to every genre ever: The size of the light source relative to the subject determines the softness of the shadows. The bigger the light source relative to the subject, the softer the light/shadow is going to be.
For nice and well-defined light in products and macro shots, a general rule of thumb is to make sure the light source has a surface area of at least twice the size of the subject you are going to photograph.
Products are usually shot in light boxes, or similar setups that ensure uniform light with extremely clean environment. Macro shots do not require setups like that since they are free to interpretation.
If you think flashes are a total necessity here, you would be very wrong. Product shots and most macro shots (except if you go out and shoot bugs) are quite stationary therefore, constant light would do you just fine.
The only thing you need to be careful about is that the light sources are the same color temperature. For example, if you are using tungsten bulbs, make sure that every light source will be tungsten. Mix up tungsten and fluorescent and you won’t be able to pick a proper white balance.

This guide on “Understanding Light” will enable you to discover how to produce Amazing Images with an Exclusive Training Guide to Light.
Tracing paper is a life saver, you can make makeshift scrims (if you don’t know by now, scrim is basically a rectangular surface used to soften light, and it is usually made out of white fabric or paper and placed in front of the light source) with just tracing paper, staples, and wire.
You can create your own light box for next to nothing as well: take home lamps which are easy to reposition with exactly the same bulbs between them, and your setup is done. You can even go more minimal than that, but it is really cheap and it produces professional results.
For products, for the classic product shot, you’ll need to light up the product from both sides and from the top, while having some light on the background. The intensity of the light will depend on your preference.
You can even do it with one light source, but it requires some trickery in Photoshop afterwards. Macro shots can be lit multiple ways, it all depends on what you are shooting and how you want it to look like. It is wise to look up some lighting methods in order to get a grip on it.
Materials To Use For Product And Macro Photography
Tracing Paper
As mentioned before, tracing paper is a life saver for modifying light in makeshift light boxes or making scrims. Basically, you can shape it any way you please and you are better off buying a roll. Have one roll of tracing paper around your house/studio. You never know when it can come handy, and it will.
Surfaces
Not all product/macro shots will be shot on a white surface, therefore make sure you have several around you in order to be able to manipulate them accordingly. One clever thing you can do is to get a piece of glass or translucent acrylic (preferably the acrylic due to safety) and colored paper. Put the paper under the acrylic and you have a glassy surface in any color you want.
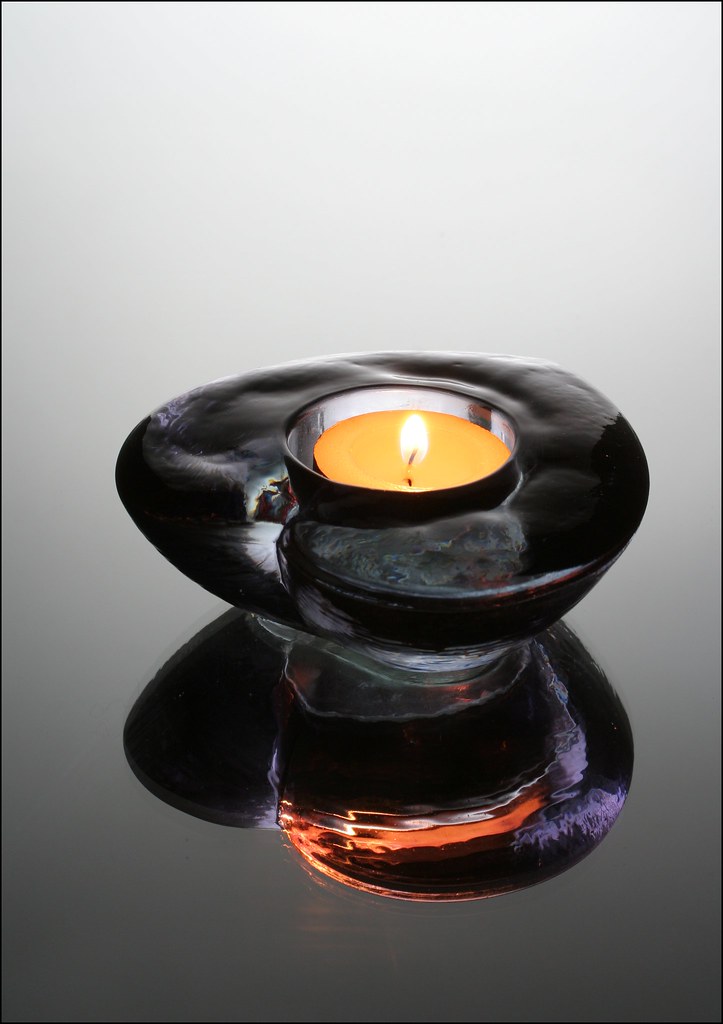 Photo by Dave Gough
If you go through hardware stores (or similar DIY stores) you’ll find tiles with so many designs, there are great tiles with wooden finish, carbon fibre, and you can even get custom ones. One 18×18 inch tile per design will do you just fine. You can go with a tad smaller tile but it might prove difficult for certain angles.
Misc.
A small crafting kit will be just great. Thin wood which you can model to hold the paper or product/subject, glue, scalpel, gloves etc. Thicker, uninsulated copper wire is also something you’d want handy: it is a life saver for improvisation, you can shape it to hold fishing line to hold the product, you can shape it to rest the product on it without it being visible, and so forth.
Issues You May Experience Along The Way
Tiny field of focus
There is no running away from it. The closer you get to the subject, the smaller the field of focus will be. Even at really tiny apertures. The only thing you can do here is to focus stack images in order to expand the field of focus.
This basically means to shoot more images, in each the focus being different (you twist the focus ring towards one side a bit after each shot) and then stack them into one picture in photoshop. The resulting photo will have a wider field of focus.


Dust, Particles And Fingerprints
You’ll want to buy yourself cloth gloves, preferably ones using for archiving or similar. Get yourself some lens cloths as well, they do wonders for cleaning shiny surfaces without leaving a trace. If you can’t get your hands on gloves which do the same, just use the lens cloths as makeshift gloves.
Make sure that you are in a dust free environment as well. The kitchen is usually a good area to do the work.
Too Much Camera Shake
Due to the shifted centre of gravity, the camera might take a tad longer to stabilize on the tripod. That can also be an issue for focusing since the image on live view will be too shaky to see. The best way to solve this problem is to either shorten the length of the lens barrel or find some way to stabilize it.
I usually stack books on the desk under the lens, so the lens can rest on the books to reduce the shaking. For long lenses, there is a tripod mount on the lens itself, which works well for balancing the weight. Since there is no factory lens tripod mount for extension tubes, a third party one will set you back something around $10-15.
Check out this essential guide to Discover how to produce Amazing Images by “Understanding Light” – also with a new Exclusive Training Guide to Light.
Summary
Basically, the gear from the first article, plus the extension tubes, and some light creation and modification is really all you need. Getting started in macro is really cheap. I didn’t even buy extension tubes when I started out instead made makeshift tubes from a carton tube and duct tape. But that's a little risky, so I don’t recommend doing it (especially if you don't want damaged camera gear).
Read more on doing macro on the cheap here, and read more on how to make your own light box here.
Further Resources
- How to Get Professional Product Photographs With a Single Light Source by Dzvonko Petrovski
- How to Use a Speedlight for Macro Photography by Jason D. Little
- Close-up Nature Photography: Tips on Hand-held vs. Tripod by Sheen Watkins


