So far you’ve read countless articles on techniques that involve editing portraits, but mostly it involves one or two techniques which makes it hard to see the whole picture, not that they aren't good resources to learn from, quite the contrary. That is why in these two articles I’ll edit a portrait from my latest shoot from the beginning to the end. A complete edit. In the meantime, each technique which I will be using will be linked to an article (if available) about it.
Lightroom Edit
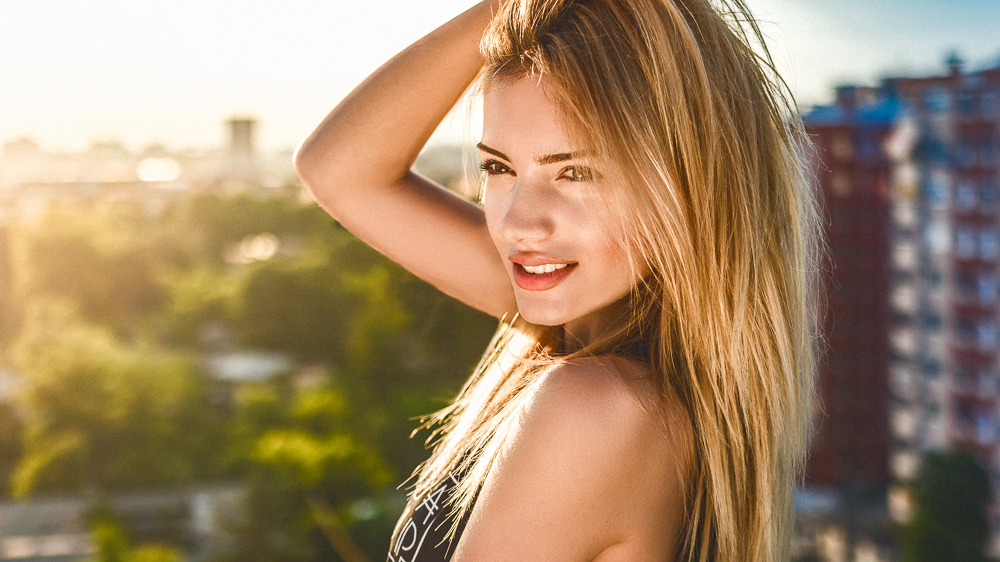
I will take a leap of faith and guess that you already know how to import images in Lightroom and that you have done that already. Now I have my images imported, filtered through and I’ve flagged the ones I like. I will be editing this image:

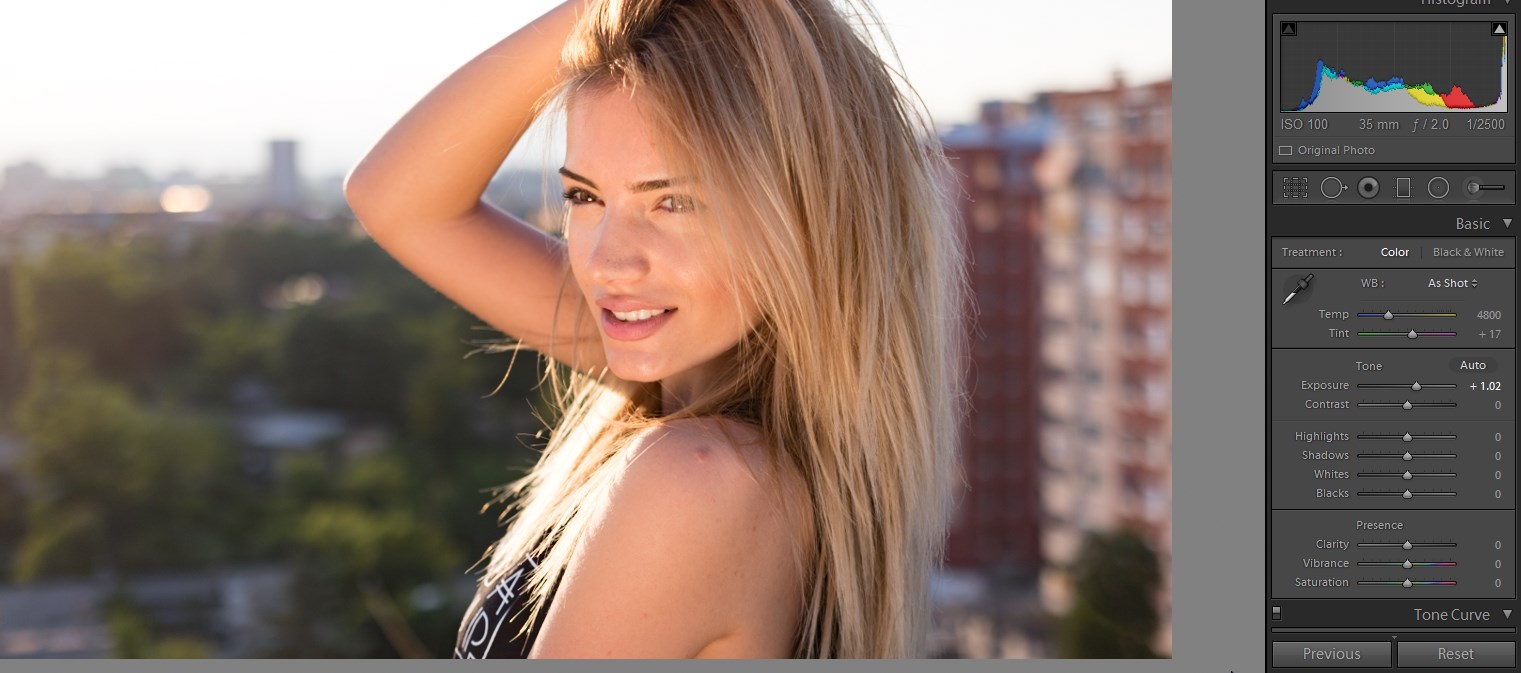
First thing I tend to do is do lens correction by ticking the “Enable Profile Corrections” in the “Lens Corrections” section, and while we are there it is good to do chromatic aberration removal by ticking the “Remove Chromatic Aberration”. However just ticking the box usually is not enough so I’ll need to tweak it a bit since the green aberration is still there. In the “Color” tab under the “Lens Corrections” you’ll see the tweaks for chromatic aberration, I’ll just twist the green slider slightly to the right until the aberration is gone. Bear in mind that this can be overdone and ruin the edges of your shot by desaturating them too much.
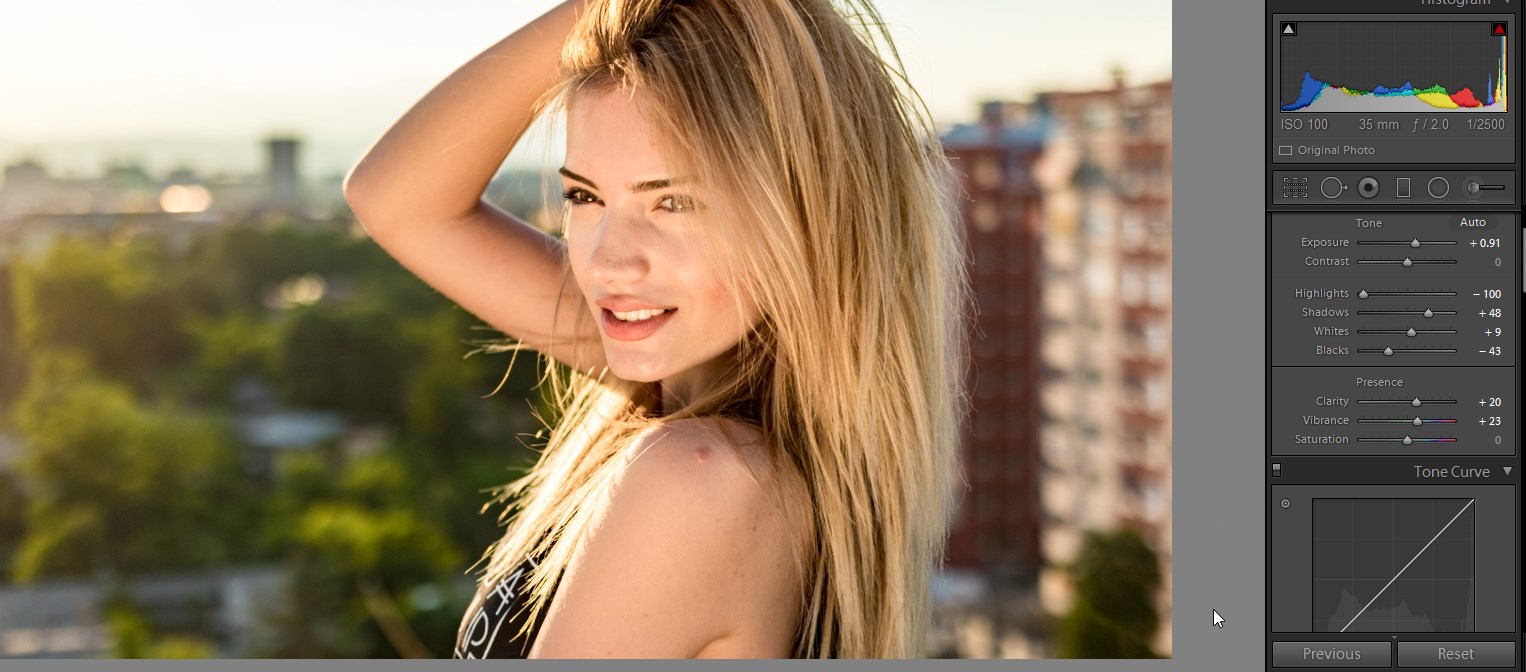
Next thing I like to do is dehaze the image using the new features from Lightroom 6, which are available to all subscribers since June 16th. Note that dehaze underexposes the image a bit, so you’ll need to correct that with the exposure slider.
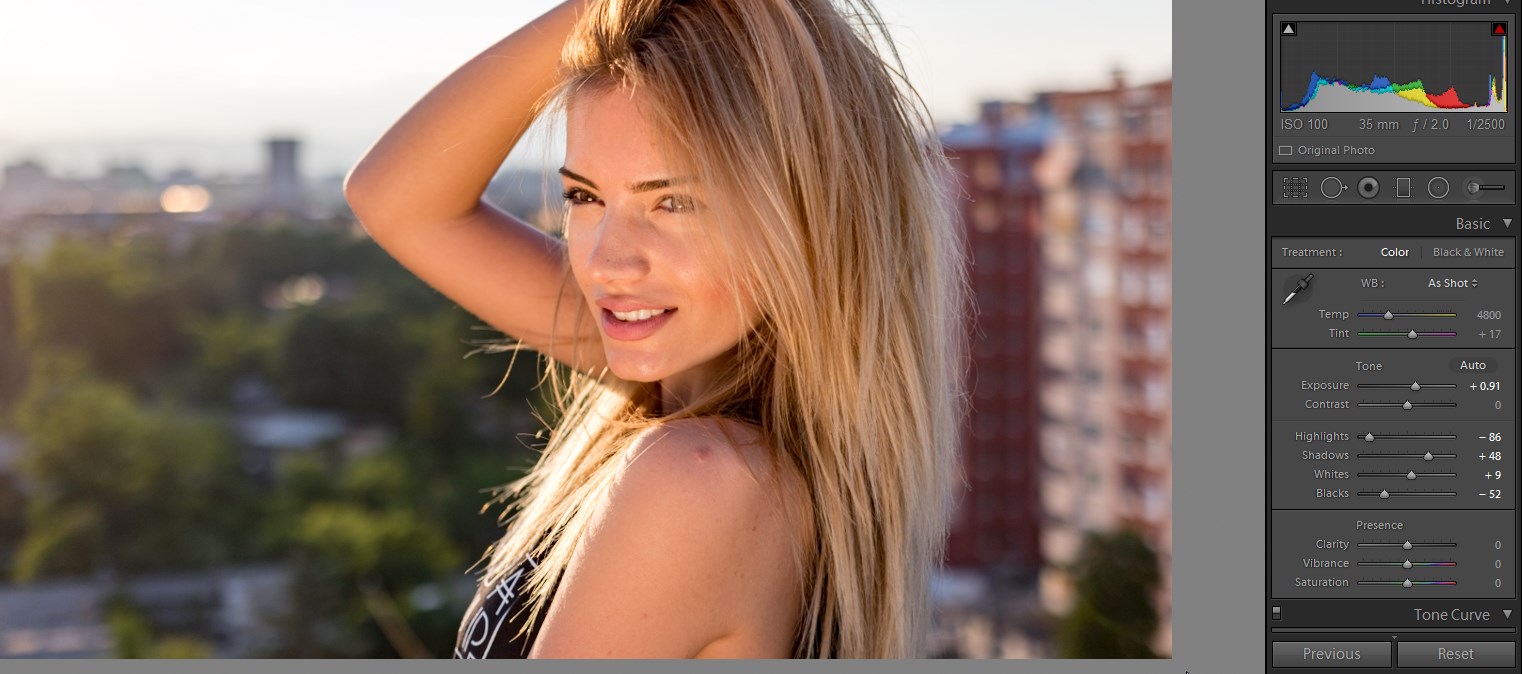
Next I’ll recover the shadows and highlights, then correct the contrast using blacks and whites. While I’m correcting black and whites I’ll be holding down the ALT key in order to see the mask that shows the clipping, I’ll stop moving the slider once I see the clipping occurring and move it back a tad just before it starts to clip.
Next, for correcting the white balance I’ll use the eyedropper tool to select a neutral area (which will be some of the pavement in the bottom left on the image.
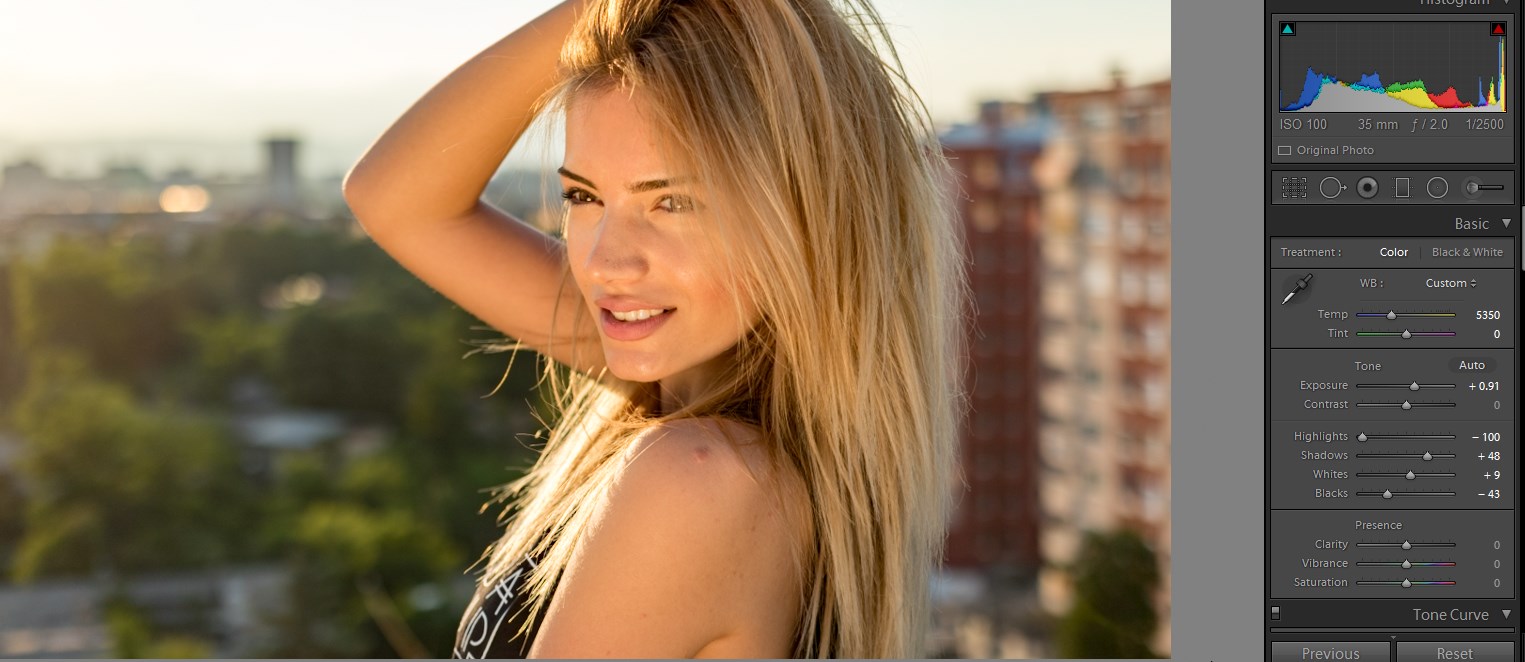
Now there will be a discrepancy, the sun isn’t affecting the pavement that much as it is affecting the skin, due to the angle and height. Therefore in the HSL section I will affect the orange tones a bit by lowering their saturation but increasing the luminance. This way it will look much more natural. This way the saturation is better and the luminance acts as a fill light.
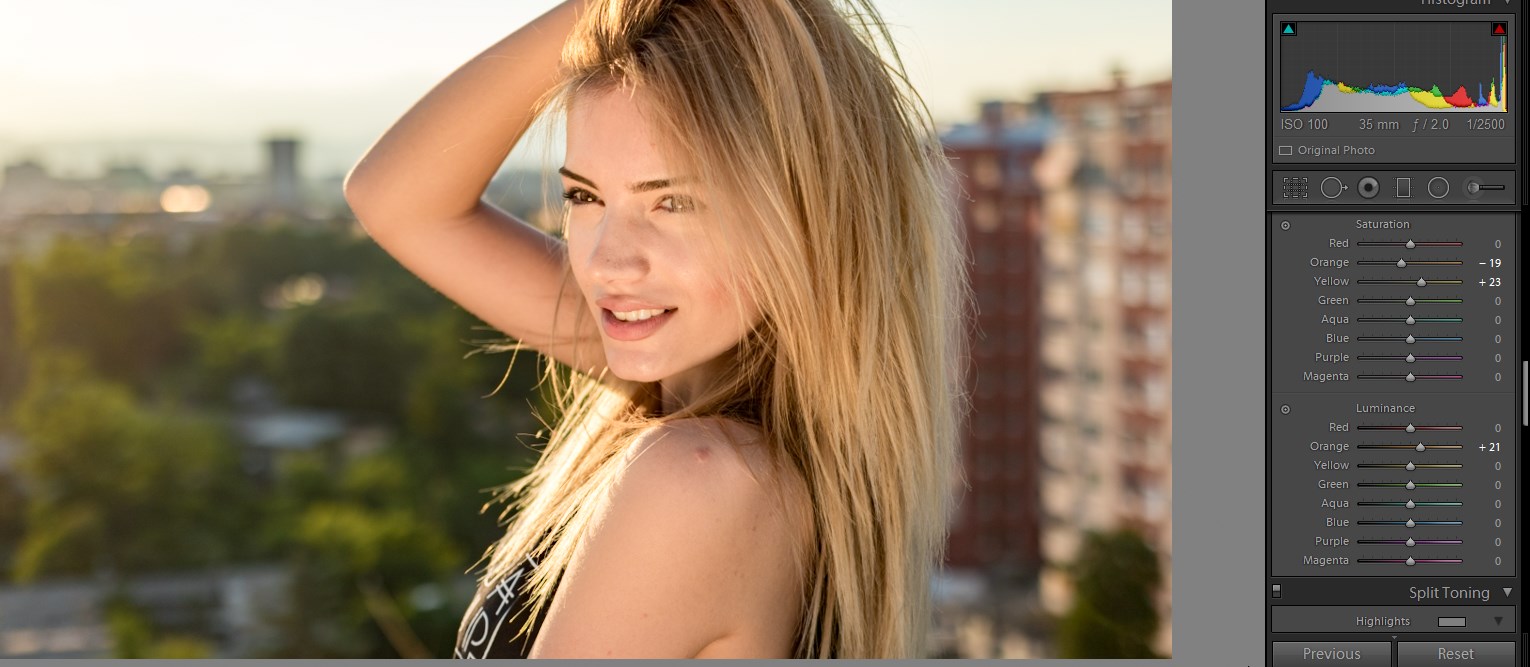
Additionally some clarity and vibrance are in place in order to give punch to the other colors of the spectrum which are more subtle by default, and clarity to add a bit structure.
Now even though this image is shot at ISO100 with the 7D mark 2, using the Sigma 18-35mm F/1.8 @ 35mm and f/2, I did lots of shadow recovery and some noise (not that it is visible on full HD screen, but visible on 100% crop) is creeping in, so I’ll do a slight noise reduction with settings of Luminance: 12, Detail & Contrast: 100. I’m going to leave color noise section as it is, since I don’t see any color noise.
I’m not going to do any sharpening either, since I’ll do that at the end, before the final export.
Since the frame is just next to the sun, I’ll fake the sun effect by using radial filter. Inverting the mask is important since that way the effect is inside the circle, instead of being outside. I’ll increase feather to 100 as well so the mask is as soft as possible. Next I’ll increase the warmth (to around 40) drop down the highlights but increase exposure. This will allow for the warmth to seep in the details and it won’t blow over the image too much. But the problem now is that the mask goes over the model and overexposing her. That is why I’ll erase the mask from the model by using the brush, set to erase. Hit the O key in order to show the mask, and erase the parts which you don’t like to be affected by the filter, just like I’ll do.
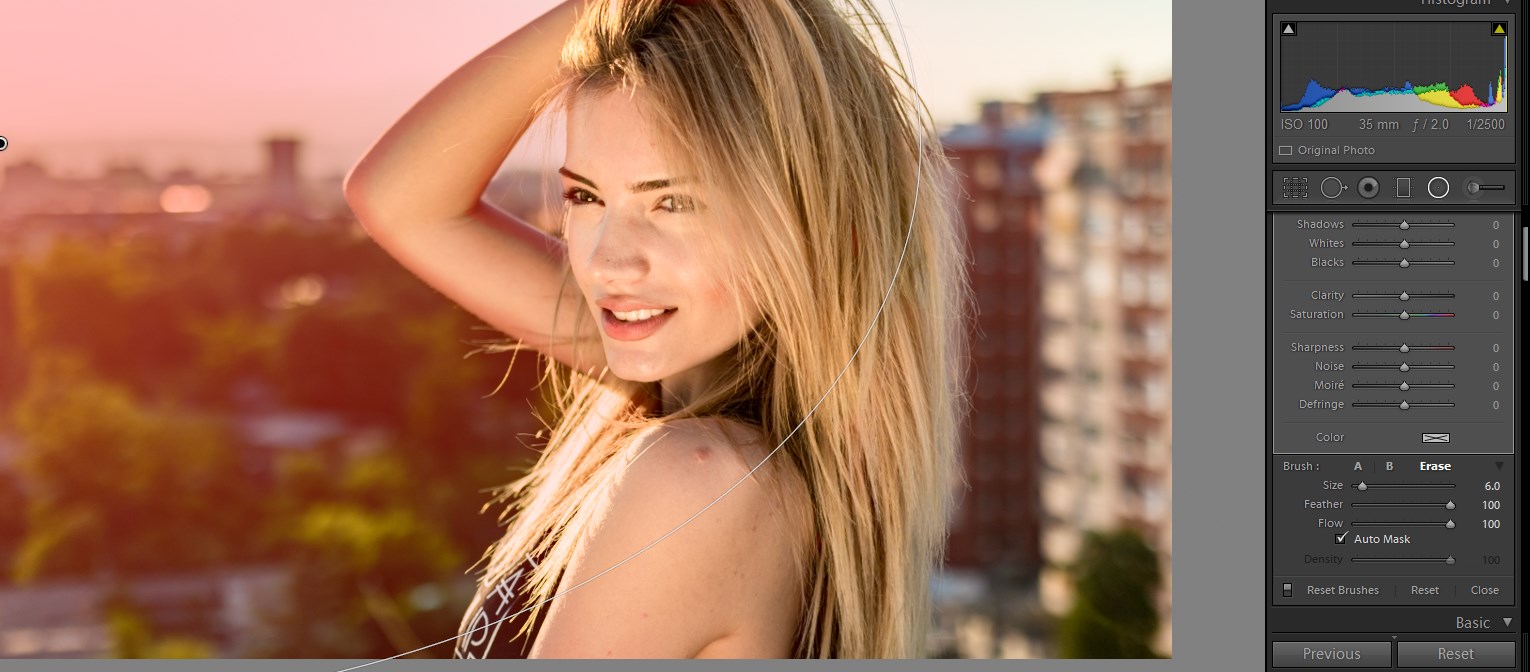
As you might see, I’ve left some masking on the arm, this is due to the fact that I like to emulate the light bending over the edges as it normally does.
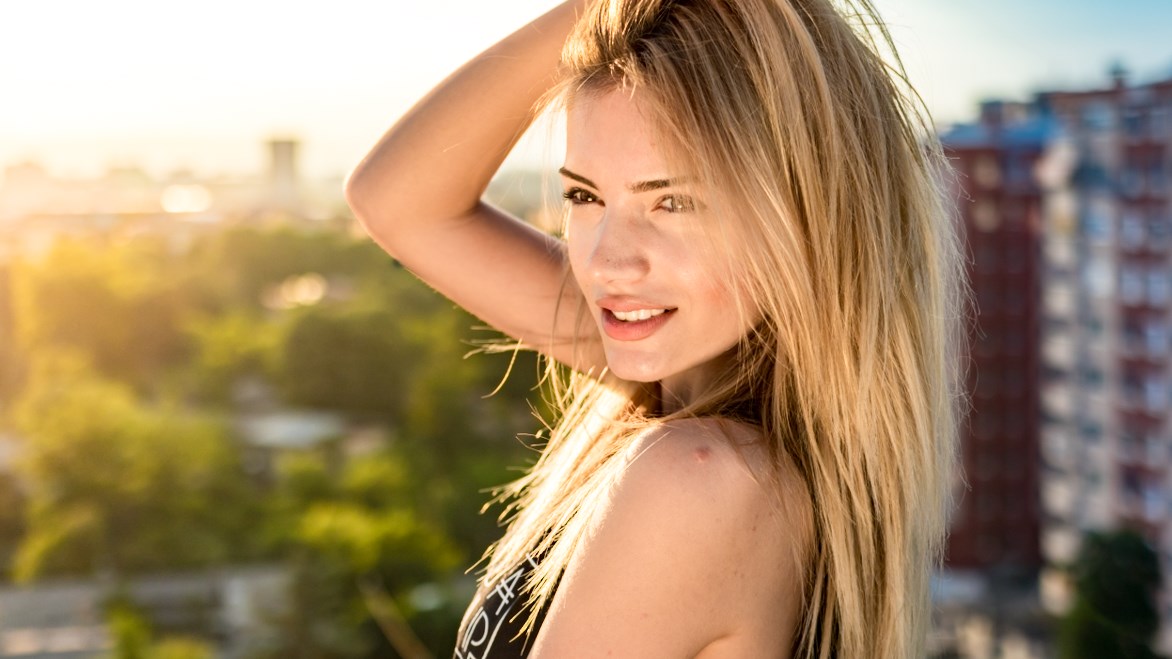
On the opposite side, I’m using a slight Gradual filter in order to return some of the blueish tone from the sky. I mainly did this to add a complementary color to the orange/green pallette. Since blue/teal is a complementary color to orange/yellow it fits nicely in the equation. Also it adds a sense of vibrance and makes the image more dynamic.
And this is what I got in Lightroom. Stay tuned for the finishing touches in Photoshop
Be sure to check back tomorrow for part 2 of this series when we dive into Photoshop for some detail work and finishing touches!


