Playing with selective color is one of those things that everyone tries in photography at least once or twice. While “the establishment” often frowns on the practice, it's really up to the individual and their client if it's something they want to do or offer. For that reason alone it's worth taking a look at which is what we're going to do today.
There's more than one way to make selective color adjustments. We'll review a couple of methods that add targeted pops of color and soft tints and shades.
Using Isolated Colors
When wanting to keep one or two colors that appear throughout the image, take the Saturation sliders all the way to the left and the colors will be removed leaving a black and white photo. To bring a color or colors back into the photo, select the sliders and start moving to the right and those colors will appear.
Use of Multiple Colors
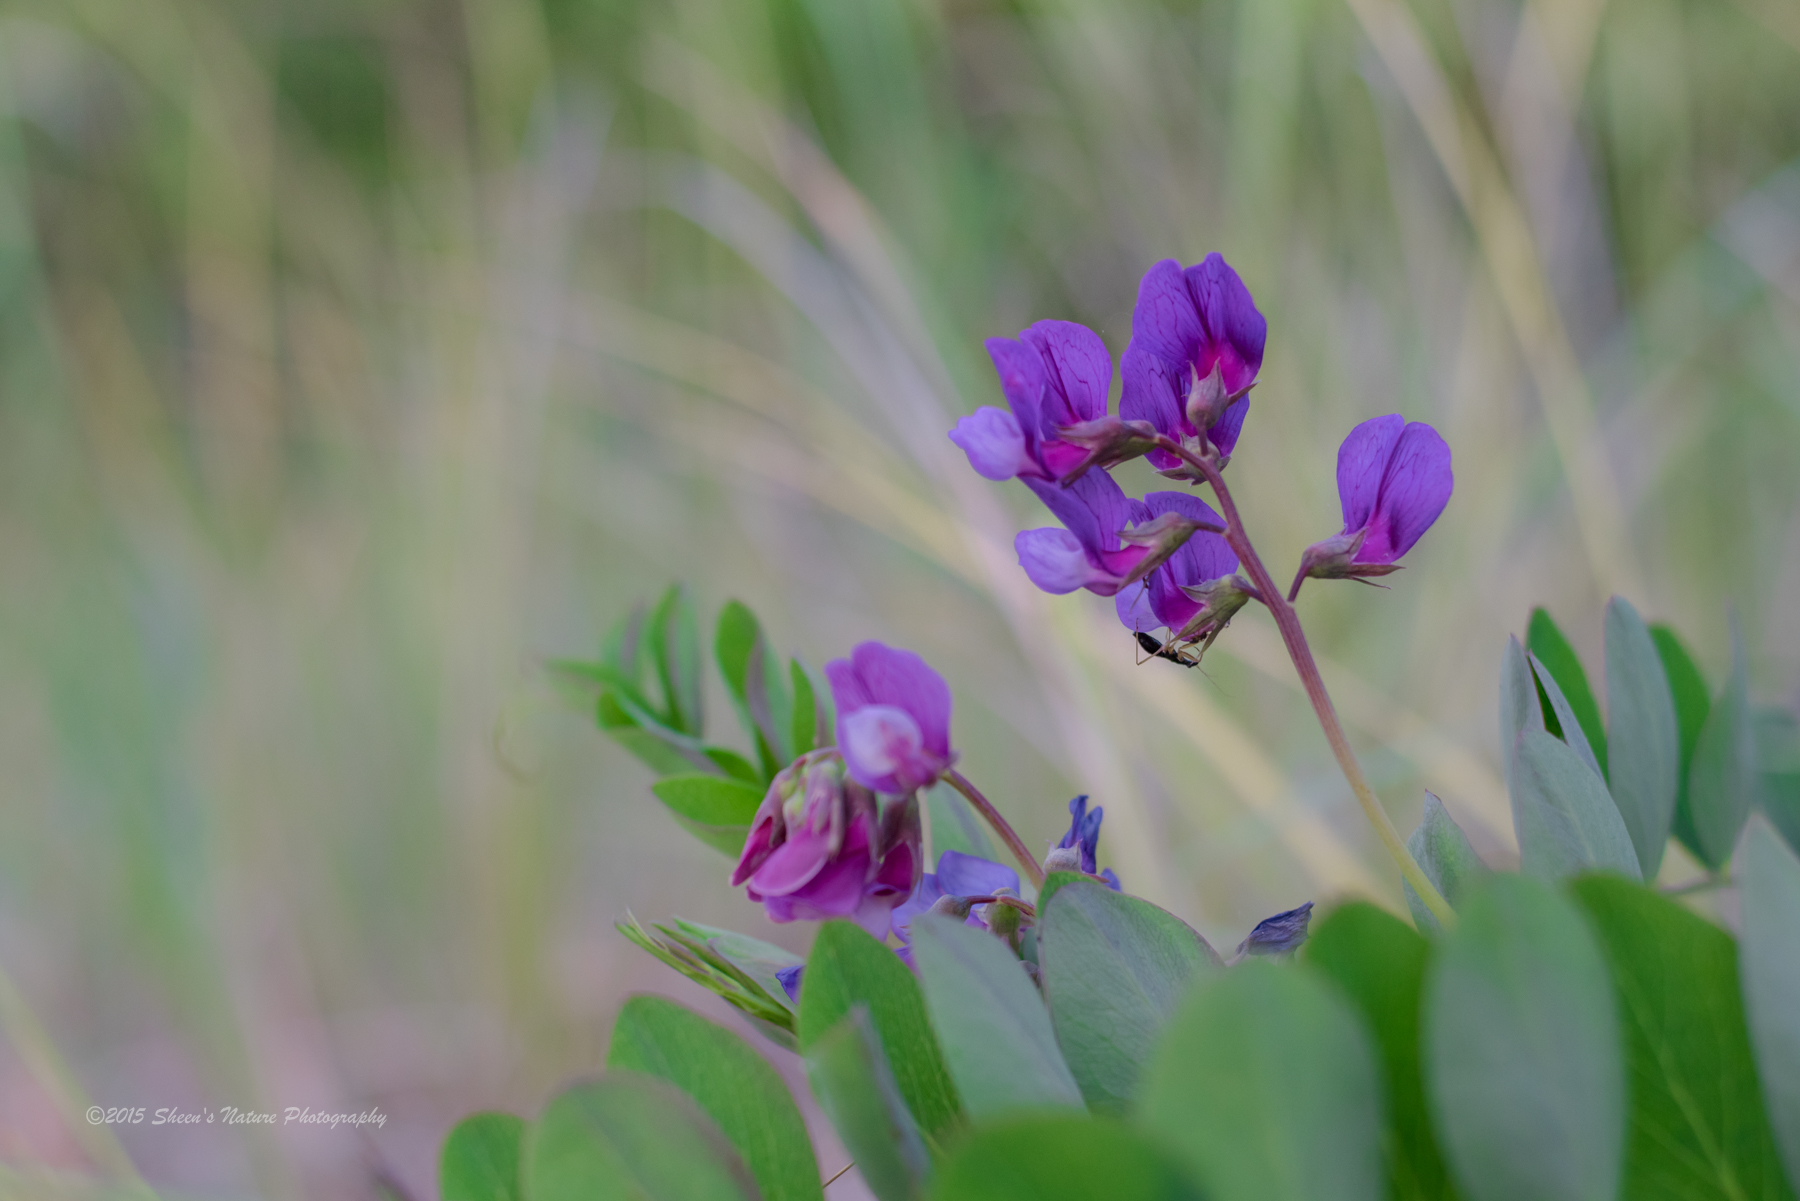
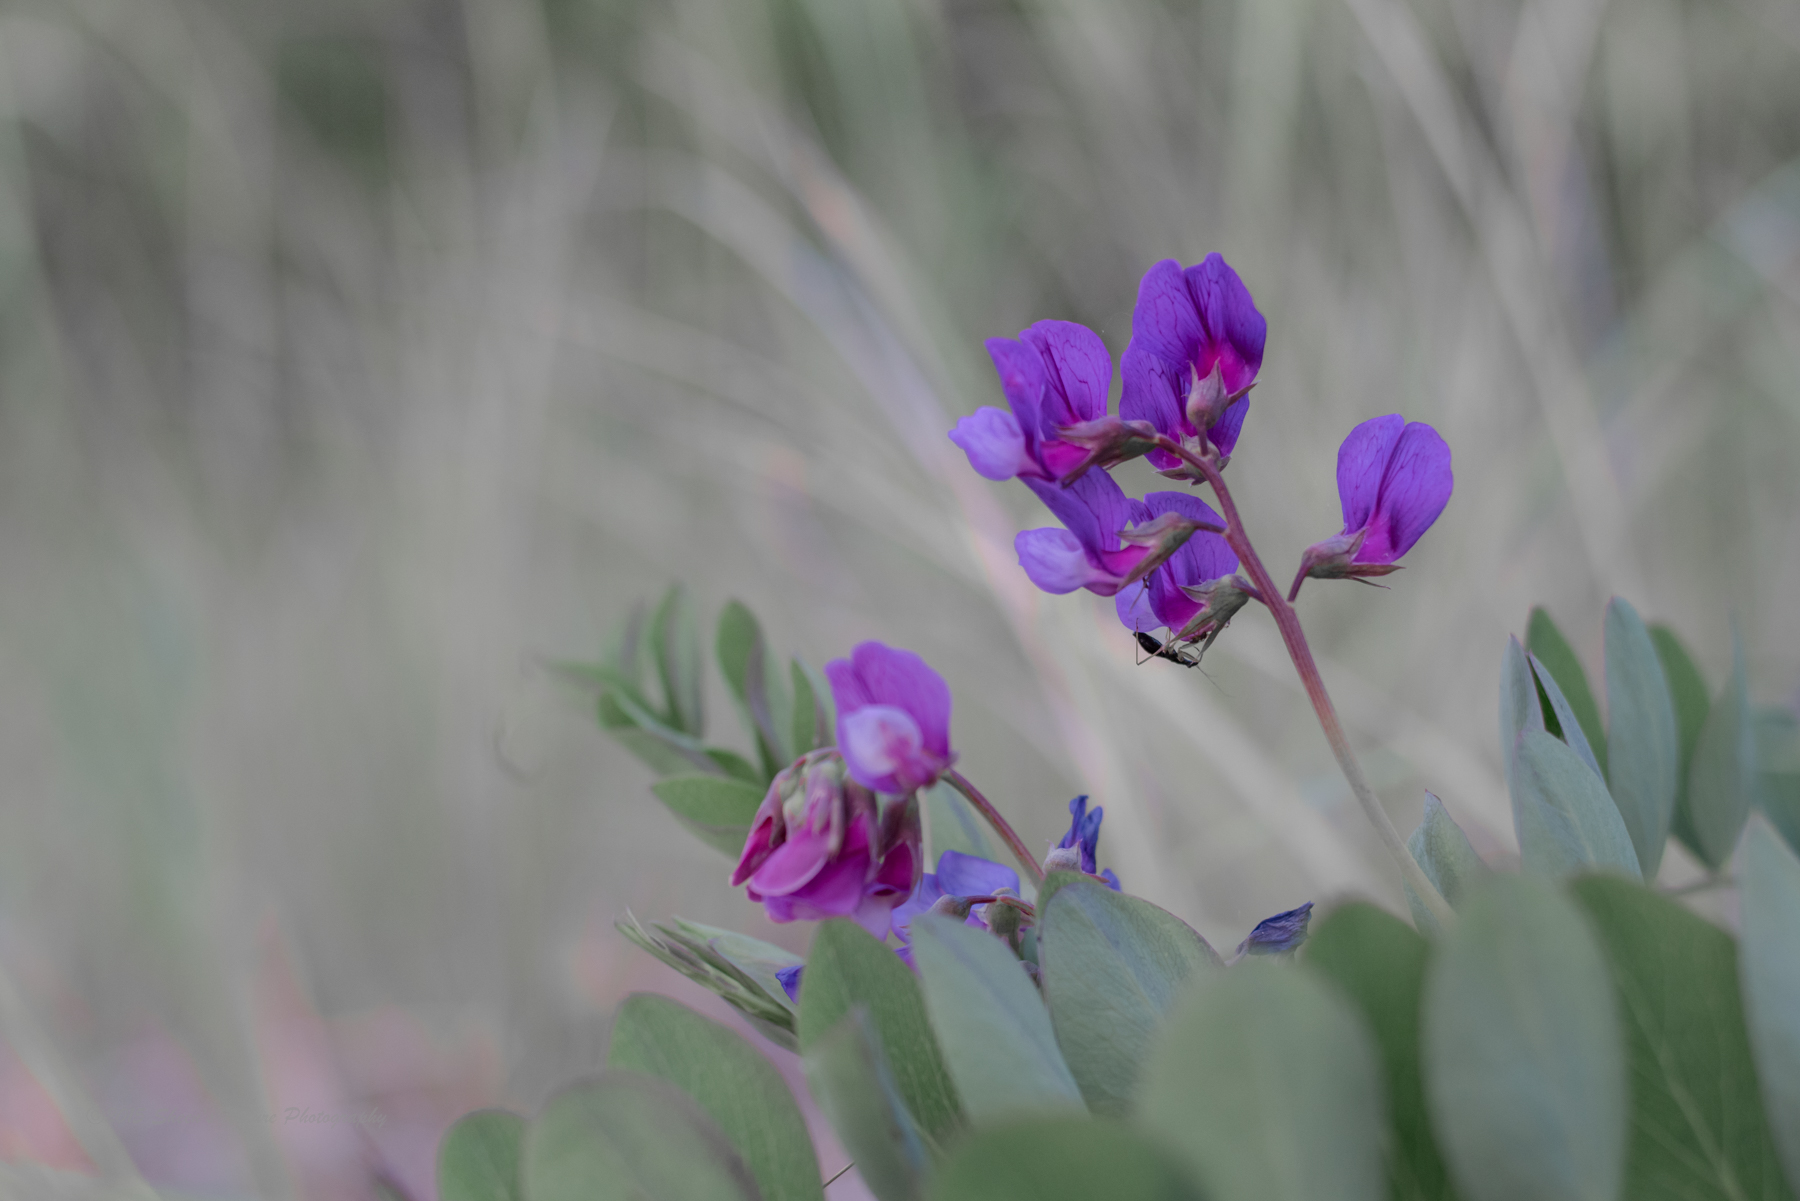
The beach flower photos below show 1) the color version and 2) an edited version that was created by taking the saturation out of the red, orange and yellow sliders (moving all the way to the left). This was followed by bringing the green, aqua, blue, purple and magenta sliders to the right at varying levels.
Use of a Single Color
Photographer James Timmer used his Sony A6000 with his Canon FD 35-70 2.8 lens to photograph one of his favorite subjects, his beautiful feline family member. Using the lens in Macro mode, his settings were ISO 800, f/2.8, 1/125 sec.
The two photos below show the color version and the edited version. The isolated use of the gold intensified the gleaming gaze into the camera.
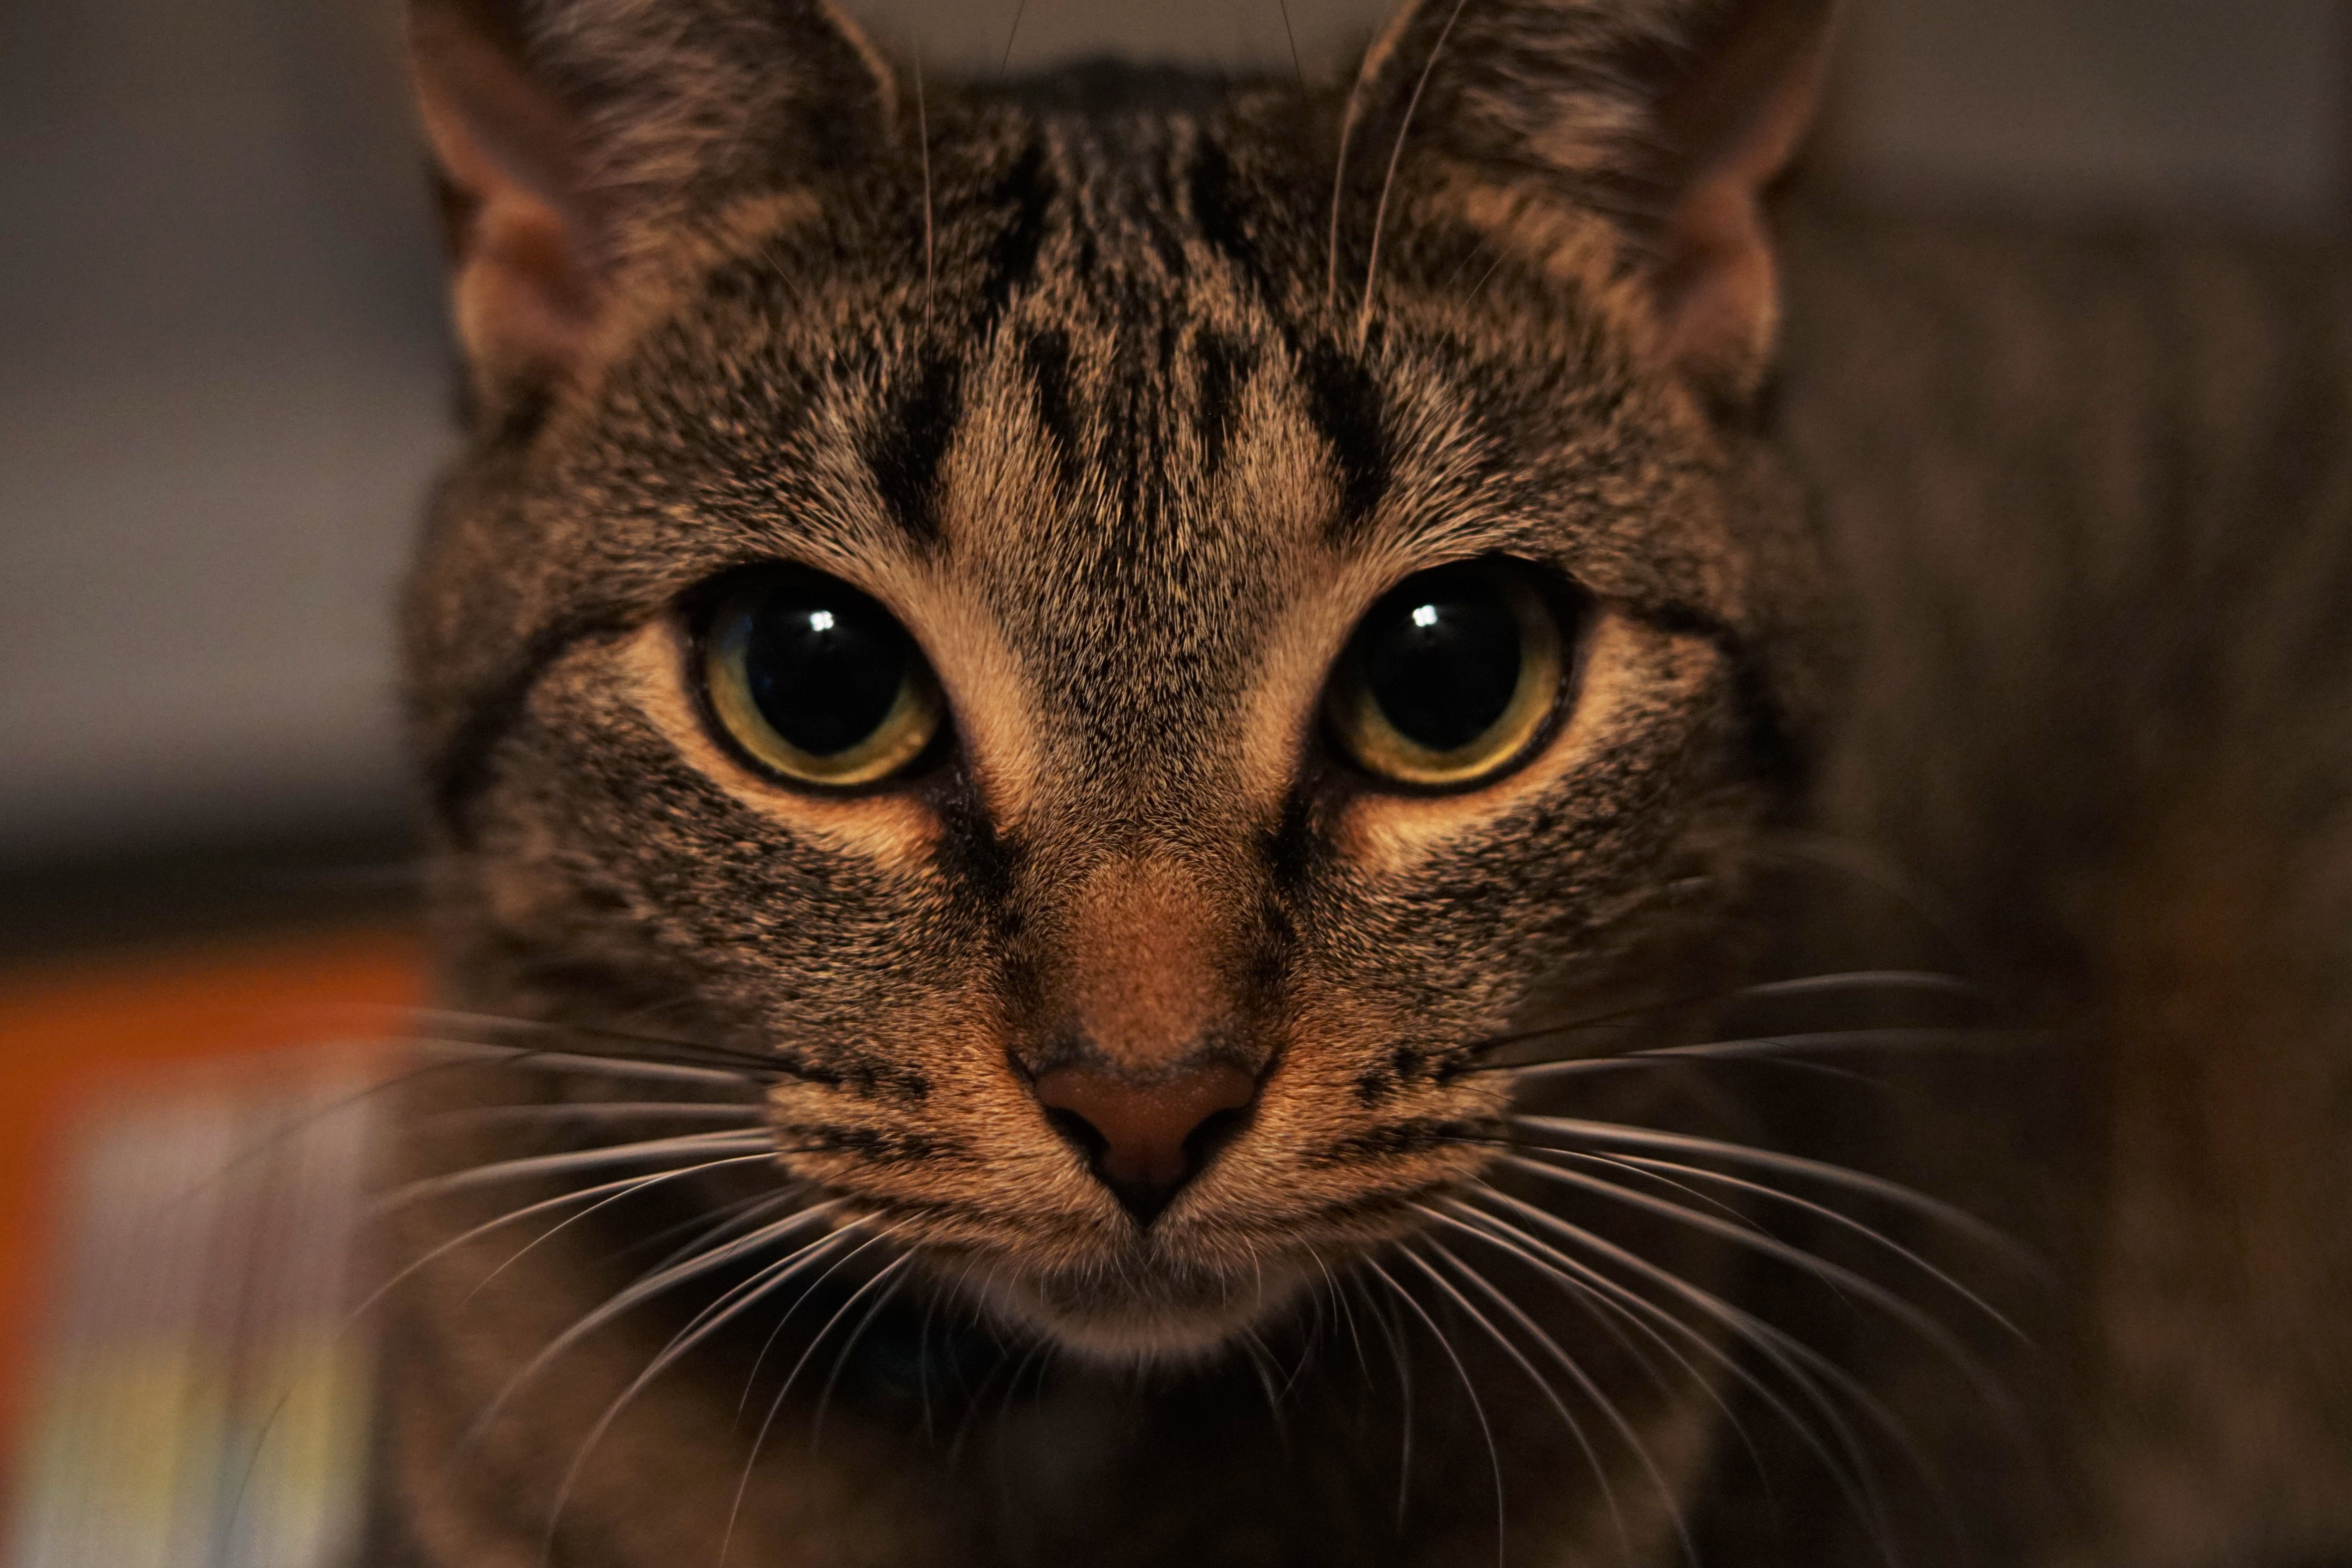
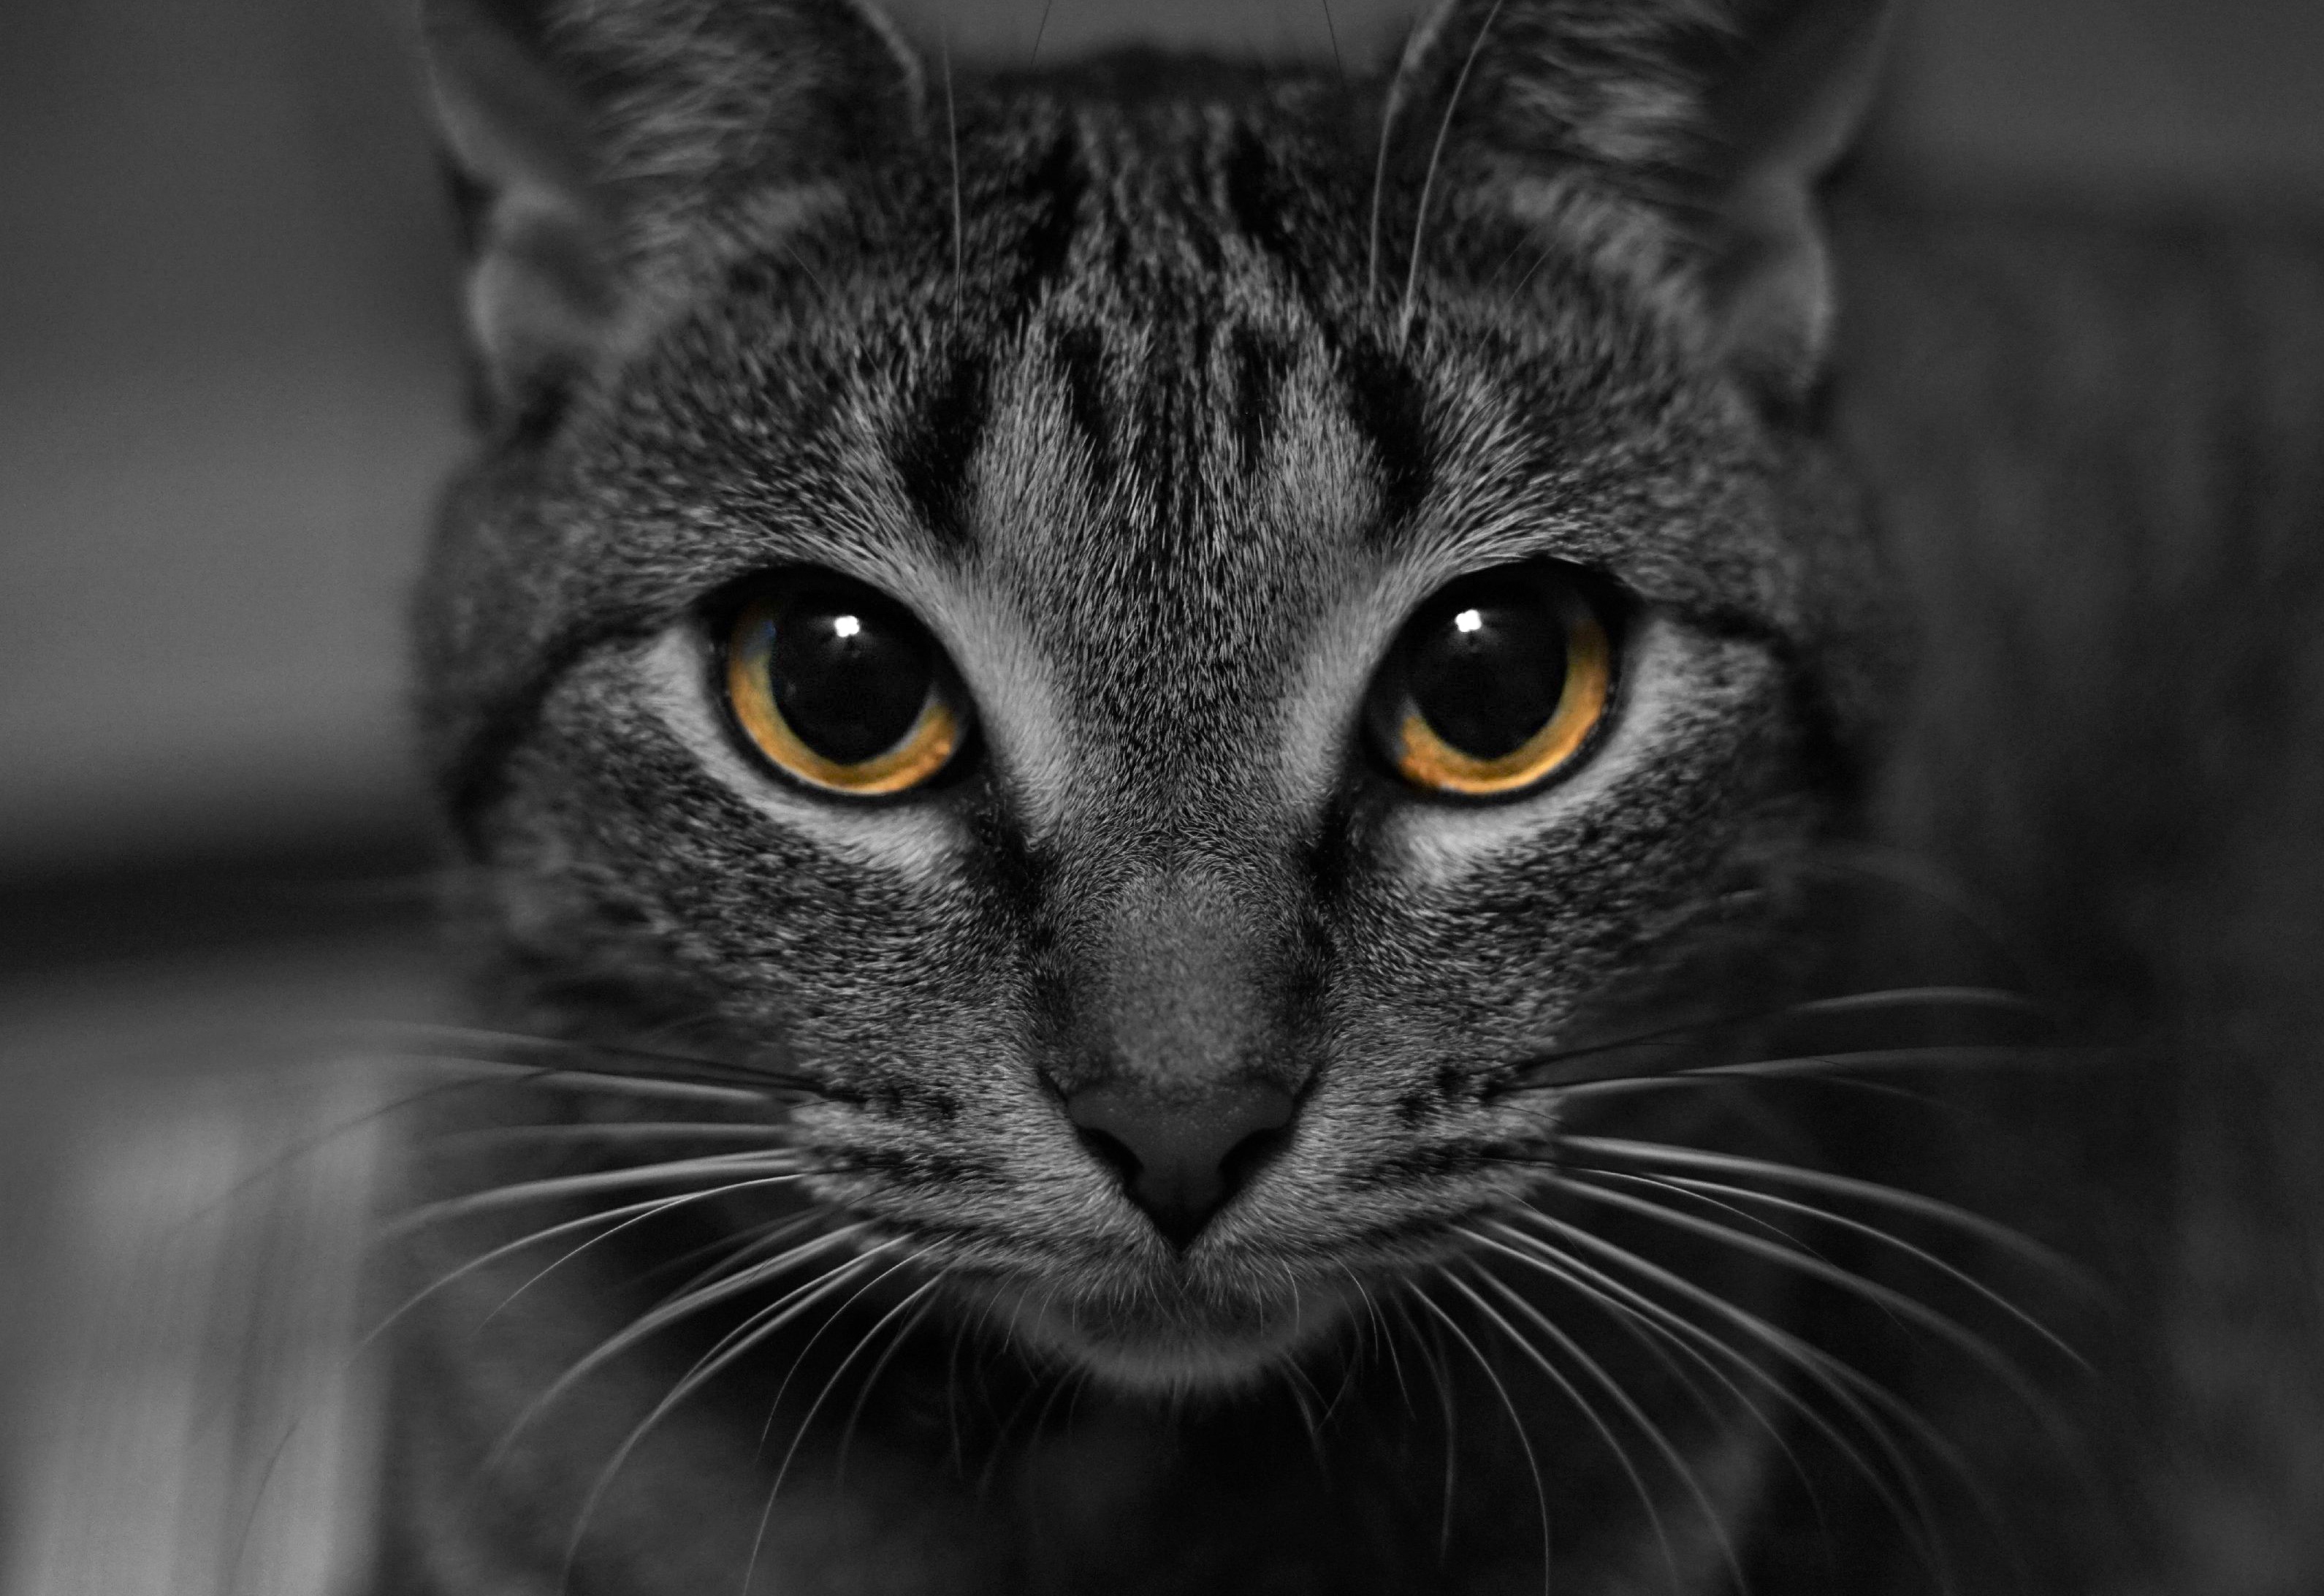
by James Timmer
Isolating Objects for Color
Underneath the Histogram and above the Basic Panel are the local adjustment tools. Select the Adjustment Brush, paint over the area that you want to convert to black and white leaving the colored area unmasked.
Take the saturation out of the area that you painted. When painting near the colored area you want to keep, make the adjustment brush small. Create an outline as this is the area that's more tedious. Then use a big brush to paint the remaining area.
When completed, deselect the Adjustment Brush. Go to the HSL panel and adjust the colors to your desired hue, saturation and luminance.
For more articles on Black and White, check out the following:
Convert Your Color Photos to Black and White in Lightroom


