Those of you that have recently joined the mass ranks of photographic enthusiasts will, most probably, not have thought too much about the way you camera is set up. After all, the image quality you are getting is already great so why mess around and ruin all that? Well the answer is simple, the image quality could be so much better.
There is a reason for that – camera manufacturers set up their products to give punchy sharp images and they do this by using fairly aggressive in-camera algorithms. The end result is exactly as you would expect, however, there is a problem with this, because much of the work has been done in camera, there is very little room for you to make adjustments in post production without actually degrading the image.
Today we are going to take a look at how to set up your camera’s image settings so that you can get the very best image quality with a little post production. In the supplied images, I have exaggerated the effect of settings using Photoshop
The first thing we are going to look at is the file format. Most cameras will offer a choice of jpeg or RAW, with some also offering TIFF files. The very best format to work in is RAW, but as a newcomer to photography you might find this a little daunting, so lets take a look at JPGs first.
Most modern cameras will allow you to change two things about JPG files, the size and the quality. The fact you should use the biggest output size is a given, but you should also make sure that you choose the highest quality, usually known as Fine in the camera settings. The reason for this is that JPGs are what is known as “lossy” files, when they are written to the card, they are compressed and this compression reduces, perhaps not perceptually, the quality. The importance comes when you work on the image in post production and re-save again, every time you save you degrade the quality slightly.
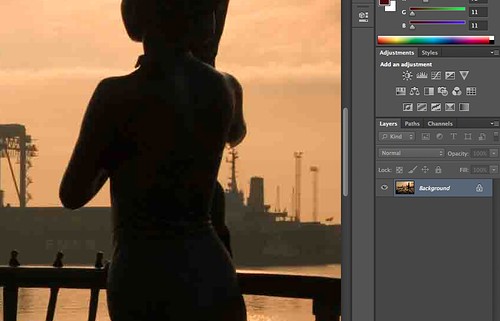
Shooting smaller sized jpgs will lead to quality loss by Jason Row Photography, on Flickr
The next important aspect to change is the sharpening. Again, by default, most cameras apply significant sharpening to images. The problem with this is that when you want to resize an image, say for a print you may introduce artifacting to the shot. The best option is to reduce sharpen to its lowest setting or off if possible and do the sharpening in post production, once you have resized the shot to its final resolution.
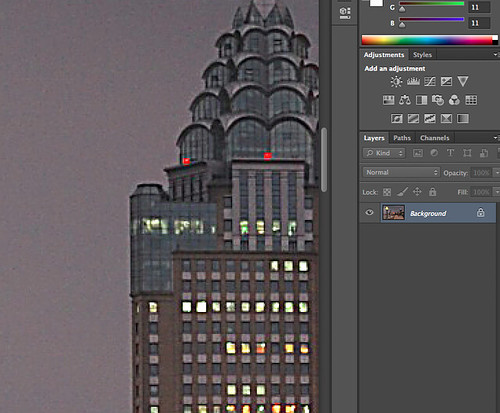
Sharpening is best left to post production to reduce artifacting by Jason Row Photography, on Flickr
Also important is the contrast settings and saturation settings. The are often integrated into scene modes or picture controls. Again turning these down or off will allow you to control both of these important elements in post production.
Lastly for the JPG settings and one that is important to get right is color temperature or white balance. Color correcting JPG files that have been shot at the wrong white balance can be very difficult, so this is one setting you need to think very careful about for each shot. Auto balance will make a pretty good go of it for most shots, but under difficult color light, it is worth switching to one of the camera’s presets such as tungsten, fluorescent or cloudy. Better still learn how to set your own white balance using a white card, allowing you to get color under most lighting conditions.
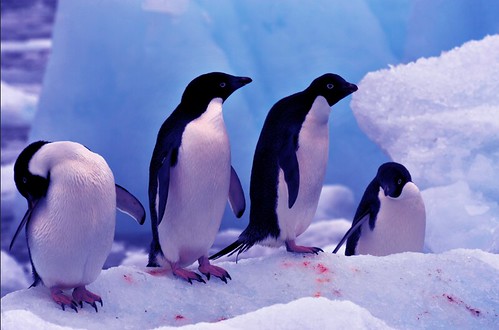
Incorrect white balance is difficult to correct by Jason Row Photography, on Flickr
Now Lets Take a Look at RAW Files
RAW files are very different, because they only take the sensor's RAW data and save it to a file. You have to do all the image manipulation such as sharpening, contrast, white balance and saturation after the image is taken using post production software.
With this in mind, you might think that there are no camera settings needed for RAW files, however, depending on your camera, there may be one or two that can effect image quality. Some cameras give you the choice to shoot 12 bit or 14 bit RAW files, and whilst theoretically the higher number will give you a higher image quality, the difference is so slight that it may not be discernible even to the most trained eye. You might find, however shooting 14 bit may slightly slow down the camera’s write times. The other factor sometimes found, is RAW compression. Again the compression, when compared to JPGs is so minimal, its unlikely you will notice any major difference, however, by shooting compressed RAWs you will find your files are significantly smaller.
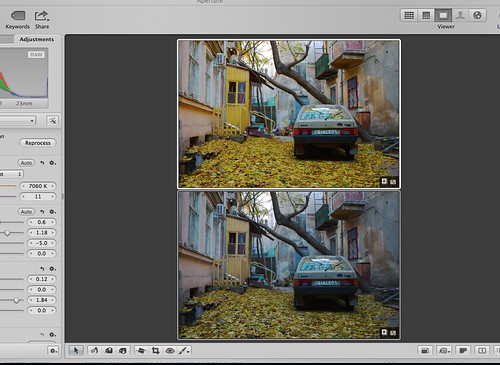
Processed RAW (top) compared to original RAW by Jason Row Photography, on Flickr
When setting up your camera for optimum image quality, you will at first be disappointed with the out-of-the-camera result, however that is the point. By using post production in Lightroom, Aperture, Photoshop or any of the other superb programs available you will be able to bring a sparkle and punchiness to your images that you did not think possible. It also gives you ample opportunity to practice your techniques, many of which can be learnt from the many excellent articles here on Lightstalking.


9 Comments
I wish to ask, oh, so politely that you reconsider your use of the word “artifacting.” It’s absence will not diminish the value of your future posts, I am quite certain.
Good info, but what haunts me is:
If I shoot in RAW, should I correct sharpening, contrast, etc… on camera? Does this affect the RAW file? or should I leave it on zero everything and then post process it? Because even on RAW, my Nikon D7000 still has picture controls, and I don’t know if I should or should not use them, should I leave them in Standard?
Too many questions :/
Shooting RAW will not apply any of these corrections, no sharpening, no contrast or saturation correction or white balance. It gives only the RAW data for the image. You make all the corrections in post production. You can happily leave your camera settings as they are for shooting normal jpg.
With so many of us now choosing to shoot RAW and adjust in post, are there any dslr models that have done away with the unneeded controls and concentrated on enhancing the most essential features?
Thank you, for the article Jason. I concur with recommendation for correcting in Post, almost the only way you can do it. Once one starts shooting and working with Raw as you know and have pointed out very clearly here the advantages and control over images are vast. I still find a place for JPG’s in my shooting bank but my Cameras are set too RAW Fine most of the time.
Aloha, Tosh.
I didn’t see anything more said about the Tiff files that you mentioned in the beginning of your article. If I’m not yet confident enough to go to the RAW setting, would it be better to go to the TIFF setting instead of the JPG?
Almost no cameras today shoot in TIFF format. Just JPEG and RAW. Shoot in RAW and save to TIFF. In Lightroom, it’s not necessary to save the photos you’ve worked on – they stay in LR and can be tweaked again with no loss of quality. If you’re just starting out in photo editing, I recommend Elements 12, which will handle JPEGs or RAW files just fine.
RAW is actually a form of TIFF file. As are DNG’s
The RAW is essentially just a TIFF file setup by a specific camera manufacturer (which, incidentally, is why we need regular updates to RAW Codecs for OS’s and older versions of software don’t always support every form of RAW until updated).
The RAW typically has a profile embedded into it based on camera settings (which is why you’ll see Bridge or Lightroom, etc, ‘adjust’ the thumbnail just after download, as the prog accesses the stored profile information
The generic files we call ‘TIFF’ files are platform-independent, much as JPEGS are.
Phase One files are essentially in .TIFF format although the extension is a proprietary Phase One file format. I would not know of any other camera using .TIFF. Many brands use their own name for RAW files so the extension might be different on your camera.