In portrait photography, it's not always easy to get the perfect shot. You need to get the right light, framing, angle, emotion, and sharpness. Sharpness is almost always one of the toughest to get right, and that is because it is affected by every other technical aspect of the photograph. Let's look at how you can get those sharp portrait images – here are the 8 immutable laws on the topic.
1. Light is Everything – Light is the most crucial aspect when it comes to sharpness. You need to have enough light, and the light needs to be well directed. The more light you have, the more information the camera has, and therefore you end up with less noise to ruin the detail. Also, you can use faster shutter speeds with more light.
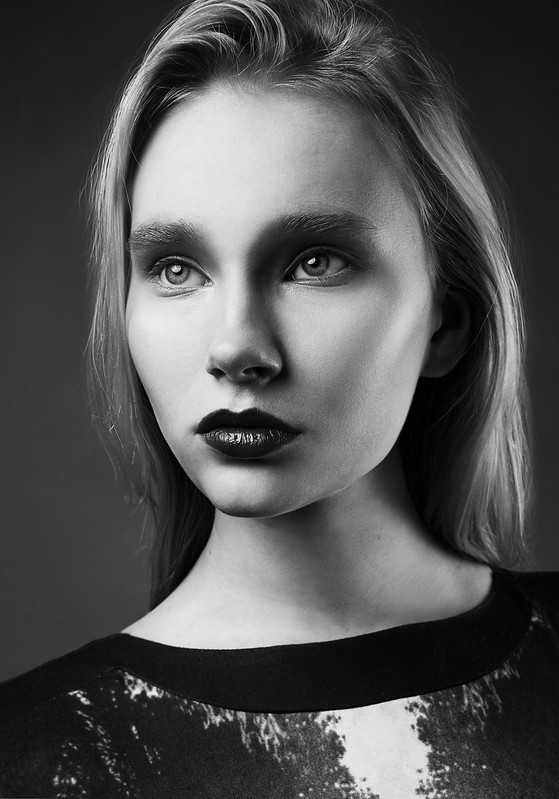
Photo by anka nevasilyeva
2. The Lens Matters – Your lens is the second factor that directly affects general image sharpness. Choosing the right lens will dictate how sharp your images turn out and where the sharpness is applied. A wide-aperture, normal lens like the 50mm f/1.4 will keep the eye in focus at the widest aperture, while the nose and shoulder will be out of focus, making the background nicely blurred. On the other hand, a lens with a longer focal length, say, 200mm f/2.8, you can have the whole subject in focus while maintaining a good background blur, even though the lens is f/2.8. It is up to you to decide which parts you want sharp, and choose the right focal length accordingly.
3. Get Your Focus Right – Of course, if you miss your focus, the image will be blurry. However, autofocus doesn’t really miss if the subject isn’t moving, right? Well… Not really. Autofocus can miss. It can focus elsewhere because it easily gets confused. That is why the more expensive lenses allow for full time manual focus override, which means that you can fine tune your focus even though the lens is on autofocus. So, always check your focus and don’t rely on autofocus completely, since it can and it will sometimes focus wrongly. Another important point to remember is not to move forwards or backwards while you are focusing because you will get the subject out of focus.
4. Use a Fast Enough Shutter Speed – This is another key aspect when it comes to general image sharpness. As I mentioned before, enough and well directed light will lead to sharper photos. That will also allow you to use faster shutter speeds, thus effectively reducing motion blur. In order to get a sharp image, there is a good rule of thumb when it comes to shutter speed. If the focal length of lens is 50mm the shutter speed should be 1/50 or faster. If it's a 200mm lens, the shutter speed should be 1/200 or faster. That way you always have a good chance of avoiding motion blur due to camera shake.
5. Choose Your Aperture Wisely – Every lens has its sweet spot. Mostly it is when the lens is stopped half way down. That means that the lens has the sharpest detail resolving on that aperture, as well as less vignette, and corners are sharper. When it comes to aperture, compromises must be made. Most lenses are quite sharp wide open, but sharpest when stopped half way down, so the question is, would you sacrifice a tad amount of sharpness for a great deal of background blur and smaller chance of motion blur, or will you stop down the lens for sharper optical performance with less background blur and the chance of motion blur or high ISO? The choice is yours.
6. Avoid Filters – Simply, avoid them if you can. Filters can help in certain conditions but they always affect the sharpness. Some filters do better than others, but don’t use them if you don’t really need them. UV filters are a trend nowadays. Most of the people use them for lens protection, thus sacrificing ⅓ stop of light and some amount of sharpness. If you really want the sharpest image you can produce, get rid of that UV filter.
7. Utilize Image Stabilization – Some of us have a steady hand, some don’t. But no matter how steady your hand is, the image stabilization (IS) feature will give you 3-4 stops of improvement when it comes to motion blur. This really helps when you are using slower shutter speeds when photographing hand-held. There is no harm what so ever in using this feature, unless your camera is mounted on a tripod where IS can introduce shake.
8. Keep Your Model Steady – One last aspect that can affect the sharpness of a portrait photo is the model. If the model moves too much, the movements will affect the sharpness. Therefore, you’ll have to instruct the model to be as steady as possible between frames. Instruct them to listen to the shutter or watch the flash and use that as a cue for standing still and changing poses respectively.
If you follow all of the tips above, you will certainly see a big difference in your image sharpness and produce sharper portrait photographs.


3 Comments
IS is turned off as default on the Leica Q because it allegedly decreased the IQ: https://lavidaleica.com/content/leica-q-executive-interview at 3:50. This is counter to this article’s claim that “There is no harm what so ever in using this feature”.
Not exactly correct. They admit that when not using a tripod or in low light it would be preferable to turn the stabilizer on, and the corner distortion he is talking about referred to this camera. As well with that lens they are capturing more light than the average camera lens, even the better ones, so they can afford the sales and brand status perspective of promoting their product as not needing an IS. Certainly most readers here will recognize that with their own cameras … likely not Leica’s … that there actually is no harm what so ever in using this feature as the article said. Just because Leica says you dont need IS doesnt mean that you dont need IS.
Still, its an amazing camera lens combo, and I would enjoy using it.
Very informative. Thank you for all the trouble you take to write clear concise articles.
I always learn something new from you.