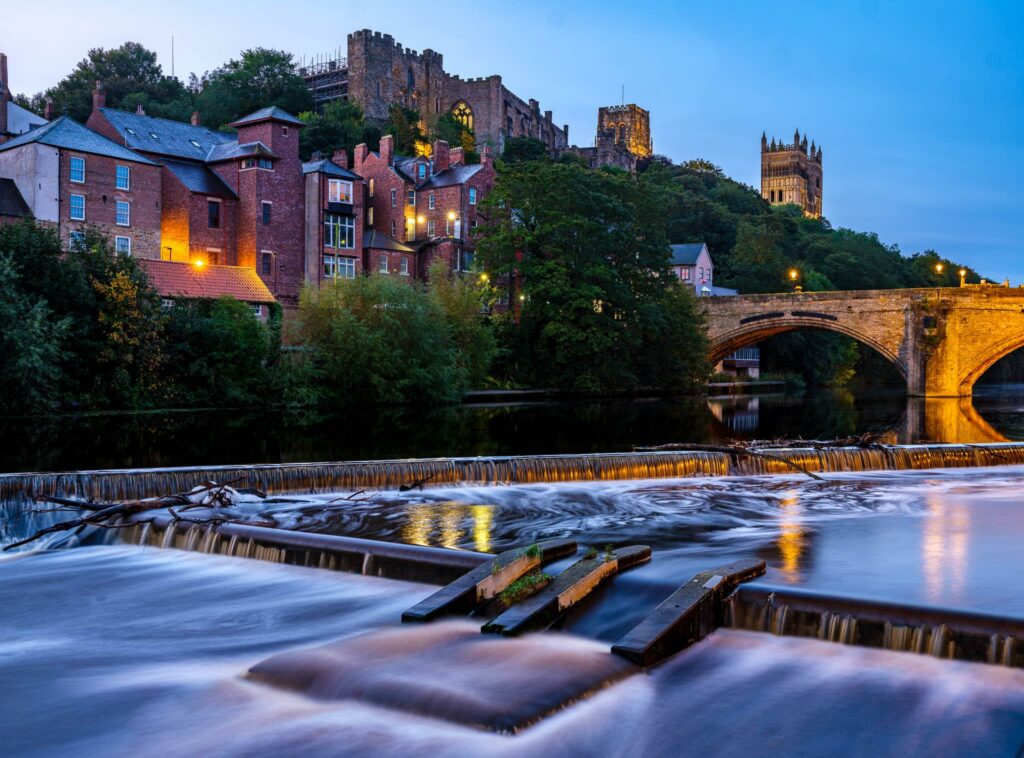
Before digital photography and post production on computers, you picked film for the outcome of image you wanted. For neutral, run of the mill shots any conventional color film would do the trick, but for move vibrant and saturated images, you would choose something like Fuji Velvia slide film or my personal favorite, Kodak E-100 VS, or Very Saturated. The chemical emulsion within helped produce vibrant colors. The downside of course, in addition to the cost of film and developing, is that you had to finish that roll before changing films, whereas digital will allow you to shoot all day and apply whatever effects you want in post. Achieving vibrant color without overdoing it can often be a challenge though, but here are some tips to get it just right.
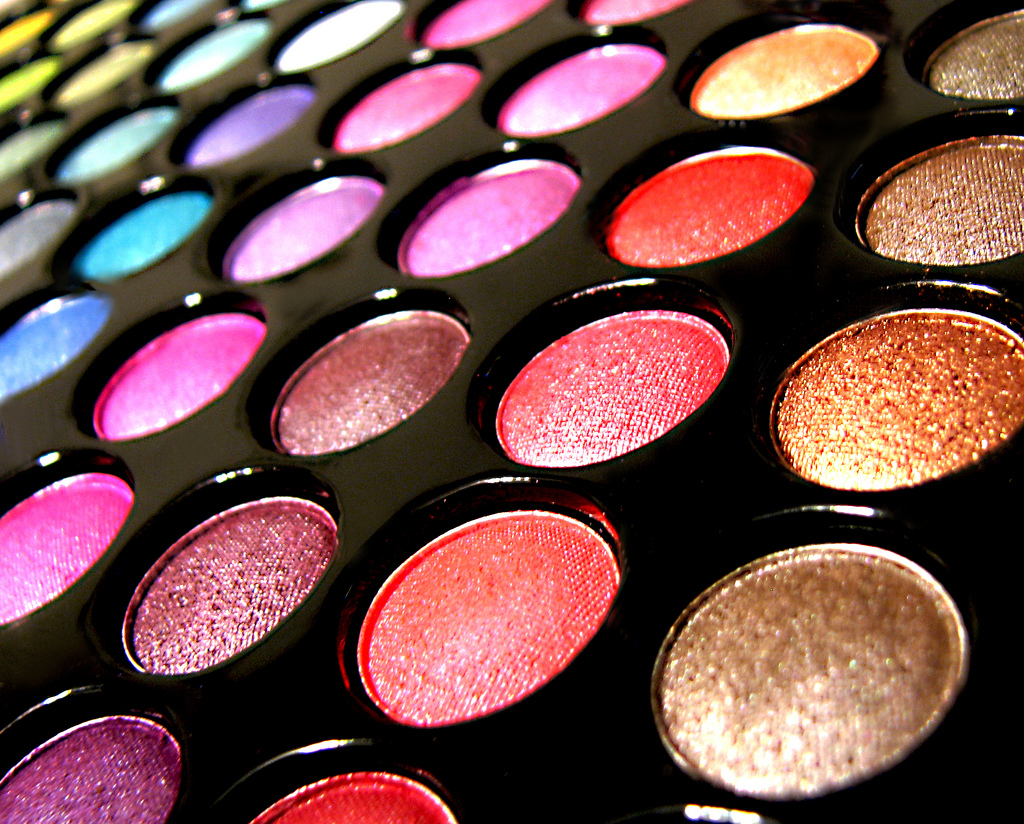
First and foremost, nail your exposure. This is perhaps the number one rule in any kind of photography, but for images where you want to show the vibrant colors of your subject, under exposing can give the photo a gray-overcast look and over-exposing can blow out the highlights and kill the underlying color.
Next, set your white balance. Again, this tip applies to every type of photography and we've shown you how to do it already, it's crucial to the color and tone of your images.
Moving on, there's one more set of tools that can be used before post processing and it too stems from something we've already shown you how to use, color filters. Circular polarizing filters are favorites among those who want to get saturated skies, but the Cokin line offers even more choices and adds all kinds of flexibility.
Getting the best possible image to start with, from exposure and white balance to creative filters will give you a solid platform to work from when you start to post process. Since the software used to edit by each person can vary widely, I'll simply cover a few of the more general tips that should apply to programs like Photoshop, Lightroom and Aperture.
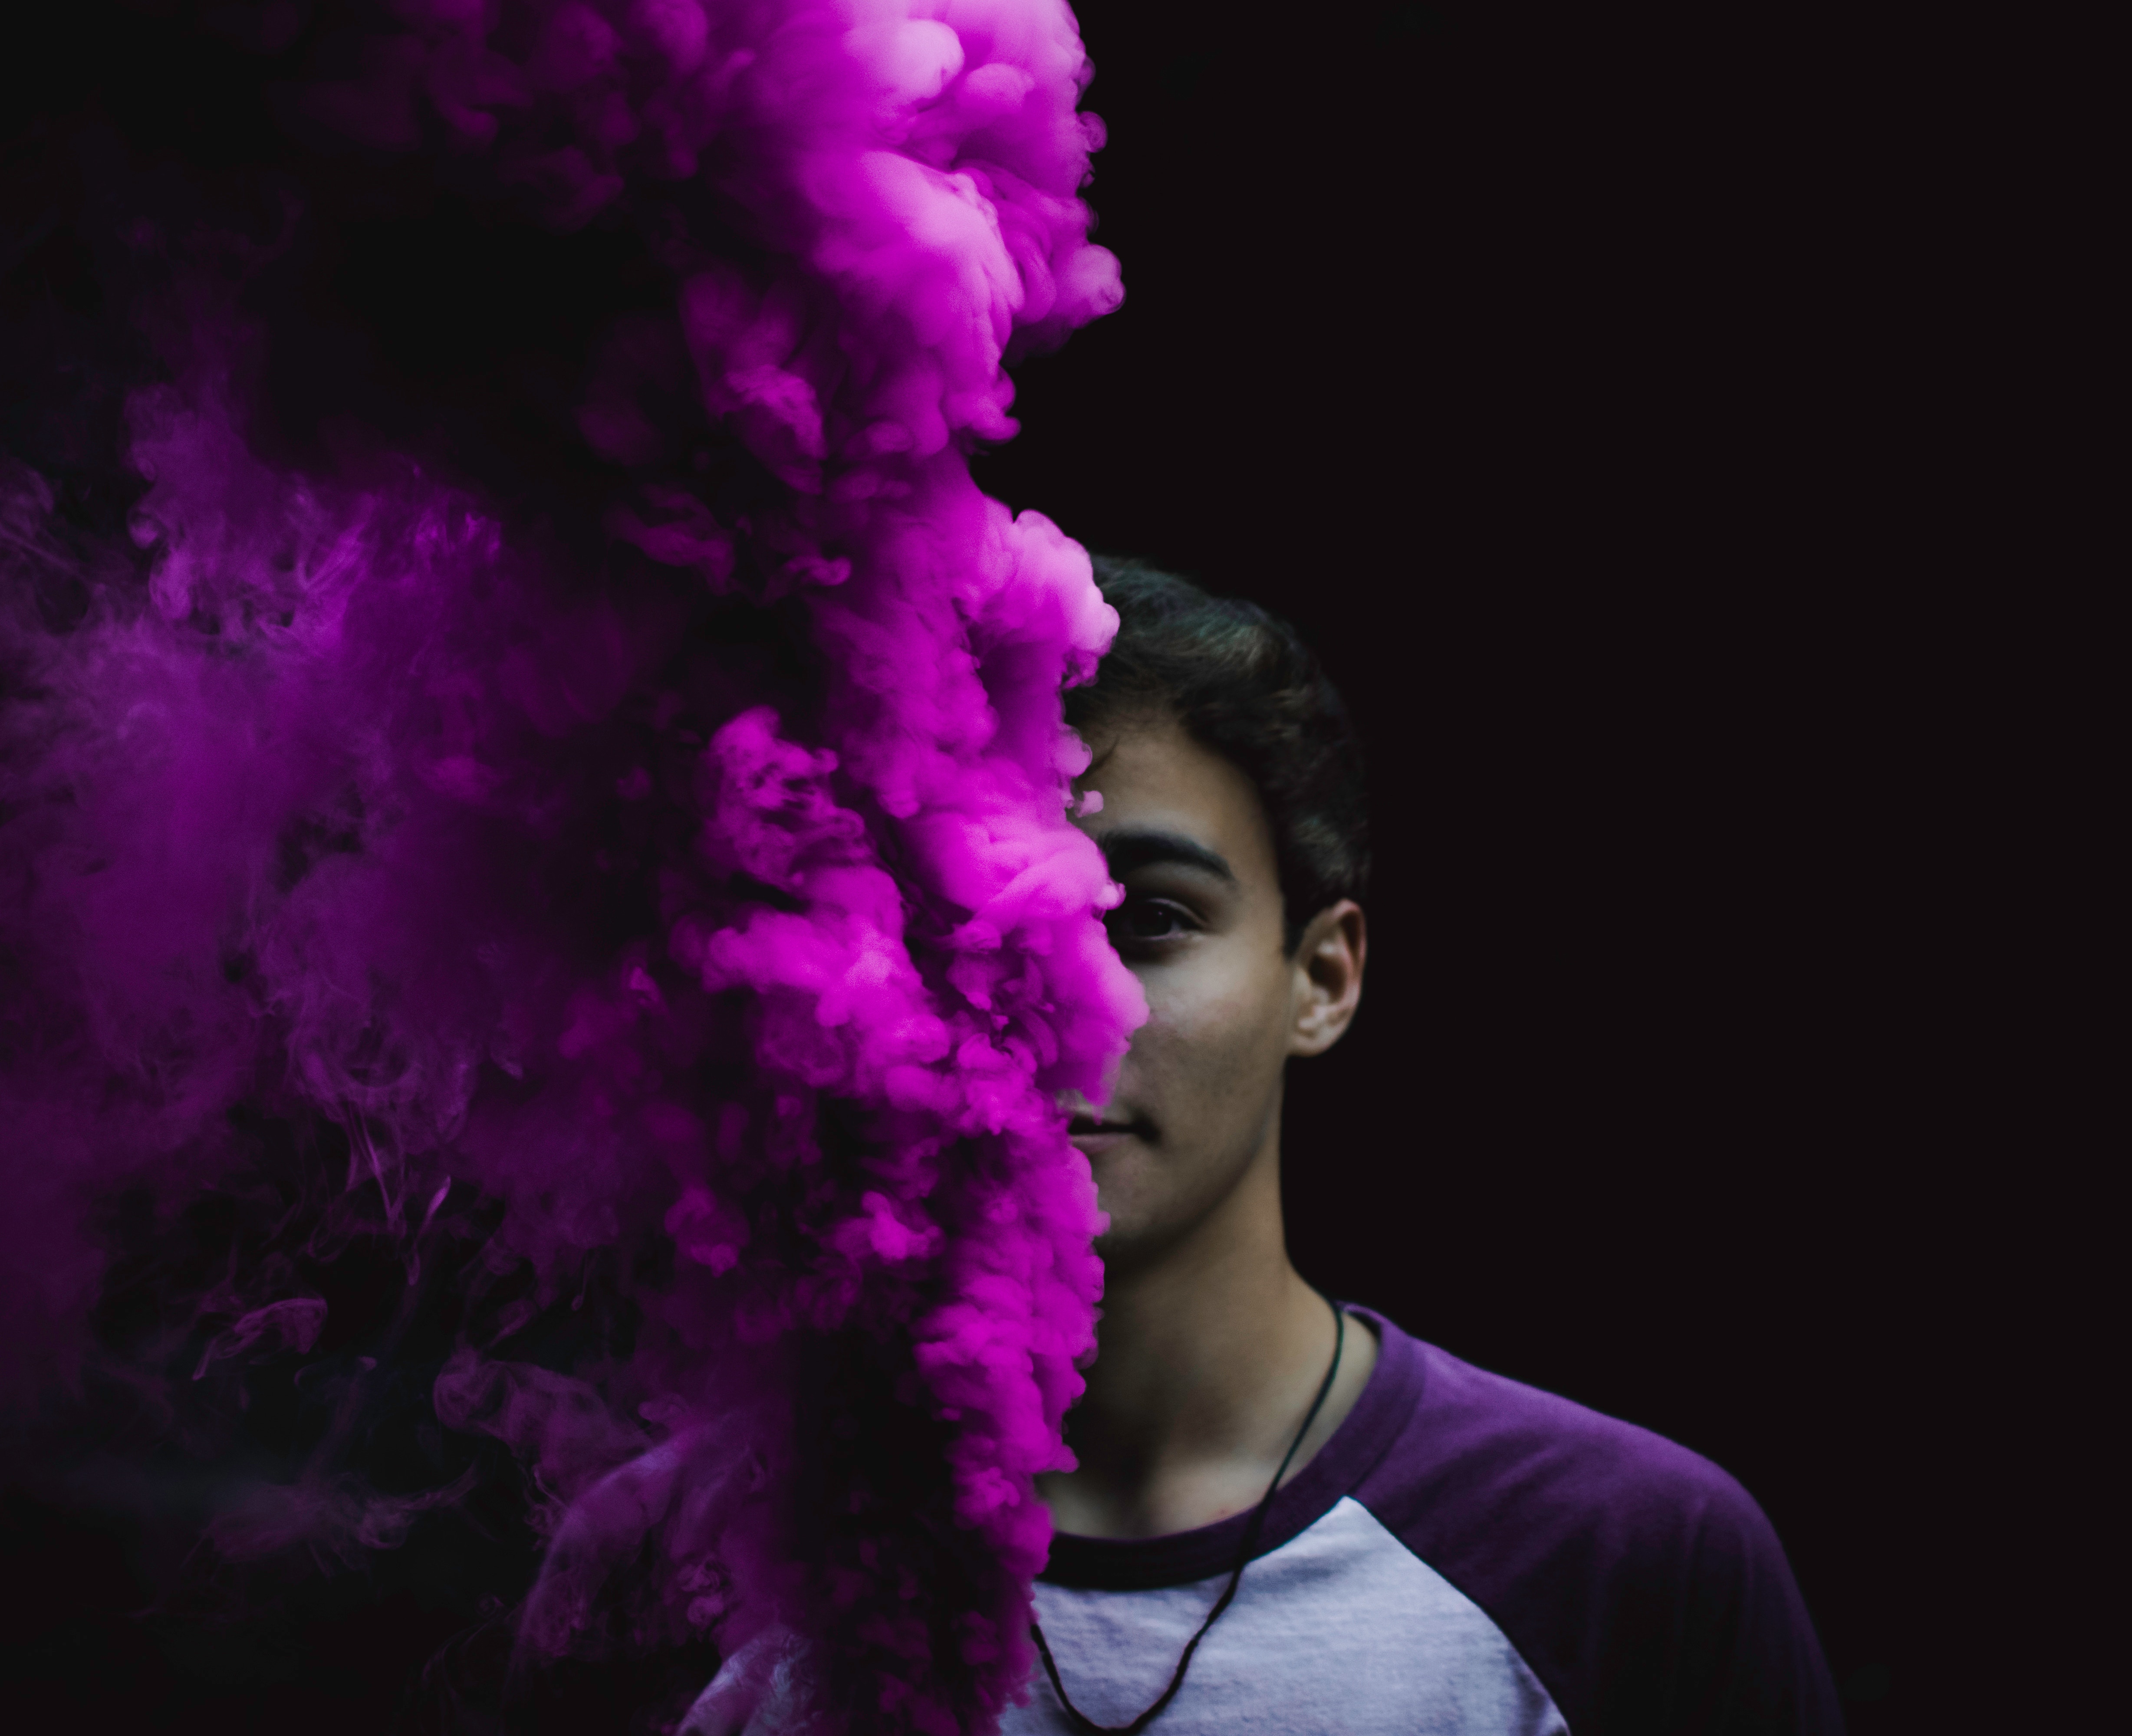
To a properly exposed photograph, adding in a touch more black will effect all colors, not just those which are black in the image, however you'll usually have to then adjust the midtones and even the highlights. Perhaps one of the easiest ways to get your vibrant color in post production is to rely on what someone else has already done for you! The old saying of why re-invent the wheel holds true here.
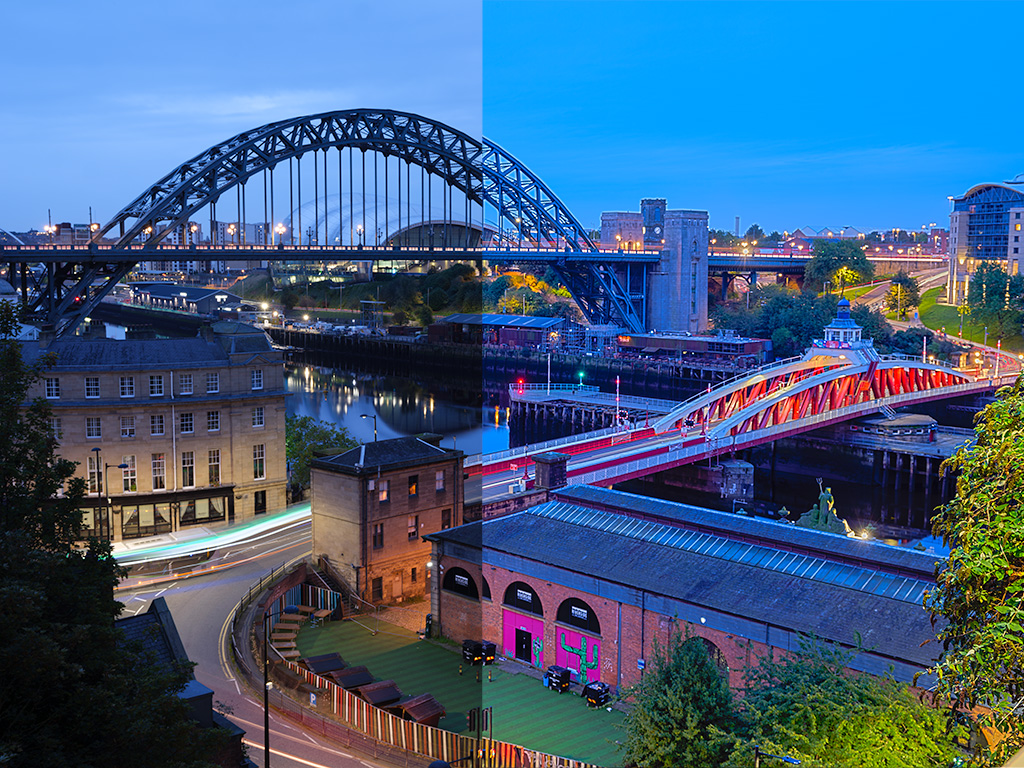
There are dozens of sites that offer thousands of actions (for Photoshop) and presets (for Lightroom) that were created by others who then share them, often for free. Here are 45 Photoshop actions worth taking a look at to help increase the vibrancy. Once installed, it's a simple click to get the desired, preset effect.
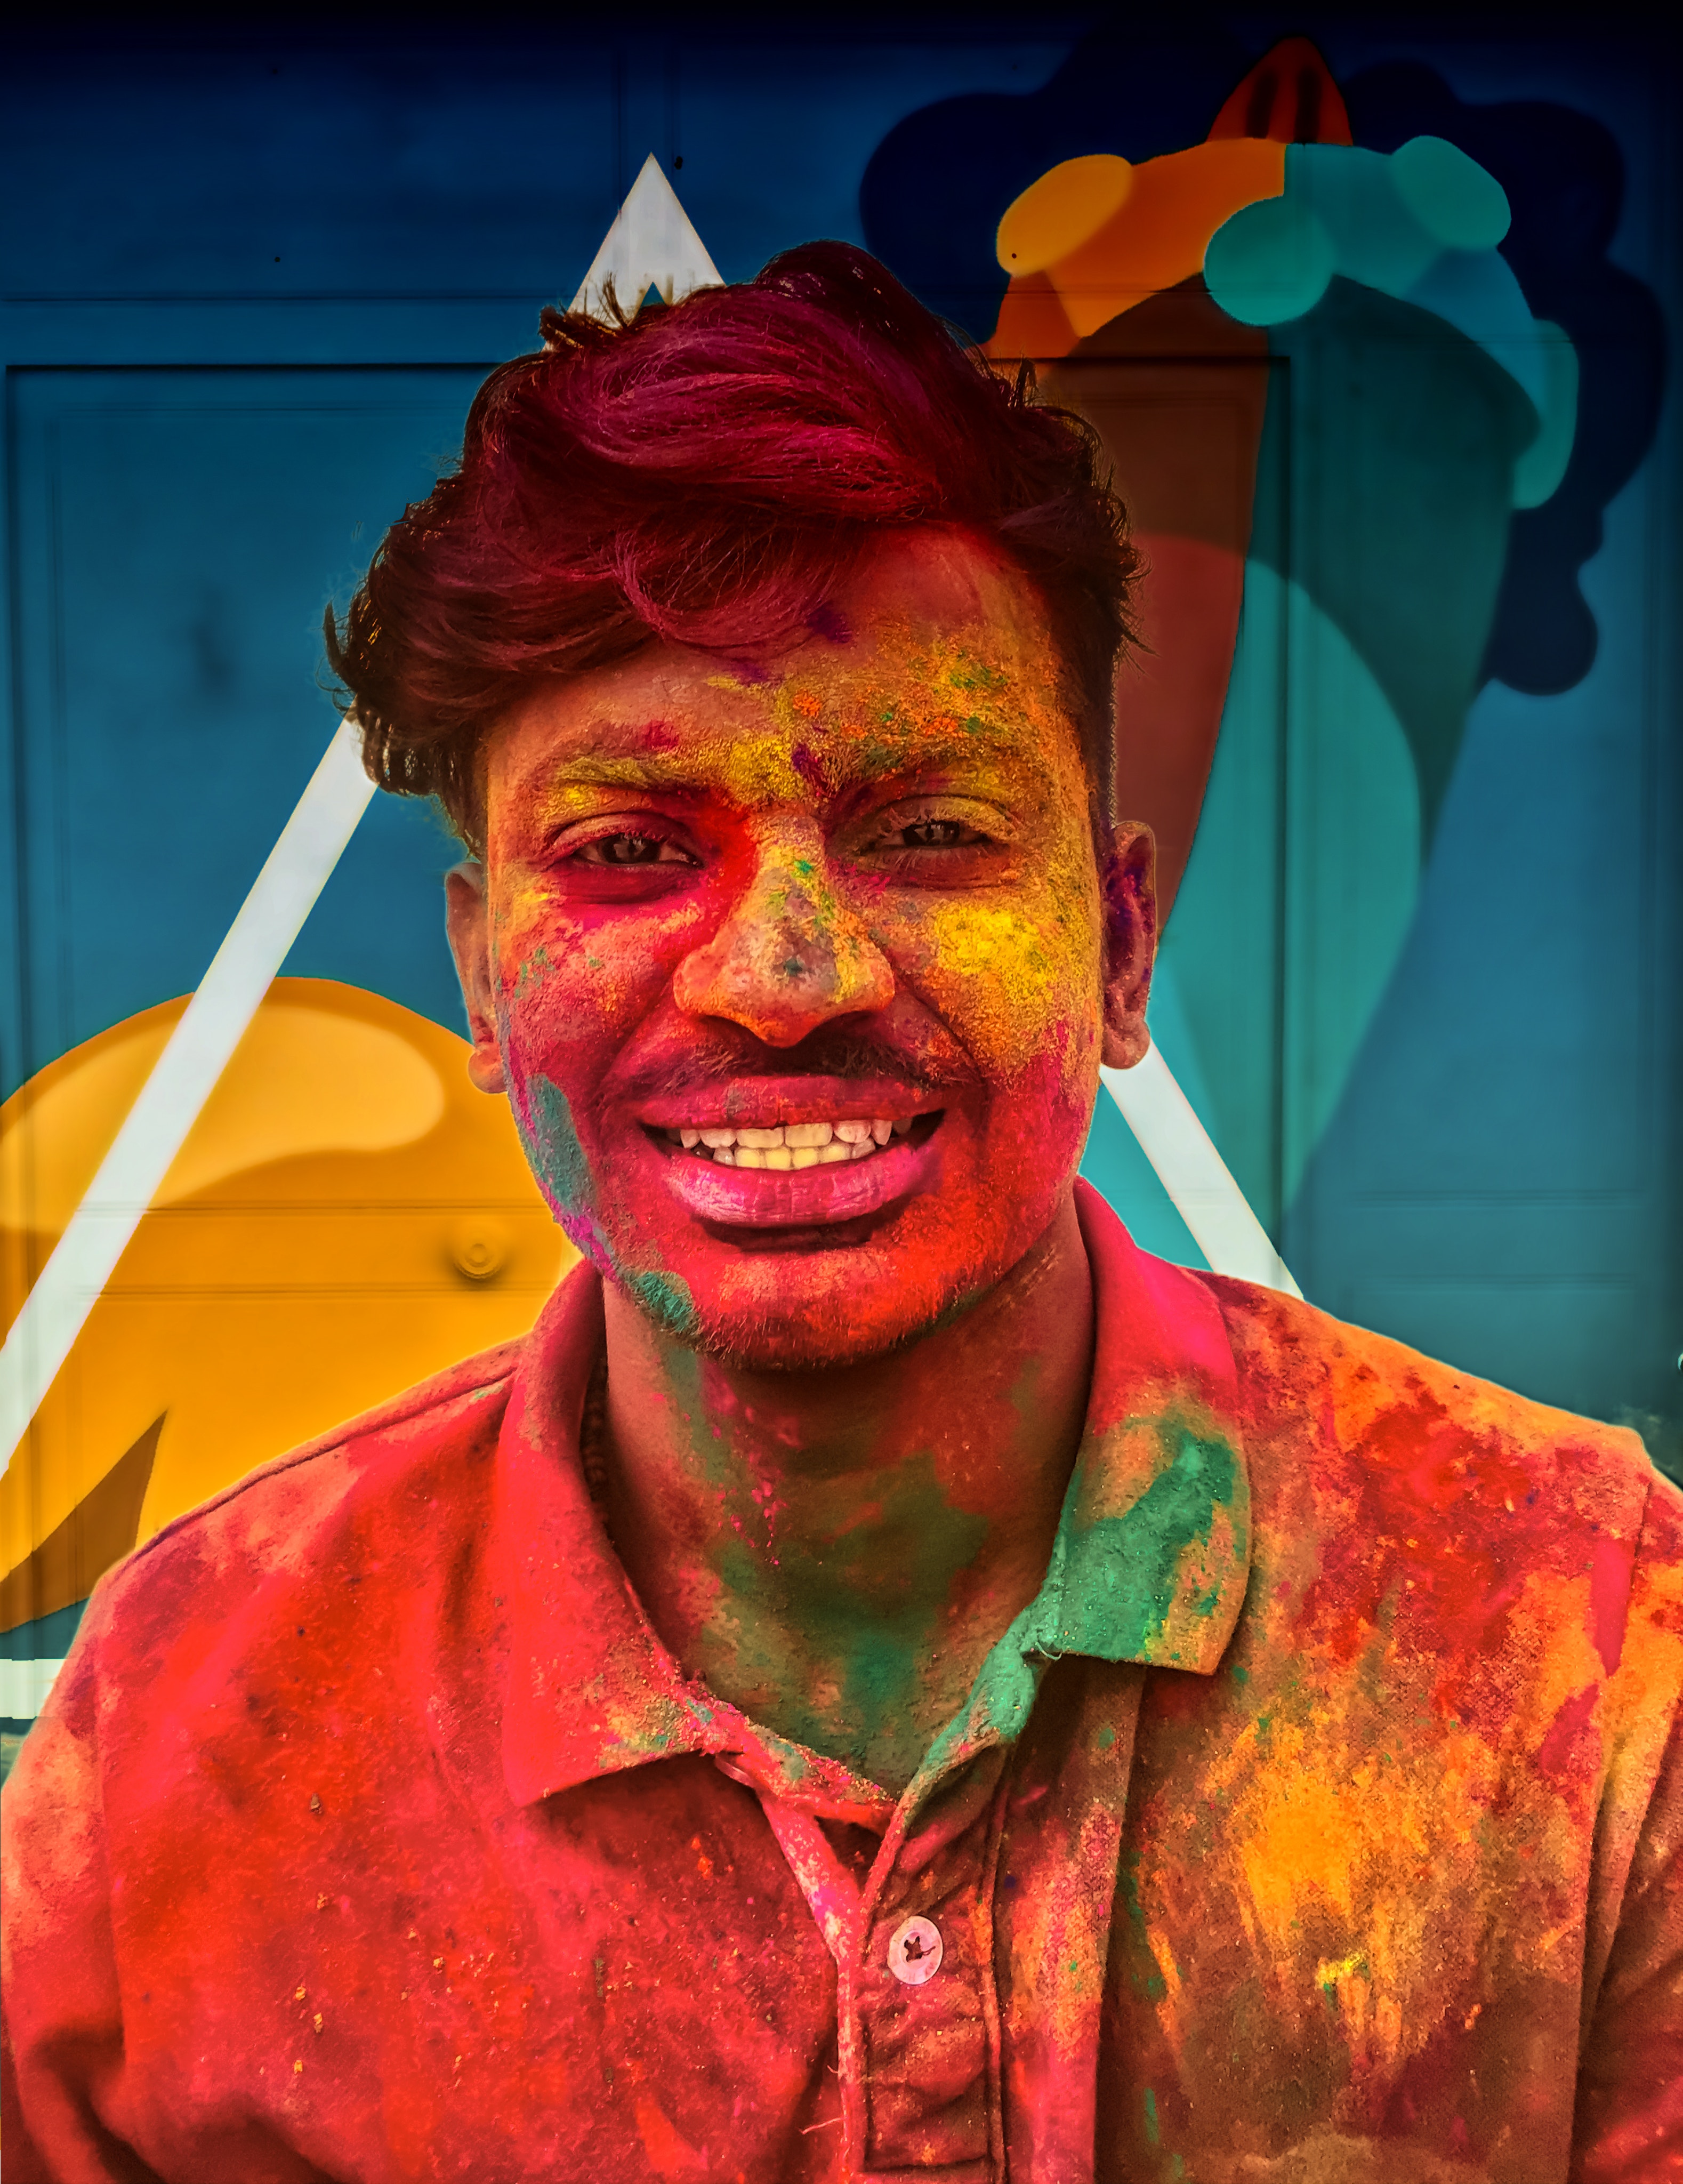
What's worth noting with these free (and even paid for) actions is that they usually and almost always should have final tweaking to the end image. No one else will be able to create a specific preset or action just for you and your tastes, which is the fun in photography. The key to knowing when you've overdone an effect, or saturation level is when it no longer looks like it did in real life. Additionally, over-saturating even a well exposed photograph or moving the individual color sliders too far will result in sever artifacting (even on RAW files) and a total loss of image quality. Be sure to view your images at 100% when editing to ensure this isn't happening.



5 Comments
Oh the day of file was so easy, but if you are willing to step out of your confort zone digital has such pertential!
Spell check, Paul?
I think these are fine tips but they are missing a very critical component. That being a properly calibrated monitor. No matter how good your exposure is, or what you went through in camera to get your white balance correct, if your colors, black levels and screen brightness is off your images will be off when printing or viewing from another PC online. Thankfully its not that expensive and there are a few good options to choose from.
Thanks, we often struggle photographing our color hueboards against a colorful background. Messing around with saturation sometimes helps.
We’ll have to try some of the presets you mentioned.
Chris
Thank you Paul. I have been working with filters and I think the more one can do “nail” the exposure prior to production, the easier it will be “post” production. Still working towards this but have a lot more to learn!