Usually when you think about wildlife photography, one of the first things that comes to your mind, as a photographer, is a house full of equipment. And that might be true, because professional wildlife photographers have tens of thousands of dollars invested in equipment: extreme telephoto lenses, several camera bodies and all other kinds of additional equipment.
The truth is that photography is expensive. In particular, wildlife photography is expensive. Telephoto lenses, especially ones above 400mm with wider apertures, are very expensive. They can easily be at least 5,000 dollars and much, much more.
However, it is not that expensive to get started in wildlife photography if you make strategic purchasing decisions.
What Camera Body Will You Need for Wildlife Photography?
Of course, everybody would like to shoot some wildlife with 1Dx, or 4Ds, but the reality is that those cameras cost a fortune. Sadly, your average entry-level camera won’t do you much good: the reason being its focusing system and its frames per second aren't up to the necessary specs to shoot moving wildlife in many cases. Three frames per second with a buffer that holds five raw files, and poor servo mode would be a pain for wildlife.
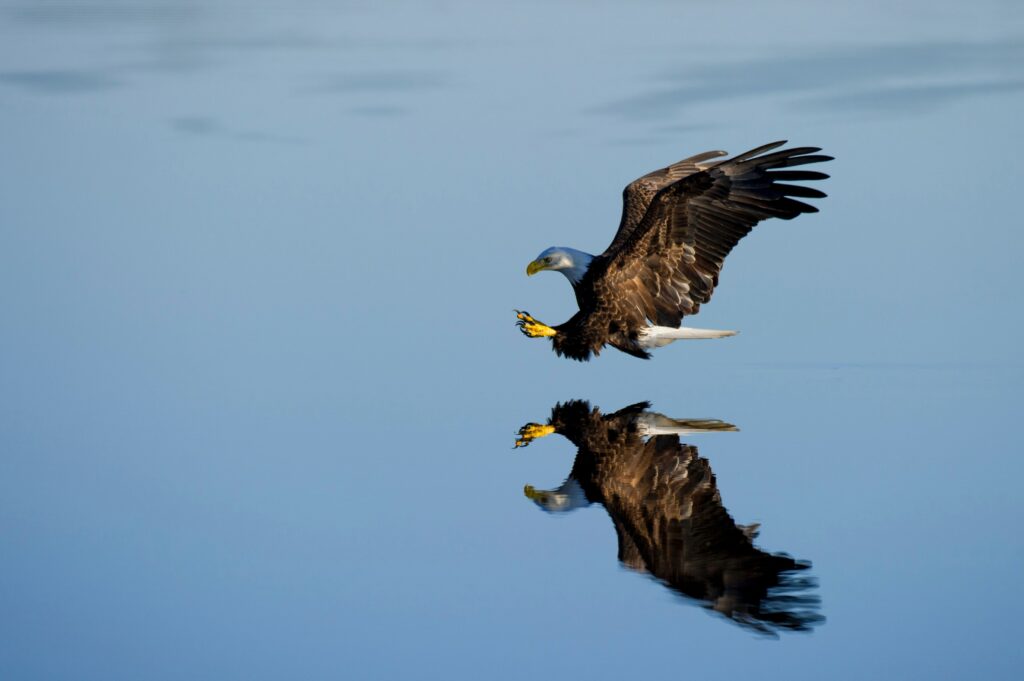
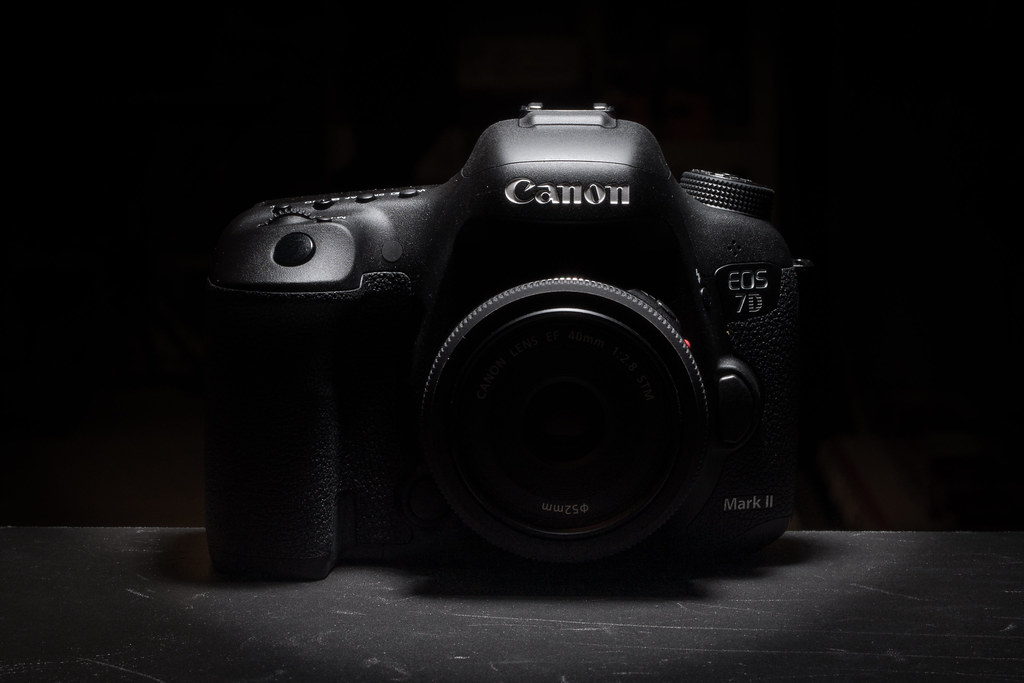 Photo by Henry Söderlund
All is not lost though. You can get a midrange camera that will do many things including wildlife quite well. For example, the Canon 70D is still a great camera, even though it’s less advanced than the 7D mark 2. The Nikon D7200 is great as well, although slightly more expensive, sitting somewhere between the 70D and the 7D Mark 2. As of the time this article was written, a 70D’s body will set you back $999, but you can get one that’s refurbished for cheaper. The D7200 costs around 1200$.
The main advantages of both the 70D and the D7200 are that they are crop sensor cameras, with decent speed in continuous (servo) focusing, and decent frame rates in burst fire. These are the things that you should look for in a body if you are planning to shoot wildlife.
Lenses for Wildlife
Basically, lenses are the more important piece of gear when it comes to wildlife photography. If you can’t get close enough, you’ll be just shooting landscape with some wildlife in the picture. One of the go-to lens formulas for entry-level wildlife photography would be 70-300mm with ultrasonic focusing motor and, preferably, image stabilization. Prices will vary between generations of lenses and manufacturer, but all in all it is a pretty decent, all-around telephoto zoom lens.

Make sure that you opt for ultrasonic motors (or whatever the manufacturer equivalent is named) for any lens you get for wildlife. If the focus motor is too slow, the camera won’t be able to focus fast enough for you to capture the animal. Sure, stationary animals won’t be an issue; however, if they start to move, you’ll have problems tracking and chasing with the focus.
What About a Tripod?
Even though you will be shooting hand held most of the time, for longer focal lengths you’ll need a tripod, or at least a monopod. Nothing fancy, but it is good to eliminate at least one axis of motion and camera shake (reducing the workload of the optical stabilization on the lens, if any).
There are quite a lot of options for cheap tripods. Just make sure that the tripod head doesn’t limit you too much in moving and panning around. It is good to provide some resistance, but make sure that you can do it fast enough to be able to chase an animal.
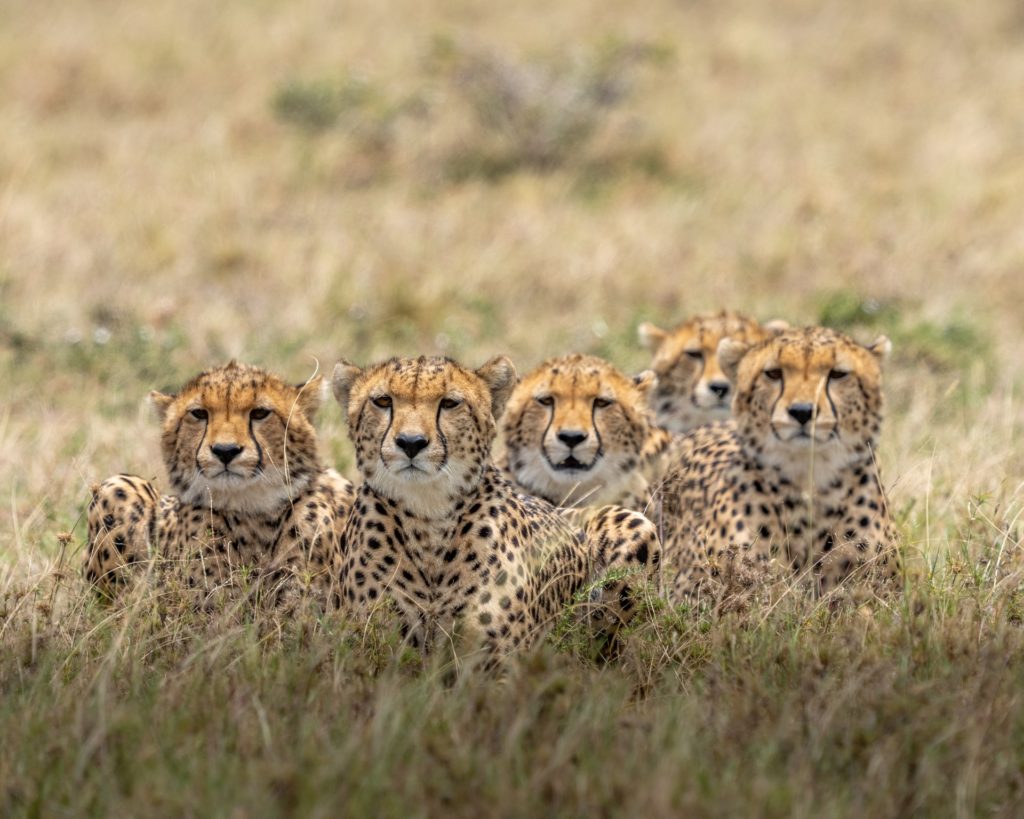
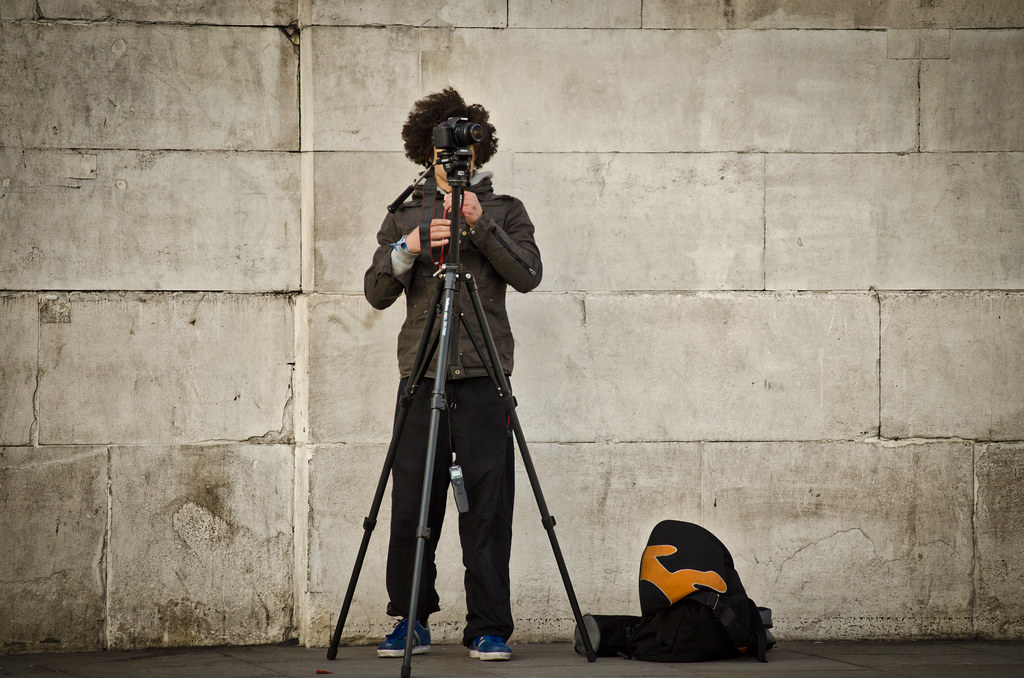 Photo by Garry Knight
Invest in a Protective Filter
A cheap investment, but it will pay out in the long run. Basically, it is a piece of transparent glass that you mount in front of the lens to protect it from scratches and dirt – common problems when you're out shooting wildlife. Of course, if you drop the lens with enough force to break the filter, you’ll probably break the lens too. However, instead of the front lens element getting dirty and possibly scratched, it is better for the filter to get dirty. Then, you can just clean the filter. Also, if it gets damaged, it is a cheap replacement compared to replacing the whole lens. Wildlife photography means you will get dirty, and that goes for your gear as well. Reduce that as much as possible by protecting your gear, and it will last longer.
The key thing to remember with protective filters is that you should try to get filters of the same or better quality glass than your lens. There is no point buying a top of the line lens and putting a $5 ebay protective filter on it as this will negatively affect the image quality of your photographs. If you have a Nikon lens, then get at least a Nikon filter (UV or NC are the most popular choices). Other good quality protective lenses are made by Hoya and Lee.
Summary
Wildlife photography can be some of the most rewarding in any photographers career. It's a huge challenge, but also a huge reward. While getting all of the top gear can be quite extortionate, hopefully these tips will let you get into wildlife with your wallet a little more intact.

2 Comments
I’ve been disappointed in Hoya filters. My last one was a circular polariser in which the glass came loose from the frame and rotated freely, making its index mark useless.
I really think you did your readers a huge disservice by not mentioning the surge in popularity of micro 4/3 cameras for wildlife photography. The gear is half the size and often half the price with comparable results. I was an avid Nikon user and switched to micro 4/3s and have not looked back. In fact, I shoot more because it’s easier to carry the gear.