There are three in-camera playback tools that when used together, help amp up image quality while in the field. They're easy to set up and easy to use. These tools will provide a quick peek at the quality of your image so you can make the needed adjustments in the field. While it's never a 100% guarantee, these tools are very helpful in ensuring what you see is what you get.
If these haven't been set up yet, take a couple of minutes to go through the ‘playback menu' on your camera. Depending on your model of camera, these may not all be available. Check the manual if needed. These include:
Focus point highlight
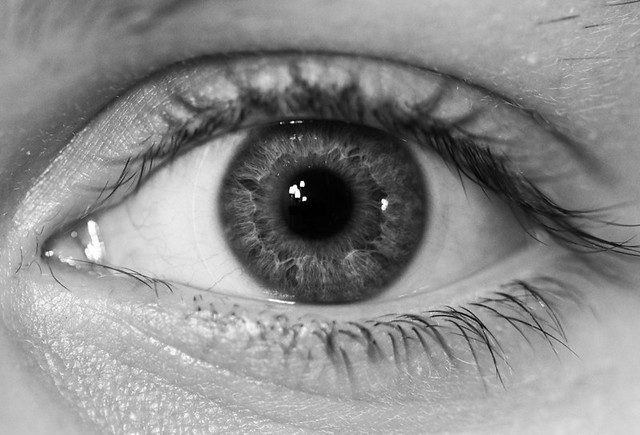
When photographing birds, animals, insects, we strive to have our focus ‘spot on' the eye so that it is sharp and clear. Selecting the focus point will allow you to see the focus point on the photograph when in playback mode. Then you can “+” to zoom in and check out how it looks.
If it doesn't look completely sharp, that's ok. It's not going to look exactly as it would on the computer's display. The playback screen is showing you a jpeg image (even when you take the photo in RAW). It's just a good indicator that your focus was in the right spot. Don't delete as you'll still want to get a better look during post processing.
Highlights
We work with many lighting conditions. For those that live in weather conditions that change every 5 minutes or when navigating through woods, mountains and trails, we have to make adjustments continually.
Select the highlight mode or highlight alert in the playback menu options. When previewing the photograph in playback mode, the bright areas as well as the areas that are overexposed blink. This is an indicator that highlights are ‘blown out' which means that area cannot be effectively recovered in post processing. This little feature has helped me make both physical positioning and camera adjustments many times.
RGB Histogram
One of the best articles on the web about how to read and use the histogram was written on Light Stalking in 2010. Are You Using Your Histogram to Get Better Photographs?” is a great overview of how the histogram works and how to read it.
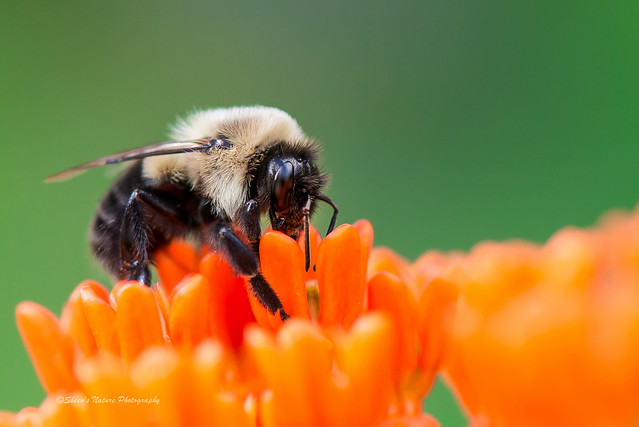
The histogram below is from Lightroom for illustrations purposes. This represents is what is viewed in playback mode on the camera of the bee image below.
The colors are well distributed, however with a bit to the left. That's not bad or good, it works for this image. From a technical standpoint, an image is well exposed if 1) it reaches both sides without a space on either side of the graph, 2) the bars are not shooting up the right and/or left sides and 3) the collection of the graph should be in the center or a bit to the right. However, there are some images that will be darker (left) and some that will be lighter (right). The histogram is a gage and indicator.
One additional tip although it is not camera related. We spend a lot of time in front of a computer display and also scrolling through small text in manuals, screens, etc. To avoid straining your eyes too much, keep a set of ‘readers' (reading glasses) in your camera bag at all times. They definitely come in handy!
