Do you recall the moment you decided that you need to get better at — or get familiar with — flash photography? Thinking back, what was one of the first pieces of advice you encountered?
I’ll bet it was an exhortation to “get that flash off your camera.”
Did you even know what that meant? How well did anyone bother to explain it? Unfortunately, a lot of new photographers run into abbreviated explanations when it comes to getting started with off-camera flash, leaving them frustrated and intimidated by the topic.
It doesn’t have to be this way. Here are 3 simple tips to help get you started working successfully with off-camera flash.
Get The Flash Off Your Camera And Then…
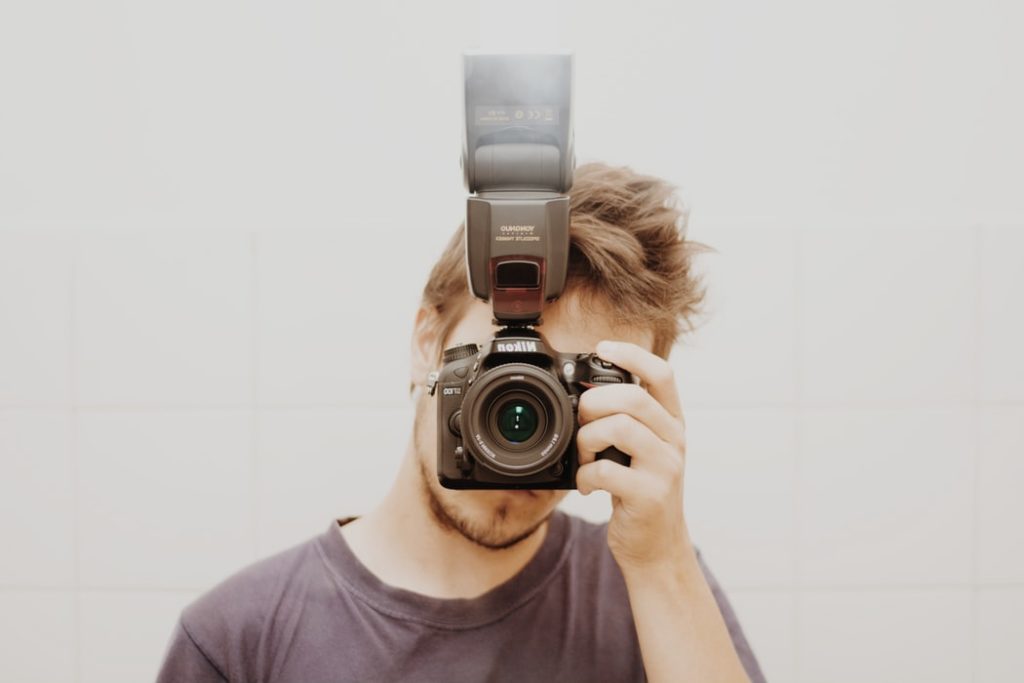
The pop-up flash on your camera is mostly useless. Not totally useless, but its effectiveness is limited.
If you’ve already made the leap to a separate flash unit, congrats, but you really will get the most out of it once you remove it from atop your camera.
That’s what everyone says, right? Well, once you remove it from the hot shoe on top of the camera, then what?
Simply use a light stand or a flat surface to position your flash in relation to your subject (a 45-degree angle is a great starting point).
When it comes to getting the flash to fire remotely, the exact how-to will depend on the flash you’re using. You may need a PC sync cable or an optical trigger (options that will work for virtually any flash), or you may be able to do it wirelessly (you may need to do a little research on your flash to see if it is capable of this).
Get The Settings Right
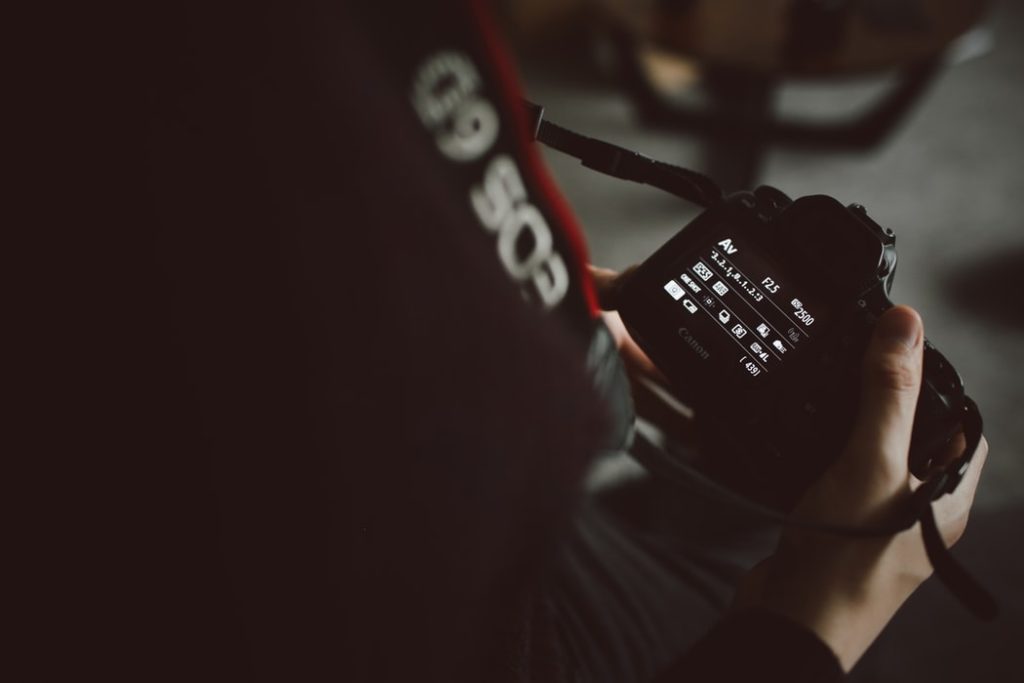
Now that your flash is in position you need to dial in your settings (for the sake of this discussion let’s assume you’ve got a manual flash and need to dial in the settings yourself).
Where to start? For now, start by experimenting. Let’s say you’re shooting outdoors and you want a blurred background. You might try this three-step approach:
- Set your aperture to get the amount of background blur you want — f/2.8, for example.
- With your camera in manual mode, aperture at f/2.8 (following on from step 1) and set to the lowest native ISO, expose for the ambient light. Choosing a faster shutter speed will give you a darker background, while a slower shutter speed will provide you with a brighter background. The choice is yours; don’t worry about your model appearing underexposed, you only care about the background at this stage.
- Now it’s time to light your model. Start with a flash power of 1/32. If this level doesn’t sufficiently illuminate the model, increase the power; if it’s too strong, decrease the power.
These settings will vary — sometimes drastically — depending on your shooting environment (indoors vs outdoors, ambient light levels, etc.), but you should now have an inkling of how to determine off-camera flash settings.
Get Yourself A Light Modifier
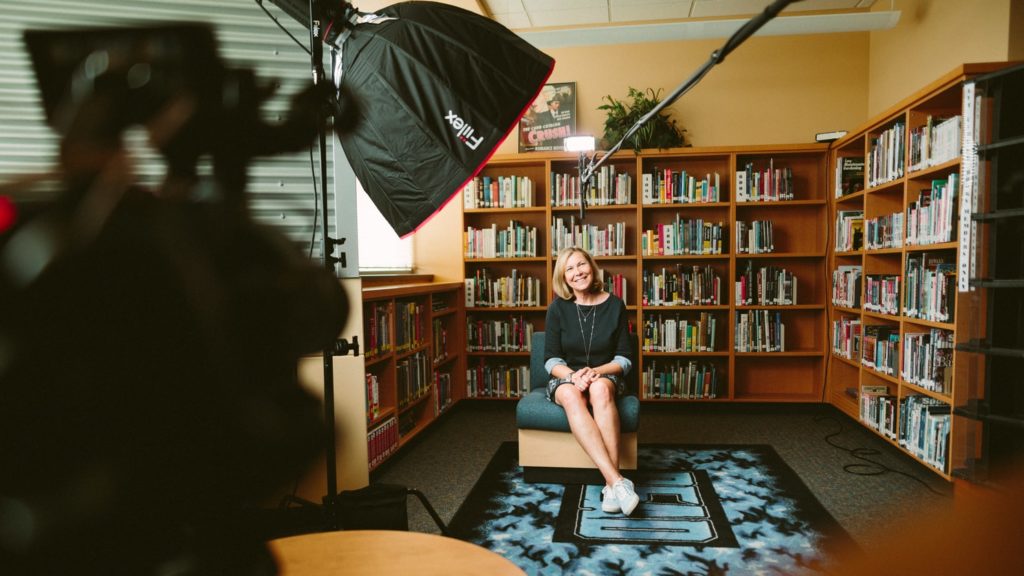
A light modifier, such as a reflector or a softbox, will allow you to soften, shape and redirect the light and help kick your off-camera flash work into high gear.
There are some cleverly designed modifiers out there, but you don’t need to spend a lot of money on one. In fact, it’s entirely possible that the only modifiers you’ll ever need are already in your possession: white poster board and sheer curtains come to mind.
Final Thoughts
There is much to learn about off-camera flash, but once you’ve got a decent grasp on the basic principles, you can begin to experiment with your technique. The points provided here will help encourage you to dig deeper into off-camera flash as you pursue your goal of mastering lighting.
Further Reading
- A Step By Step Guide To Your First Flash Photograph
- 7 Things About Photography That REALLY Trigger Our Flashguns!
- Why And How You Should Be Using Flash Gels To Make Your Portraits Pop
Shareable Images for Pinterest
