Ok, before we get too excited, you are not going to edit the next Hollywood blockbuster in your humble copy of Lightroom. What you can do, however, is some basic color and exposure corrections, trim clips and capture stills from your footage.
There are a lot of people that only shoot video occasionally. They don’t want to go into the financial and time investment of a full video editing package. So for those that simply want to correct, trim and showcase short clips, a copy of Lightroom CC might be the ideal solution. Let’s have a look at some of the things you can do with video in Adobe Lightroom
1. Importing Your Footage
This is actually as easy as importing your photographs. Go to the Lightroom menu and select, File – Import Photos and Video. The familiar import screen will pop up and you can now navigate to the folder where your video footage is stored.
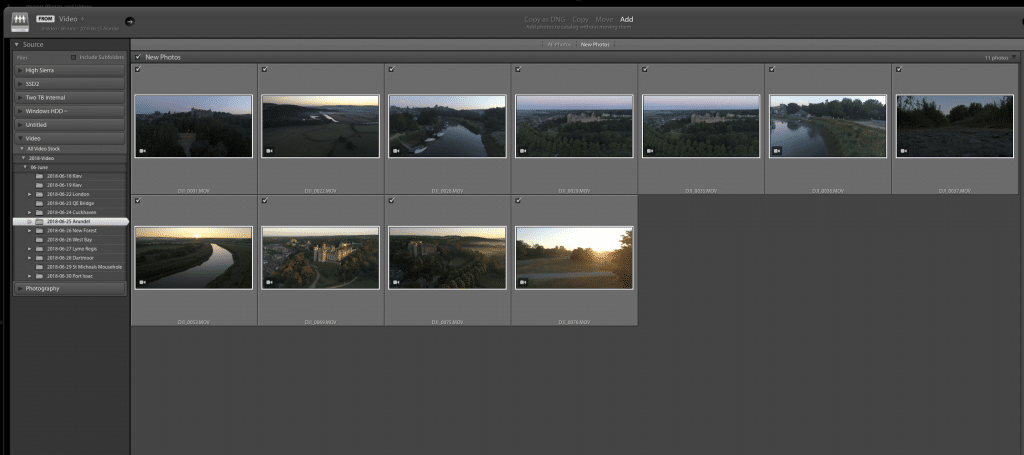
As a suggestion, I would recommend using the Add option at the top of the Import window. This will keep the video footage in its current location. Using the other options will move it to where you keep your main photographic collections and you may find yourself running out of hard drive space fairly quickly. Select the clips you wish to add and click Import. As footage consumes more space than photos, you might find it takes a little while to build the previews.
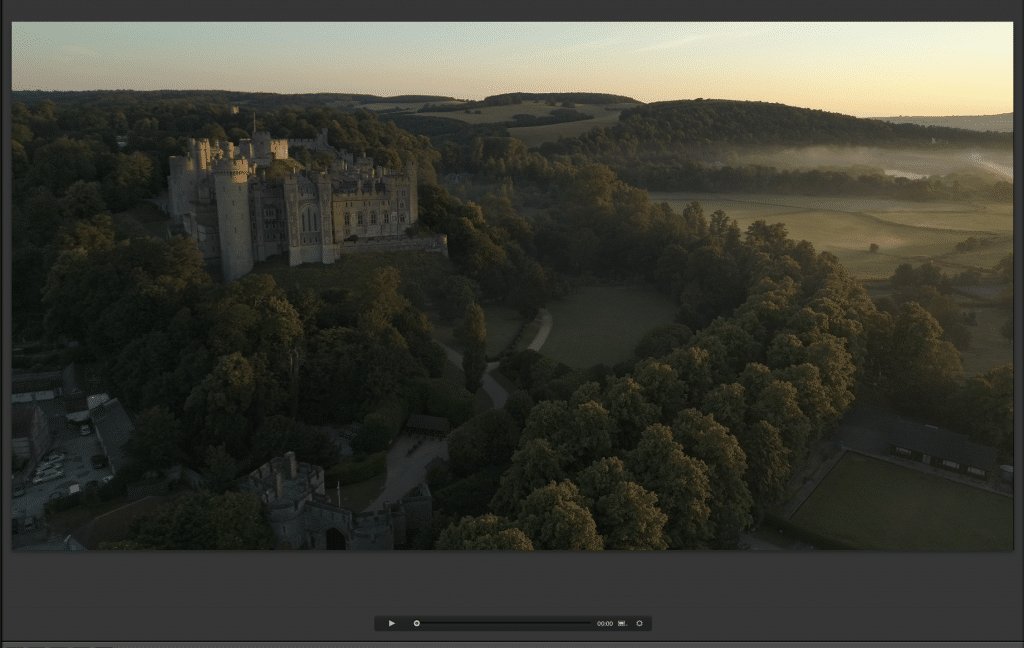
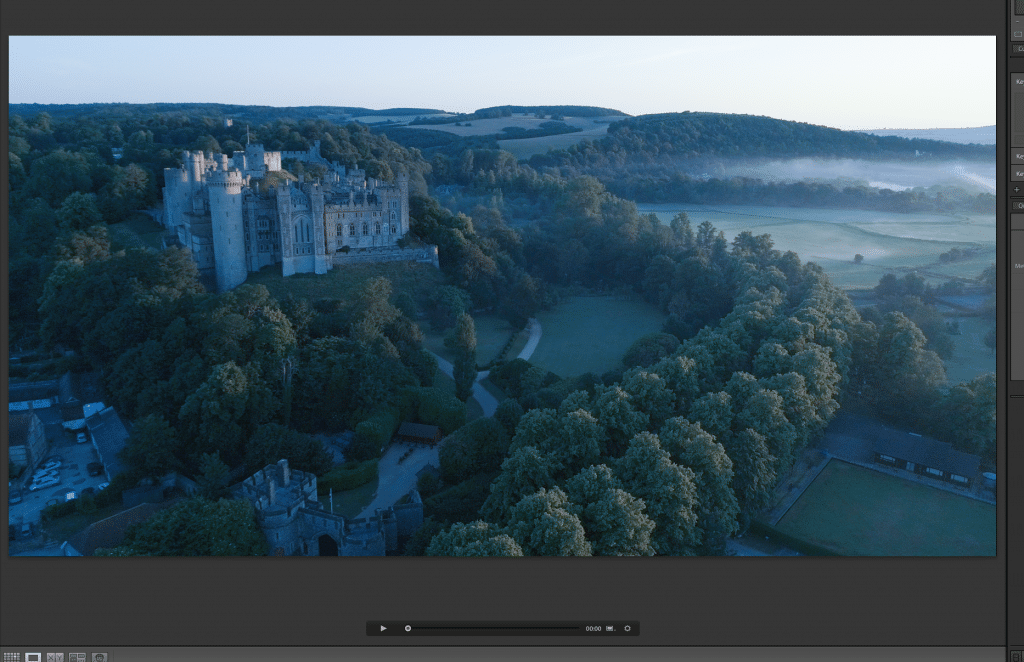
Double-clicking any of the clips in the Library module will open up that clip in a full window view. At the bottom, you will see a simple play button and timeline with which to preview your video.
2. Color Correct Footage In Lightroom
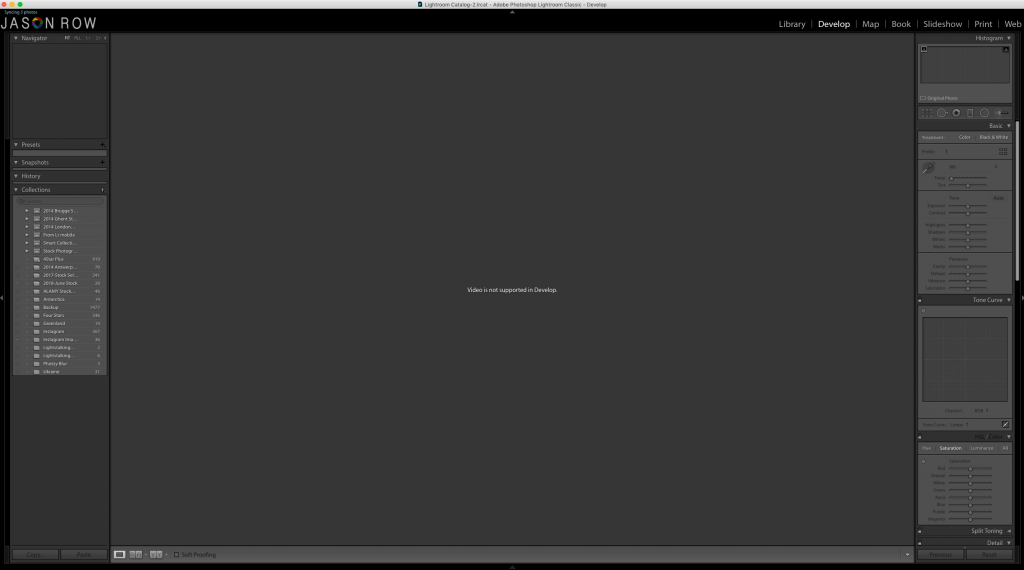
The first thing you might notice is that if you go to the Develop Module with a video clip selected, is that you get a message stating Video is not Supported in Develop. There is, however, a workaround.
Return to the video clip in the Library Module. That little timeline at the bottom has two small icons to the right. Click the left of the two, the one that looks a little like a TV screen and select Capture Frame. This will create a still frame at the exact point that the scrub bar is in the video timeline. Go back to Grid View in the Library Module and you will see this new still directly after the video clip.

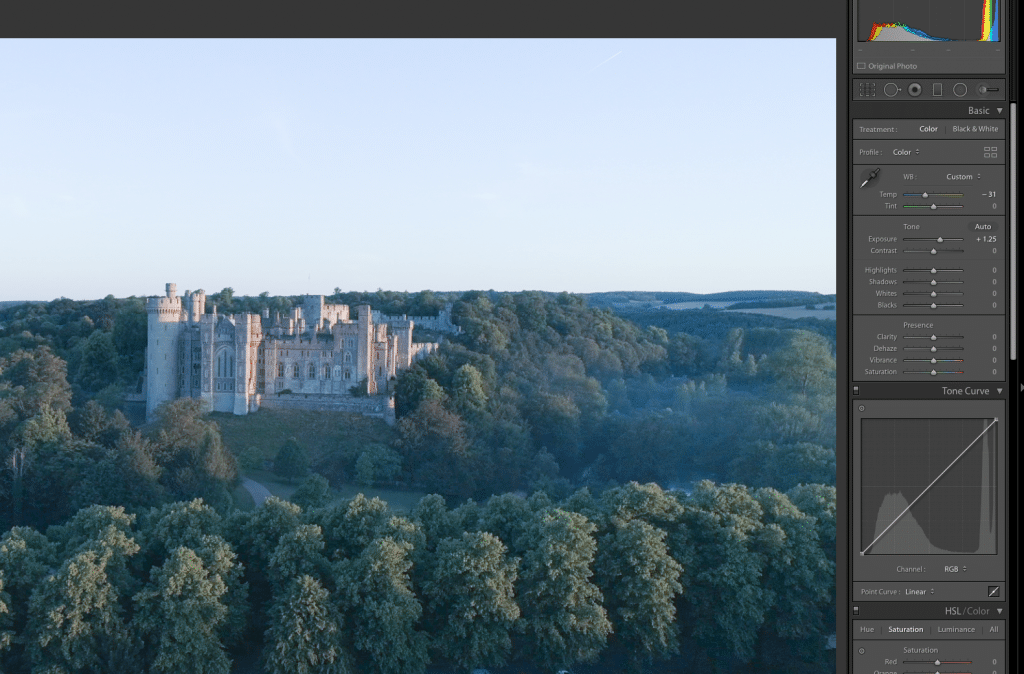
Now select that still capture and go over to the Develop Module. You will see that a significant number of the standard adjustments are now available to you. For the sake of this demonstration, I will make a big change to the color temperature, and an exposure increase to show how the setting copy over.
3. Synchronise The Still With The Video
Once you have made your still image adjustments return to the Library Module. Select both the video clip and the video still by holding down the CMD/CTRL key as you click on them.
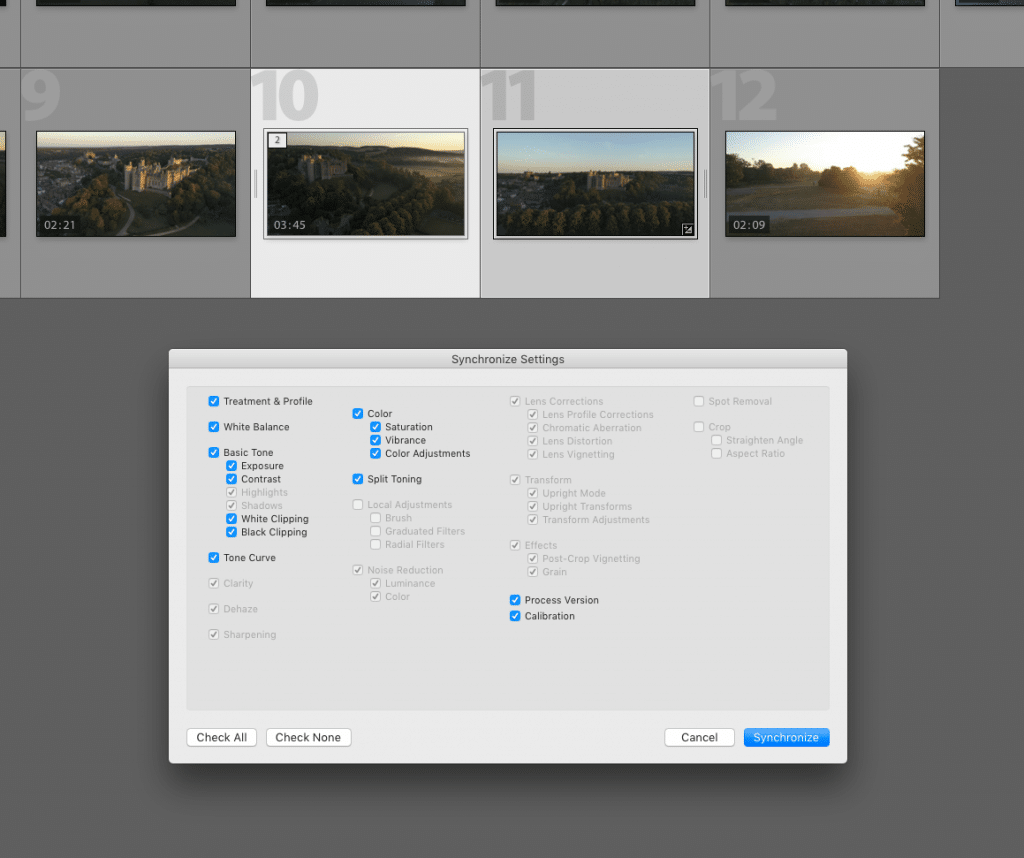
From the bottom right of the Library Module click on the Sync Settings button. From the window that pops up, you will see exactly which settings you can transfer over to your video clip. In this case, I have selected all the available ones. Once happy, click Synchronise.
4. What Else Can We Do With Video?
As we have already found out we can create a still image from our video clip. We can do that from any part of the clip’s timeline. Simply scroll the scrub bar to the point that you wish to capture and repeat the Capture Frame process. The still will appear after your clip in grid view
You can apply default presets and your own presets to a video clip. Not all the settings will copy over but it's a useful way to grade several clips to the same look.
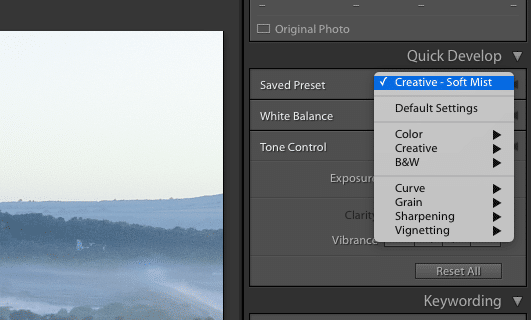
This is done in the Library Module by going to the top right of the screen and selecting the preset from the Quick Develop section. You can also make stepped adjustments to Exposure and Vibrance here.
5. Trimming and Exporting
Once you have done your color and exposure edits you can choose to export all of the clip or a trimmed selection. To trim the clip, return to the timeline at the bottom and click the settings icon. The timeline will expand showing two vertical white lines at either end of the clip. Simple drag this to your desired in and out points.
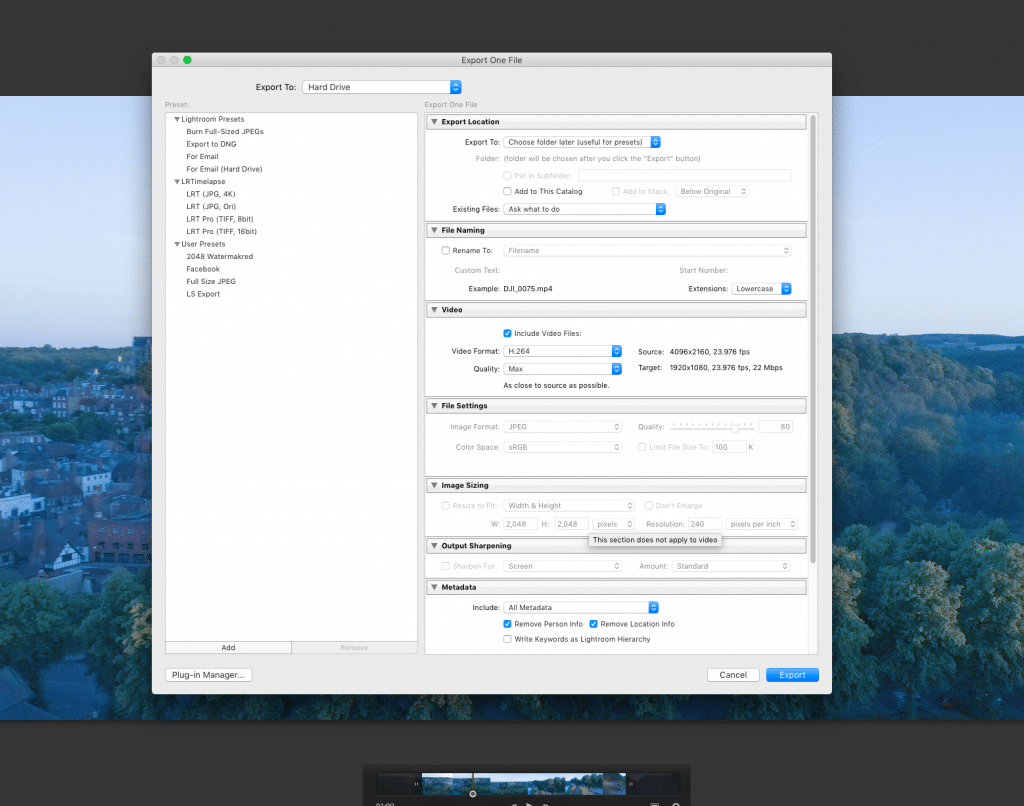
We export video the same way as we do for photos. Go to the Lightroom menu File – Export. The export window will now open. You can select the export location, file name, video file type and even add your watermark if required.
Video is not Lightroom’s forte. However, for the occasional video clip that needs a quick grade and trim, it’s a useful tool to have. If you are looking to create full on videos, then Lightroom is not for you.
However, if you wish to upload single clips for peers or clients to review, then Lightroom is an easy and simple way to do that. If you have some particularly stunning footage it’s also an easy way to pull stills from that footage.



3 Comments
I enjoyed this article. Thank you! I never knew the workaround to edit a video. Brilliant.
Great tips, Jason. I only knew a couple of these. LR 6 would often hang , or simply refuse to export a video. I trust CC is better.
For what little I do, I’ve found the free version of Resolve just brilliant for video editing.
Hey Jason. Some good info here but when I click the capture frame the captured frame doesn’t show. The movie clip does show 1of 2 like it’s stacked but can’t get it to appear. Any advice please? Am using LR Classic on the cloud. Cheers Colin