If you plan on making the cover of a prestigious architectural or interior design magazine or catching the attention of Martha Stewart, this article may not be for you. But if you want to improve your interior photography simply for your own satisfaction or because you’re proud of your home and want to show it off or because you’re putting a house on the market and need to portray it at its very best, then you might find some value here.
Photographing architecture and interiors is a challenge; but important than any type of specialized gear or specific photography skills you might need, you’re going to have to rely heavily on your general problem-solving skills. The goal of interior photography is to create interesting and dynamic, yet accurate representations of spaces (living spaces in this particular case).
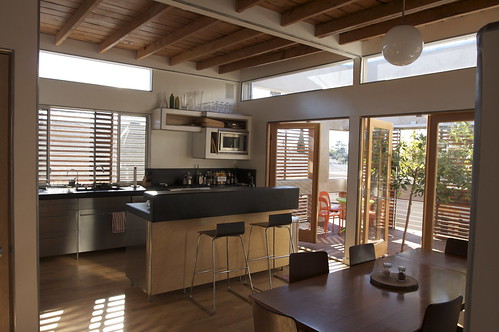
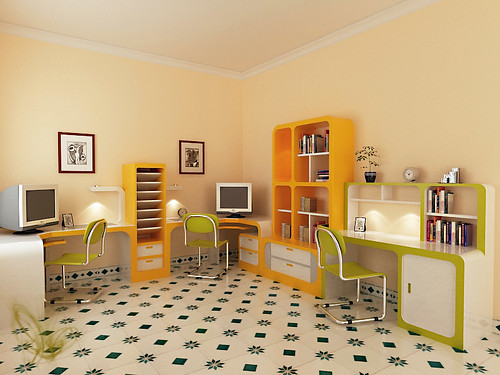
Photo by Jeremy Levine Design, on Flickr
It’s not that taking portraits of people isn’t challenging or doesn’t require a unique skill set, but you can talk things out with human subjects when encountering a snag. Not so when you’re dealing with interior spaces and issues related to staging, lighting, and — perhaps worst of all — vertical lines.
With a good measure of both patience and creativity, and keeping in mind the tips listed below, you should be able to produce excellent shots of interiors.
Beware the Vertical Lines
Those verticals will get you every time, and if you want even halfway decent photos you can’t just blow this off. The problem originates with tilting the camera up or down when composing the shot, causing vertical lines to converge; that’s how things end up looking like they are falling backwards. One solution to this problem is to use a tilt-shift lens, which will give you control over perspective while moving the camera. A less costly solution is to correct perspective distortion in software.
Choose a Strong Angle
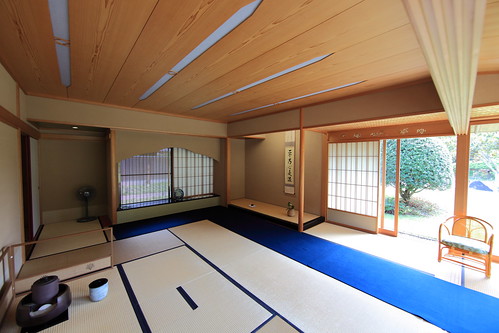
Wide angle lenses are the default of interior photography work, but just because these lenses are capable of showing a lot doesn’t mean you should just set your camera up anywhere and snap a shot. Think about your composition. Sometimes a strong, simple, head-on angle is works best. If you want to be more spatially descriptive you can certainly include more of the area, but don’t split any space straight down the middle. Offset your composition and try to focus on the strongest two-thirds of the area.
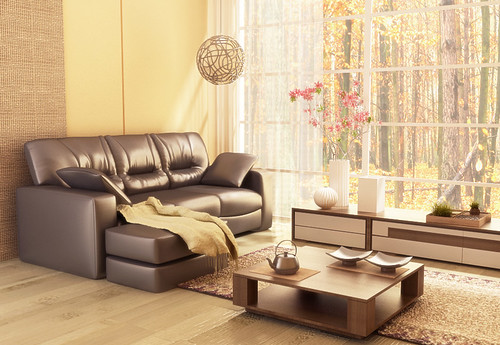
Photo by TANAKA Juuyoh (田中十洋), on Flickr
Inspect the Scene
Walking around one’s own home on daily basis often leads to some degree of apathy or selective blindness; either you don’t care about random out of place objects or you don’t notice them. Sometimes “tidy enough” is all you need. But preparing for an interior shoot requires more vigilance; you’ve got to arrange things in such a way that they don’t detract from the potential beauty of your shot. Crooked rugs, unfluffed pillows, wrinkled bed dressings, and uneven wall hangings are things you may or may not otherwise notice, but they can be decidedly detrimental to how a space photographs.
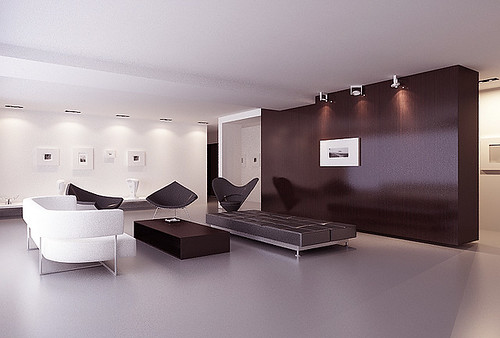
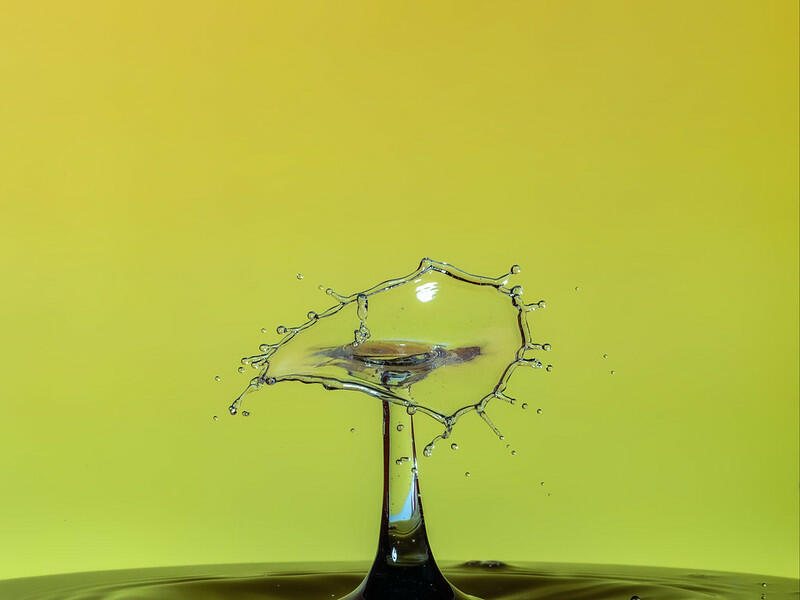
Photo by jinkazamah, on Flickr
Stage the Scene
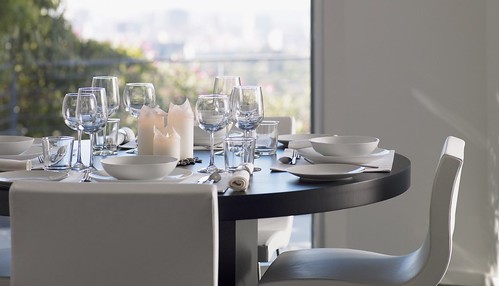
You can tell that a room is nice even without the use of props, but taking the time to stage the scene will take your shots up a notch. Add flowers and plants to spaces you don’t normally keep them in; put out your finest dinner setting; showcase your best coffee table books — whatever is appropriate for the space you are photographing. There goal here is cleanness and uniformity.
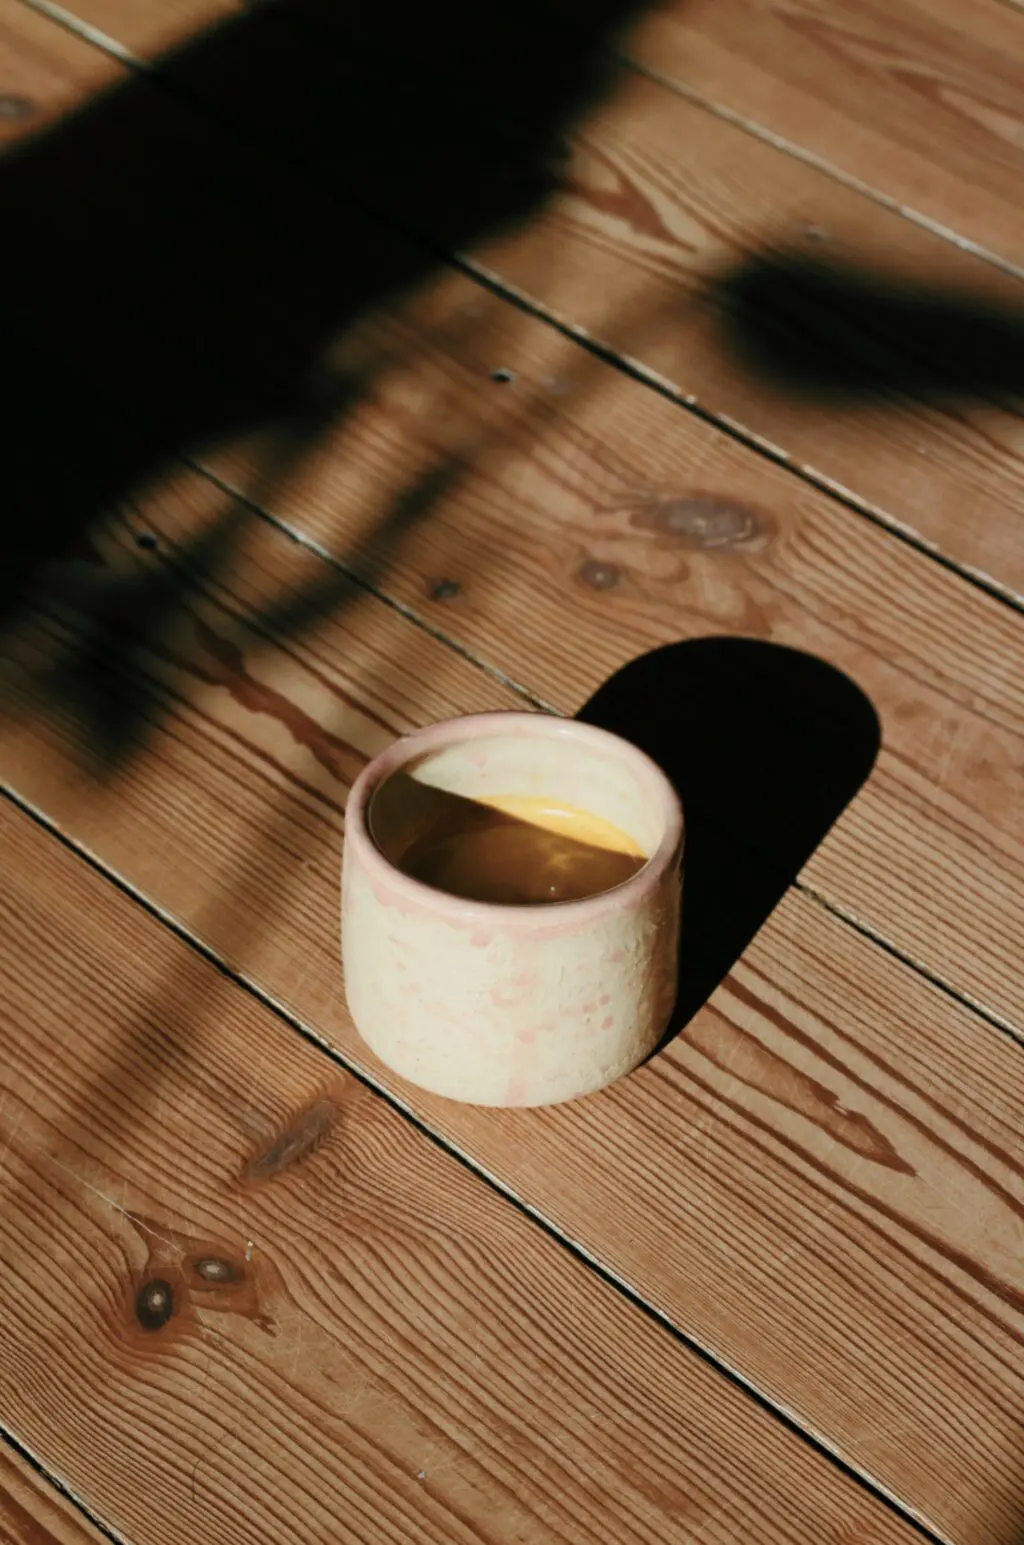
Photo by tommerton2010, on Flickr
Photo by jinkazamah, on Flickr
Control the Lighting
Good lighting is always a concern for any photographer. When it comes to natural light, sometimes all we’ve got to do is wait for it. Other times we need to realize that it’s not going to happen and go to plan b. Under the right circumstances, natural light can surely work for interior photography, but it is not always the best choice. Lighting a space yourself gives you far more control over the final product and, as such, knowing how to light an interior properly may be your most valuable skill. This will be especially true when dealing with spaces with large windows or any other feature that leads to natural light and artificial interior light co-mingling. In order to balance the exposure and avoid dynamic range disasters, you need to know how to wrangle both kinds of light. Soft, balanced light is always the goal.
Photo by jinkazamah, on Flickr
Interior photography won’t appeal to everyone. To be successful at it, you must be patient, meticulous, detail-oriented, with an eye for style, uniformity, and color schemes, and possess a basic understanding and appreciation for architecture. If you don’t possess all these traits, I don’t see any reason why you couldn’t acquire them if you’re interested in interior photography; it’s good to try to make space for new challenges.


3 Comments
Great article! Thanks. It was informative and the illustrations were educational. 🙂
thanks for sharing! nice article 🙂
Great tips! It’s a great idea to keep an open mind frame when taking photos because sometimes the best captured shots aren’t the ones you thought would have been. Thanks for sharing!