Photography is an art, much in the same way painting and sculpting is, however the initial investment to produce art is usually much higher compared to painters or sculptors. Oddly, you rarely hear of a painters saving money to buy the newest, latest and greatest paints, brushes or canvases to take their art to the next level; why should photographers always look into their wallets to produce better photography? Lets explore some ways to improve your photography without spending any more money.
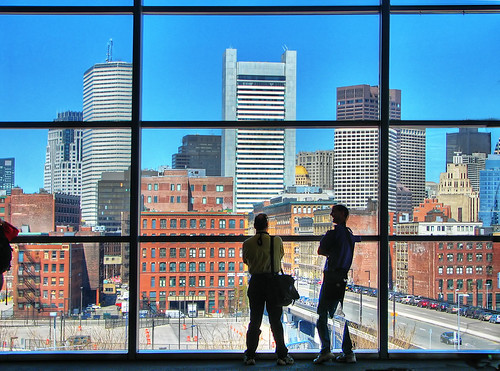
Utilize the rule of thirds. One of the easiest ways to improve your photography is to frame subjects differently. Rather then placing the subject directly in the middle, move them to the right or left third of the frame, or horizontally to the top or bottom third. This can make a dramatic difference in photographs of the horizon, especially during sunrise or sunset. A great example of how the rule of thirds works is in the photo below where the subjects are both to the right third and to the lower third of the frame, as shown by the window jams.
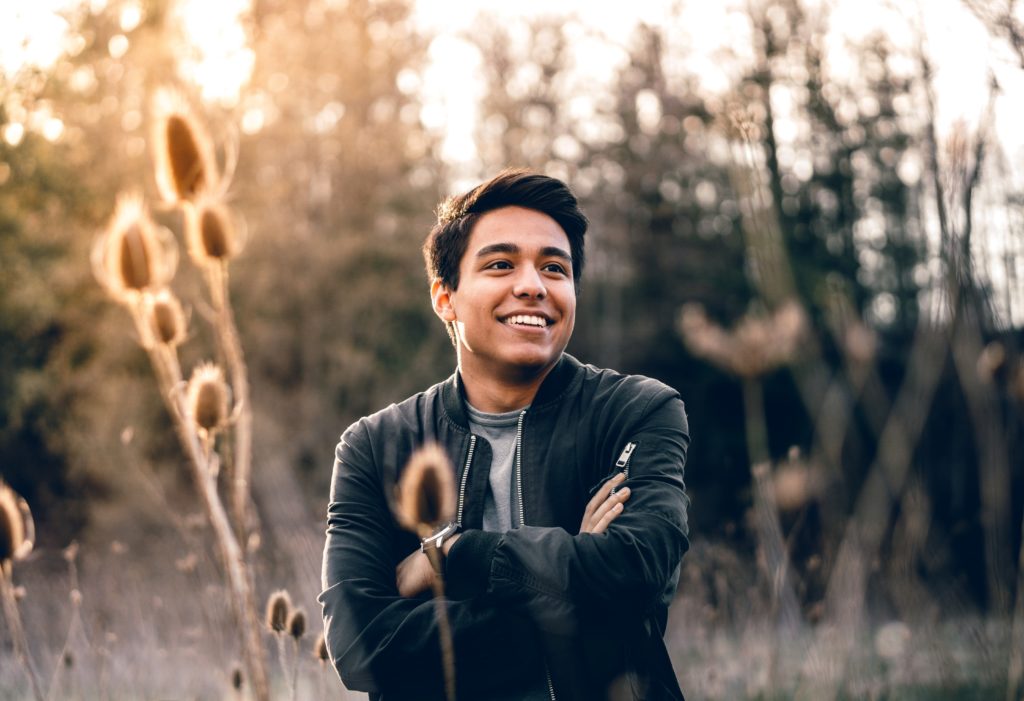
Fill the frame. Don’t be afraid to fill the frame when shooting. There is nothing wrong with not being able to see the background. The portrait shown below is a great example of how filling the frame brings the attention right into the face with no dead space around the subject.
Bokeh. By definition the word bokeh is the blur, or the aesthetic quality of the blur, in an out-of-focus areas of an image. To achieve get this look and add some depth and separation from your subject and the background, set your camera’s lens to the most wide open aperture it has (lower number) and shoot. In the portrait sample below what can only be guessed as city streetlights are shown as orbs of light in the background.
Utilizing depth of field isn’t only restricted to night photography though, this example taken during the day clearly makes the eye go straight to the writing on the hand while the background remains out of focus, thus creating the desired separation while also utilizing the earlier mentioned rule of thirds. Experiment with choosing the focal point to be near or far away for desired effects and see how you can force the viewers eye to go right where you want it.
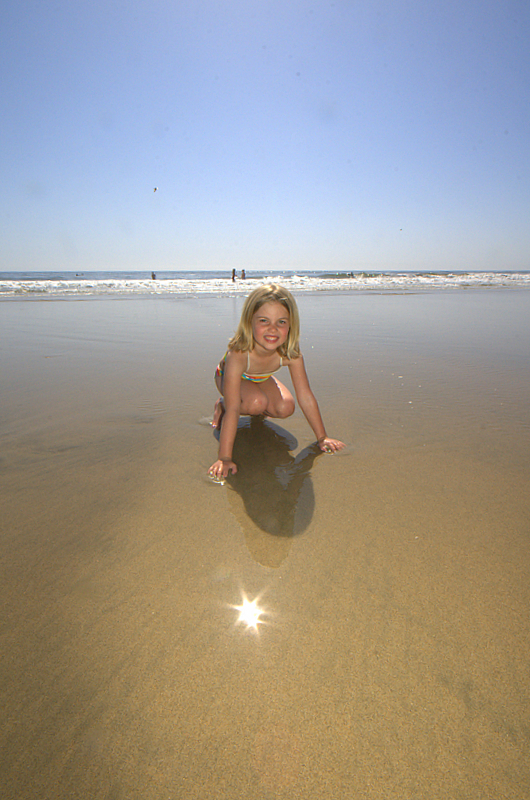
Use the flash when the sun is out. Just because the sun is out doesn’t mean you no longer need the flash. On the contrary, the flash is almost more needed because depending on the location of the sun and the subject matter you are shooting, the shadows created can be really unflattering. Looking at the photo below you’ll notice that the shadow of the child is in front of her, indicating the sun coming from behind and the person holding the camera is looking into the sun. Because the shooter used the flash as a fill, the child’s face is nearly shadow-free and you can see her beautiful eyes and bright smile. Had no flash been used, her face would have been cast in a dark shadow much like what is projected on the sand.
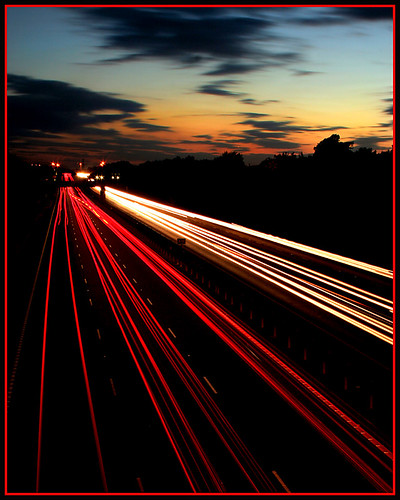
Light trails. This tip requires a tripod but can be done by supporting your camera via other secure methods, such as placing it on a beanbag, or a tube sock filled with rice if you really like DIY. The concept is the same as capturing running water over a waterfall or through a stream, but really tends to yield stunning photos once it’s mastered. The photo below shows red and green lights from traffic going in two different directions, the product of a long exposure. Set your camera up and put it into shutter priority mode, then choose 30 seconds. Push the shutter, then walk away from the camera until it cycles.
Obviously choosing your location and time of day will have varying results, as will the time, but most cameras easily support up to 30 seconds without the need for an external cable release. Cars aren’t the only subject that works well for this, use our imagination to capture the twirling lights of a Ferris wheel
Photo by Daniel Monteiro
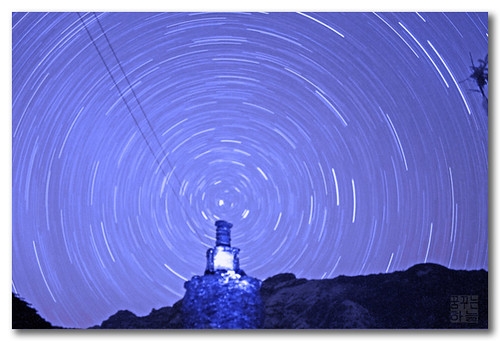
or even the stars, as seen in this photo that was shot over a period of more then an hour!
Bonus! Read the manual. This one is obvious, but the manual for your specific digital camera has a wealth of knowledge in it. Get to know what all the features and functions of your camera are so you can properly apply them to take better photographs!
Above and beyond all, shoot, take lots of photos. Digital photography has allowed us as photographers the ability to be far more creative then we ever where with film because the incurred costs of buying and processing the film are no longer there. Take your camera with you wherever you go, shoot everything you see, share them with your friends, family and even strangers for feedback and adapt as you learn techniques.





5 Comments
Handy tips for anyone starting off…
great piece. thanks.
Nice tips for beginners!
I suggest this blog for my friend who is a photographer..this great for beginners..
Thanks for the review of the basics that are often forgotten or overlooked. Appreciated.