Changing the background of a photo in Photoshop might sound like a very challenging task, but it doesn’t have to be if you learn the basic steps properly and keep improving your editing skills. In this simple tutorial we’ll explain the easiest way to swap a background in Photoshop!
Bear in mind that the strategy we're about to explain works best for studio portraits and product photography shot in front of a solid background. Of course, you can experiment with other genres of photography and more complex backgrounds, but you have to master Photoshop's Select & Mask workspace first! Also you can do this in-camera – check out our other article on shooting with a black background.
Changing A Background In 5 Steps
1. First thing you have to do is to open both the foreground and background layer in Photoshop. Make sure the both layers are unlocked so that you can swap their order if needed.
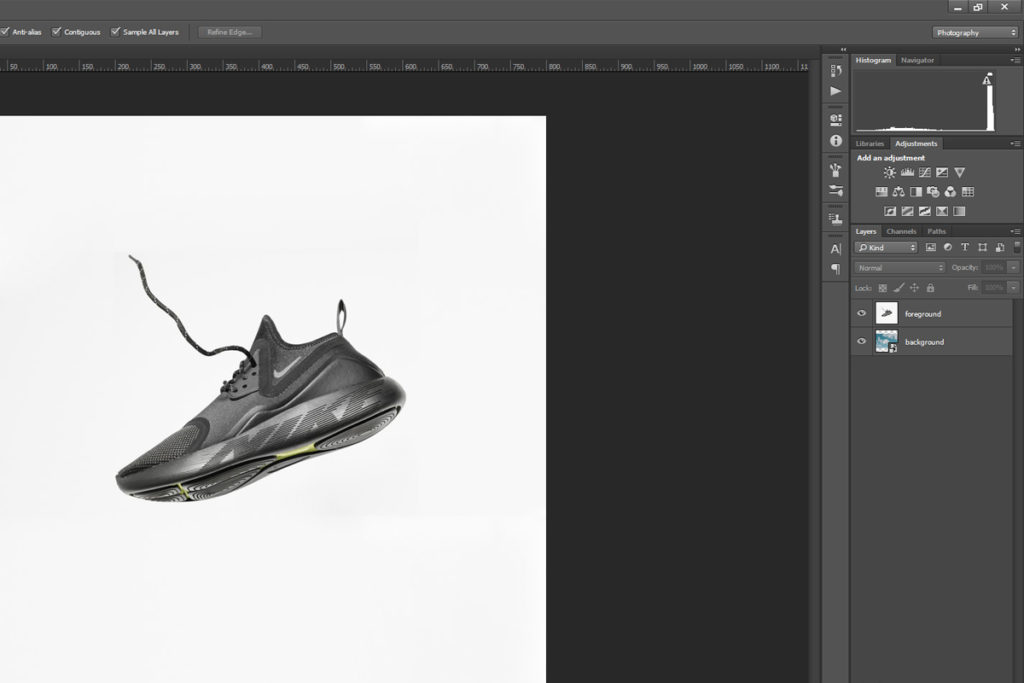
2. While your foreground layer is selected (the one containing your main subject), open the Magic Wand tool and drag it around your subject until the entire background is selected. This is easy to do with solid backgrounds, but if your background is uneven in its color, you will have to hold down the Shift key and click the smaller areas of the background that your initial selection of the Magic Wand didn’t cover.
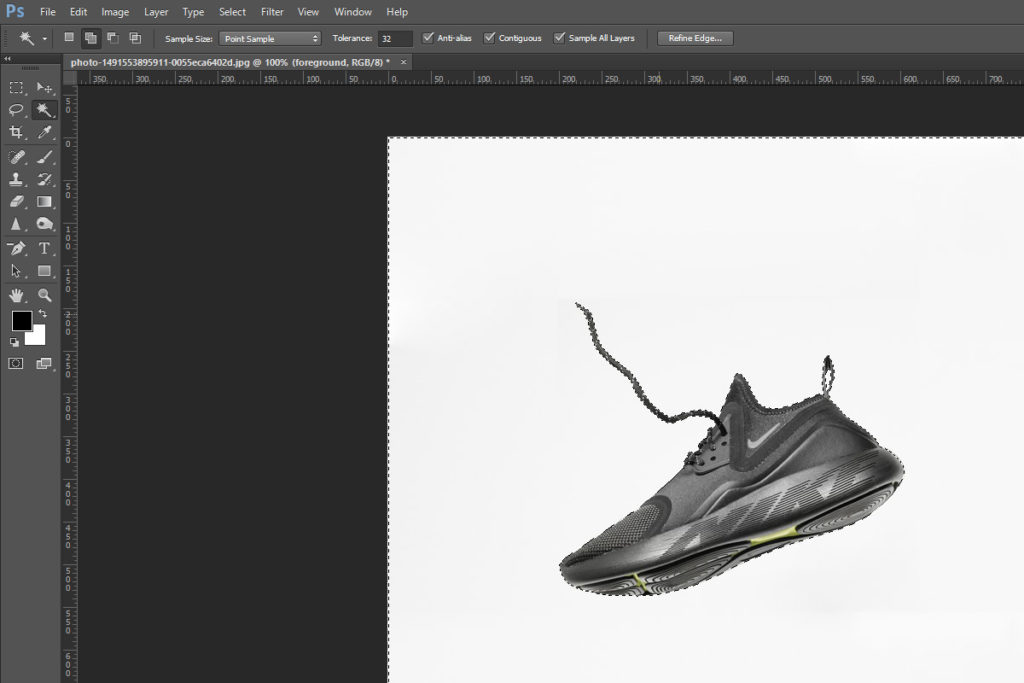
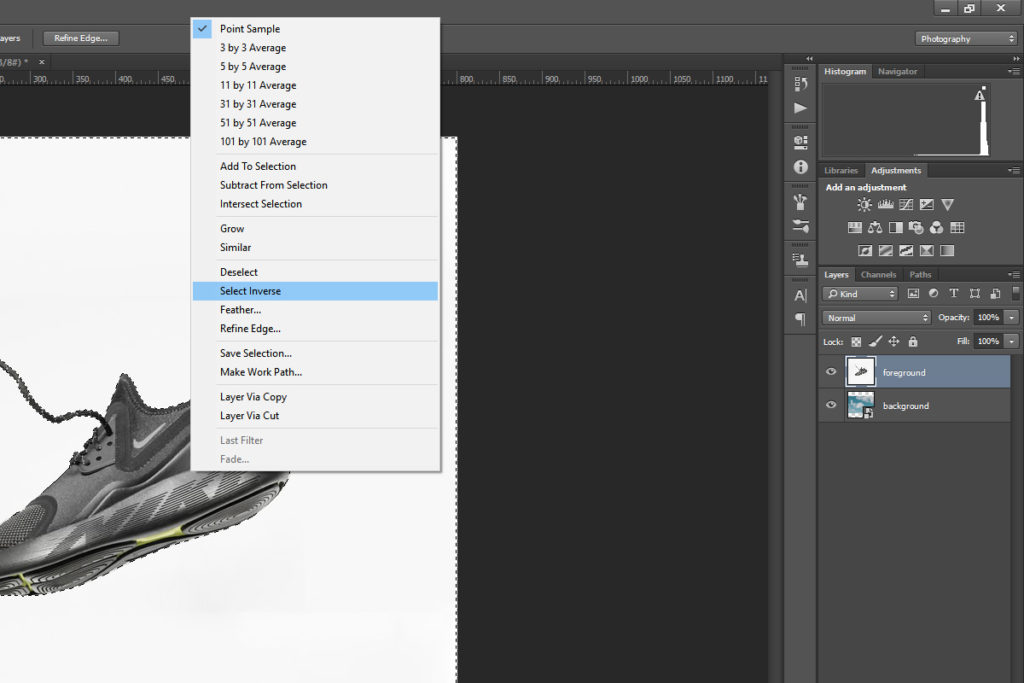
3. Now you need to change the selection from the background to the subject. You can do it by right-clicking and going to Select Inverse.
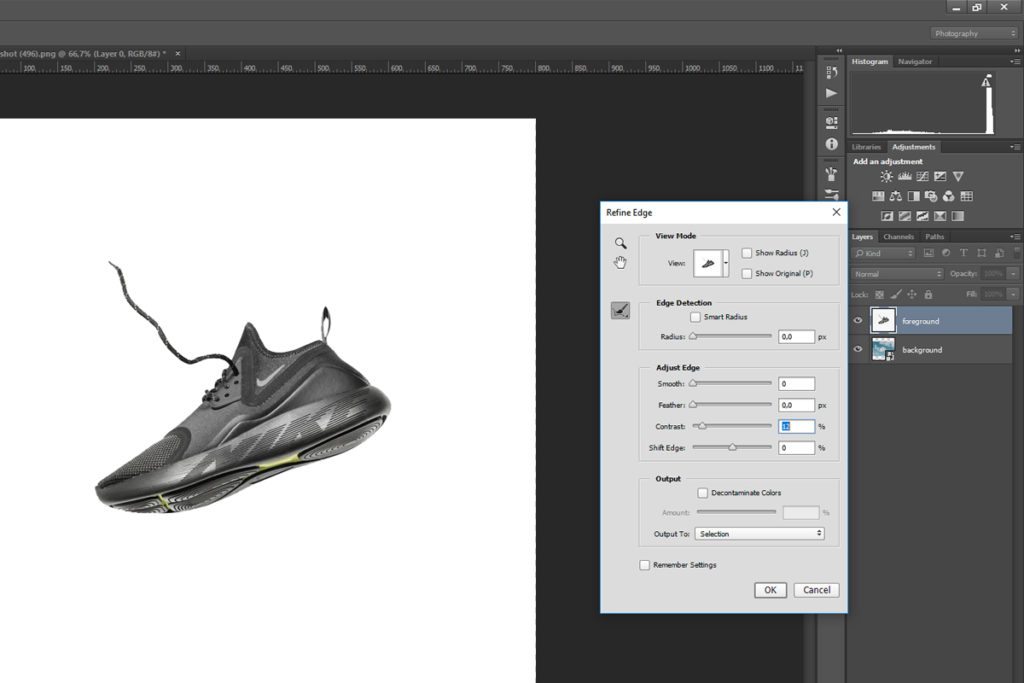
4. Once this is done, go to Select>Refine Edge. If your selection already looks perfect you won’t have to do anything, but in most cases you’ll need to fine-tune it and adjust edge.
5. Finally, you should add a Layer Mask to your selection by clicking the Layer Mask icon (at the bottom of the Layers panel). If you've done everything correctly so far, you will see the new background (your background layer) behind your selection.
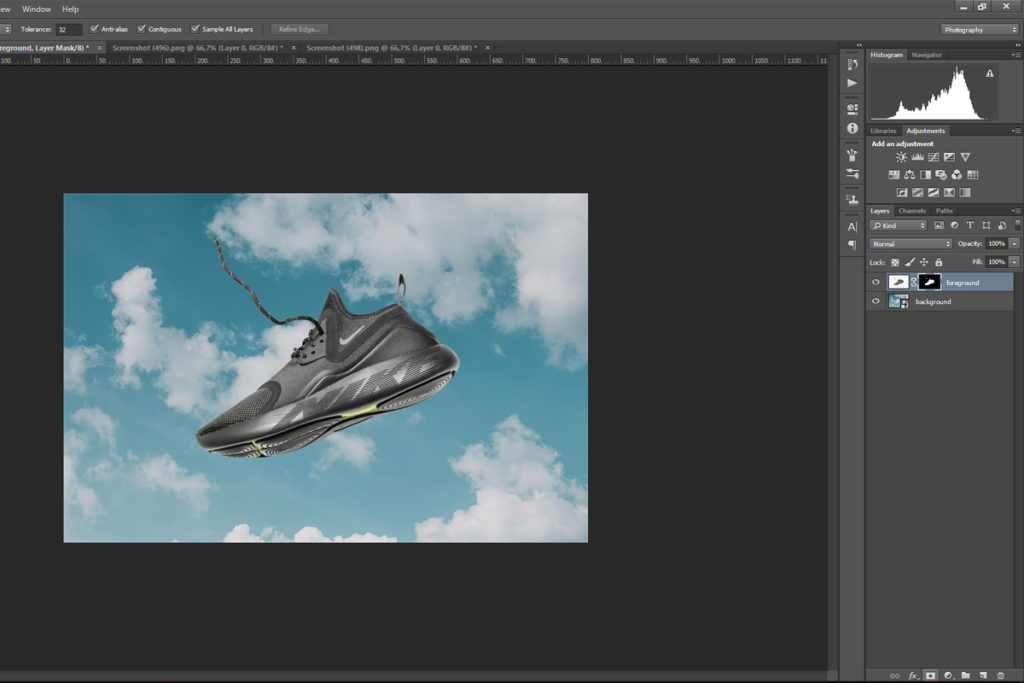
You can keep editing your new image if you're still not happy with it. Once again, don't forget that this strategy (with the Magic Wand tool) works best with solid or at least simple backgrounds and it can be extremely useful if you're a product photographer who wants to experiment with various colors and styles.

To learn more about editing in Photoshop, check out the links below.
Further Reading:
- 3 Easy Options For Using Dodge And Burn In Photoshop
- 12 Video Tutorials For Improving Your Photoshop Skills
- Three Tools Photoshop Does Better Than Lightroom
- How To Add A Panning Effect In Photoshop
- How to Change Photo Backgrounds (Video)
- The Magic Of Photoshop’s Content Aware Tools
- How To Create Ghostly Composite Photos With Adobe Photoshop


