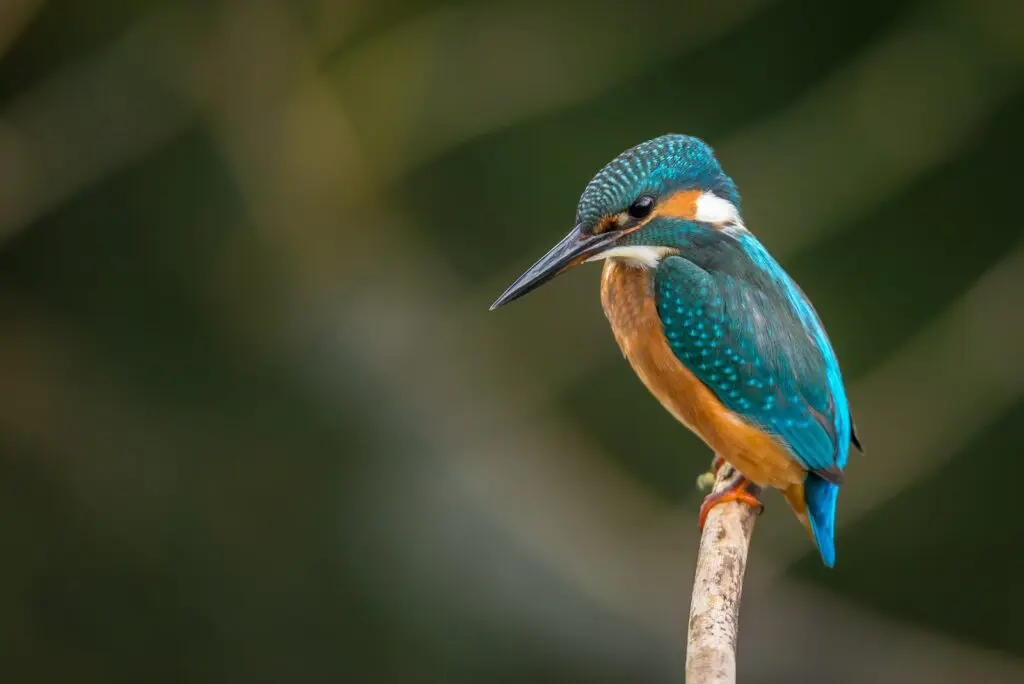
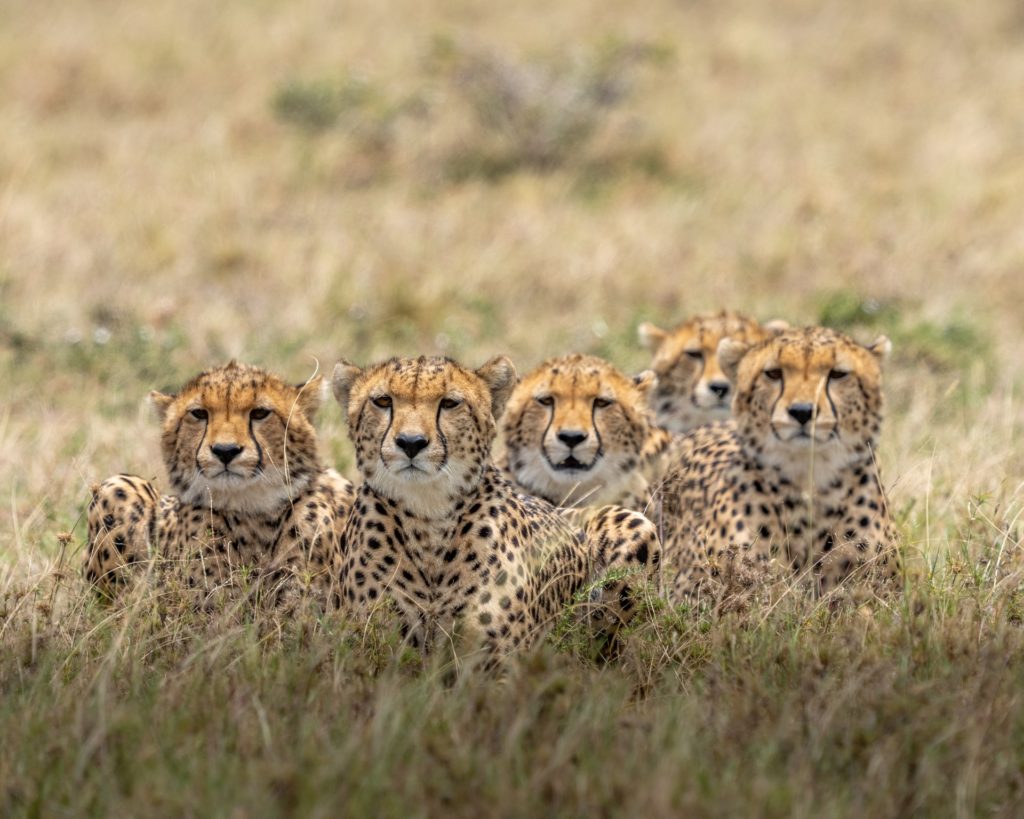
Birds are tough subjects to photograph because of their size, the environment they live in and their unpredictable nature. They can be quite difficult to spot in their natural habitat as most of the species are shy and move around quickly while at the same time blending in with the environment they live in.
Bird photography is a rewarding genre that can be quite difficult to master. Once you understand bird behaviour and certain techniques to capture them, you will be rewarded with some of the best bird shots. In this article, we will discuss the best settings for bird photography.
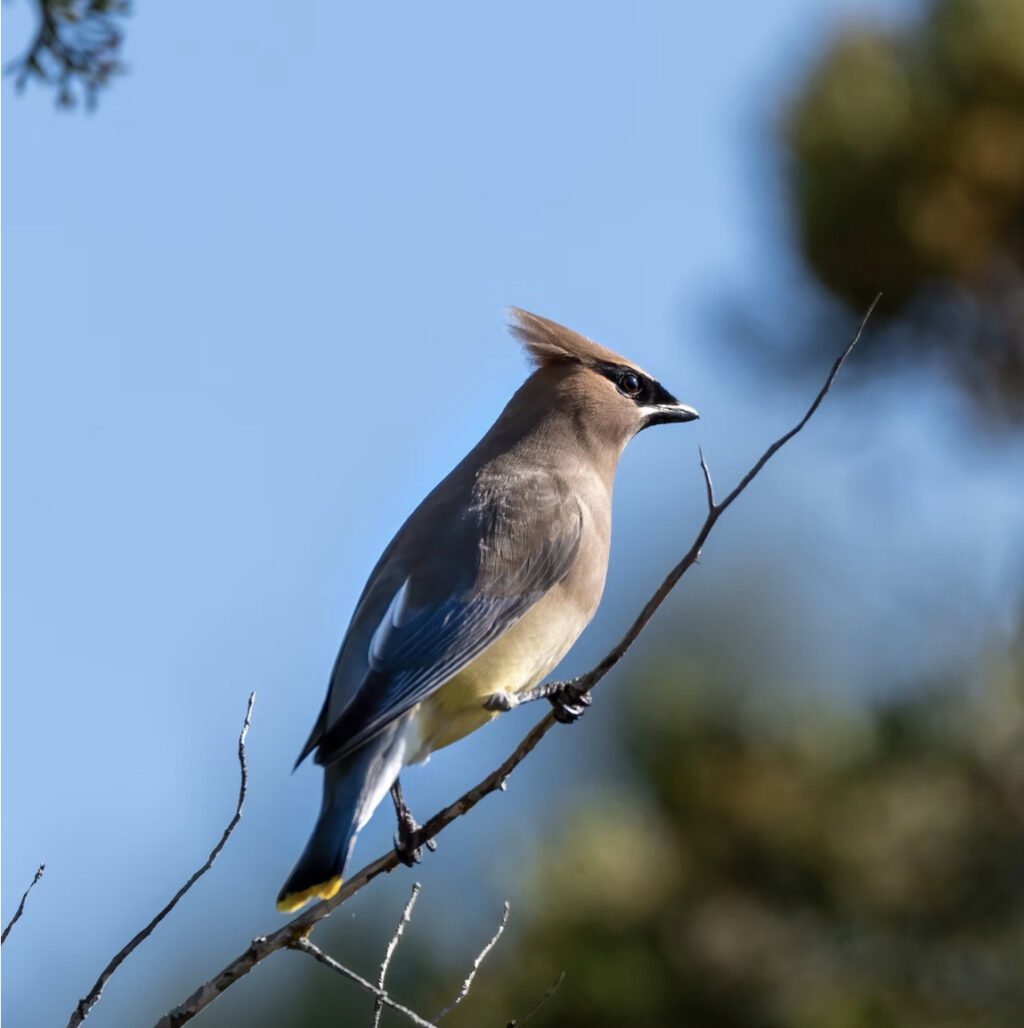
The Best Camera Settings for Bird Photography
There isn't one specific setting for bird photography. It can depend on various factors like
- Time of the day
- Light available
- Size of the bird
- Desired output
- Camera and lens used
- Focal length used
- Distance of subject from the camera
- And many more.
In general, there are some camera settings that can be used to begin with bird photography and then you can make creative adjustments based on the shooting scenario.
How To Determine Shutter Speed
Shutter speed for bird photography depends on several factors like, light in the scene, bird movement, focal length of the lens and so on. Here are some factors to consider when choosing shutter speed for bird photography.
Different birds behave differently in terms of movements and response to other factors in their environment. Some birds are more active, move around quickly, whereas other birds move at a slower pace comparatively. Birds are also known to quickly fly away when we least expect them to and this is observed more in smaller bird species.
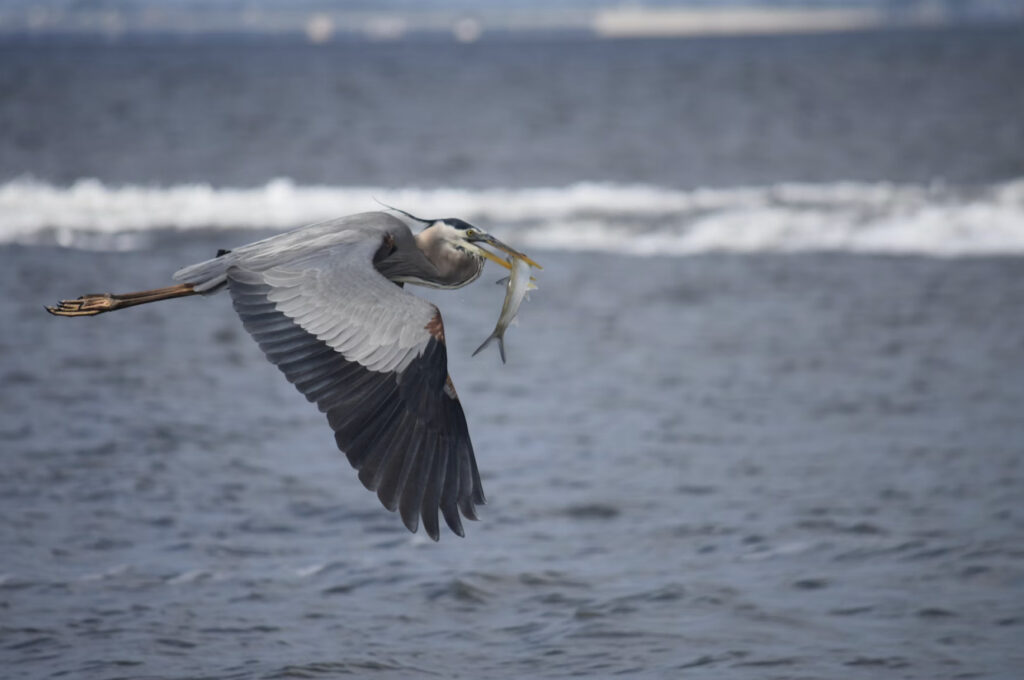
Some birds move very fast, for example smaller bird species while other birds are known to fly slowly, for example the larger bird species. If you want to freeze movement and capture birds in flight, you will need to use a fast shutter speed greater than 1/1000 of a second. If the bird is flying or moving at a slower pace, then you can use slower shutter speeds, but keep in mind the focal length used at the time of capture.
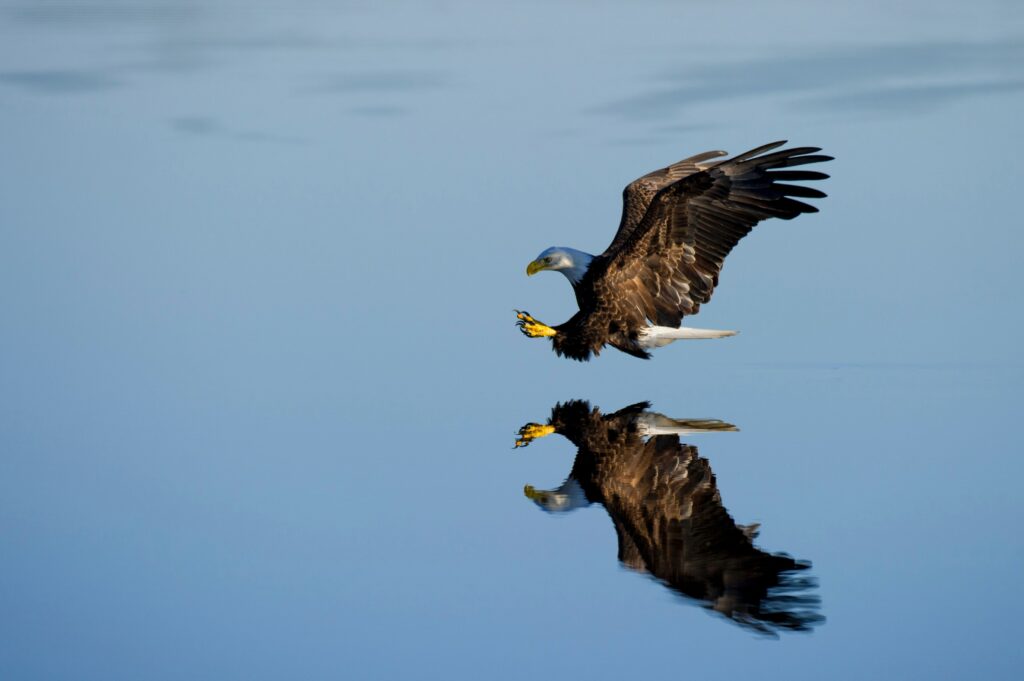
When you are capturing birds in flight, some birds sometimes cruise with their wings open, for example the eagle, while other birds are constantly flapping their wings. You need to decide if you want to freeze movement of just the bird or both the bird and its wings. Freezing movement of both will require very fast shutter speeds like 1/2000 of a second or more depending on the speed or movement, focal length used, etc.
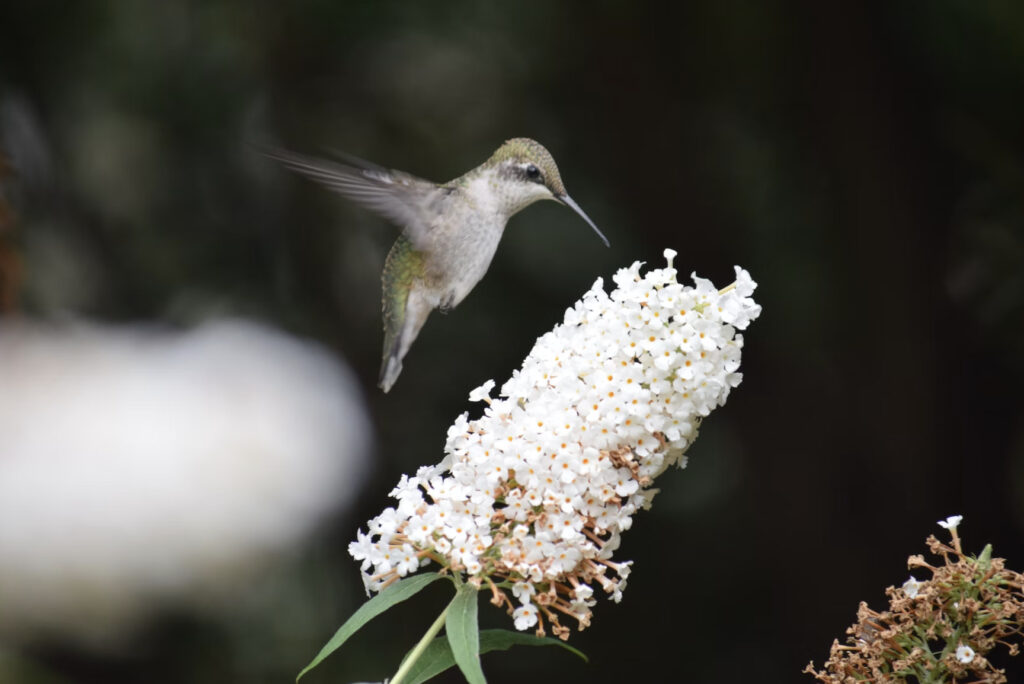
Bird photography is usually done with longer focal lengths above 300mm up to 600mm or more when using a teleconverter. When the focal length increases, any movement is exaggerated and to compensate for this, fast shutter speeds need to be used.
When capturing birds, we recommend to have the shutter speed greater than the reciprocal of twice the focal length. This will help to compensate for any movements. But if the subject is moving faster, then the shutter speed also needs to be increased. You will understand what settings to use when you practice more in the field.
Tripods and monopods are not practical accessories to carry along, especially if you are on a safari. It will be impossible to set up tripods but depending on the situation, you can use a monopod. When using lenses of longer focal lengths – 500mm and above, the glass and lens body become heavy and this can add strain to the arms. It can be difficult to hold heavy lenses for longer periods of time and a monopod can be helpful in these situations.
Heavy lenses also if handheld can introduce some amount of camera shake. There will also be situations where you will have to wait for your subject for a long time. Using a tripod or a monopod will help you to relax and compose the shot. You can also work with slightly slower shutter speeds when using a tripod or a monopod. You will need to turn off image stabilisation even when using a monopod.
Another factor that determines the shutter speed is light. When the light is bright, you can use faster shutter speed compared to when the light is low, but bird photography needs faster shutter speeds because the subject is constantly moving. Slightly increasing the iso or using wide aperture values will help to use the desired shutter speed for correct exposure.
Choice Of Aperture Values For Bird Photography
Aperture is the opening in front of the lens and it determines the amount of light entering the camera. It also controls the depth of field – wide aperture values result in shallow depth of field and narrow aperture values result in a large depth of field.
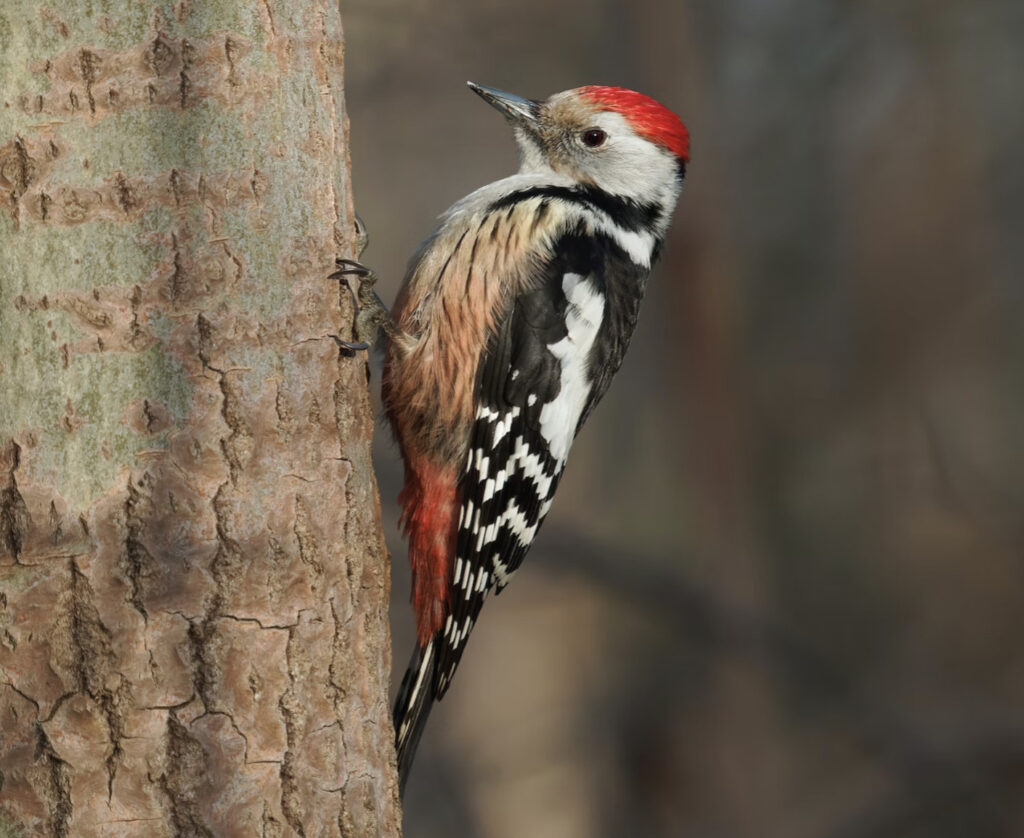
When photographing birds, if you wish to have good background blur so your subject can stand out, then use aperture values like f/4 and f/5.6. There are prime telephoto lenses that can be used at aperture values of f/2.8 and f/4. When you are capturing large birds and you want more details of the entire bird, then you will have to slightly narrow down the aperture value to f/7. Also birds in flight with larger wing span, will need narrow aperture values to get the entire bird and its wings in focus.
ISO Values When Photographing Birds
ISO in camera determines the sensor's sensitivity to light. The higher the iso, the more the sensitivity to light.
ISO also introduces noise in images – higher the iso value, more the evident noise in images. It is always good to use the lowest iso possible and use high iso values only in low light situations and during times when you have to use a very fast shutter speed to freeze movement and get the desired exposure.
Metering For Bird Photography
Metering for bird photography depends on the light in the scene. The most common type of metering would be the matrix or evaluative metering when the scene is evenly lit. There may be times when the bird is in a bright or dark spot compared to the surroundings. In these situations, use spot metering to meter the light on your subject for correct exposure.
Focal Length For Bird Photography
Bird photography requires using longer focal lengths depending on how big or small the bird is and how far away the bird is from the camera. You will need to use focal lengths based on your style of photography. Some photographers like to capture their subject along with the environment, whereas othr photographers like to capture portraits or closeup shots of birds.
Here are some things to keep in mind when it comes to choosing the right focal length for bird photography.
A majority of the bird species are quite small with the exception of a few large birds which are not very common. Birds are also shy and should not be disturbed when photographing them in their habitat. To achieve this, the photographer needs to maintain some distance when photographing birds, but still be able to capture good details.
A long telephoto lens with focal length range of 300 to 600mm and above will be the best choice for bird photography. This will allow the photographer to get closer shots of small birds.
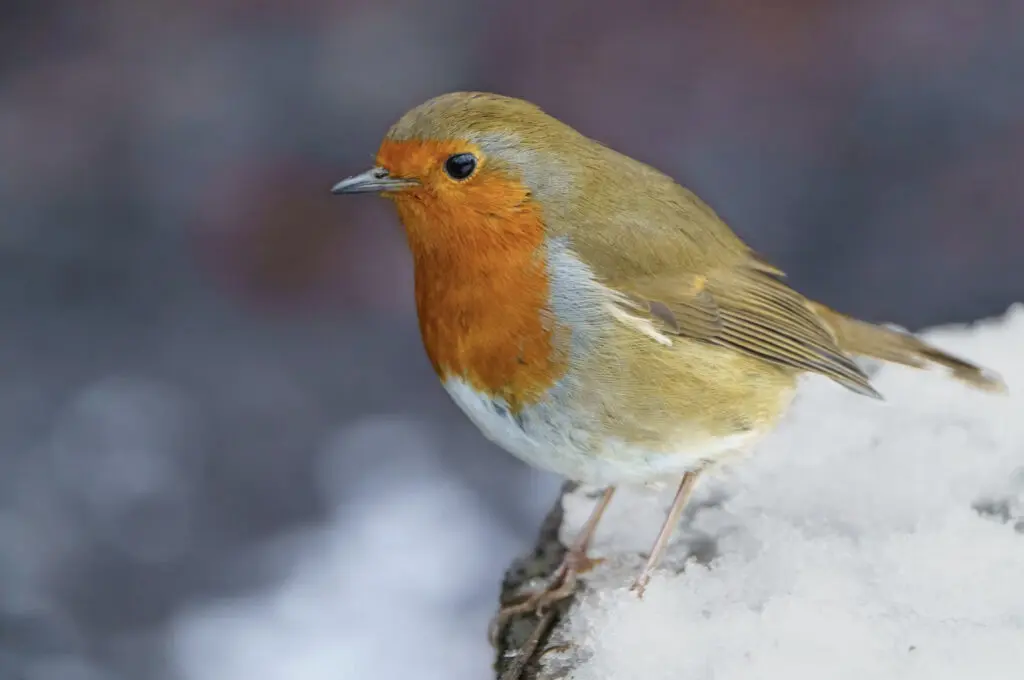
Longer focal lengths also help to separate the bird from it surroundings and make it stand out in the image. This will naturally draw viewers' attention and help to capture bird photos with great visual appeal.
When using longer focal lengths, view becomes narrow and allows to focus on the important elements in the frame. This is useful when photographing birds, especially when they are in a location where there is a lot of vegetation around. Using longer focal lengths will allow to isolate the bird from its surroundings and make it stand out against the background.
When shooting larger birds, you can sty within the focal length range of 200 to 300mm. For environmental shots, you can go wider and shoot using 85mm onwards depending on how far the bird is from the camera and how large it is.
Focus Mode
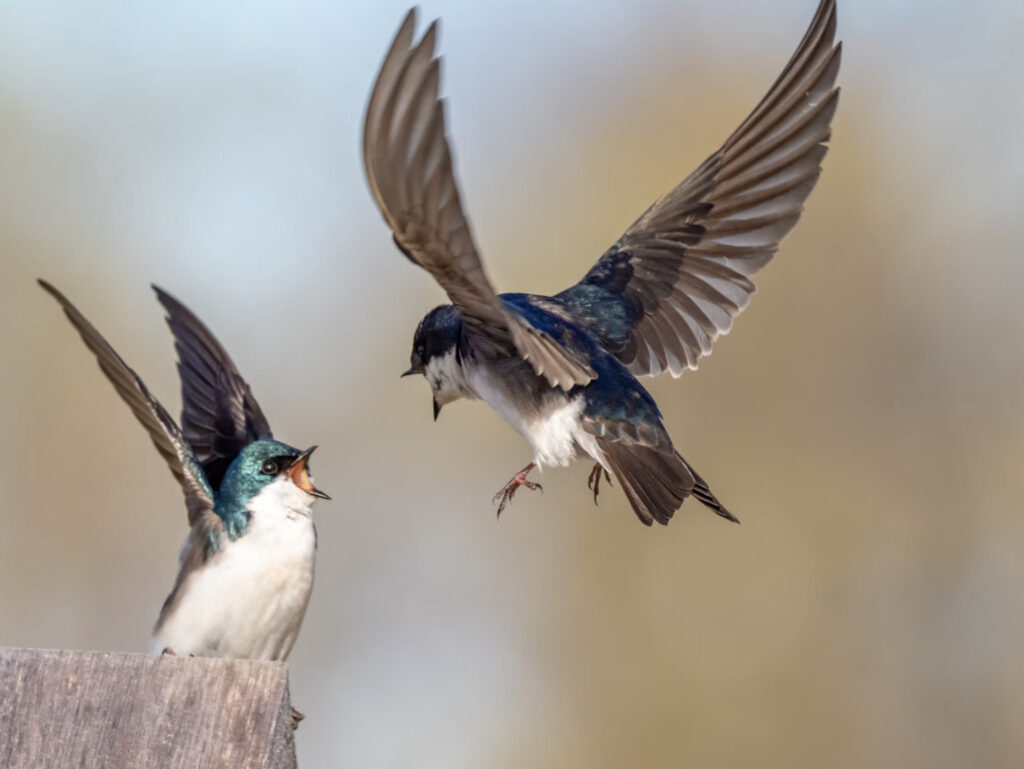
Birds are known to be constantly moving around and in situations like these, it is difficult to keep track of their focus. Besides, they are also interacting with the environment or other birds around. In order to track the birds while keeping them in focus, use the continuous autofocus mode to focus track the bird and use continuous shooting mode (burst mode) to capture a series of shot when there are actions in the scene. This will help you to capture the perfect moment.
Use a single autofocus point to track the bird to get sharp images and keep the focus point on the bird's eye. This will help ensure that the eyes are in soft focus and the moving bird is captured sharply in each frame.
Shooting Mode
We recommend using manual mode for creative exposure because of the flexibility in settings. When you are on a safari or similar activities you will not be able to quickly make changes to exposure settings when the light in the scene varies quickly. You will also come across birds that move or fly with different speeds. It can be quite stressful to keep changing settings for each shot and there are chances that you may miss a shot or more in this process.
In order to overcome this situation, you can choose to shoot in either aperture priority or shutter priority mode.
Aperture Priority Mode
In aperture priority mode, you can choose a certain aperture value based on how much depth of field you wish to capture in the images. The camera will then choose a shutter speed and iso value to get the right exposure.
Based on your camera model, you can set limits for shutter speed and iso – for example, shutter speed to not go below 1/2000s to avoid blurry shots and iso to not go above 640 in order to keep the noise levels low in the images. But the limitation is, even for shots that require only slower shutter speed and low iso, the camera will be using the fast shutter speed and high iso values.
Shutter Priority Mode
Another mode that you can use is the shutter priority mode where the photographer chooses to set the shutter speed to a desired value – for example 1/500s or 1/2000s depending on the scenario. The camera will then choose the aperture and iso values to get the correct exposure.
Both the aperture and shutter priority modes will allow you to shoot without having to worry about the settings. You set the aperture or shutter speed based on the output you are looking to achieve and the camera will make decisions on the other settings to get the correct exposure.
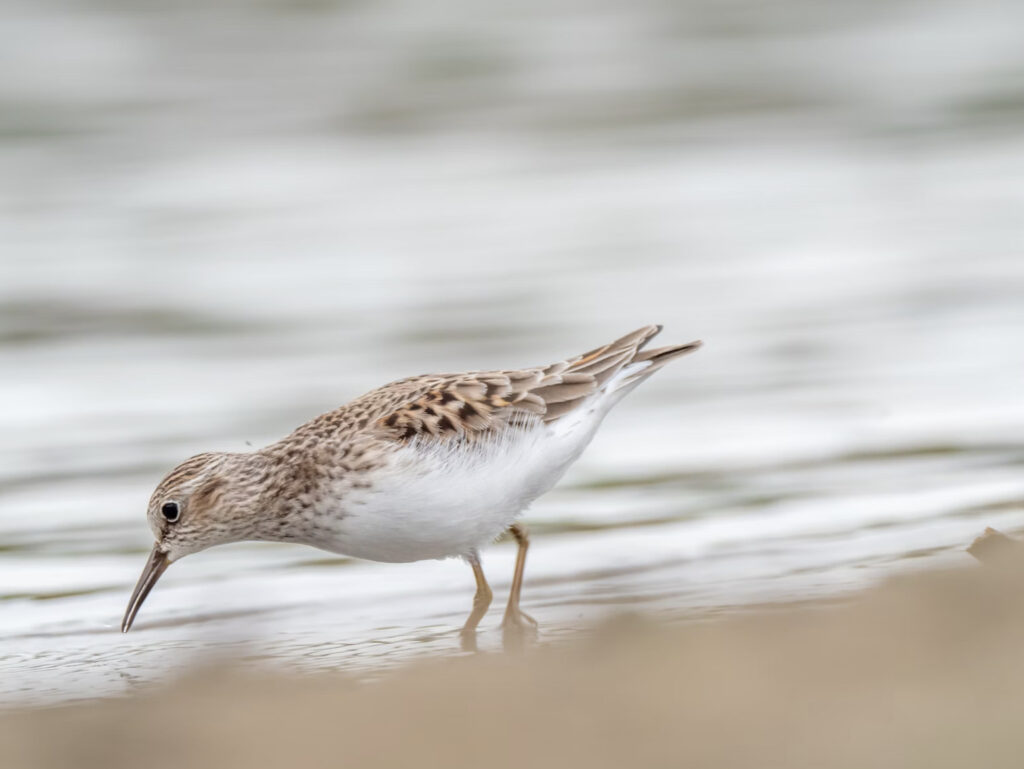
Some lighting conditions will require you to manually make decisions by overriding the camera's light meter. This happens in unevenly lit scenes or when there is a huge variation in light intensity between the background and the subject. In situations like these, use exposure compensation to get the correct exposure.

When Should You Consider Shutter Priority Mode?
Shutter priority mode is useful in situations where you are photographing a lot of movements. You will need faster shutter speed to capture bird actions and setting a shutter speed based on the speed of the actions happening will allow you to capture shots without having to worry about blurry shots. Here are some situations when you should decide to use shutter priority mode:
When you wish to freeze motions, set the desired shutter speed and click. The camera will tale care of the aperture values and iso to get the correct exposure. Using a shutter speed faster than 1/1000s will give good results. Also with longer focal lengths, you will need to further increase the shutter speed as required.
Shutter priority mode allows you to capture sharp photos and will help you to minimise motion blur. Sometimes some amount of blur is introduced because of hand movements as well. Setting the shutter speed to compensate for all these in shutter priority mode, will help to capture neat bird photos.
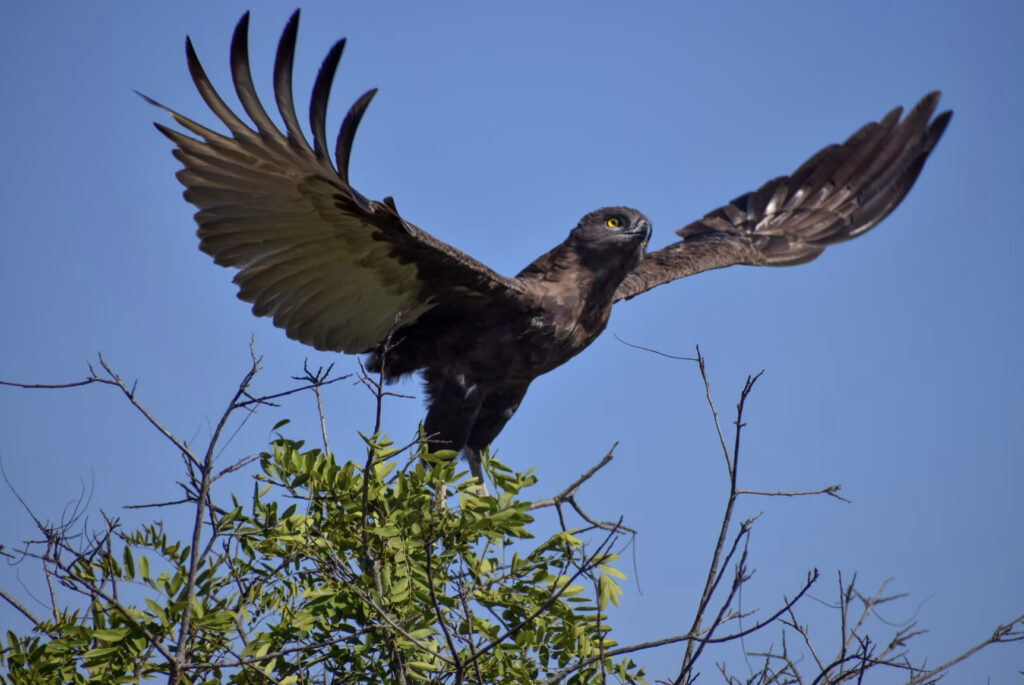
Besides the above, shutter priority mode can be used if you are capturing panned shots of birds in flight. If you know the right shutter speed to use for a particular situation, then you can set the camera in shutter priority mode and capture the shots.
When the camera is on shutter priority mode, you do not need to worry about exposure issues. Even if the light conditions vary hugely, the camera will make adjustments to aperture and iso to get the correct exposure.
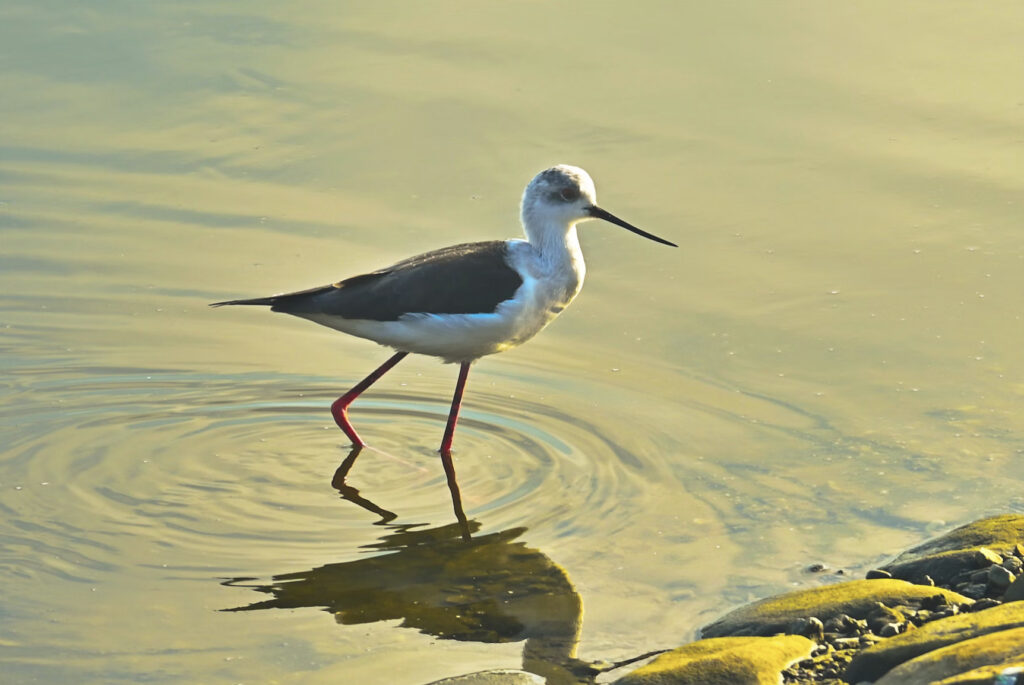
We hope that the above settings will help you to get started in bird photography. Every situation is different when it comes to photography and with practice, you will be able to make creative decisions on the field to get the desired results. Try various techniques and settings and choose the one that works best for your type of photography.


