Believe it or not, aside from the below freezing temperatures, winter is one of the most beautiful seasons of the year and one that can help a photographer make stunning snowscapes.
Snow is beautiful and it can transform any landscape into a magical wonderland and if you are out when the snow is falling or on fresh snow, it can make for some spectacular images.
Photographing in the snow is very challenging, but if you are willing to take the effort to push yourself to get out from the warmth of your home, then you are sure to get some amazing snowscapes.
Make sure that you dress appropriately to keep warm in layers, gloves and snow boots and have all the essentials to protect yourself and the gear from the wet and cold weather outside.
Here are 7 useful tactics for capturing better snowscapes
1. Composition:
When composing snowscapes, all white can make the image look dull and boring, and sometimes there is nothing wrong with that.
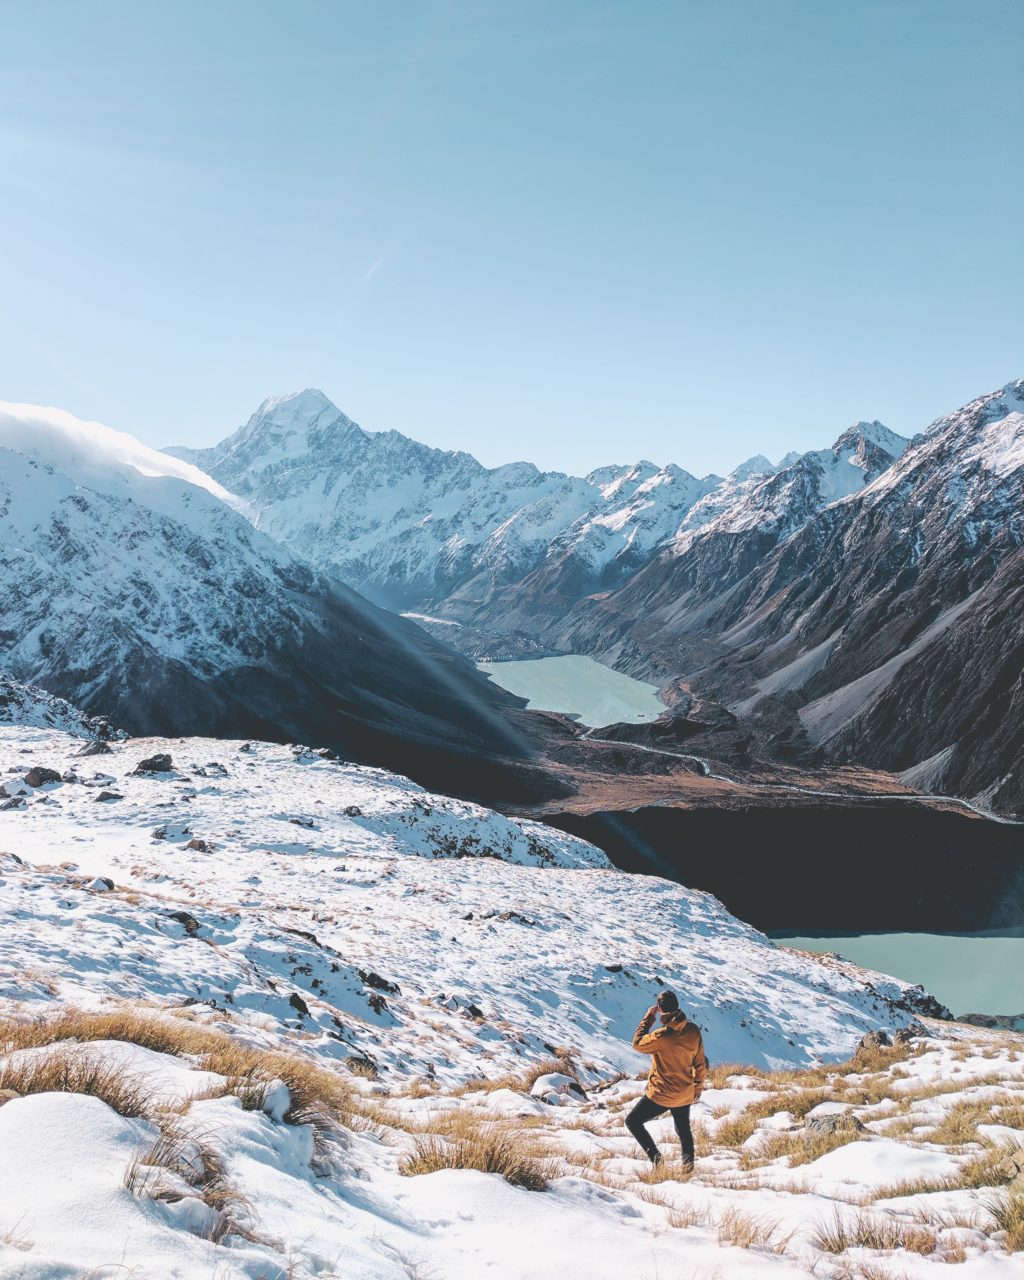
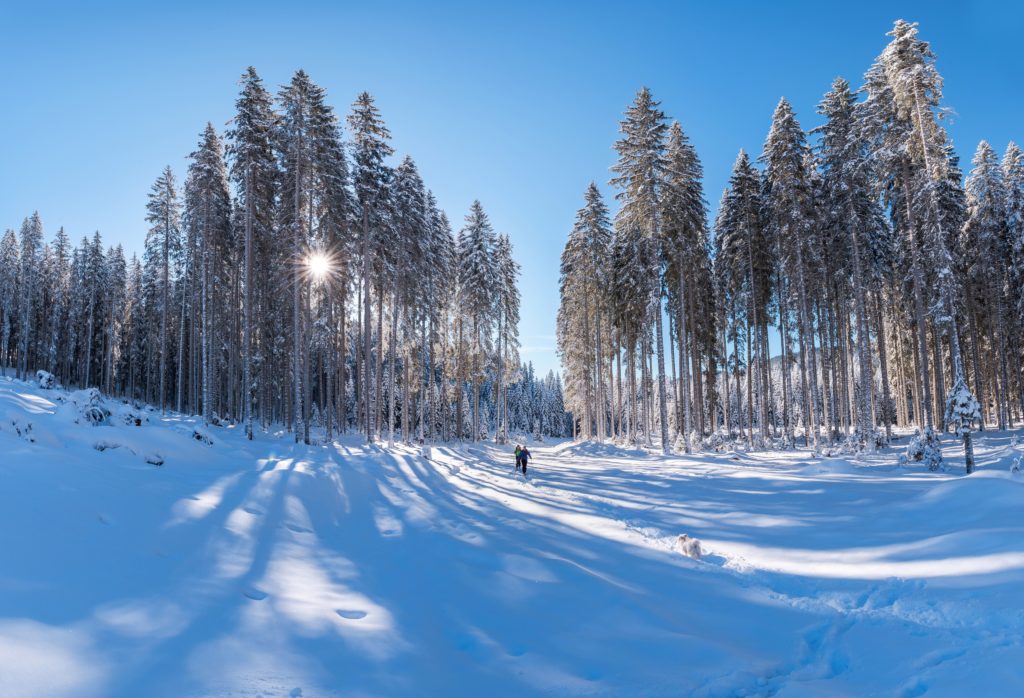
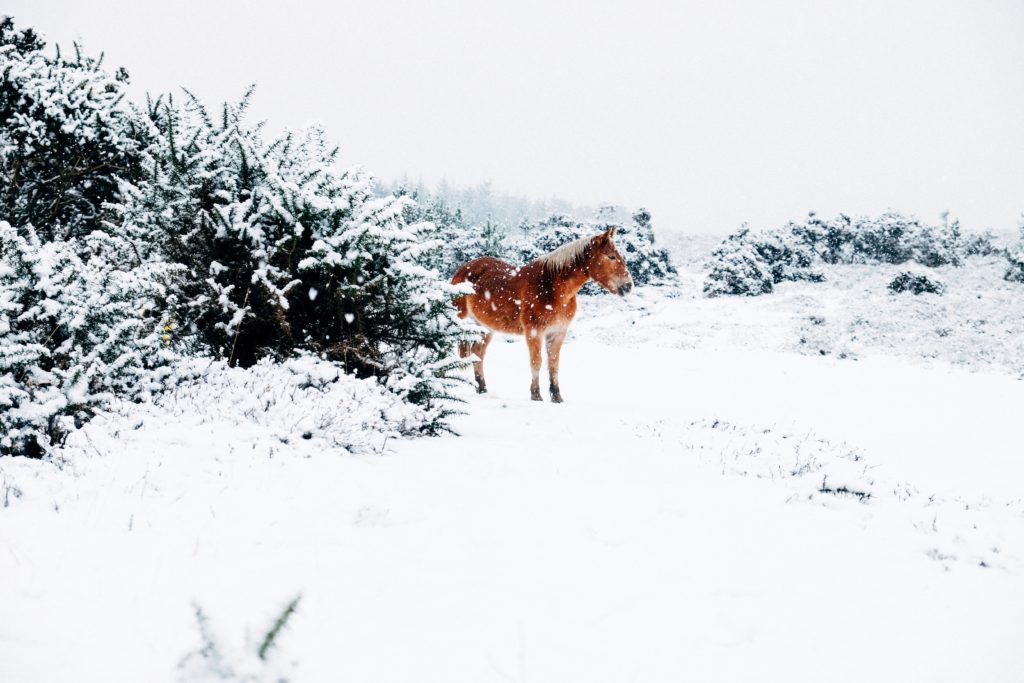
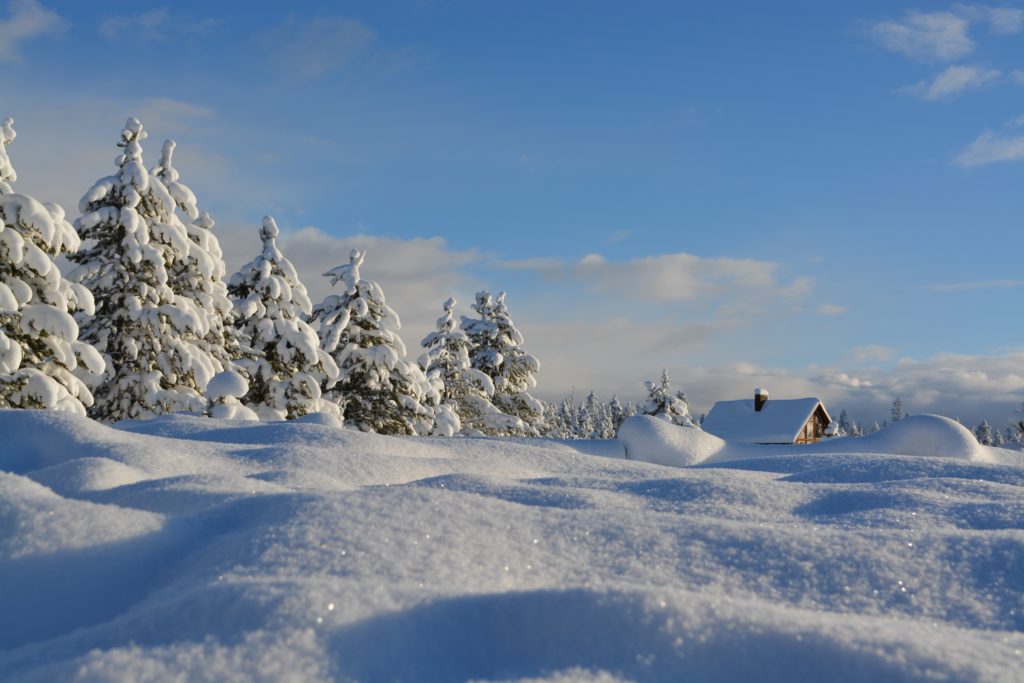
However, in order to create compelling and engaging images, make use of other elements in the scene like trees, barns, cabins, fences, or even animals to add meaning, contrast and story to the image. Look for bright or contrasty colours like, red, blue, etc. that stand out well in the snow.
As much as possible, avoid footprints in the snow to get a neat image, unless you are looking to include the footprints for the story in the image or as a leading line, etc.
Also, just like you would do with a landscape image, add interesting foreground in your snowscape to make it powerful.
Shooting snowscapes when the sun is low in the sky can lead to some dramatic images by accentuating the textures and providing depth to your snowscapes.
Tip: If snow is falling and you wish to eliminate those streaks in your image, try long exposure at a wider aperture maybe with the help of an ND filter if the scene is too bright. This helps when there is mild snowfall.
If you want to include snow in the image, try faster shutter speed to freeze action.
2. Make Use Of Exposure Compensation:
Snow is white and snowscapes can be very bright with all of the light being reflected off the snow on the ground and trees around. Because of this, the inbuilt light meter in the camera will take into account all of the bright light around and show a reading to compensate for all this light. This may result in darker images in general.
It is best to make a test shot or two in these situations and use exposure compensation maybe +1/3 or +2/3 in manual mode and make adjustments to exposure from there.
In this way, using exposure compensation you can slightly overexpose the image and make changes to exposure later as necessary while post-processing.

3. Get Help From Your Histogram:
When photographing in the snow, if you have the option to have your histogram on, it is best to keep a check on it to make sure you are not blowing up the highlights. Snowscape images may look dull or overexposed when you preview them on your camera, so make sure not to discard them in the field before you preview them on a bigger screen at home.
4. White Balance Adjustments:
Oftentimes, the snow can have a blue or grey tint to it when photographed which can be rectified by using custom white balance. But, if you are finding it difficult to fiddle around with white balance in the snow, then try auto white balance and correct it while post-processing if necessary. Make sure that you shoot RAW to get these adjustments done easily in post.
5. Use a Lens Hood and Circular Polarising Filter:
Since the light is too bright when photographing snowscapes, in order to avoid any stray flares, it is best to use a lens hood. This also helps prevent snow from falling on to the front element of the lens and melting.
Also, there may be intense light reflecting off the surface of snow or ice covered surfaces and this can be eliminated or minimised with the help of a circular polarising filter. The filter also helps with protecting the front element of the lens from the falling snow.
Make sure when using a polarising filter, you have the sun at 90 degrees to the direction you are shooting, for better results.

6. Look After Your Gear:
Have the lens cap on when not photographing. Do not blow warm air on to the lens if it looks fogged up because it can only make the condition worse – use a microfibre lens cloth to wipe.
Try to maintain the camera at or near the outside temperature to prevent condensation on lenses and other parts of the camera. Also, hold your breath when taking photos to avoid the viewfinder and LCD screen getting fogged up.
Keep the battery and spare batteries warm to prevent them from discharging easily. This can be done by keeping them close to your body in the inner pockets of your coat and taking them out only when you need to use.
Once you are done with the shoot, put your camera and gear into a waterproof dry bag or plastic bags so that condensation is limited or eliminated when you enter the house to a warmer temperature.
Keeping silica gel packets in the bag is also advised as it helps absorb moisture.
7. Post Processing:
As with all images, your snowscapes also require some post-processing to add life and contrast to them. Snowscape photographs may look hazy and hence you may need to increase the contrast, blacks and the dehaze tool to add punch to the flat images. Besides these, adjust white balance, exposure and any colour corrections if necessary.


