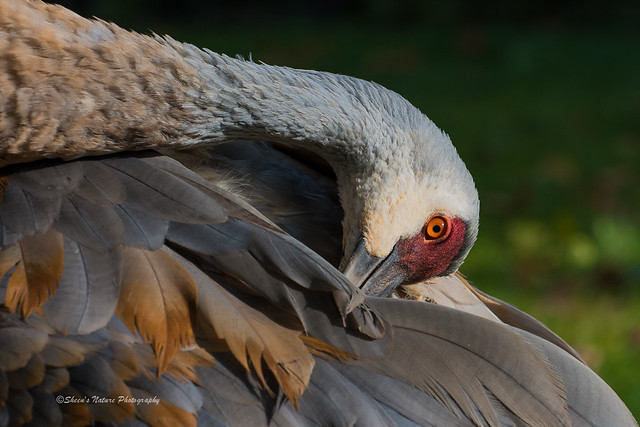
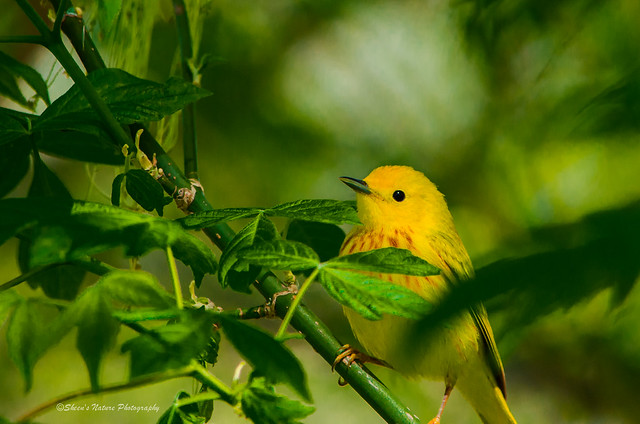
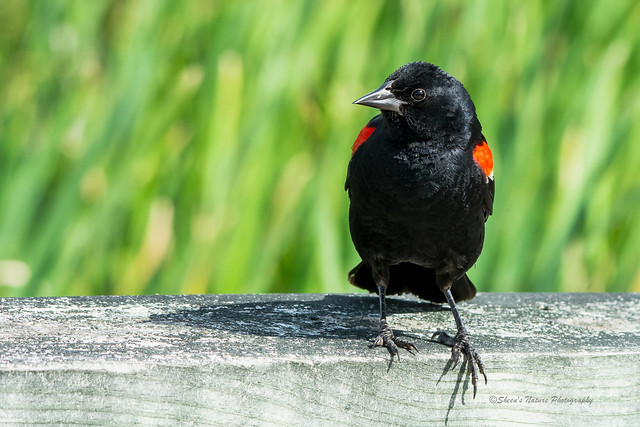
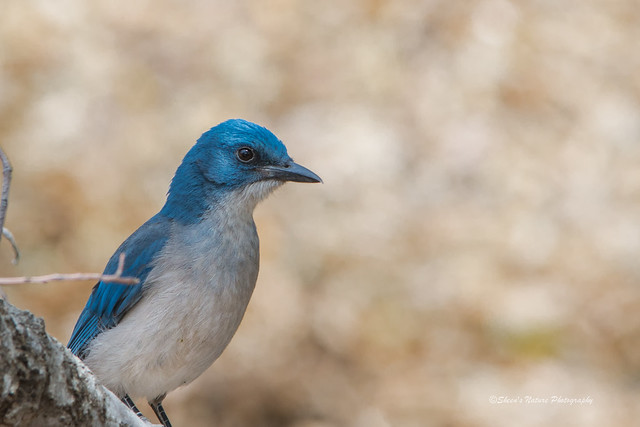
Birds, birds, birds. For those of us who love our birds, it's not uncommon for us to hear, “I saw a bird yesterday and it looked like…, do you know what kind it was?” The hobby of birding is one of the fastest growing hobbies. Facebook pages, books, birding field guides, movies continue to generate an interest and it leads to more photographers delving into bird photography.
Snowy Owl by Sheen's Nature PhotographyThese four basic bird photography fundamentals will help you leave the field with some great shots to work with. 1) Think Big! 2) The Right Equipment (does not mean the most expensive equipment!) 3) Effective Techniques & Use of Settings and 4) Understanding their Behavior – Go Where They Go.
1. Think Big
“Thinking Big” refers to these reminders in bird photography:
- Big apertures & shutter speeds
- Big focal lengths
- Big volume of pictures
- Big (and slow) birds are good subjects for practicing bird photography and learning new lenses
2. The Right Equipment
The two essential pieces of equipment in bird photography include telephoto lenses and a tripod for longer, heavier lenses.
- Lenses – birds are curious little creatures and they will fly in fairly close to humans. However, the don't typically fly in close enough for a good reach with a regular lens. Telephoto zoom lenses (and prime lenses) with reaches of 200mm, 300mm and greater are needed. The longer lengths do not mean you have to start out spending thousands of dollars. Nikon, Canon, Sigma, Tamron, etc. all make 70-300 range lenses that are reasonably priced, lightweight, with terrific quality. For those wanting to expand the length for closer reach, telephoto lenses reaching to 400mm, 500mm and 600mm that don't break the bank are available. Check out the article on the Tamron 150-600mm lens for a review and a collection of photos taken with this lens.
- For those who can and want to invest in higher aperture prime and telephoto lenses, the quality is outstanding. These are heavier lenses with great glass. The weight may make it harder to take on longer hikes and general travel.
- Tripod – Some telephoto lenses are lightweight and can be handheld. The 70-300mm telephoto zoom lens (and other various ranges) is an example. Other telephoto lenses are heavier which means, depending on your individual strength, to get a clean, sharp image a tripod and good tripod head makes a difference. The Tamron referenced above weighs 68 ounces, or 4.3 Ilbs. A solid tripod (definitely research these if in the market) can help prevent disastrous accidents in addition to helping get great, clear shots.
3. Effective Techniques
- Shoot in Aperture Priority – A shallow depth of field (bigger aperture, lower f/stop number) increases the shutter speed, impacts the amount in focus and image sharpness. Based on my current telephoto Nikon lenses (70-300, 150-500 and 150-600), the sweet spot on these lenses range from f/5.6 – f/9 depending on the lens.
- Finding the sweet spot of the lenses – through trial an error, you'll find the sweet spot for your lens at various settings.
- Focus on the eye – Use single point focus to get the eye in focus. If the eye is blurred, it gives the appearance that the total image is out of focus.
- Shutter speed should be the equivalent of the focal length of the lens – Even though shutter speed is controlled by the camera in aperture priority, the bigger the aperture (small f/stop number) the faster the shutter speed. Shutter speed can also be increased by elevating the ISO and adjusting the exposure compensation down slightly.
- Take tons (and tons) of pictures – Good thing we have digital. When photographing a bird and it is staying visible, take a lot of shots. If you can, adjust the aperture setting a few times. The more you take, the more you'll have to work with. Because of their rapid movement, it is harder to get the desired image. I've taken many, many images of one bird only to come back with one or two that I like. (productivity tip – when going through and reviewing your images, the ones you don't like, delete immediately so you are not combing through them later).
4. Understanding Bird's Behaviors – Go Where They Go
- Backyard birding – A common approach in getting started with bird photography is to photograph at a bird feeder. Birds move so quickly to and from the feeder that it's very difficult to get a clean image. Instead, birds typically go to a perch and wait a couple of seconds before diving in. The perch in this case would be the best place to focus and wait. This will lend to minor movements and focusing adjustments which improves our ability to get a good image.
- Finding easier, closer access to the birds – Going to places where birds are used to people is always a safe approach for the bird and you. I can remember searching for an hour on a trail walk for the Mexican Jay in Big Bend, Texas on my first visit as a birder. I later discovered that a family of them was hanging out fifty feet away from the parked car right above the picnic tables. When I returned as a photographer years later, I made a beeline directly to the picnic tables and they were there, ready to pose. State and national parks, picnic areas, public beaches, piers, ponds, bird migration hot spots lend to providing up close shots of birds in their natural habitat. See the article on the migration birding and warbler hotspot Magee Marsh.
- Habits and habitat – As a birder for years, knowing their habits and habitat has been valuable. Migration season is one of the best times for bird photography. Birds migrate for thousands of miles to nest, breed, raise their young only to return back for the long winter months. Birds plumage is the brightest during breeding season and they stay closer to their nests. Talking with bird experts, reading field guides or using an app will provide insight on where they eat, nest and can be found (nesting boxes, ground, trees, water).
Here's a list of a few birding apps. If you're looking for a birding app in a given continent, just go to Google and type in “Bird Guide and the name of the Country or Continent”.
Bird photography brings big personal rewards. It's delightful and yes, sometimes frustrating to get home and review your work. You'll be deleting a lot more than you keep. The ones you keep will be enjoyed by you and others you share your work with!


3 Comments
Thank you so much. Really enjoyed reading that and being inspired by your photos!
What advice would you have for bird photography on bridge cameras?
I have a “bridge” camera and never use it for anything that moves very much. A DSLR is the only way to truly get good bird images. There are many good ones to choose from on the market today. I use an Olympus E-3 and because it has a four-thirds sensor, my 70-300 lens becomes a 140-600 lens. The perfect length for successful birding and I can hand hold it. Good luck birding!