Whether you have an online business, or, you are advertising your products in catalogs, or shooting products for banners or in-store displays, the fact is, your photographs need to be of great quality, attractive and visually engaging. Better product photos mean better sales, so in order to get better photos, you'll need to focus on the gear that you'll be using and how you'll use it. First up, you need to make sure that you shoot the images in such a way that you bring the viewer’s attention to the product and this can be accomplished without investing in very expensive gear.

Image by Einladung_zum_Essen
Basic gear tips for taking better product photos
1. Camera
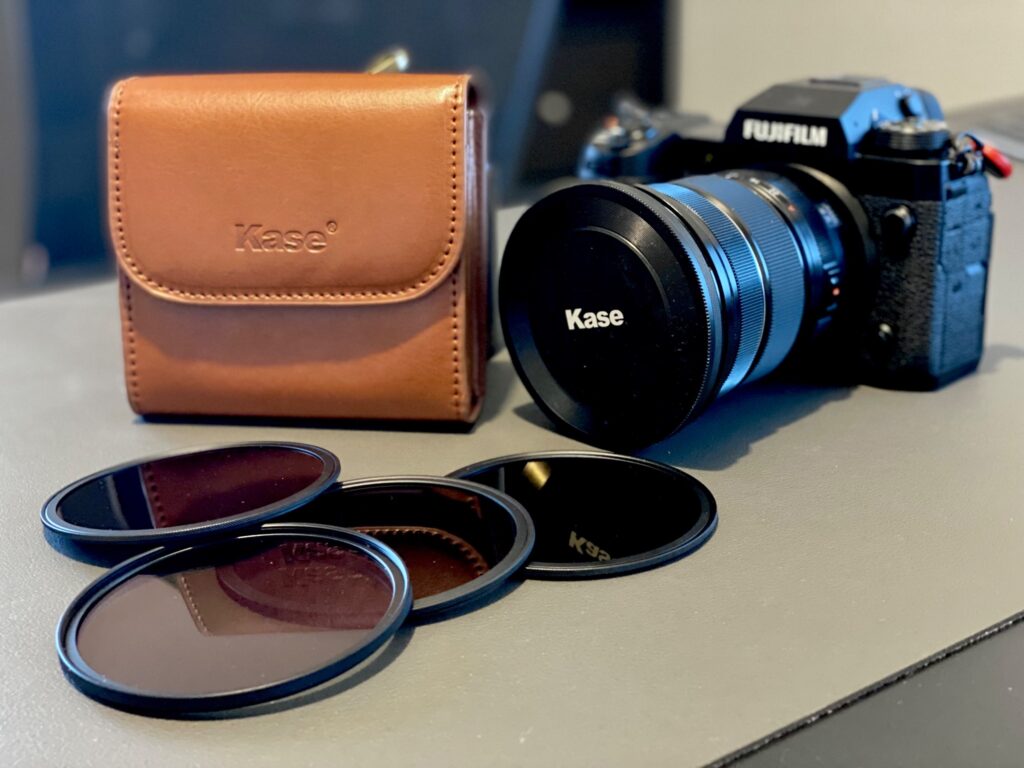
You don't need to invest in high-end cameras, but a decent DSLR or Mirrorless camera that you own is sufficient for product photography – unless you are shooting for a large billboard. You don’t need to worry about faster-focusing systems or high ISO capabilities, as the products are stationary and you are going to shoot at low ISO with your camera on a tripod.
2. Lenses
You are looking for great sharpness in product photography, so a prime lens or a good macro lens will help you achieve this; do not use a wide angle lens. You will be shooting products from a reasonable distance, so choose a lens with a focal length depending on the space available in your studio. Whatever narrow aperture you may use (use your lens’ sweet spot for sharp images), shooting close will often give you very shallow depth of field and in order to have all parts of the product in focus, try a focus stacking technique.
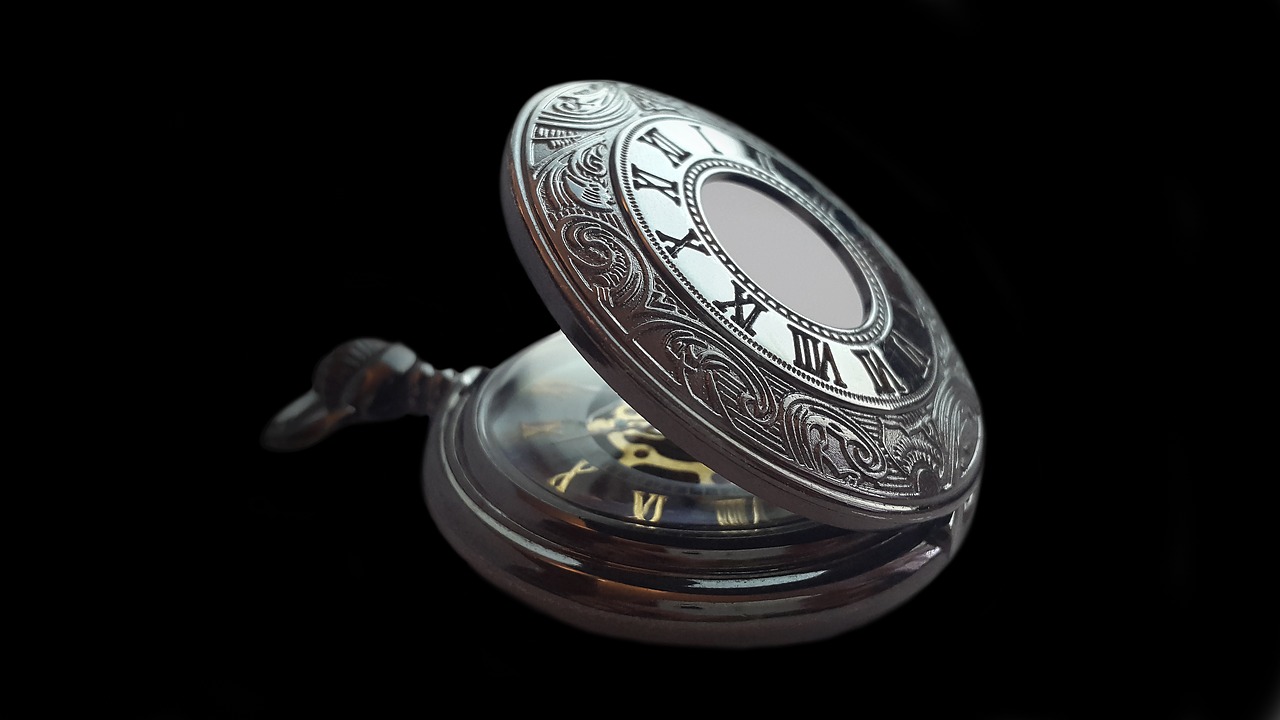
Image by FelixMittermeier
3. Tripod
In order to compose and shoot sharp images at narrow apertures like f/11 and ISO 100, it is best to put your camera on a tripod and use a remote shutter release to avoid camera shake. Use manual focus and live view to check pin sharp focus.
4. Lightbox
An important factor in product photography is sufficient lighting, color balance, and your lighting needs to be directed correctly to get the exposure right, to accentuate the product design, and to have the focus on the product. Use a lightbox, as these are built in order to ensure a clean background and constant uniform lighting.
5. Lighting And Light Stands
If you do not have a Lightbox for your product set up, shooting at aperture f/11 and ISO 100 will require ample light. You can illuminate your product using artificial lights on light stands and, depending on the product and backdrop, you will have to choose the right colored light; for example, fluorescent or incandescent, etc. Typically, at least two lights on either side is recommended and it is important to make sure that they are of the same type.
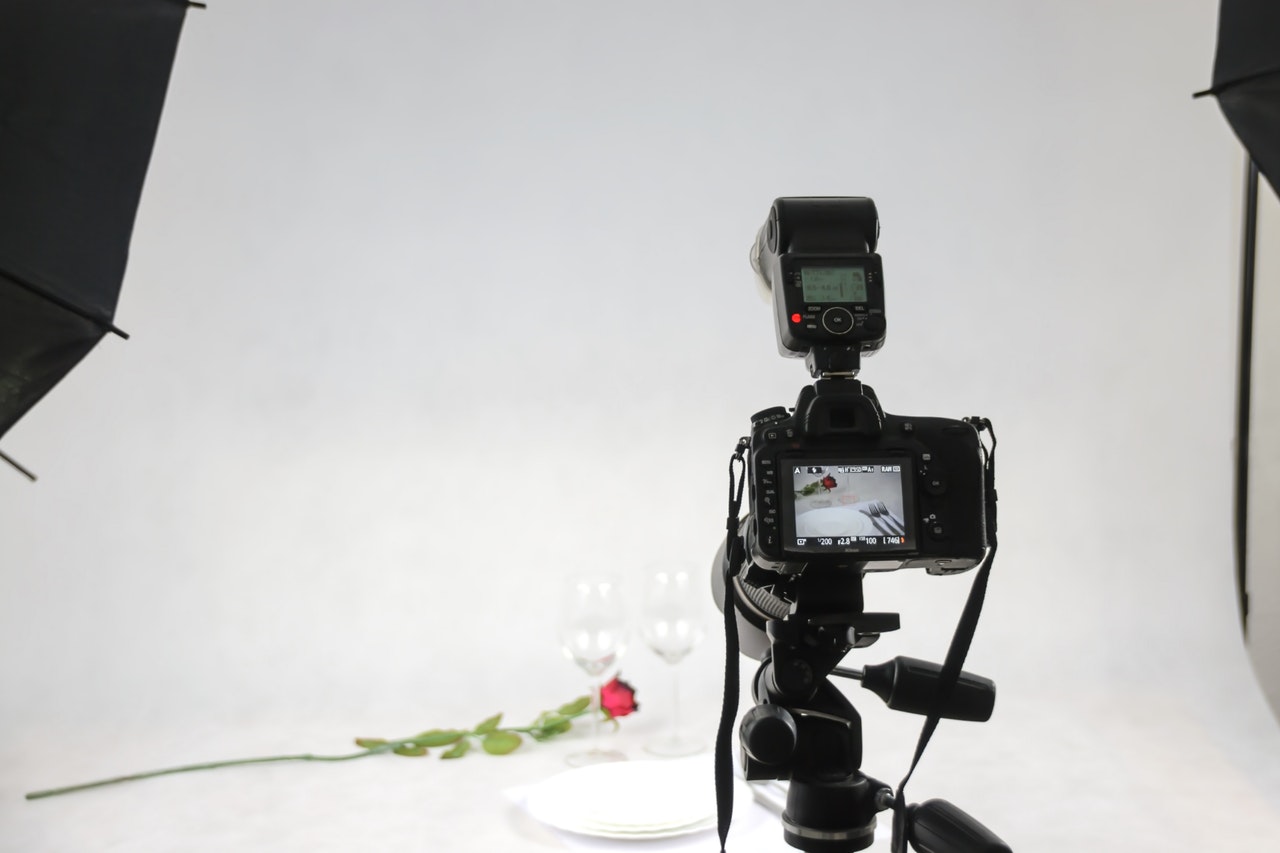
Image by Photo Mix
6. Other Gear
Use reflectors where necessary to fill in light in shadow regions. You can also use speed lights, but these can be quite expensive. Use plexiglass to create reflections of the products you're photographing, if required.
Understanding light is very important when it comes to any genre of photography. If you wish to take your photography skills to the next level and wish to learn how light works, be sure to check out Understanding Light by Photzy.

