As much as shadows can contribute towards creating some dramatic images (giving depth and shape to objects), sometimes we want to control them, (depending on the situation), to create a really good image. It can be extremely challenging sometimes to create a balance between the shadow and highlight regions and capture a well exposed image. You can always use post-processing software to bring out details in the shadow regions, but…it is always good to get it right in the camera so that you save a lot of time during post; moreover, it helps you to become a skilled photographer!
Shadows are dark areas that are formed when light from a light source is blocked by an opaque or translucent object. The effect of shadows depends on the intensity and direction of light source.
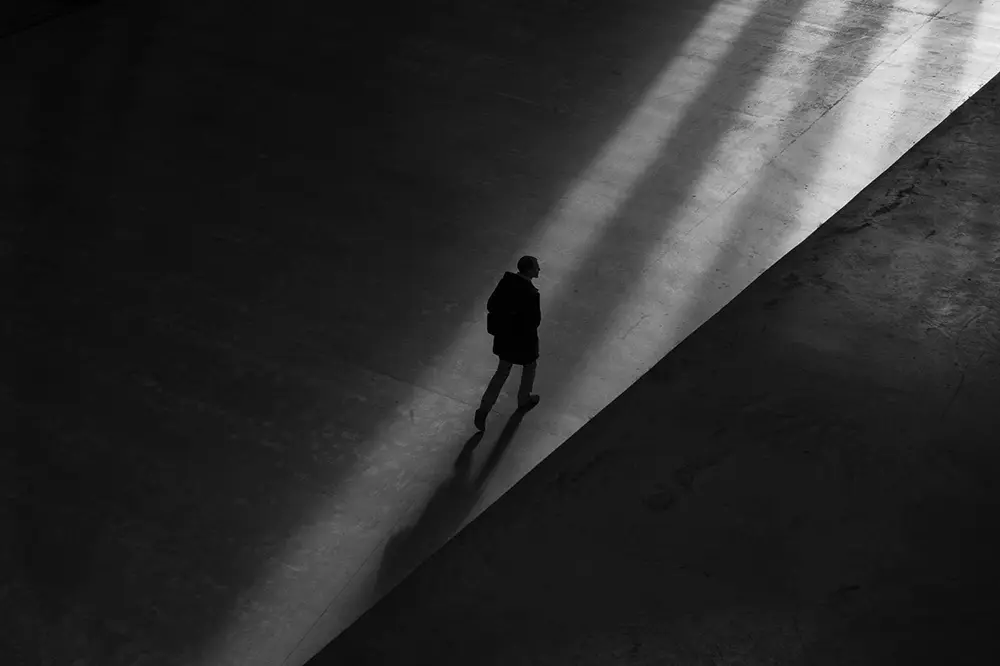
Photo by Umberto Shaw on Pexels
How Do You Improve the Details in Shadows?
Most of the time, unwanted shadows are caused by harsh light. You will need to fill that shadow region with another light source or change the direction of the light source when possible or diffuse the light, etc. so that you are still able to see details in the shadow area; when in doubt, check the histogram! Remember, you are not eliminating the shadows, you are only controlling them.
Here are Some Tips to Improve Details in the Shadows of Your Images:
1. When Shooting Portraits Outdoors – Shoot early in the morning or late in the evenings and avoid the midday sun. If you are in a situation where you cannot avoid the midday sun, shoot in shady areas, and you can use reflectors to reflect off some sunlight into the darker shadowy regions so that you can fill in some shadows.
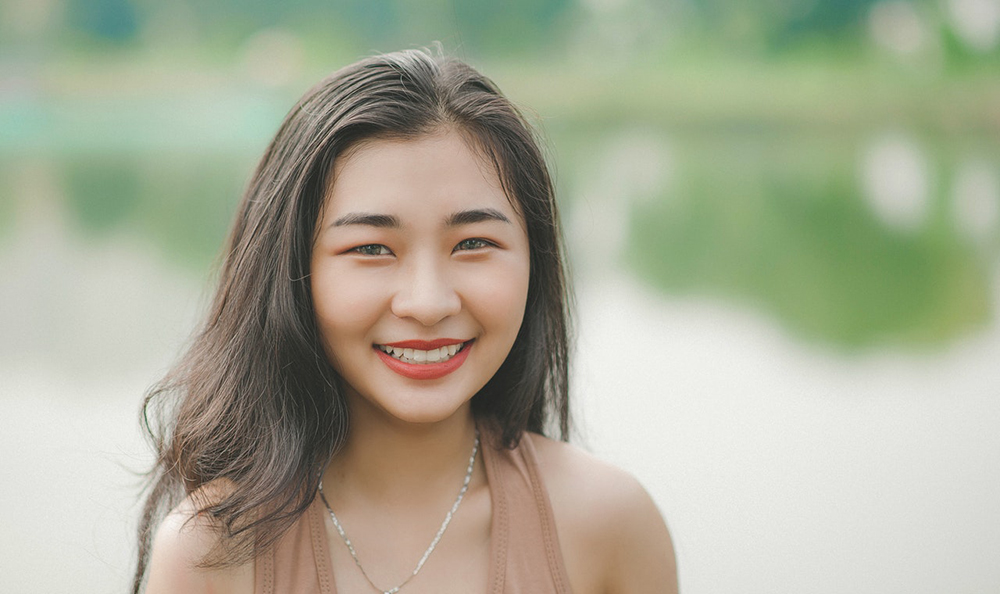
Image by Min An on Pexels
2. When Shooting Portraits or Still Life Indoors -When shooting portraits, you may see hard light on the model’s face and/or other shadows around, for example on the wall/backdrop, which may be distracting. If you are shooting still life, you may come across shadows cast by the light source which may not look very good in the image. In order to avoid this, you can use a second light or third light source or a reflector to fill in the shadows. You can also bounce the light off walls and ceilings to fill in any dark areas.
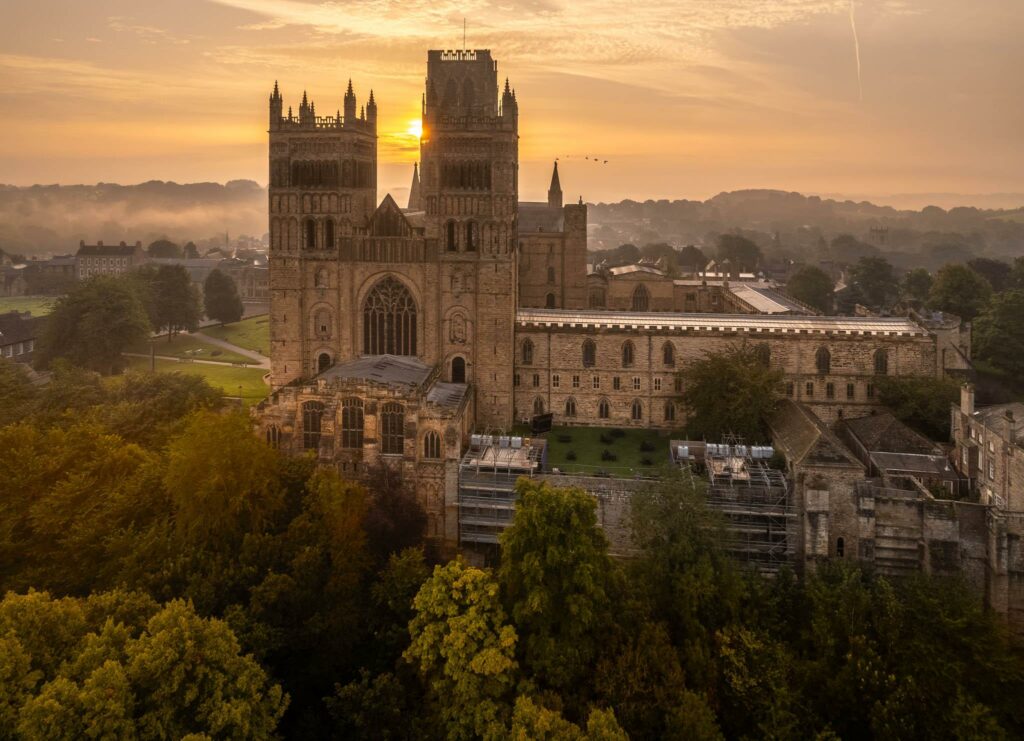
3. When Shooting Landscapes – If you are photographing anything else, like landscape or architecture, try and shoot early in the morning or late in the evening. If you are still struggling with dark shadows since you cannot control light artificially when shooting landscapes, try HDR techniques to capture details in the shadow areas.
Do not go overboard with these techniques as they can make the image look unreal. Use Auto Exposure Bracketing function and stack them up using post-processing software.
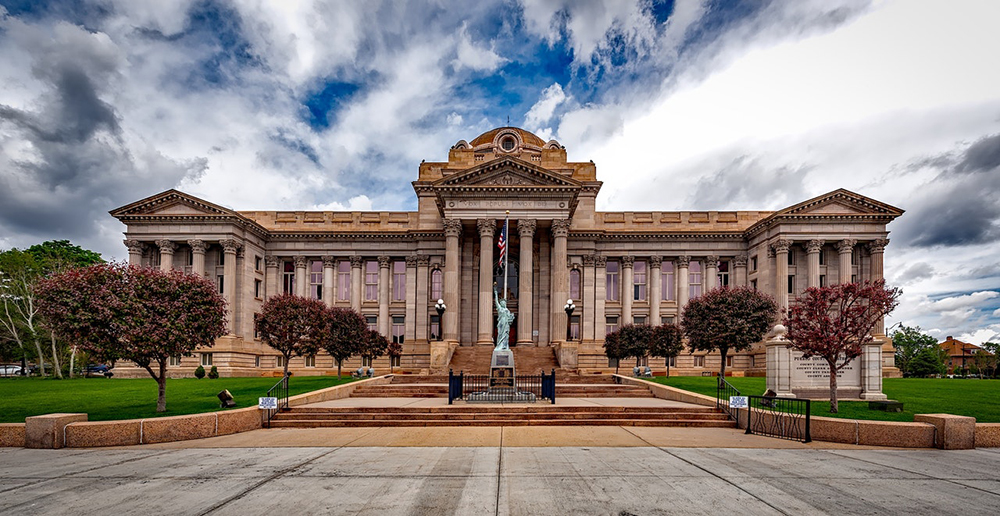
Image by Pixabay on Pexels
4. Use a Broader Light Source – Broader light sources lessen shadows because they hit your subject from various directions whereas narrow light sources are more directional casting shadows in the non-illuminated regions.
5. Use Diffused Light – When shooting outdoors, a cloudy or overcast sky acts as nature’s diffuser. When shooting indoors, bounce light off the walls and ceilings or use a softbox to diffuse light. This helps to avoid harsh shadows.
On a final note, personally, I love shadows as they help to set the mood of a shot and any lighting on subjects, is given a definition by these shadows. They are the reason why we have textures, patterns, volume and drama in images. If you need a stunning image, make sure to include some shadows and highlights, after all, that is what the masters of photography did!

1 Comment
Thank you for the great tips. Shadows are definitely an important component of photography. I love light, but it’s what we don’t always see that makes a difference.