There are a few rather effective but simple ways to take stunning portraits with one light. This means that even if you are an amateur photographer, you can take great portraits without spending a fortune on expensive lighting equipment.
We have already covered Rembrandt lighting in one of our previous articles – now we’re going to focus on butterfly and loop lighting. These two lighting setups are less dramatic than Rembrandt lighting and you can use them to achieve simple yet flattering portraits.
The Equipment For Loop And Butterfly Setups
Since you’ll be shooting with a single light source, all you need is a minimal gear kit!
- Camera (with portrait lens)
- Off camera light source (either flash or continuous lighting)
- Light stand (1 or 2)
- Reflector (32” or 42”) – this is optional
Even if you don’t have a reflector, you can still achieve pretty good results! Of course, if you prefer the softer quality of light and less noticeable shadows, you should definitely obtain a reflector since they are not expensive but they can definitely improve your portraits.
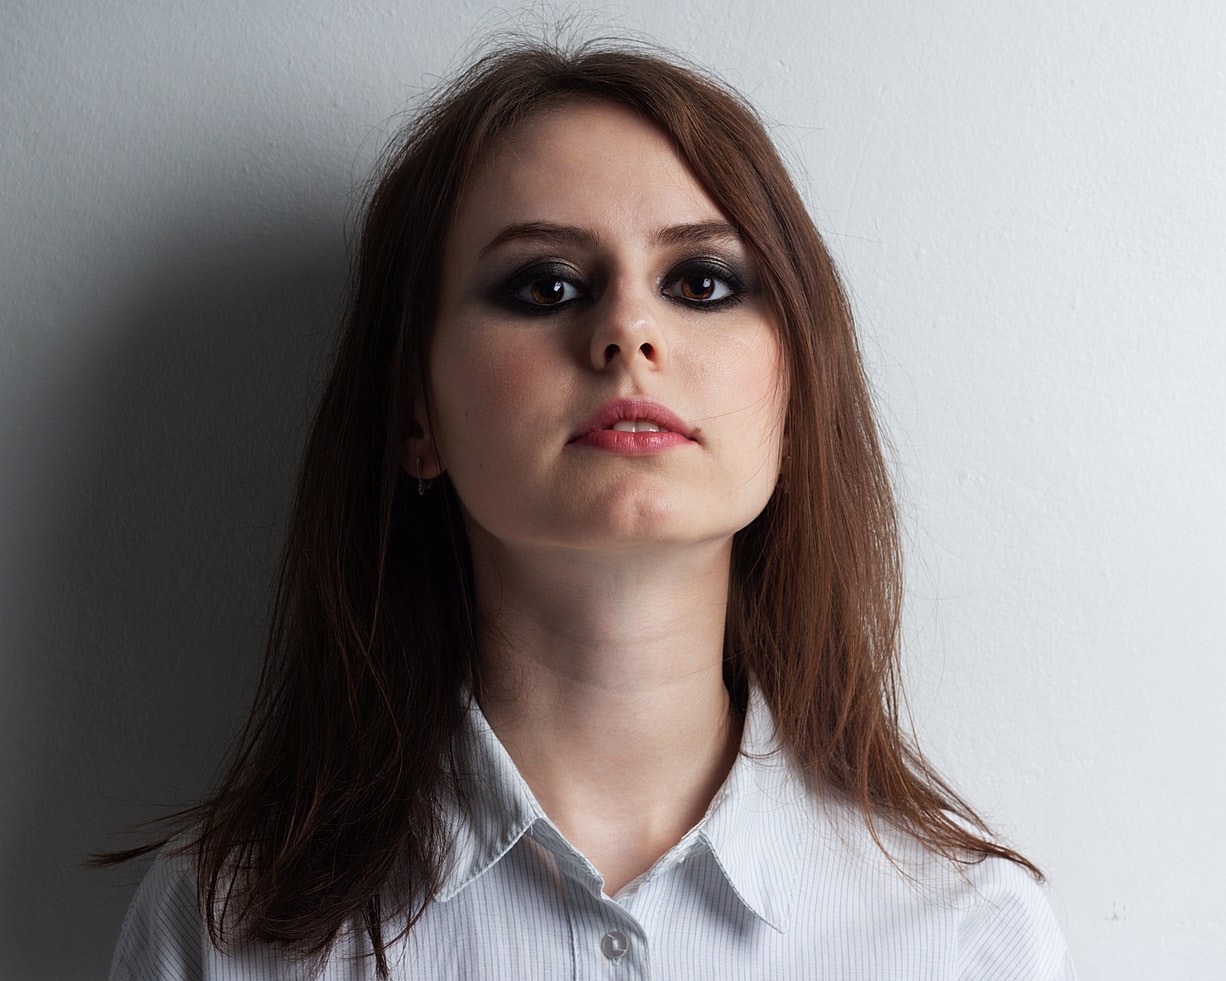
Butterfly Lighting
Butterfly lighting is one of the most popular and most versatile lighting setups. It’s rather simple – it consists of a soft light that hits the subject from above. It is called butterfly lighting because it creates a small shadow (in the shape of a butterfly) underneath the nose and chin.
This type of lighting illuminates both eyes and both sides of the face equally and it creates a balanced and flattering look. An off-camera light used for butterfly setup should be placed directly behind the camera and slightly above the subject’s head. The light should be pointed down towards the model at about a 45-degree angle.
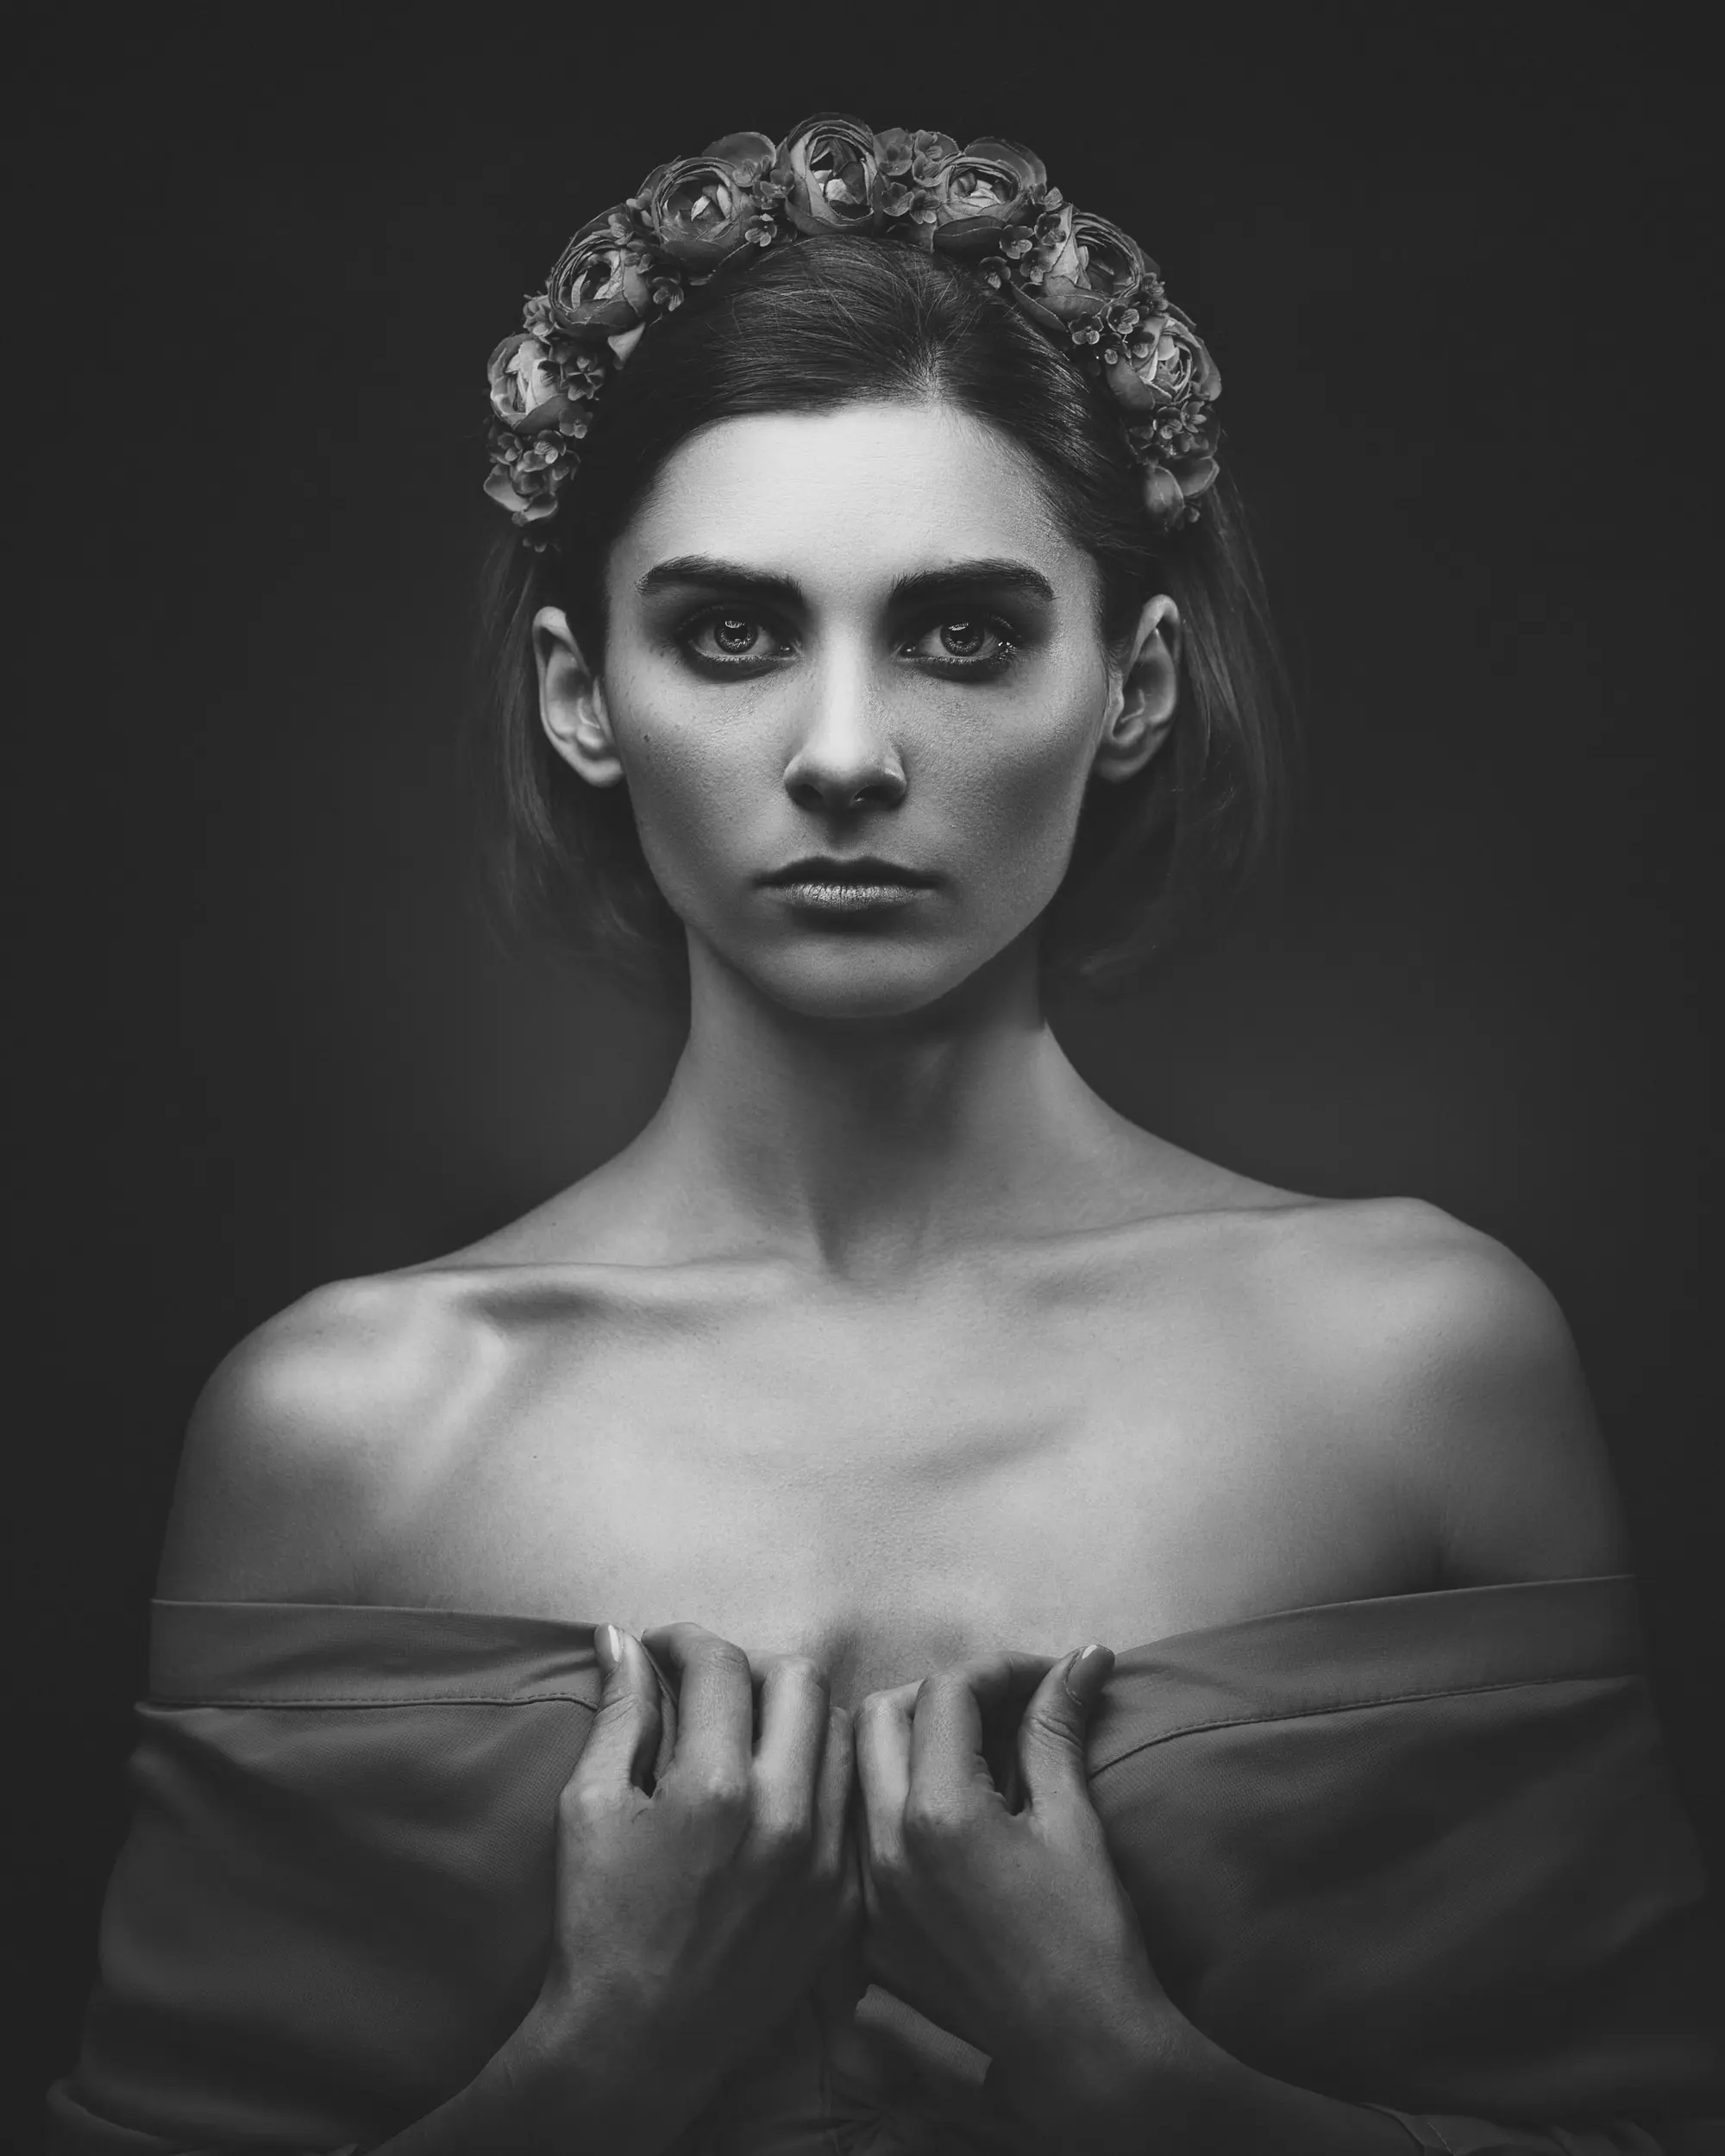
When To Use It
This portrait lighting setup can emphasize the jawline and the cheekbones, which makes it a great choice for fashion and glamour photography. It also makes wrinkles and uneven skin texture less pronounced. If you want to make an older subject appear more youthful, you should definitely give butterfly lighting a try!
It’s relatively easy to modify butterfly lighting with reflectors. The use of reflectors will allow for more variations in this kind of lighting – anything from simple to glamorous is possible!
Butterfly lighting was most popular in the 1950s fashion shoots, so you can use it to mimic this style of fashion photography.
Loop Lighting
Loop lighting is somewhere in between butterfly and Rembrandt lighting – it’s not perfectly balanced but it’s not overly dramatic either. A larger part of the model’s face is still well lit, but since a key light is off to the side of the camera, shadows are clearly visible on one side of the face.
It’s easy to recognize this type of lighting – it forms a short, rounded shadow in one corner of the subject’s nose. Technically speaking, loop lighting is a butterfly lighting moved to one side of the subject. In order to set it up, you just need to place an off-camera light next to the camera and off to the side, up to a 45-degree angle from the model.
Just like in the case of butterfly lighting, the light should be taller than the subject but angled down at them.
It might be tricky to find the perfect distance between the light and the camera, but you should definitely feel free to experiment with this distance. The light should be far enough from the camera to create shadows on one side of the face, but also close enough to the camera that both sides of the face are well lit.

When To Use It
You should use loop lighting when you want to give a bit of an edge to a regular portrait. Loop lighting is as flattering as butterfly lighting, but at the same time, it provides more visual interest and more dimension. It represents a great cross between soft and dramatic lighting.
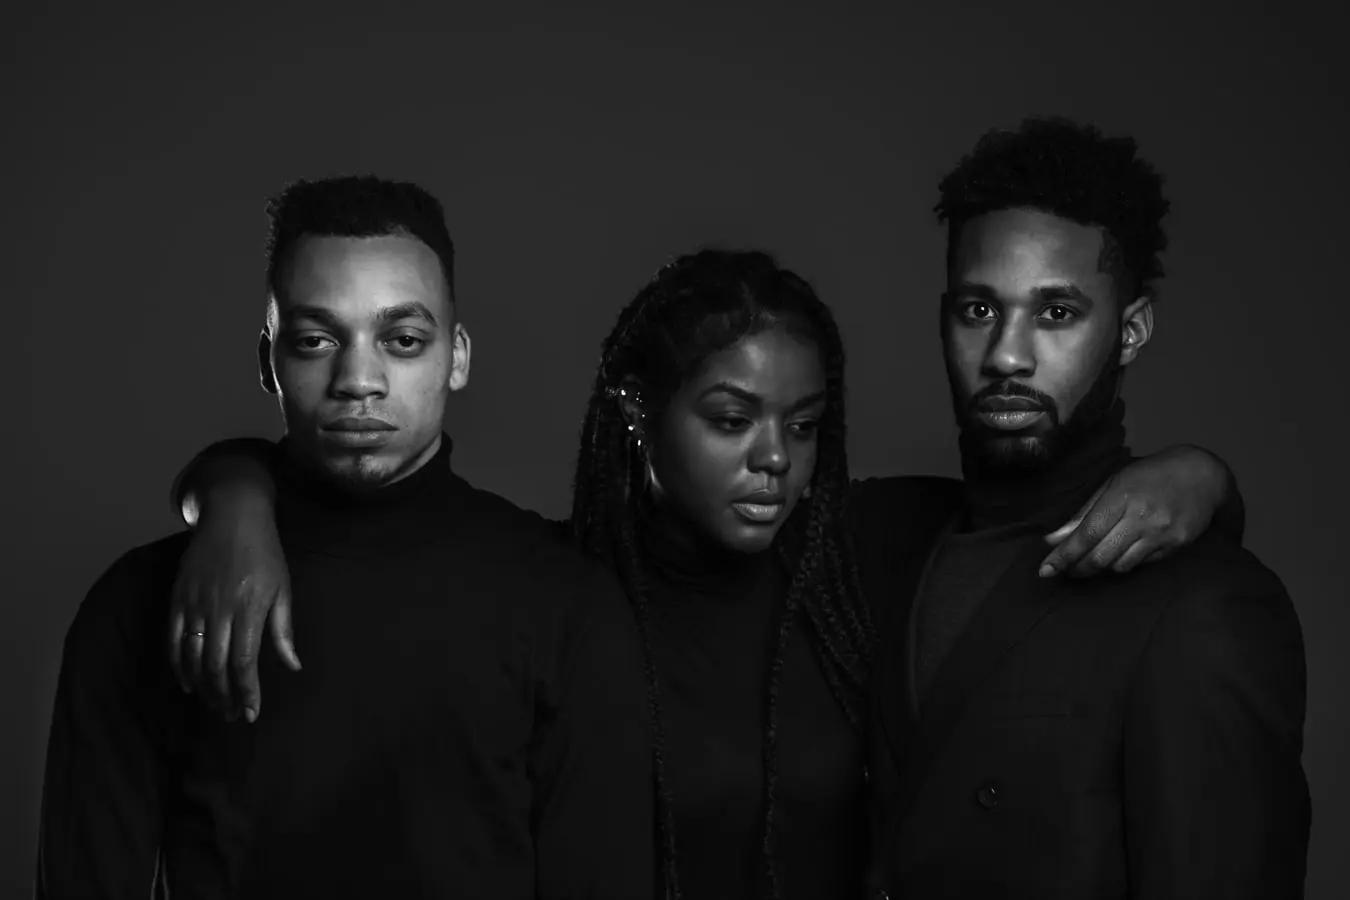
No matter what kind of portraits you like to shoot, always bear in mind that lighting can create a more flattering portrait, add drama and help the subject’s best features look even more stunning! Luckily, you don’t need lots of gear to create a variety of beautiful and meaningful lighting effects.
In case you want to learn more about lighting in portraiture, feel free to check out the following links!
Further Resources:
- Improve Your Portraits With Rembrandt Lighting Technique
- 5 Free E-Books to Help You Get Better at Lighting in Photography
- Bite Size Tips: 3 Wonderful Lighting Conditions For Portraits
- 10 Stunning Portrait Lighting Patterns Using Just One Light
- The 5 Fundamental Portrait Lighting Techniques
- Portrait Lighting Essentials
Further Learning:
We hope you found this article on portrait lighting useful and inspiring. If you are looking to make beautiful portraits and are struggling with lighting, here is your chance to truly master light and produce amazing and inspiring images of your own. Understanding Light Book One is the first step towards your full comprehension on the subject of light, and how to make it work in your photography.
In this guide you'll discover:
- The exercises that will teach you how to light shapes for dynamite images
- What Reflectance and Refraction is
- How light bounces and how the surface you’re bouncing it from can vastly affect your photograph
- These five tips on lighting will help you get a perfect shot every time
- The relationship between “Camera point-of-view” and the Light Source.
- And so much more!
Discover the secrets to controlling and manipulating light in Understanding Light Book One today
Shareable Images for Pinterest

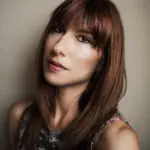

2 Comments
Great article, thanks for sharing. I looked up Dmytro Tolokonov on FB – he has some great work there, including a colour rendition of the BW shown here. Worth a look! 🙂
https://www.facebook.com/dtolokonov
Saying, as you do in your diagrams, that a light should be 3 feet above eye level isn’t very helpful. A light 3 feet above eye level and 1 foot from the subject casts a very different pattern than one 3 feet above the subject and 10 feet from the subject. Would be better to speak of the angle above the subject’s eye level, such as 45 degrees.