Once I finish shooting an event, my habit is to get home as soon as possible and immediately process the images. Time is of the essence here, since the musicians need around two hours to pack their stuff up, finish cashing out, etc. That gives me around three hours to finish the photos and deliver them to the clients so they can post them for their fans before they wake up from the festivities of the night before.
See Part One and Part Two of this series.
The first goal (whether you use Lightroom, Aperture, or any other software) is to import the photos. You would want a high-speed card reader for this to cut down on the time needed to import the photos. A USB 3.0 reader or a PCI one are preferable.
During the import, apply the general settings, noise reduction, sharpening, and lens corrections (geometry, vignette, chromatic aberrations and fringing). You can also reduce the highlights to -75% and push the shadows up to 75%. Usually that is a bit much, but going by the light I had in the picture I'm featuring here, it turned out okay. You can do this by fabricating presets to do it. Every software should support this, so you should have no problems.
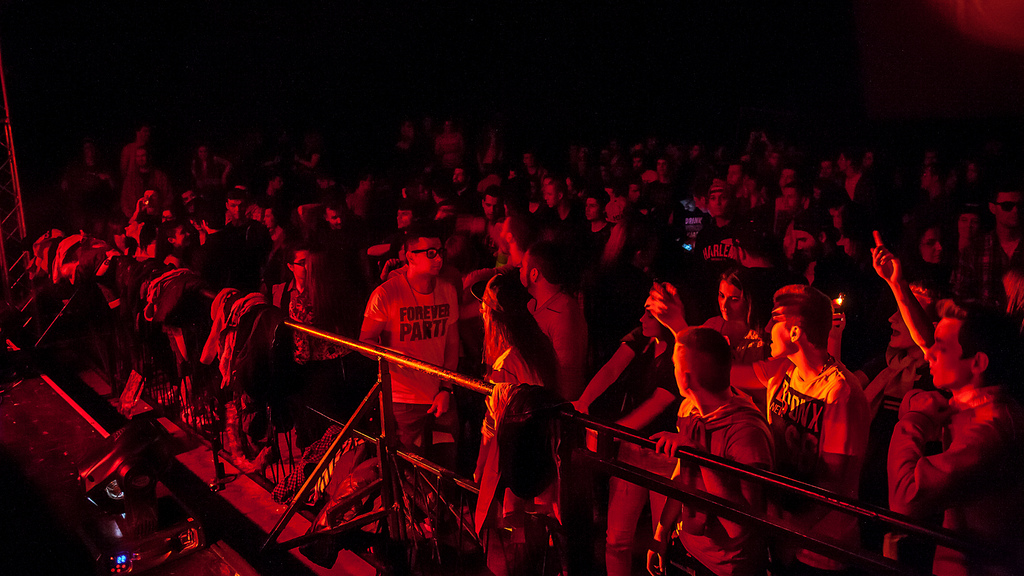
 Photo by petrovskyz Some noise creeping in due to the reduction not being strong enough, a mistake on my part but my client still likes the photo, which is a good thing.
However you do it, the photos will take some time importing. For me it is around 30 minutes – just enough time to make a cup of coffee and grab a bite to bite. It's a good idea to stay away from the monitor at this time, since you have just been to a party where the lights are extreme, intense, and alternating so your eyes will be tired. This is a good time to give them a rest. I actually prefer to sit in relative darkness during import times, just for the sake of it.
After the import, it is time to pick and edit. To save some time, it is faster to edit each peak on-the-go, but keep an eye on the thumbnails for similar images one next to another (for the times where burst is used). I usually tend to move right along until I see a good image, I skip forward two or three images to check for similarities, go back to edit and mark the photo, then move on. The process is repeated until you reach the end of the photos.
Once you do this, filter out the unselected images and review them again, looking out for any inconsistencies, and verify that you haven’t missed anything. Check for consistencies between the images as well, making sure they don’t differentiate too much from one another.
After doing all the checks, double-checks, and triple-checks of the images I selected, I export them to the client's desired resolution, and include the watermark, if that was agreed upon with the client.
It's wise to check the settings during the export to make sure there is no additional sharpening turned on because that can exaggerate noise (which happened to me once, but I noticed it way too late). Additionally, re-sizing is best done here, where you can also set the maximum file size, and a few other things to tailor the images to your liking and to your clients needs.
Once you have completed the final product, try to deliver it on time. Good internet connection is important here in order for you to be able to deliver the images on time. For about 150 images of 500 KB each is around 75 MB of files that you’ll need to upload (yes, I am aware that the numbers will vary quite a bit, depending on image sizes and count, but I’m using average numbers here for the sake of simplicity). With my average upload value of one megabyte per second (that is for my region here, at the moment), it could upload around 100 KB per second on a good day. That would take 12.5 minutes to upload, which isn’t too bad. However, clients often require full-resolution images. Things get interesting, in that case: 150 images of 3 MB on average would mean 450 megabytes would need to be uploaded. That would take you 75 minutes, and you need to hope that during that time the connection won’t fail and the upload won’t be interrupted. This happens about 50% of the time with a copper connection. That is why I opted out for a slightly more expensive internet plan, which is an optical connection up to the router in my house. This one has 50 megabytes of upload (roughly 5.5 MB per second) that would upload the 75 megabytes in 15 seconds, and the 450 in around a minute and a half.
 Photo by petrovskyz The final image before the SD card filled.
The internet connection is important because the less time you need for uploading and sharing, the more time you have for the editing.
Email solutions won’t allow for large files to be sent, so you’ll have to upload them to a cloud service and email the link to the file. Good options for this include Dropbox, Sendspace, WeShare, among several other filesharing sites. Dropbox is a cloud solution which integrates with Windows seamlessly and has worked great for me.

