Once you have weaned yourself off Jpegs and in-camera colour profiles, you may find that the colours in your images are not quite what you expected or wanted. If you are shooting RAW, there is no colour correction or white balance applied. You need to do that in post-production.
To newcomers and even experienced photographers correcting colour in images can be challenging. You correct a colour issue in highlights and the shadows swing the wrong way. You get the sky looking great but that sand beach now looks bluish. It's all a very fine balancing act.
Many of us now also shoot high definition or even 4K video. Although this often has a mild colour correction applied in camera, we still need to correct further in post-production.
Editors call this process colour grading and as photographers, it can be a useful skill to learn. Here’s why.
What Is Colour Grading?
Colour grading and colour correction are terms that are relatively interchangeable in video editing. In general, however, colour correcting does just that, corrects colour shifts in various tonal ranges of the footage. Colour grading then applies a colour style to that footage.
Look carefully at virtually any well-made film or video these days and you will see it will have been colour graded. It may have been given a warm yellow feel to denote hazy days of summer, maybe a neon green cast as in the Matrix to denote when the film is inside the Matrix itself.
Colour grading gives mood to a film and can do the same for a photograph.
You Need A Calibrated Monitor
If you are going to be serious about any type of colour correction either in stills or in video then you are going to need to calibrate your monitor. Proper monitor calibration will require a specialist tool. These can be had for as little as a $100 or up to the 1000’s. You don’t need the most expensive model, a basic model will do for most work.
Monitor calibrators are pretty much automated. You hang them from the top of your monitor, overlaying a coloured box. The software then changes the colour of the box and the calibrator reads and analyses it.
The whole process takes around 5-minutes and should be done once every couple of weeks. You should also calibrate the monitor in the environment that you work in. If you work with fluorescent lights on, then calibrate with them on. If possible, work with your monitors facing away from natural daylight. As this can change through the day, it can change your colour perception.

Video Color Correcting Tools
One of the reasons we can learn so much from grading footage is that video editing suites generally have more options and tools. In image correction, we tend to only have the histogram and the clipping indicators with which to work. To correct colour we can use the RGB channels on the histogram but that’s about the limit of the visual aids we have.
In video grading, we have more visual tools to help us correct our footage. By watching how these tools react to our corrections we can learn so much about correcting still images. These are the primary visual aids most video editing suites have.
- Histogram. The tool we are all familiar with but in most editing suites you can choose to show just the luma, individual RGB channel, RGB channels overlaid plus more.
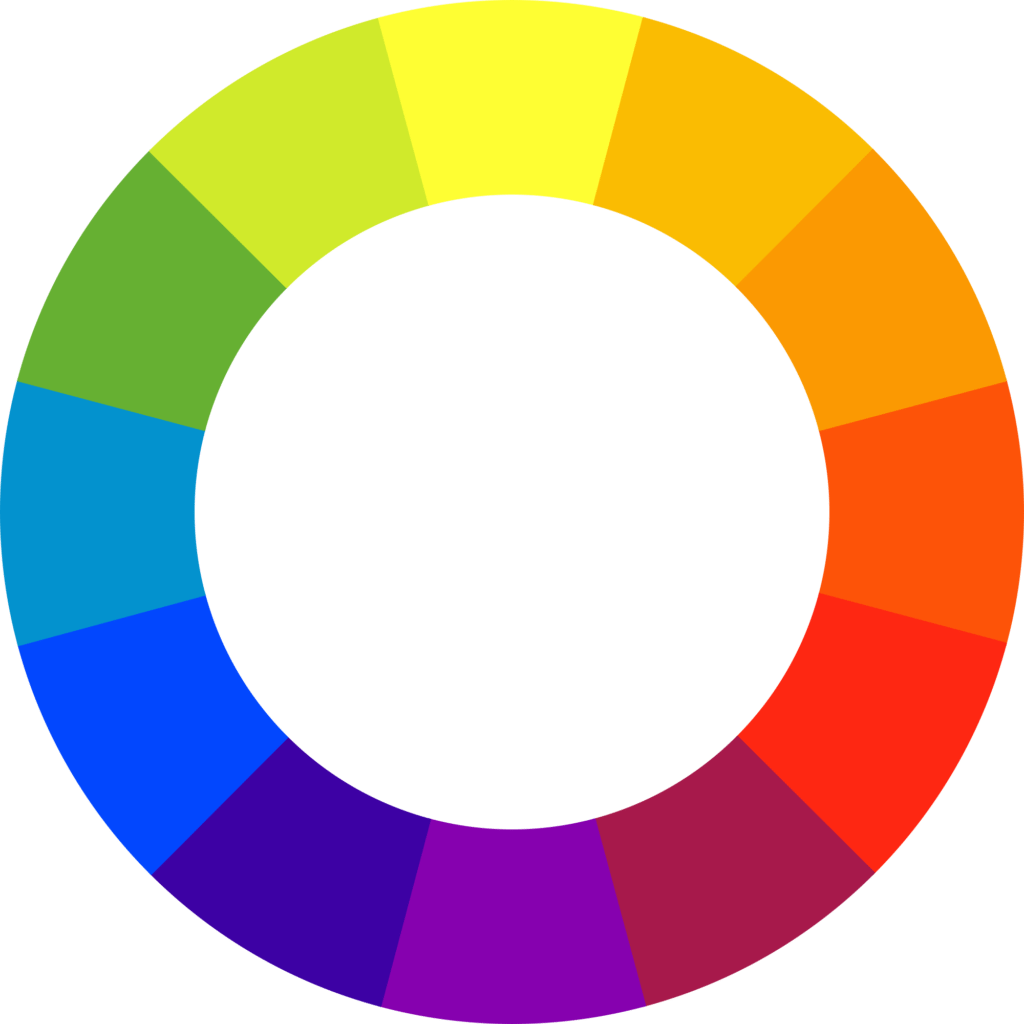
- Vectorscope. This is a very useful tool that shows the distribution of colour through an image. In particular, it shows the saturation of colours. It is a circular scope with the colours around the outside.
- Waveform. In video editing, this is used more than the histogram. It works in a similar way but presents much more detail. It runs on a scale from -20 to 120. Zero on the scale is absolute black and 100 is pure white.
- Colour Wheels. There is usually a wheel to cover the overall image, plus ones for shadows, midtones, and highlights and are used to correct the colour in each of those tonal ranges.

Colour Correcting Footage: The Waveform Scope
When we correct footage, like with images, we start with the exposure. Editors generally use the Waveform for this. They tend to start by getting the overall exposure correct, then bring the blacks down to 0, the whites to the 100 mark. Then if needed they lower or raise the midtones.
This is not dissimilar to exposure correction in images except the waveform gives us a much better visual representation of the correction and the way the tones are spread throughout the footage.
It gets more interesting when we come to correcting colour. To start a colour correction, we can use the RGB parade in the waveform scope. This shows us the three primary colour channels. The left of each channel is the highlights and the right, the shadows.
The beauty of the waveform scope is that when, for example, we drag the highlights colour wheel towards the red, not only do we see the red parade increase, but also the green and blue channels decrease.
More often than not, that decrease is in the midtone and shadow areas, in other words, you are by adding red to the highlights you are removing green and blue from mid and dark tones. This could lead to a cast in the shadows.
This is a very important consideration when colour correcting images in, for example, Lightroom. The visuals tools we have do not give us such an obvious representation of how moving one colour in one tonal range can affect other colours in other tonal ranges. The waveform scope demonstrates much better, the cause and effect of colour correction.

Colour Correcting Footage: The Vectorscope
To determine where any colour hue and saturation, we use the vectorscope. This tool is a circle surrounded by a gradient of colours, primaries, and secondaries. In the centre is a white smear, for want of a better word.
If we had a perfectly colour corrected clip of a grey card, that white smear would be perfectly circular. That would represent equal amounts of colour and saturation in each channel.
For a regular video clip, the smear will often be an oblong shape pointing out towards one of the colours at the edges of the circle.
The further the white smear is towards a colour, the more saturated that colour is. If the overall smear veers away from the centre, towards a particular colour, that may indicate a colour cast or also a clip with a predominance of one colour such as a sunset.

Again we can use the colour wheels in combination with the vectorscope to help set the right level of saturation. Playing around with this visual aid can be a great way to see how changing saturation in one colour can affect others.
Color wheels are a very precise way to modify colour in various tonal ranges.
Although not intended to be a tutorial on colour grading footage, we hope that by understanding and using the tools available to video editors, you may get a better understanding of how colour correction works overall and in particular with stills.
Whilst you may not have the budget to buy a high-level video editing suite, you can get a truly professional suite for free. It’s called DaVinci Resolve and it is used by top end editors on Hollywood movies. The learning curve is steep, but there are plenty of great tutorials on Youtube, in particular for colour correcting. Resolve was originally designed purely as a colour grading tool and so has all and more of the tools we discussed above. It is a great app for getting to grips with and understanding the nuances of colour correction and grading.
Get a good grip of correcting your footage and you will find it opens up all sorts of possibilities with your still images.


