If there is one technique that continues to divide the photographic community, it’s HDR or high dynamic range photography. Much of the derision against it comes from the early days of digital photography.
When HDR was the new kid on the block there were multiple post-production products available to “help” people create stunning shots. Often those shots were stunning, but not in a good way. People tended to cover poor composition by merging multiple images into very garish, unnatural-looking shots. That’s not what HDR was originally conceived for. Speaking of which, where did HDR come from?
The Origins Of HDR
Many people might think that HDR is a digital technique. However, it dates a long time before the digital era. In fact, it started closer to the beginning of the film era. Gustave Le Gray is credited with the technique. He wanted to create a seascape where both the sky and the sea were well exposed. This was something that was impossible with the luminosity range of film at the time.
Le Gray combined two negatives and combined them in the darkroom to create a single HDR image.
That lack of luminosity range continued to be a feature of both film and digital imaging, right up to the current day. Neither has been able to capture the full tonal range that our eyes can see. Combining multiple different exposures of the same scene has become the de facto way to increase that range.
HDR The Correct Way
Of course, the phrase “the right way” is somewhat preachy. In photography, there is no single right way. Perhaps a better phrase would be the intended way. The concept of HDR photography has always been to bring the tonal range of film or sensors up to that of your own eye.
Although in decline, the garish surreal images of early HDR proponents were clearly not in keeping with this ideal. They were so pervasive, simply because many non-photographers found them visually striking. They would like and share them, inspiring photographers to take more and more of them. Eventually, the fad began to die as the Internet became saturated with overblown HDR images. The likes began to wane and photographers returned to shooting HDR, the intended way.
Shoot HDR The Intended Way
If you are the more meticulous-minded photographer, then there are several steps you should take to get great-looking HDR images. However, if you are a more ”run and gun” photographer, you can still get great HDR without spending considerable time on the setup.
Let’s look at the long, meticulous way of shooting first. That involves actually analyzing the dynamic range of the scene you are shooting.
To do this, you would meter the scene for both the brightest part, the darkest part, and various steps in between. You also have to factor in that camera’s meters are fooled by excessive darks and lights. For this reason, you would reduce exposure 1/2 to 1 full stop for the darkest areas and add 1/2 to 1 stop for the lightest. You would then work out the f-stop difference between the lightest and darkest parts of the image. That would give you the dynamic range of the shot and you would base your bracket around that. The mid-tones readings would give you an idea of the number of incremental shots you would need to take to cover the mid-tones.
You would then set the camera up to shoot the number of images and f-stop differences that you have calculated. If that all sounds a bit too much, there is an easier way.
HDR The Easy Way
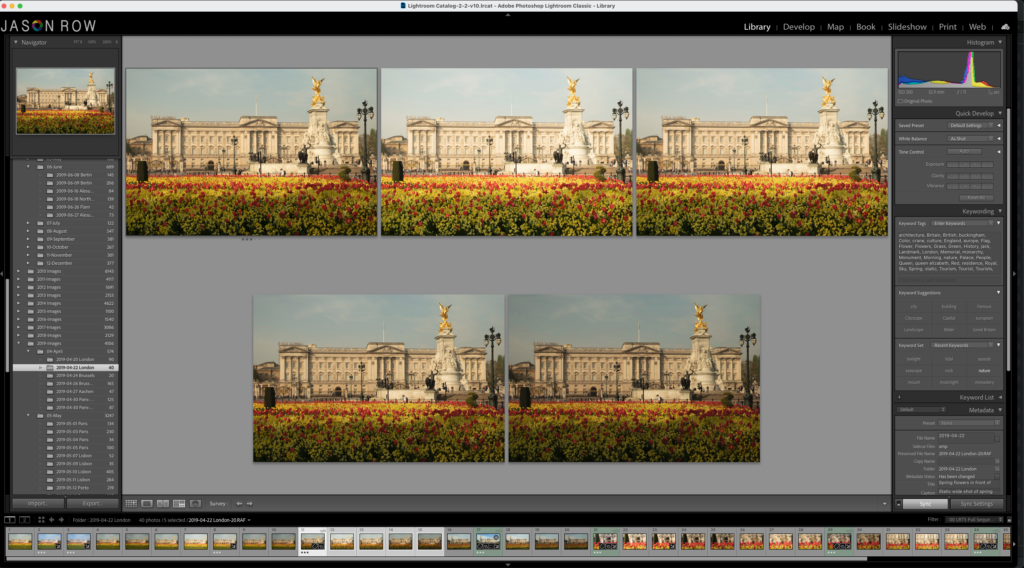
If you have a rough idea of how to use your camera’s histogram then this is an easier way to get good HDR shots. Expose one shot where the histogram is just clipping the left or shadow area. Shot another where the histogram is clipping the right or highlight side. Use the review image histogram and not the camera’s live histogram, this is more accurate. Note the exposure for both shots and calculate the f-stop difference. This will give you a good idea of the overall dynamic range and allow you to calculate.
However, and even easier for 95% of shots you can use a simple formula. Use a five-shot bracket for each one stop difference. That is -2EV, -1EV, 0, +1EV and +2EV. If the dynamic range is very extreme, say a very dark object on a very bright sandy beach then extend the number of shots to 7, again with a one-stop difference.
To Tripod Or Not To Tripod
That is the question. To be honest, a tripod is not a prerequisite for good HDR photography. If you have the auto bracket and a steady hand then you can easily dispense with the need for a tripod. Most modern cameras will auto bracket by firing off the 5 or 7 shots in very quick succession. If you do not move too much in that very short space of time, the editing software can easily align the images. That said, if you are in low light or are the more meticulous type of photographer, then you may well want to use a tripod.
Shoot In Raw
In the early days of HDR, editing software could not seal with RAW files. You needed to convert your images to Jpegs then merge them. However modern editing software such as Lightroom and Photoshop can easily merge most RAW files. Better still they merge them into one super-sized RAW, giving you the maximum dynamic range you can achieve.
These large files will take a big bite out of your computer’s performance but the end results are very worthwhile.
The Post Production
My personal preference for merging images into HDRs is Lightroom. Whilst Photoshop and a number of other apps can also now do RAW HDR merges, I have found Lightroom to be both the simplest to use and to give the most natural-looking final images.
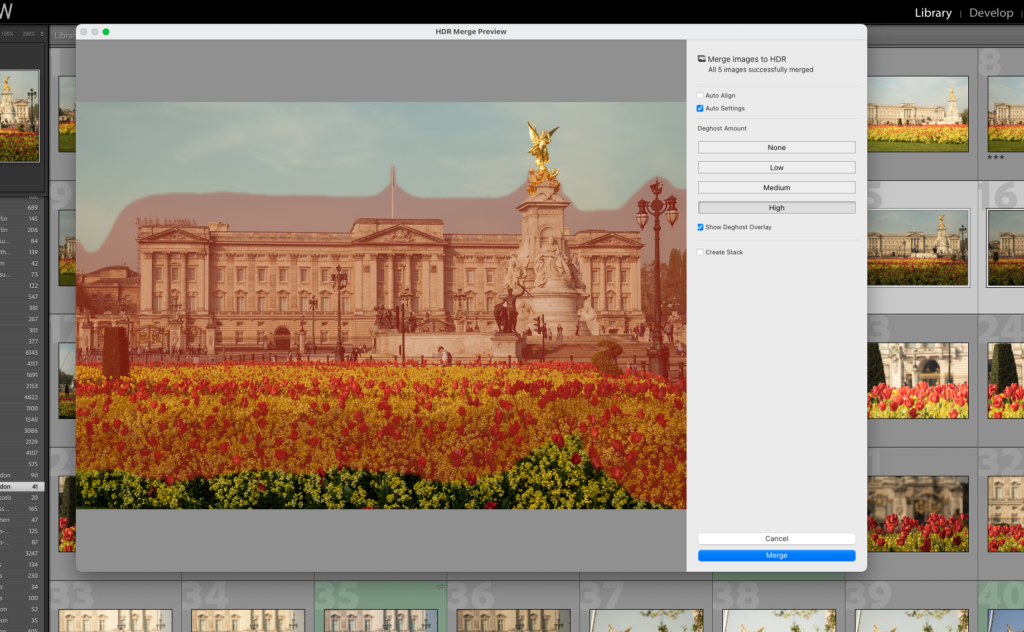
In Lightroom, you do not need to edit any of the RAW files before you merge them. Simply select the five or seven shots, right-click on one of them, and select Photo Merge – HDR.
If you did not use a tripod then select Auto Align, also select Auto Settings. If you have people that have moved in your shot, then you can use one of the deghost levels to attempt to remove them.
Once the image has been merged you will have a new, Adobe DNG RAW file which you can edit into a stunning HDR shot. The great thing is that Lightroom does not give you the options such as surrealistic or edge glow that other HDR software has. This eliminates the temptation to “push” the shot too far. Instead, you get the standard Lightroom development tools allowing you to concentrate on getting an HDR shot as it was intended.
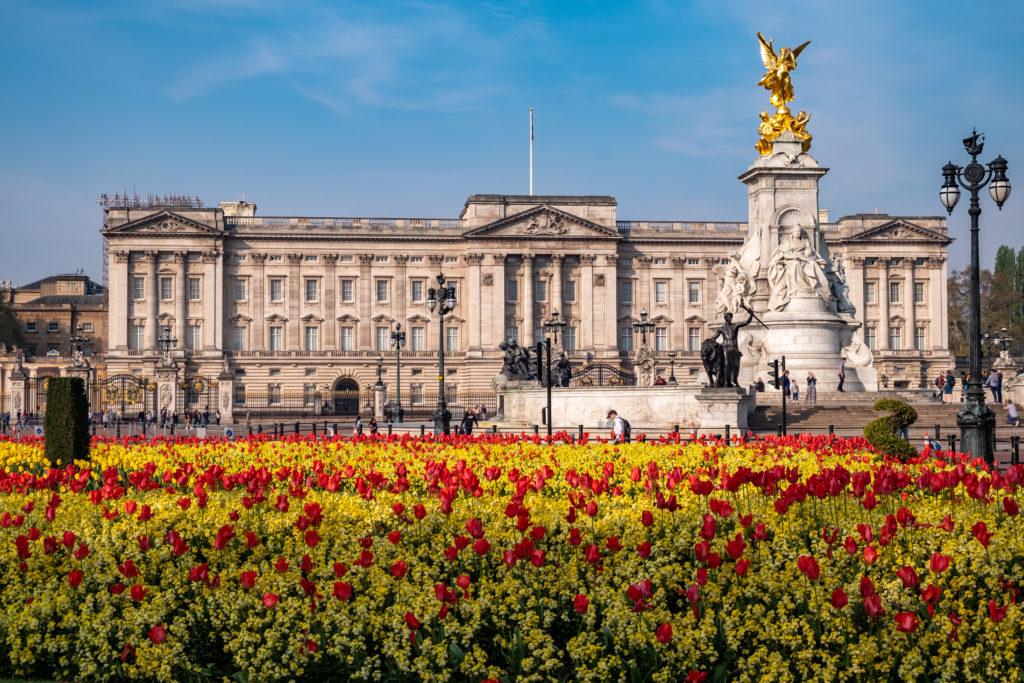
HDR, in my opinion, is a very powerful tool to the photographer’s arsenal of techniques. It should however be done within the concept of preserving the scene’s dynamic range, not enhancing it or pushing it way beyond what we naturally see. That’s the way HDR was intended to be used and it’s the way I use it. If your camera has an auto bracket and you have Lightroom, then it’s very easy to get great, natural-looking HDR, even without a tripod.

