Light is every photographer's obsession. Even when beautiful, natural light is available it can be tricky to deal with. Lighting is planned when you work with strobes and flashes; it’s a skill not suited for every photographer. So let's review dealing with complex lighting situations without the use of flash.
1. Night Street Photography
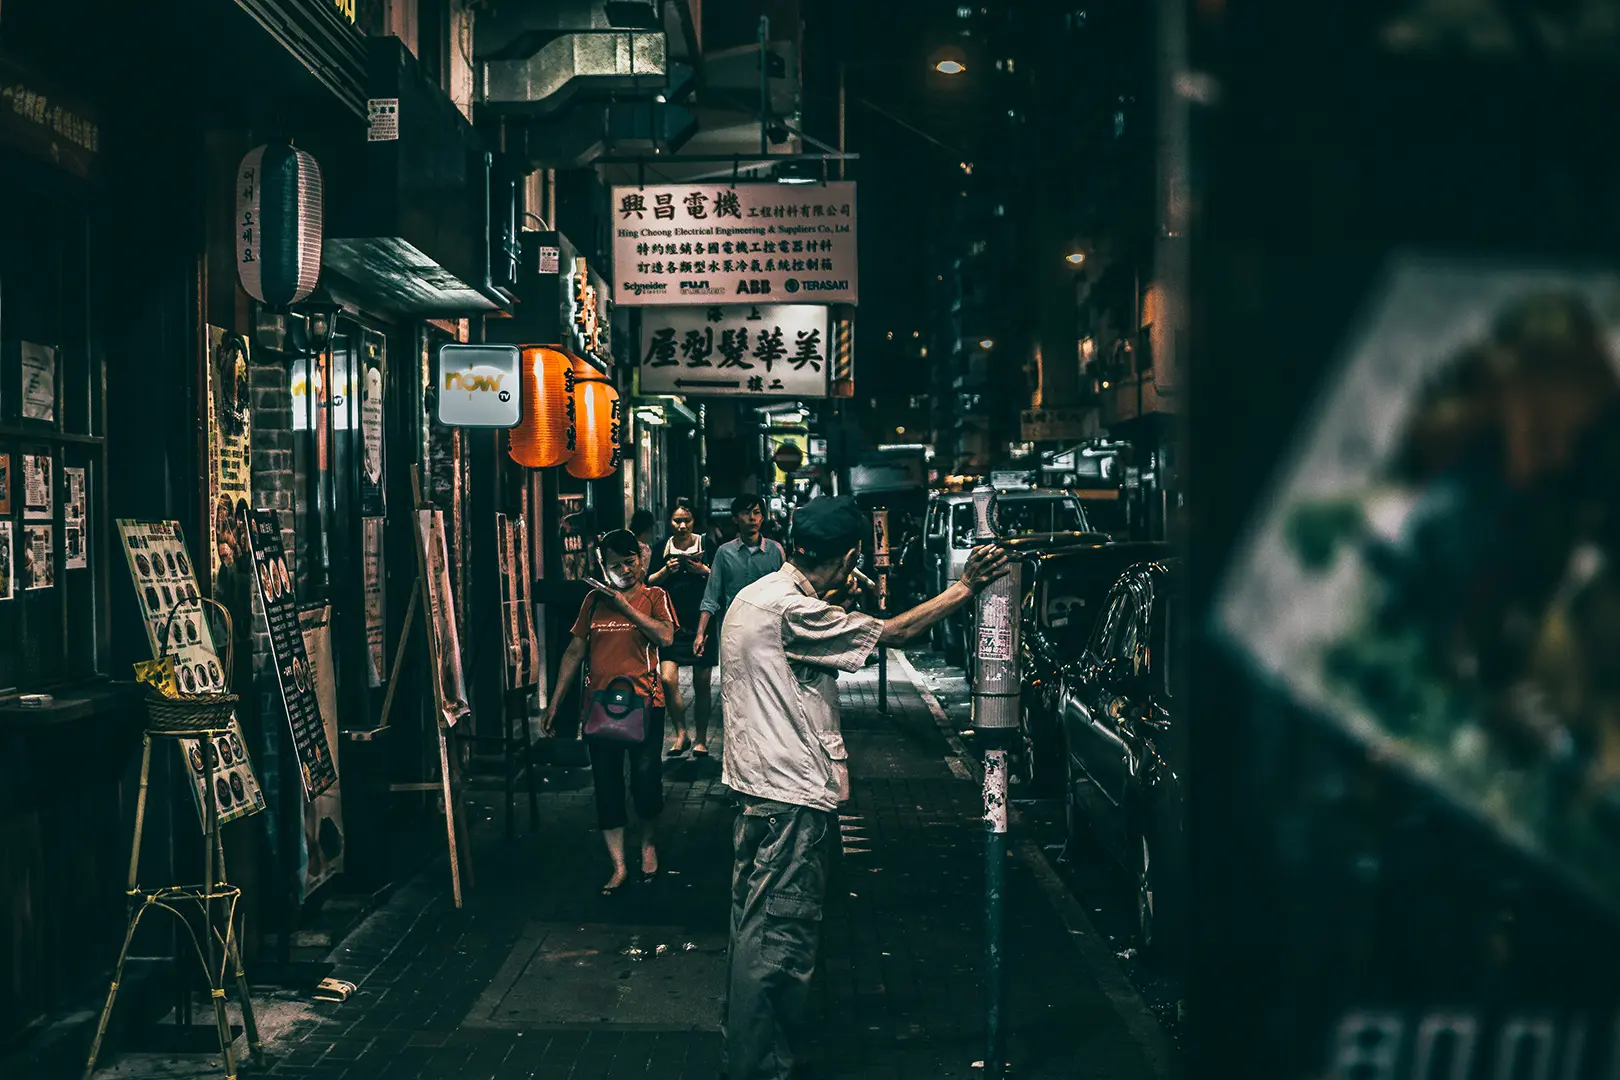
Nothing is more difficult than working with low light, particularly like the kind you see while walking in the street at night. That doesn't mean giving up – nightlife is filled with action and great moments that deserve to be captured. When it’s done right, it produces amazing results.
Technology has evolved a lot in recent years, and modern cameras have vastly reduced the risk of ending up with noisy, awful images when shooting at ISO 1600 or higher. Just five years ago, shooting above ISO 800 with an entry-level camera was extremely painful. But now you can get out there, crank your ISO to a reasonable yet powerful setting and capture nightlife with no regrets. Large apertures are limited because they depend on the lens, but even if you have a fast lens (f/1.4, for example) you will have a greater ability to capture nightlife without a slow shutter speed.
Street photography always looks best up close, so try to seek the best available artificial light in the street, like signs, light bulbs, and traffic lights.
2. Harsh Sunlight With No Shade/Surfaces And Spot Metering
Harsh light, like that produced by the sun at midday on a clear day, is one of the hardest things to deal with, but sometimes you need to shoot in these horrid lighting situations. Here, a folding friend is always handy: a 5-in-1 reflector disk and spot-metering exposure. Spot metering is where the camera gets a proper exposure reading based, not on the average brightness of the whole frame, but on one specific portion of the frame or a particular spot.

Here is a brief explanation of each section of the 5-in-1 reflector disk:
- White section: This is a reflective surface for soft fill light.
- Silver section: This is a reflective surface that produces a more direct lighting source.
- Gold section: The reflective surface is the silver one, but with a warm light temperature.
- Black section: This section is used to completely block light or to enhance contrast subtracting light.
- Translucent section: This side is used for diffusion, resulting in a soft light similar to the one a softbox produces when using a flash or a strobe.
3. Concerts And Parties
Concerts and parties have a unique feel, but the mixed light conditions are messy to work with. Here we offer you a very useful solution for dealing with these lights. The first thing you need to do is to correct for all the mixed light by adjusting the temperature of the image in post-production. White Balance is one of the most obvious and generous settings to control when developing a RAW file. After correcting it, you will have a more natural image with which you can let your style flourish. From color correction to intense black and white, everything will be better looking when working with a temperature- and tint-balanced photograph.

In camera, the best way to enjoy concerts and parties is to use the camera’s Automatic White Balance setting. You can worry about correcting the images later. And of course, always shoot RAW at these kinds of events.
4. Reflective Surfaces And Flare
Even though reflection and lens flare are qualities that can only be captured at their best with a camera, they can cause messy results when they leak into a photograph. In order to avoid, or at least reduce flares and reflections like a pro, the best solution is a polarizing filter. You can find both cheap and extremely expensive filters; the difference between them lies in their optical quality.

The main purpose of polarizing filters is to reduce glare from reflective surfaces like windows, ponds and large bodies of water (to name a few). The most popular type of polarizing filter on the market are circular types that are made to fit easily on almost any lens. They are built with a loose spinning element that allows for quick adjustments while shooting in the field. These little fellas are engineered to block certain wavelengths of light from getting into the lens and sensor.
5. Scarce Or Abundant Light Situations
Tripods can become your “best lens” if used correctly. As human beings, we are pretty limited and even clumsy when steadiness is required. Many desirable images require absolute steadiness due to long exposures. Every single picture shot at a shutter speed slower than 1/30 of a second is heavily prone to motion and strange results due to shakiness.

First, we have the scarce-lighting situations where slow shutter speeds will demand the use of a tripod to steady your shot. The second scenario in which you will require a tripod is when using ND (neutral density) filters.
Depending on the desired result, slow shutter speeds are not always needed in low-light situations only, but also in very bright ones. Here’s when ND filters come into play. ND filters, unlike polarizing filters, are designed to reduce the intensity of all wavelengths of light, and you can use them reduce the stops of light entering the lens. As such, you'll be using a slower shutter speed and will need your tripod.
Dealing with varying lighting situations can be difficult, but don't forget, interesting lighting scenarios can push your creativity. Good Luck.
More On Lighting From Around The Web
How To Do Hard Light Portraits Profoto has a post specifically about portrait photography lighting
Three Nightmare Lighting Conditions and How to Shoot in Them We have a post on difficult to shoot scenarios
How To Handle Difficult Lighting In Landscape Photography Photolistclife has some tips for lighting in landscapes


