Just Some Essential Photography Tips You May Not Be Aware Of.
Most photographers figure out these things through practice.
You know those epiphany moments when you realize something you haven’t noticed before? Everyone experiences those moments.
Nonetheless, there's no harm finding out these things earlier in your career. In fact, the sooner the better. I’m talking about things such as the following:
1. Flash Battery Life
Flash battery life is directly translated to the overall amount of light produced, not the shots fired. It's a common misconception that the number of flash fires dictates the battery life.
For example, if at full power (1/1) your flash does 100 shots before batteries die, at half power it will do twice as that, and as 1/4 power, it will do four times as much shots as the full power setting.
That is why I think of the battery life for the flash translated into raw light time. Because at full power the light is not stronger, it just lasts longer, so when you cut your flash to 1/4th of the power you actually make it fire light up 4 times shorter than full power.
Sounds a bit confusing, I realize!
When photographing in a club, for instance, most modern cameras do awesome jobs at ISO 1600 or 3200. If you bump your ISO by 4 stops, you will tone down your flash by 4 stops thus increasing your flash battery life by 4 times. Sounds simple, right?
Do bear in mind that higher ISO means more ambient light too, which might result at even less flash power needed thus saving even more battery life. plus, having ambient light is almost always good in event photos anyway, so it is a win-win.
2. Lose the RAW+JPEG Setting on Your Camera
I’ll be honest with you here. Personally, I feel it's the most useless setting I’ve seen with DSLRs. Since I never provide or use straight out of camera images, having my camera bother rendering Jpegs alongside raw files is just waste of precious memory and memory bandwidth.
When you shoot bursts the buffer fills with images which aren’t dumped to your SD or CF card (depending on camera model), and since the buffer-to-card data transfer is slower than the camera burst rate, you often see your camera slowing down or stopping due to full buffer.
Now, I know that the JPEGS are roughly 1/8th of the RAW file size, but it is an additional file, meaning it takes a bit more time to transfer it. If you eliminate the additional load your buffer will have room left for 2-3 shots more before slowing down.
As an added bonus your cards will last longer (due to less files being written) and will store more pictures for the same size.
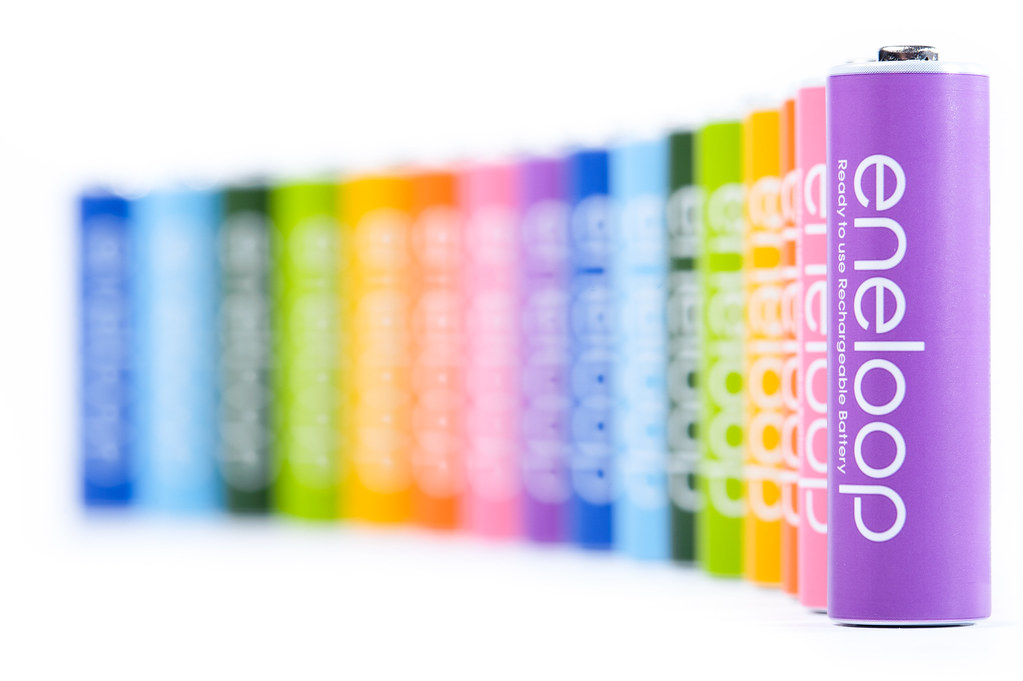
3. The Power of AA Rechargeable Batteries
I’m currently stocking up on more AA batteries than usual. The idea behind those is that nowadays AA rechargeable batteries are quite amazingly built and last for a lot more charges.
You'll have AA batteries for your flash most likely, and if you shoot for longer periods of time you probably have a battery grip with 2 battery packs inside. However, one regular battery for an average camera costs around $50-60, while AA batteries are 1/5th of the price.
Six AA batteries hold around 75% of the energy as two battery packs. So I’d go for 2 battery packs for my grip and 6 AA rechargeable as spares for the camera. Those spare ones can double as flash spares too, giving you more versatility in your energy use.
4. Off Camera Flash on The Go
Not off camera flash as you would do usually, set it on a tripod and such.
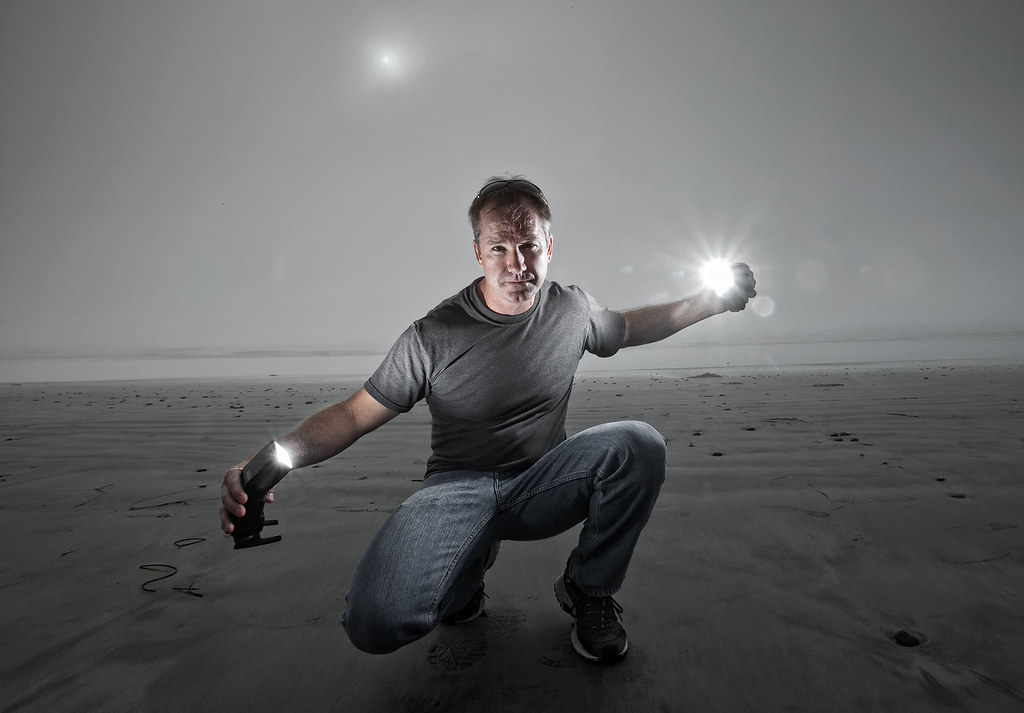
For events, instead of having your flash stuck to the camera, get a hot shoe extension cord or a radio trigger and grab the flash in your hand, move it around for some fancy lighting you won’t get having your flash stuck on the camera.
This is especially useful when you have a bunch of concert lights firing from random directions and you want some depth to your images. You can have the flash fire from one of the sides (usually your left since most hold their camera with their right hand).
You can even add gels to create color contrasts and complement to the original colored lights.
Summary
The best tricks are usually discovered during practice. So, don’t stop shooting even if you don’t have an idea for a photo.
You might actually learn some trick or two that will be useful for the future while simply exploring your camera. These are tricks that I discovered myself. Would you share yours with us?
Essential Photography Tips – Top Takeaways
- Why are these tips “essential”? Because they're actually somewhat random in a way. They're also tips you perhaps wouldn't get anywhere else in one place?
- At the end of the day, here at Lightstalking, we're looking to help you improve your photography by also making your life easier.
- Part of this summary of tips is to simply show you that hen it comes to photography, there's often more than one way of doing things and no right way.
Further Resources
- 6 Common Photography Issues You’ll Most Certainly Face by Jason Row
- 50 Things You Need to Remember When Shooting a Landscape Photograph by Lightstalking
- 7 Professional Photography Tips To Avoid Simple Shooting Mistakes by Jason Row
Further Learning
This guide by Photzy on “Understanding Post Processing” will see that you’re getting all the post processing side of your digital photography looking great!
Learning some great tips here will not only speed up your workflow, but you'll invariably end up with better looking photos too!

1 Comment
Hi there…I’ve been doing concert photography for 12 years…first gig I was thrown to the proverbial wolves shooting the Scorpions. I’ve gone on to shoot them twice, Lita Ford, Michael Schenker, Jack Russell’s Great White, etc. who chose a shot of mine to include in the layout of their new album a few years back, “He Saw It Comin'”…brilliant album, I highly recommend it. Jack still has that voice. I recently upgraded all my gear for this concert season, and am frustrated with tweaking in post. My shots are not coming out crystal clear like my previous camera, and I have been spending so much time getting to know this new camera, tweaking it’s settings, which is so frustrating…I’m not getting the results I’m expecting. Spending way too much time in post fixing flaws, eliminating noise, etc. I don’t use Lightroom…I have in the past, but more familiar with Photoshop and Luminar. Every image is a blank canvas, I never know the end result until I tweak to find something that works. Usually I can pull something great out of nothing, but with a lot of hard work in post. I just shot Jack’s Great White last week, and was disappointed in some shots that were really great, but were way to noisy & under exposed, but of course I shoot RAW. I have been shooting for them for 6 years & this was the first time that it’s taking so much processing. I thought my settings were fine, I prepped ahead of time, but was going through my menu before showtime, and I must have changed something by accident..every image is heavy noisy & under exposed. Do you have any advice on Photoshop and/or Luminar to fix this? I’d be happy to send you a sample image if you would like so you can see what I’m talking about. I would be very grateful for any input. Thank you so very much for your time for even getting through this long message!