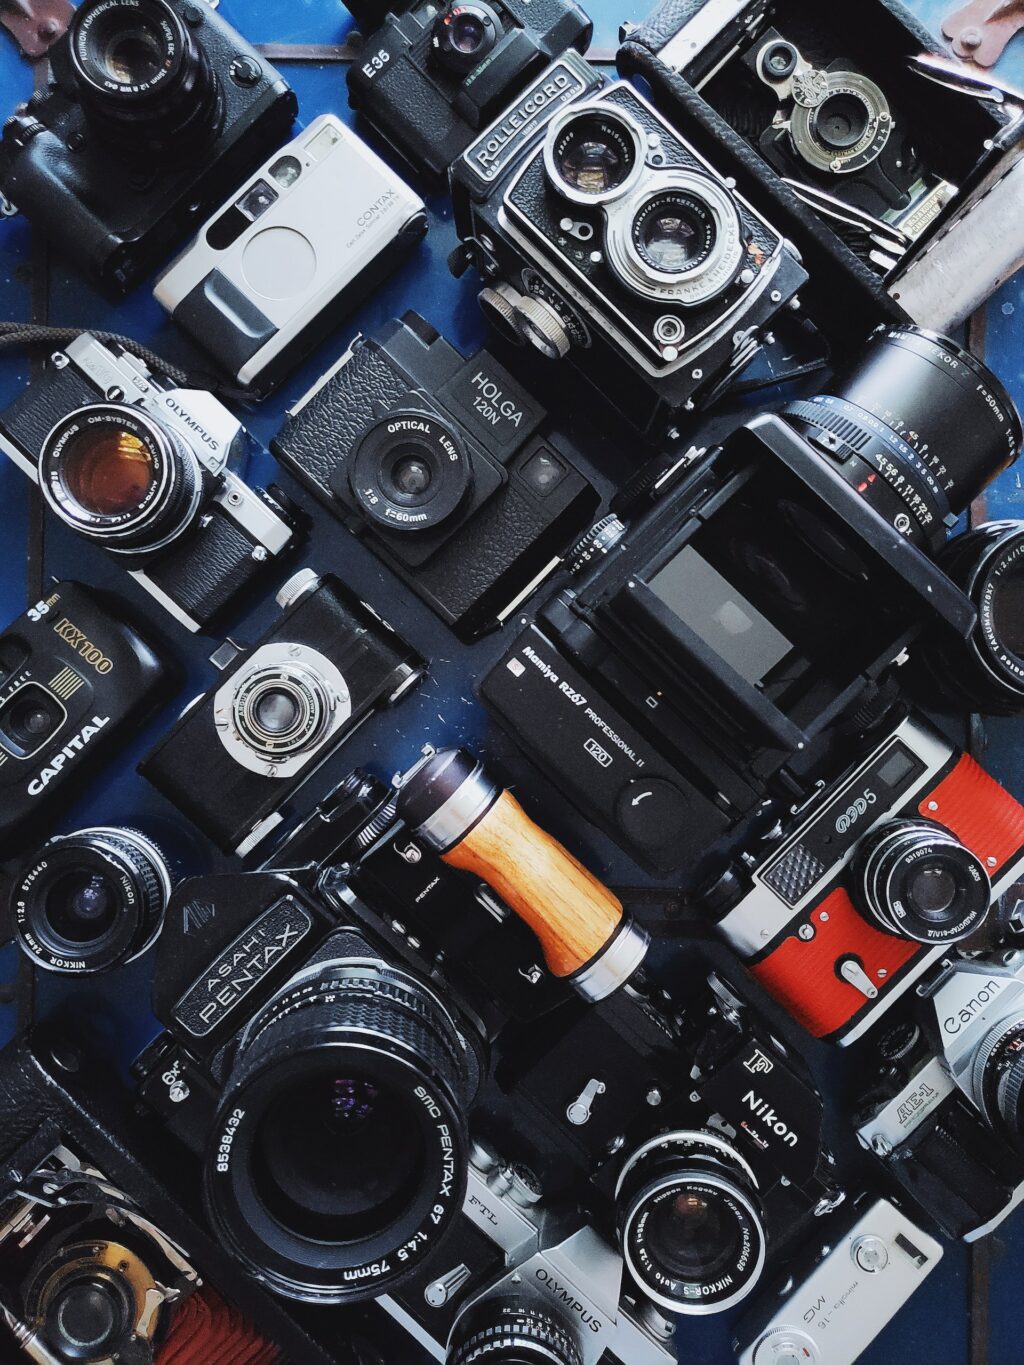
With apologies to some of our more experienced members, today we are going to reach out to people who are brand new to serious photography. Those that have bought or are contemplating their first foray into the wonderful world we call photography. You might have a dSLR, it might be a mirrorless compact, you might not even know what you have but today we are going to give you some basic tips on how to get started without getting overwhelmed.
Start with the Letter P
Your camera will have several shooting modes. Usually these are found on a dial atop the camera and the most prominent modes you will see will be P, A, S and M. Here on Lightstalking there are plenty of articles all of these modes but as an absolute beginner, you are best off using P mode. In P mode the camera will work out all the exposure details for you, allowing you the time to get a feel for using the camera and understanding how to compose your images.
There is no bigger de-motivator than finding out all your images are badly exposed. By keeping the camera on P you are allowing it to shoulder some of the more complicated stuff for you. As you begin to feel more comfortable you can start to experiment with the other auto modes, A and S as well and the manual mode.
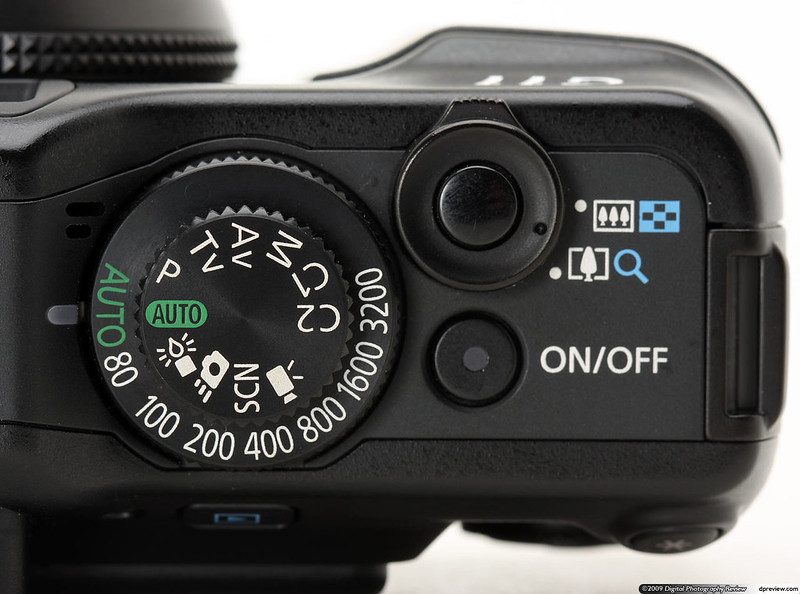
Stay with P mode until you are comfortable to experiment: By Bill McChesney
The Keys to Understanding How Your Autofocus Works
Another potential pitfall for the budding photographer is autofocus. Autofocus is a wonderful thing and in most cases it's faster and more accurate than focussing the camera yourself. However, your first serious camera is likely to be preset to an autofocus mode that you may find restricting. That mode will be called something like Area Autofocus and what it does is define a relatively large area within the viewfinder and makes the decisions on what it believes should be the point of focus.
As a newcomer, you will want to use autofocus but you will also want to maintain a level of control. For this reason you should switch over to a single point focus mode. The allows you to define a single point within the viewfinder to focus with. To focus, you move that point in the viewfinder over your subject, for example a model’s eyes. You then half press the shutter button and move the camera to get the composition that you want. Once the shot is composed, press the shutter button fully. Remember that if you remove the pressure on the shutter button when you recompose, you will lose focus so keep that button half pressed.
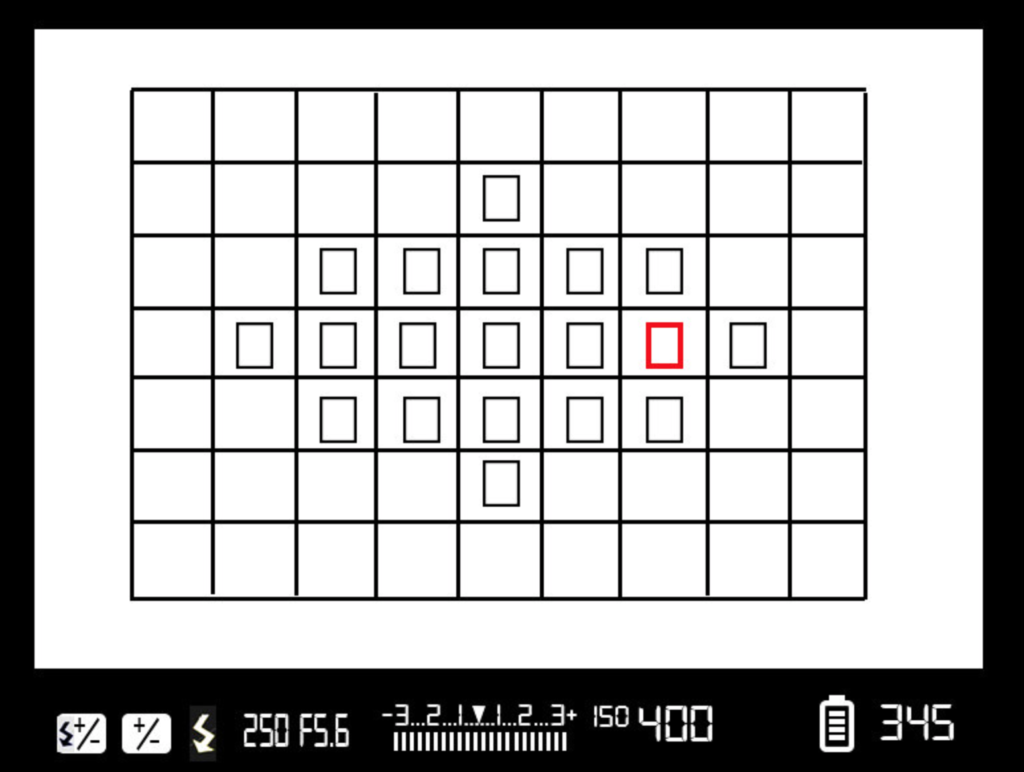
Use a single point for autofocus: By Jason Row Photography
Stay With JPEGs for a While
By default your new camera will be set to Jpeg files and that is good. However, you may find that they are not set for the best quality, very often they are set to what is known as normal quality. With today’s huge memory cards there is no reason not to set this to the highest quality, usually known as fine. You will find the settings for this in the menu system usually under File Quality and Size. Avoiding using any other file time such as TIFF or RAW, like with Program mode, we will let the camera makes the decisions until you are more comfortable with it.
Shoot Landscape and Portrait
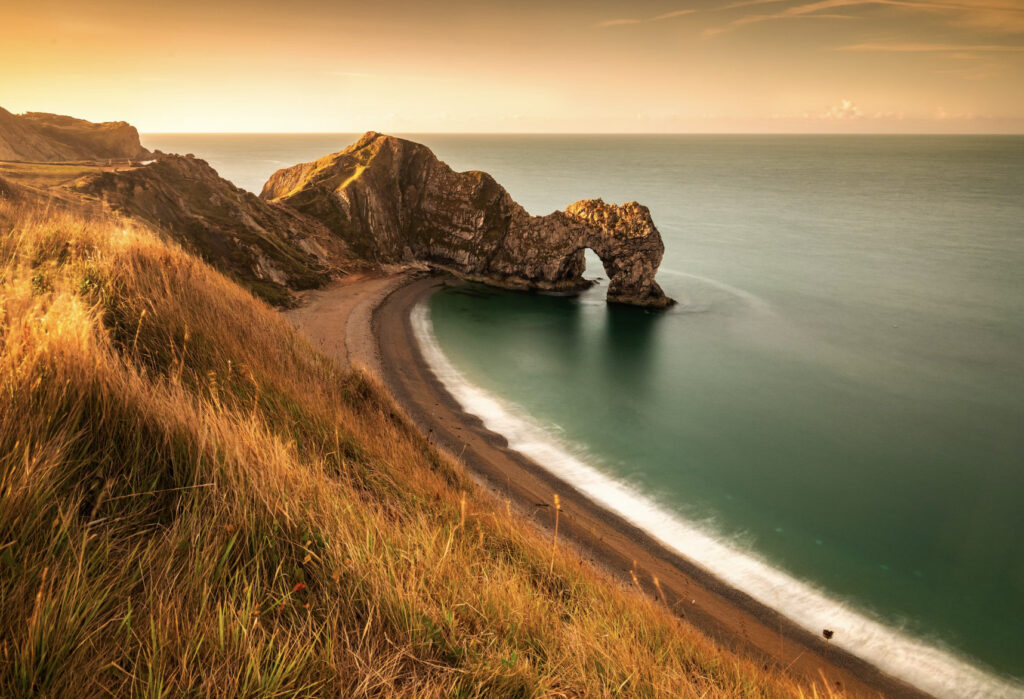
One of the key things we often see newcomers doing is shooting only in the landscape format. Landscape is the obvious, natural way to hold the camera but you are potentially missing a lot of shots by staying in that format. Don’t be afraid to turn the camera upright, practice both ways, with your right hand at the top and at the bottom to find what feels most comfortable. After a while it will become natural, you will soon start to see which shots more naturally suit the upright format, also known as portrait format.
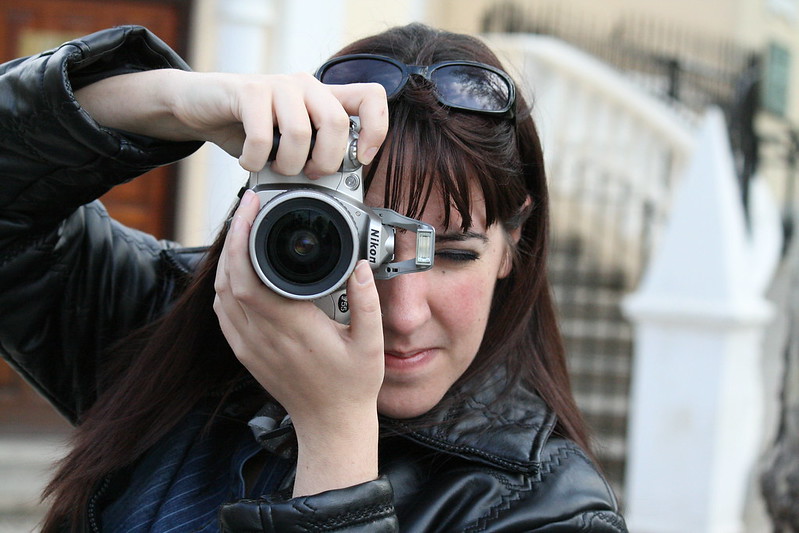
Turn the camera around: By Pablo
Use the Viewfinder
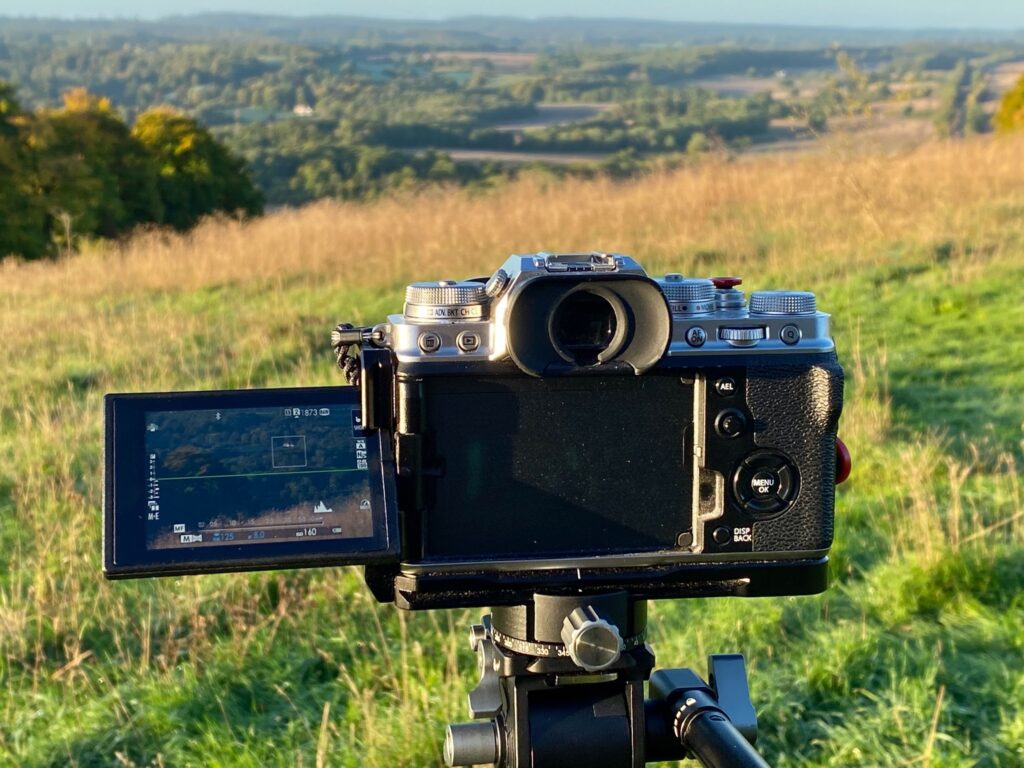
Another very common thing I see is people using the LCD screen to compose shots. As brilliant, bright and clear as your camera’s LCD is, it's not the best way to shoot shots. The reason for this is simple, holding the camera, at arm's length in front of you, is not the most stable way to shoot. Because the camera is relatively heavy, you are in danger of introducing camera shake which ultimately leads to blurry images. You might have come to photography from a smart phone or compact camera without viewfinder and so this could be you natural style. Those cameras though are very light and easy to hold steady at a distance, stepping up to a DSLR or Mirrorless system is also a big step up in weight. Learn to use that viewfinder and not only will you images have less camera shake but also you will find it a better, more natural way to compose. The black outer edges of the viewfinder act as a natural composition aid by keeping your eye concentrated on the scene you are shooting.
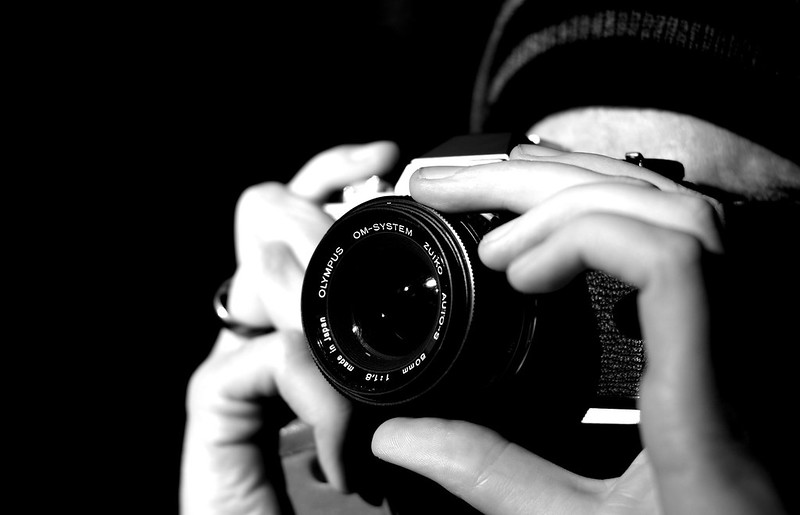
Hold the camera to your eye: By Philip Male
Getting your first serious camera can be daunting, exciting, frustrating and rewarding. This is by no means all the things you need to know but, by following these simple guidelines and practising a lot, you will soon find yourself mastering the basics. From then on, virtually everything you want to learn about, you will find right here on Lightstalking.
Further Resources on Understanding Your Camera

2 Comments
I prefer to have beginners start out in Aperture Priority mode (A) as opposed to P. By doing this you. Can immediately teach depth of field concepts. Yes they will be complaining about some blurry shots due to long shutter speeds but it gives an immediate avenue to talk about all of these important concepts. Great post. Thanks for sharing.
Jason, you hit the nail on the head. This is a very appropriate article. People go and buy expensive cameras and can’t figure out how to use them and consequently give up because they can’t achieve the results they hoped for. It takes a long time for a photographer to achieve skills beyond the capabilities of their camera. You hear the banter between amateur Canon and Nikon users and many of them don’t know how to use what they have. I have a couple of SLR cameras, but my go to camera is a fairly inexpensive mirror-less camera set on P. Since going to it my photography has improved greatly. I concentrate on what I see on the view finder (screen) and take the picture. No longer do I fiddle with buttons, knobs and assorted controls and find the sun has gone down when I’m finally ready to take the picture. It all depends on where you are on the learning curve.