One of the great aspects of photography is the sheer amount of control we have over an image. We can vary shutter speed, aperture, ISO, focus points, depth of field to name just a few. Each of these controls allows us to subtly or even dramatically change the way our image looks. For example if we go from a high to low shutter speed on a moving subject we go from a frozen static looking subject to one with motion blur
One area we sometimes neglect to use for creative imagery is the white balance. We often set it to auto or to a preset suitable for the light and just leave it. By doing that we are cutting out one of the most powerful creative tools we have. Changing the white balance can change the entire mood, feel of an image. Today we are going to look at getting creative with white balance.
Ways to work with white balance
Before we delve into what we can do with white balance lets look at the two main options for controlling white balance, in camera and in post production. If we shoot JPG’s only then the white balance we set in the camera will be embedded into the file. This makes it very difficult to change the color later in post. However if we shoot RAW files, we have total control over the white balance in post production, regardless of what we set in the camera. There is one useful tip here though. Even if you shoot RAW, the white balance is embedded into the preview JPEG. This provides a useful reference when working in post production, so its worth setting a suitable white balance in camera when shooting RAW.
What can we do with white balance?
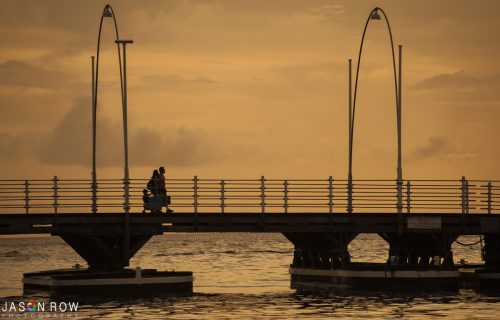
In simple terms white balance is a sliding scale of color from the red end of the spectrum around 2500K to the blue end, 10,000k and beyond. When our camera corrects white balance it, in effect, filters it. So if we are shooting a beautiful red/orange sunset, by default our camera will try to filter out a lot of that red, effectively neutralising it. If we manually set our color balance to 2500k, close to the colour of a sunset, the camera will add lots of blue.
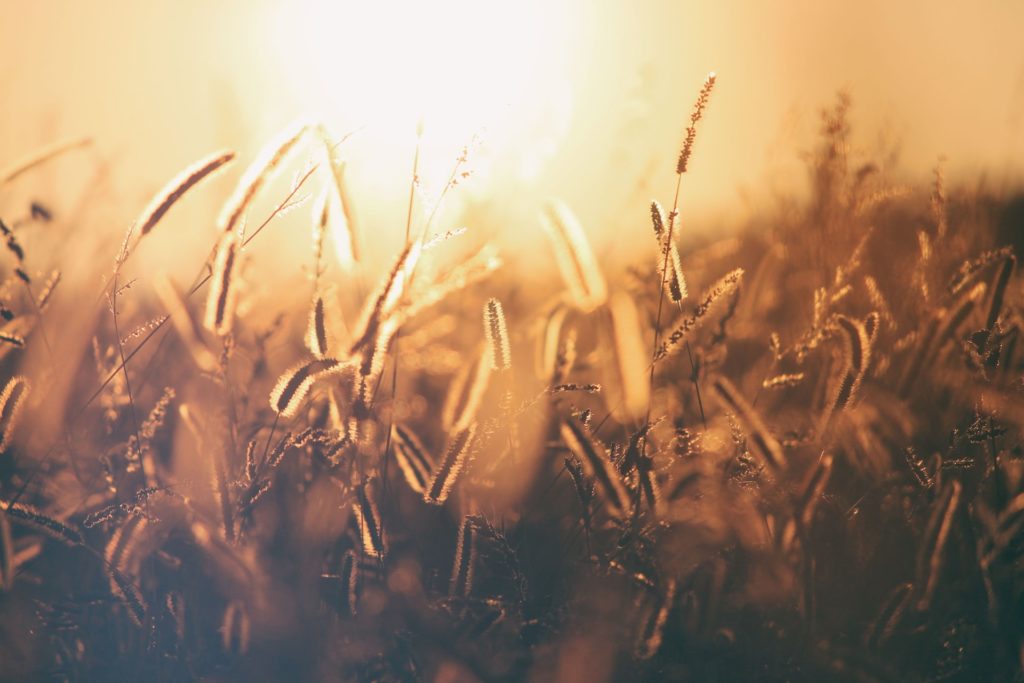
In the case of a sunset this is not what we are looking for so instead, we can set a higher white balance perhaps 6000k. Instead of adding more blue to the image, we are now adding more red. This is because the camera believes it is trying to neutralise a colder, bluer scene and is adding warmth. So lets look at what sorts of moods, emotions we can create with alternative white balances.
Going Cold
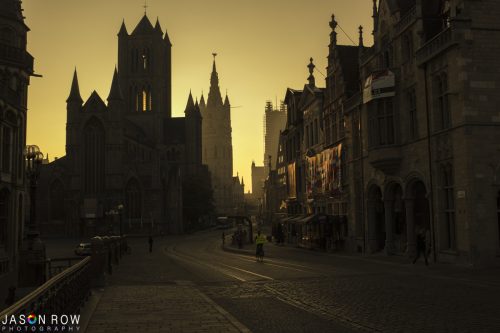
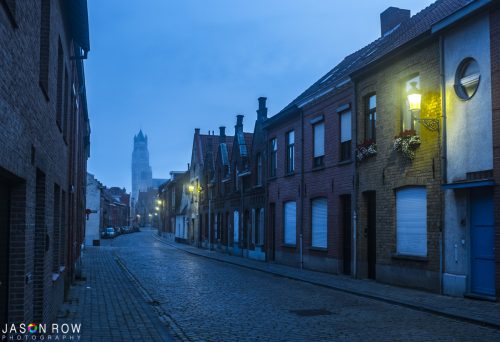
There are several moods we can create using colder colour. One of the most often used is making a daylight shot look like moonlight or evening. It works better on overcast days where the light is more naturally blue anyway. By using a white balance from lower end of the spectrum. 3000k for example and combining it with underexposure we can suggest an ethereal, moonlight look to an image.
We can also use cold blue light to emphasise colour in an image. For this we need to shoot raw, and in post production isolate the subject from the background. We can apply a low colour temperature to the background whilst keeping the subject close to natural.
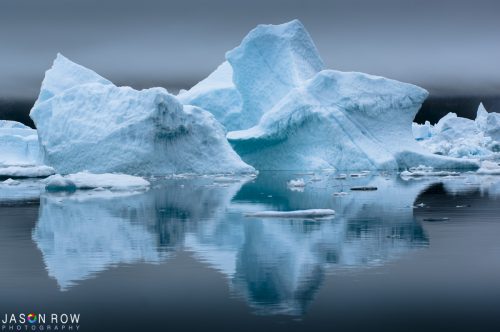
Winter scenes of benefit from applying a warm colour white balance. Auto white balance will often try to correct the coldness from the scene, making snow, ice and leaden skies look unnatural. By dropping the white balance to 3000-4000k we remove the warmth and give a much more wintery look.
Going Warm
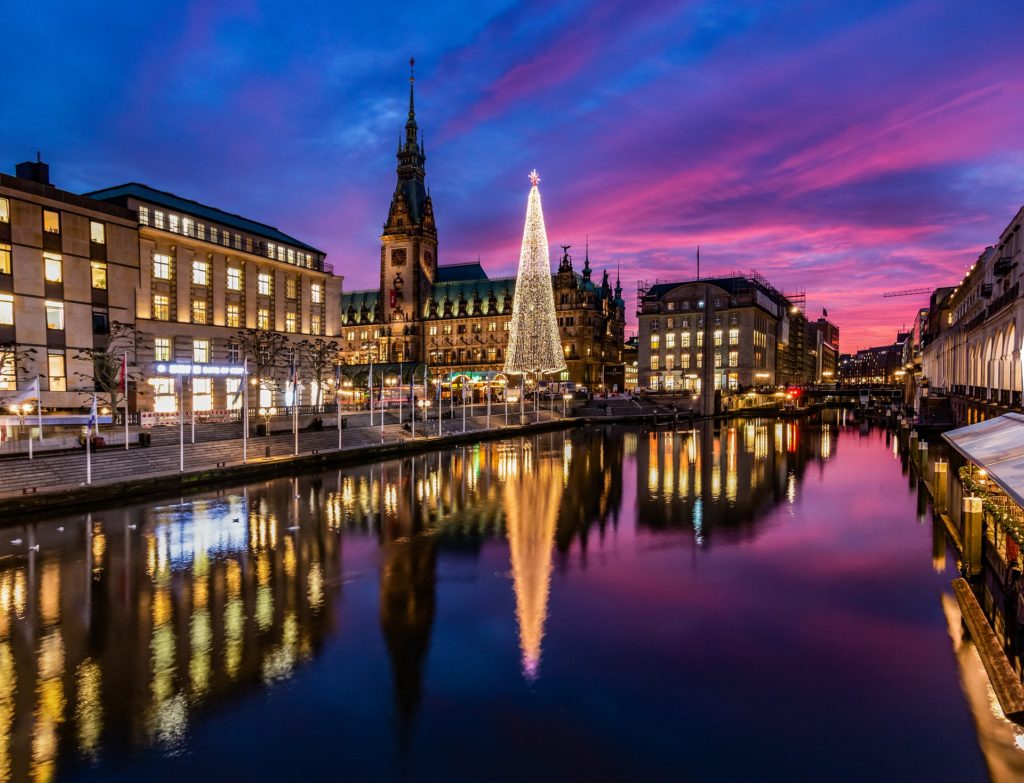
The most obvious creative use of setting a higher colour temperature to boost the warmth of a sunset or golden hour shot a mentioned above. There are many other ways we can use warmth in an image though. Shooting in tungsten or even candle light we can use a colour temperature of 6000k to make the image feel warm and cosy. We might also like to bump out the colours of artificial lights in a blue hour shot. If the artificial light is prominent in the scene the camera might take that as the primary light source and correct it. This would reduce its warmth and contrast, perhaps the opposite to what we are looking for. Again by using one of the blue light presets we can completely change the mood of the image.
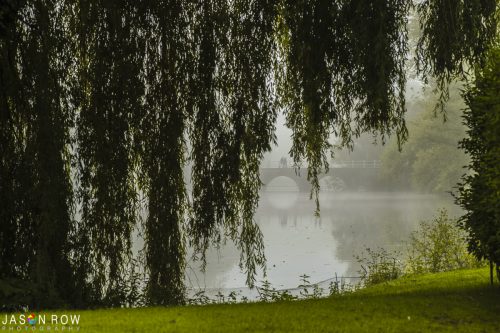
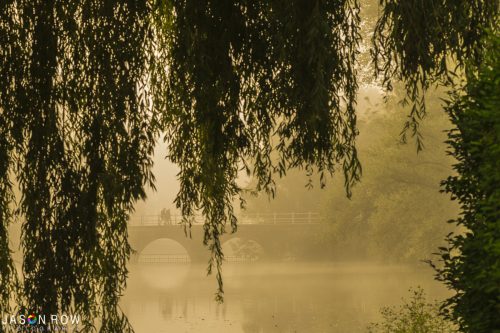
For ultimate control over white balance, shooting RAW is out best option. However if we also change our white balance in camera, we can benefit from preview JPEGs as well as getting a greater understanding of how white balance works.

2 Comments
Is the second picture above taken in Edinburgh? Beautiful!!
Hi, no its Ghent in Belgium