Adobe seems to have dropped the ball a little in 2017. Dropping the ability to purchase Lightroom as an independent program is perhaps one of their bigger faux-pas for many photographers. Fortunately other developers have seized the moment, attempting to break into the stranglehold that Adobe has on higher end image editing. On such company is Macphun who have recently released their advanced image editing software, Luminar 2018 on both MacOS and Windows. Today we are going to look at getting started with Luminar by using preset filters and adding filters to them.
Working With Presets in Luminar
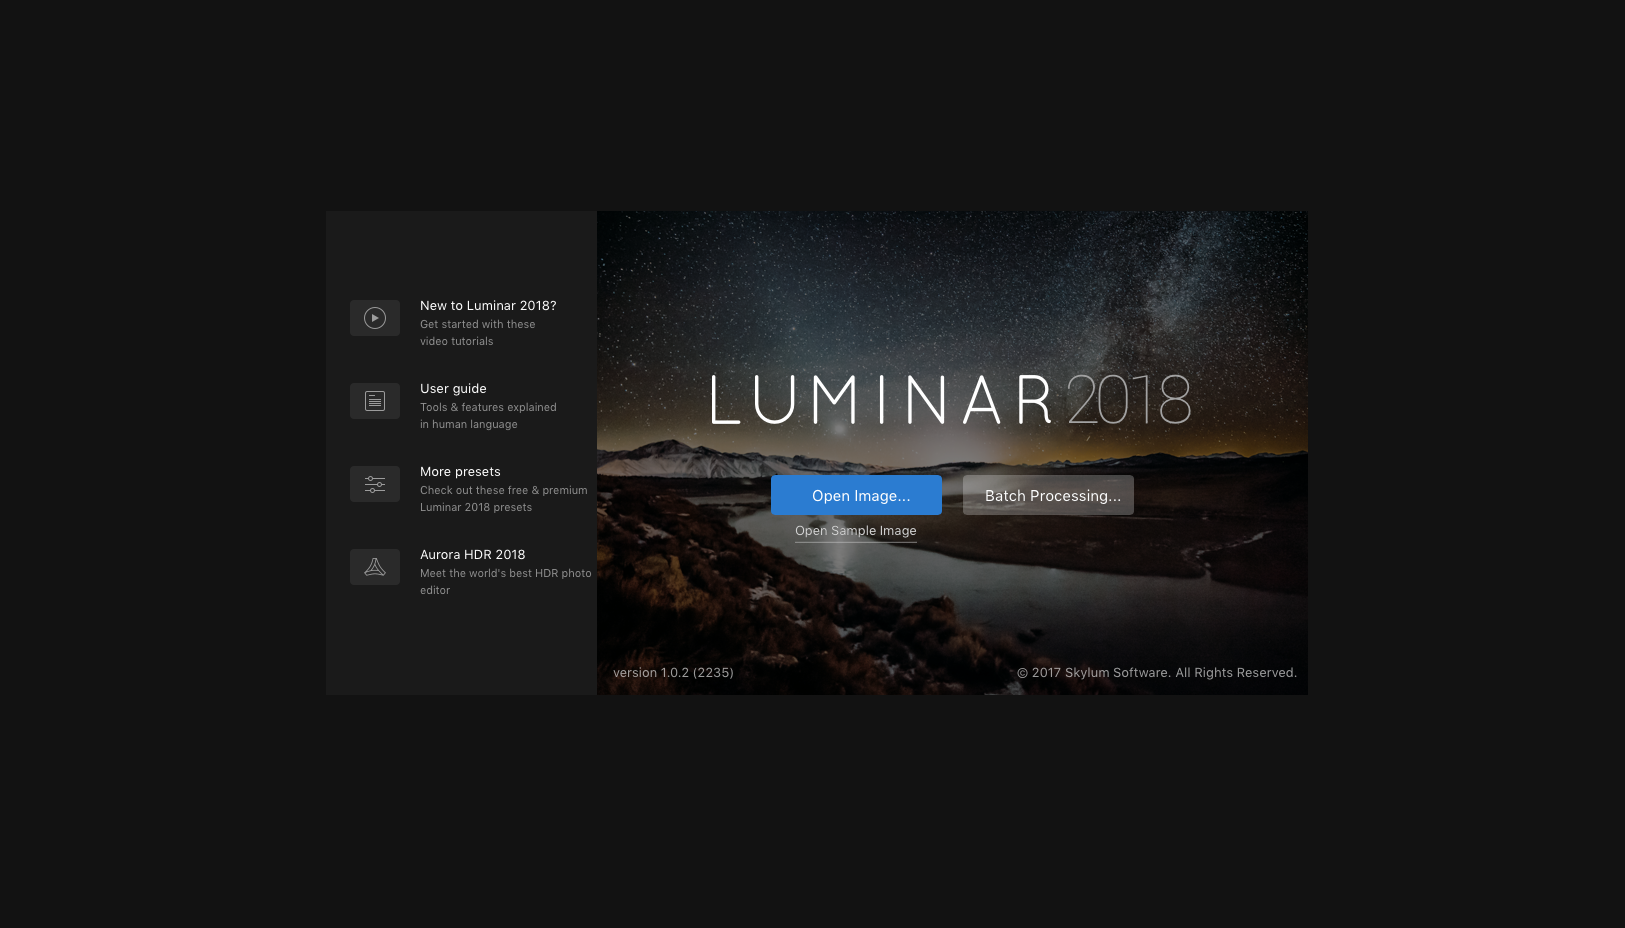
When you first open Luminar, you are presented with a splash screen that allows you to open a single image or to batch process a selection of images. Choose single image and open the image of your choice.
You will be presented with a clean interface that gives the image priority. Along the top of the screen, we can zoom into the image. This can also be done with the mouse scroll wheel. There are also buttons that allow you to compare before and after editing, an undo button and a history tool.
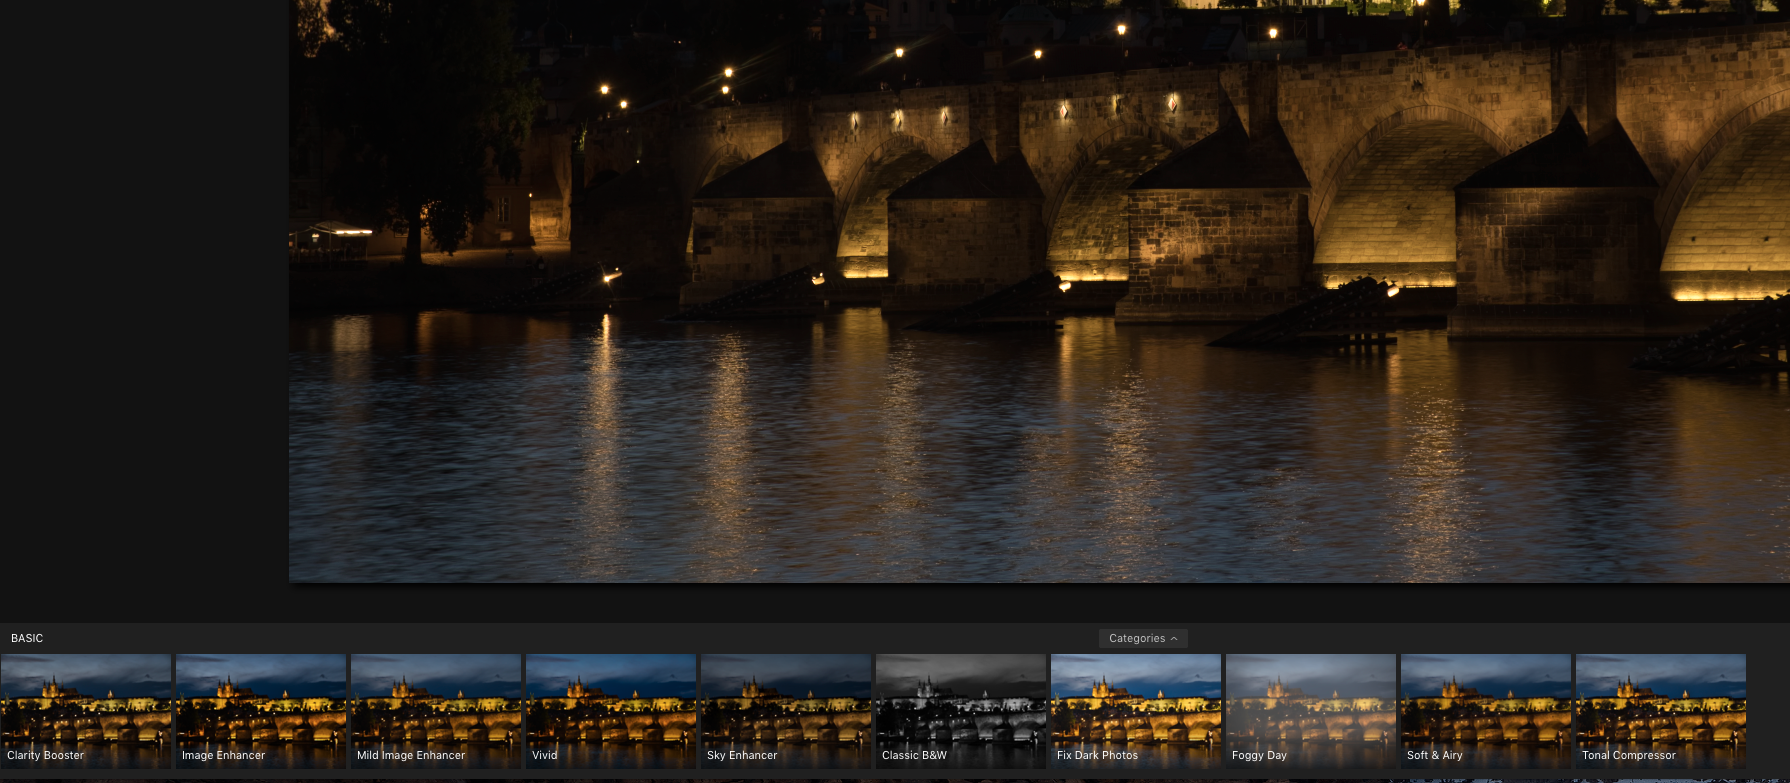
We are going to concentrate on the presets at the bottom of the screen. These are great for making quick edits to images but are also very adaptable.
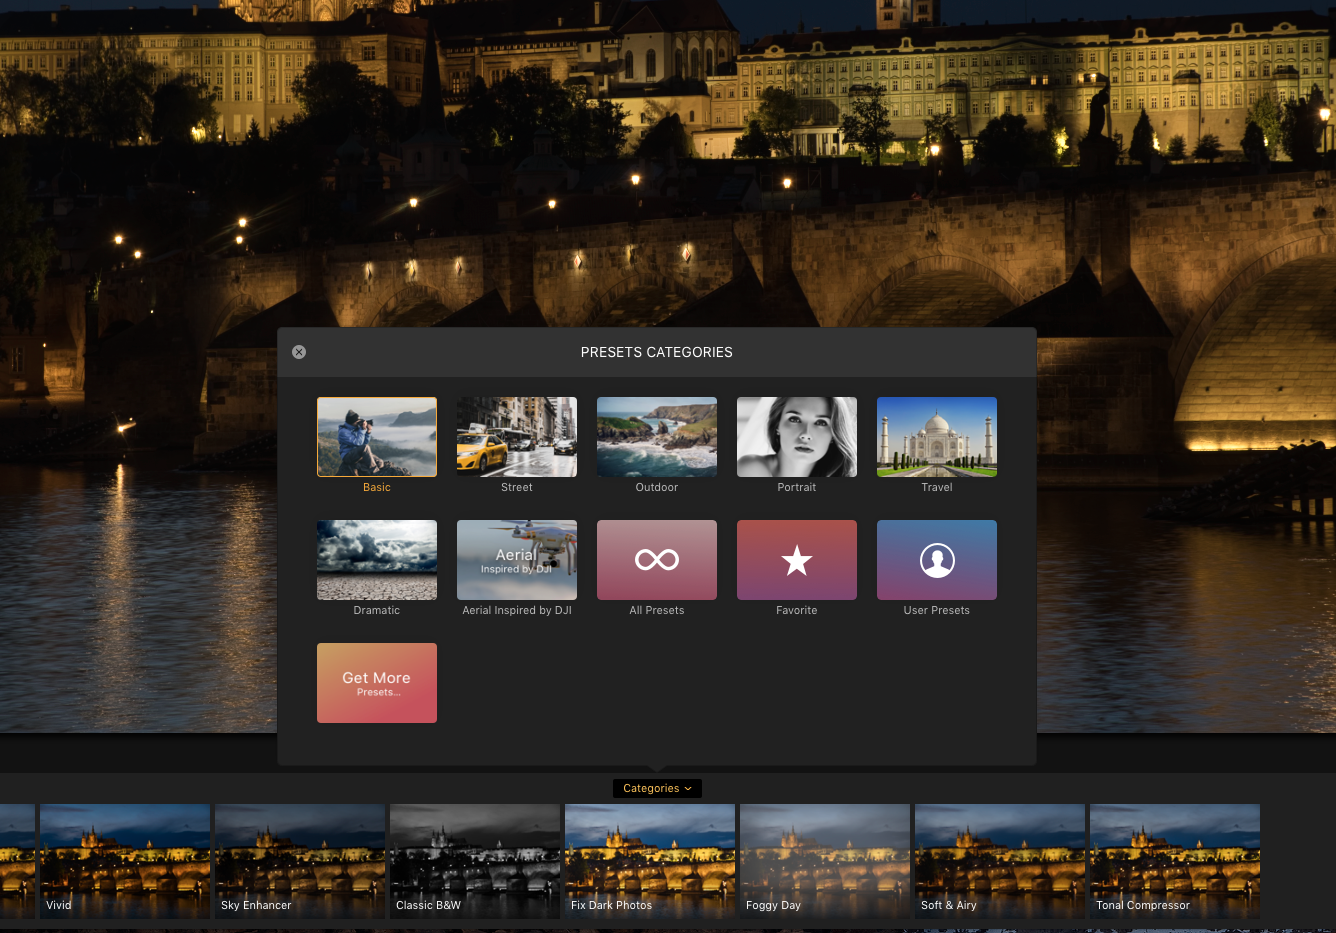
In the middle of the Presets you will see a drop-down menu called categories. Clicking on this will reveal a whole series of different preset types.
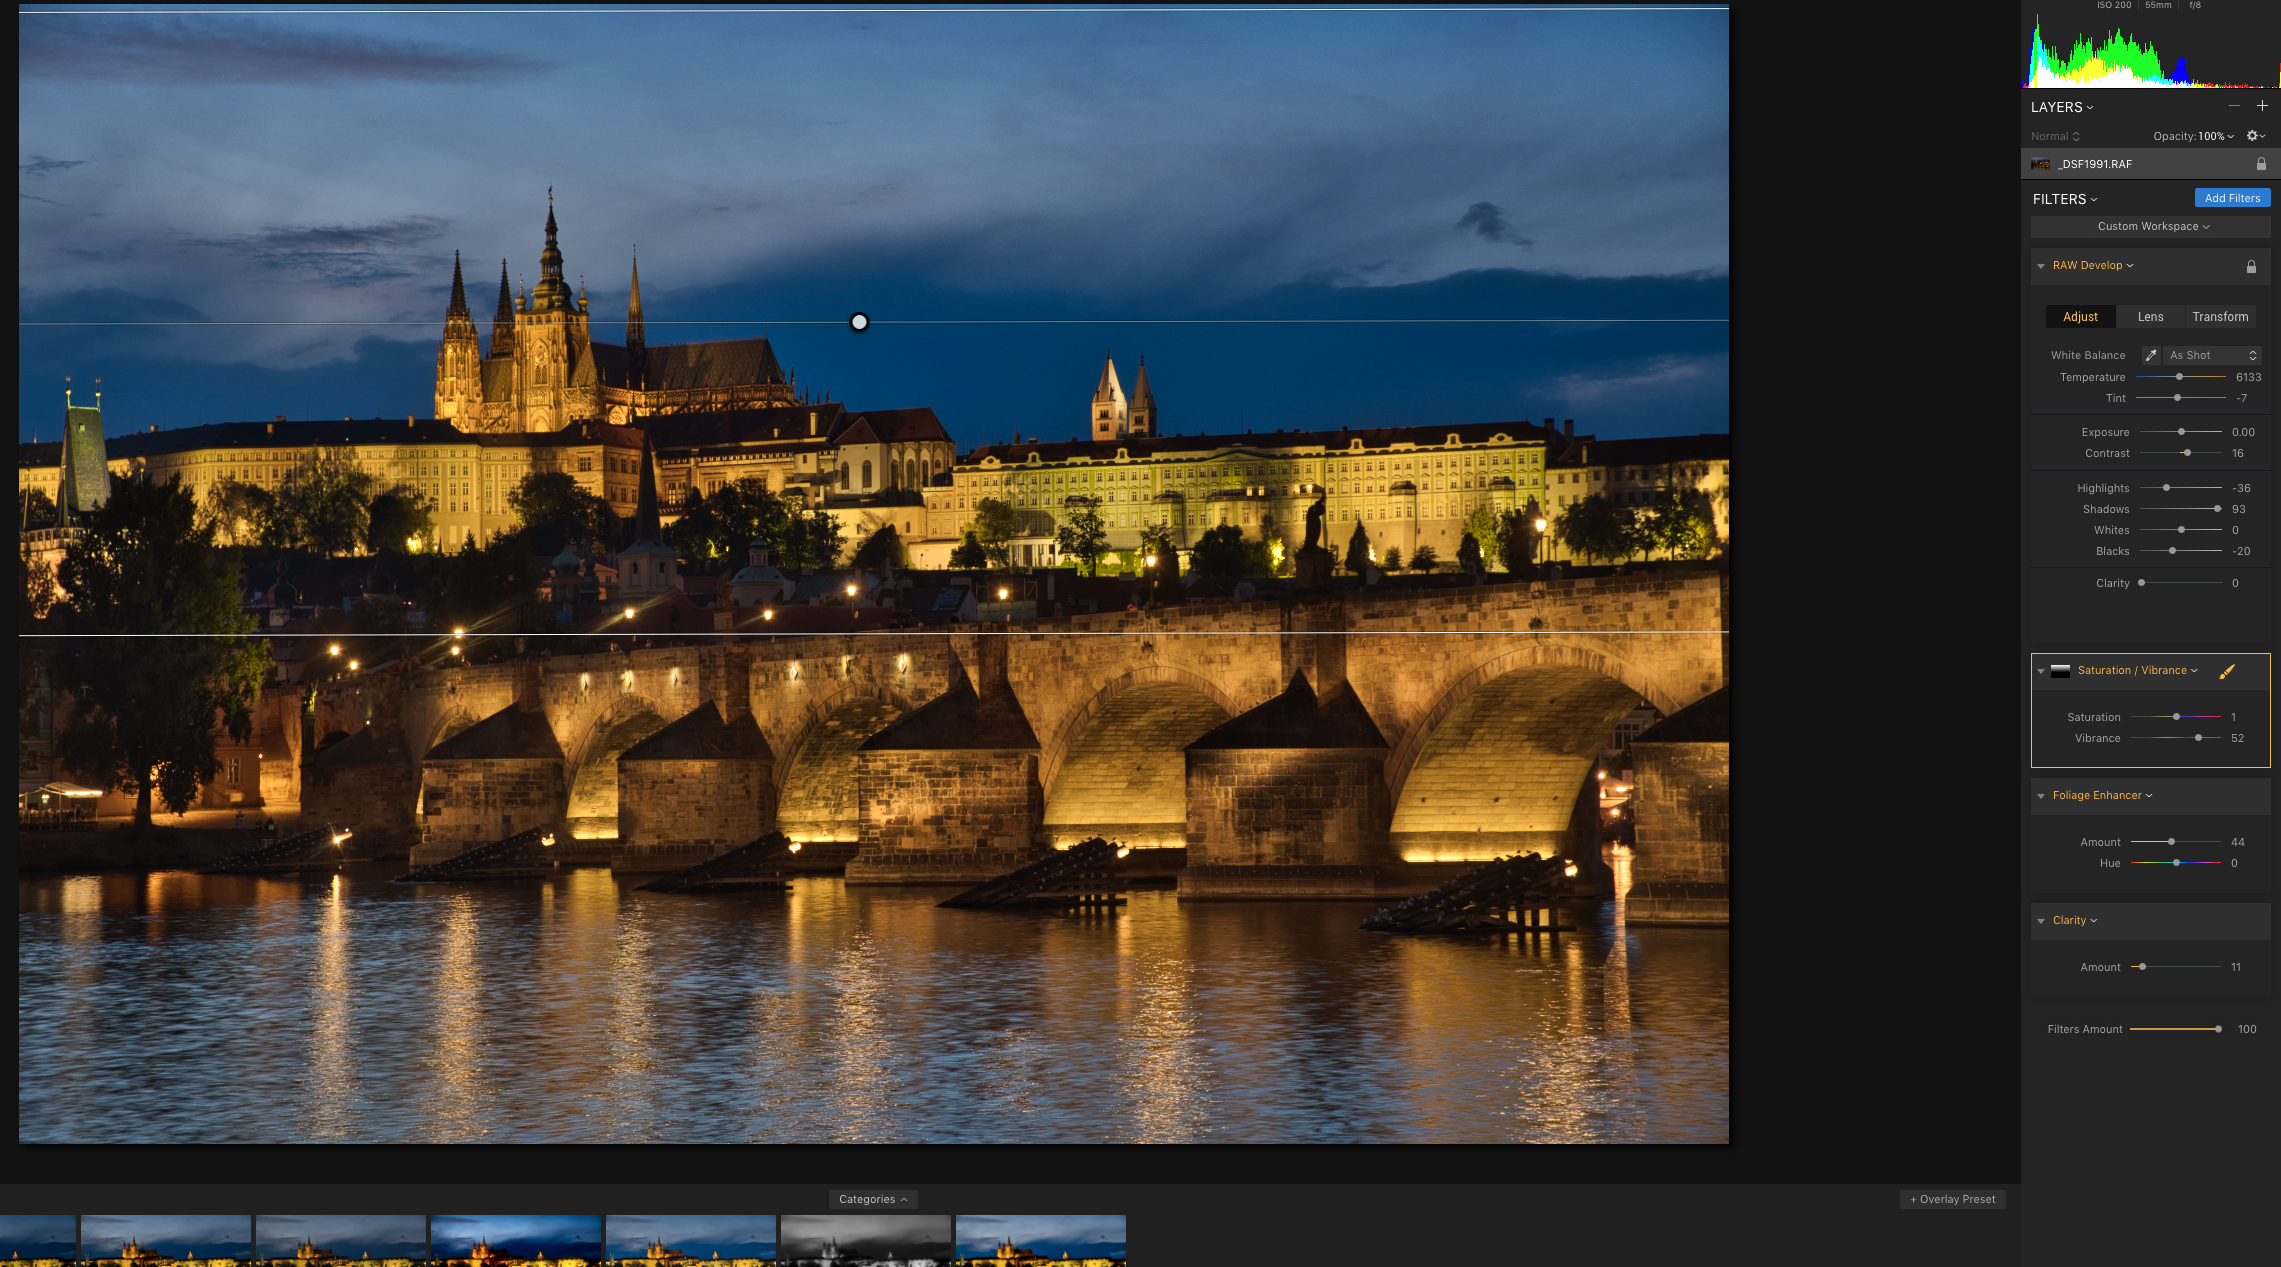
To work on my sample image of Prague I have selected outdoor. I can now click on each of the presets to see which one brings my image closest to what I want to achieve. In my image, the Colors of the Fall preset works well giving a nice boost in saturation and contrast to the blue hour shot. This is not the end of the story though. Although you can only apply one preset, you can fine tune that preset and add other filters to it too.
Fine Tuning Our Presets
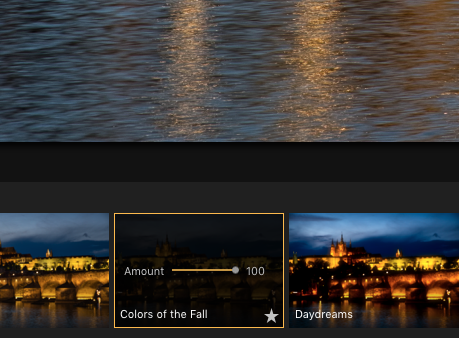
The first place to fine tune is on the preset icon itself. Once applied to the image you will see a slider on the icon. This allows you to set the effectiveness of the filter from 100 down to 0, in other words fading the effect in or out. This is very useful for filters that are pushing the image beyond what you are looking for.
The real fine-tuning, however, comes from the workspace on the right of the screen. All of the individual filters that go to make up the preset are there and each is finely adjustable. As we can see in my example we have the RAW Develop filter, this provides similar controls to the Basic tab in Lightroom’s Develop module. Below is a Saturation/Vibrance tool, then Foliage Enhancer and lastly Clarity.
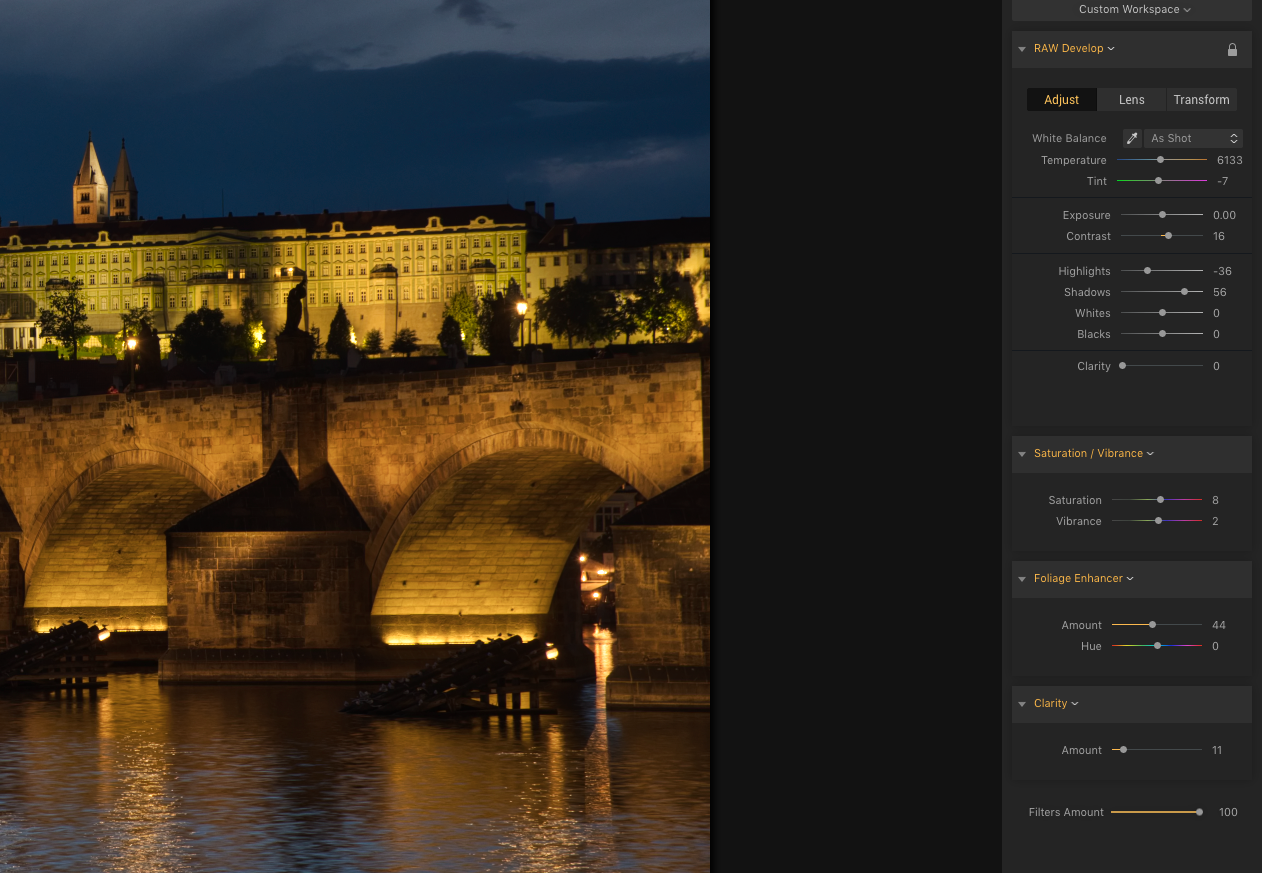
In my shot I want to lift the shadow details a little so I slide right from 56 to 93. To counter the drop in contrast I also slide the Blacks from 0 to -25. All the time I am keeping my eye on the histogram at the top of the toolbox.
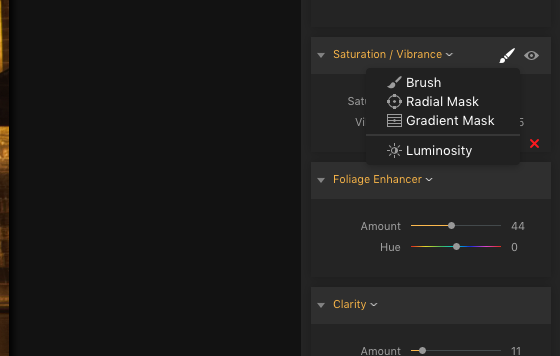
In the next filter, I reduce Saturation from 8 to 0 but increase Vibrance from 0 to 25 to punch out the blueness in the sky. For each of the traditional style filters, such as Saturation/Vibrance I can also edit selected parts of the image. To do this, hover over the tools header and click on the brush icon.
You can now select Brush, Radial Mask or Gradient Mask.
In my sample, I have created a Gradient Mask for the sky and added some more Vibrance. If you like the end result of your adjustments to a preset, you can save them as your own preset. To do this simply click on the Save Filters Preset at the very bottom right of screen and give it a name. This will can now be found under User Presets in the preset categories.
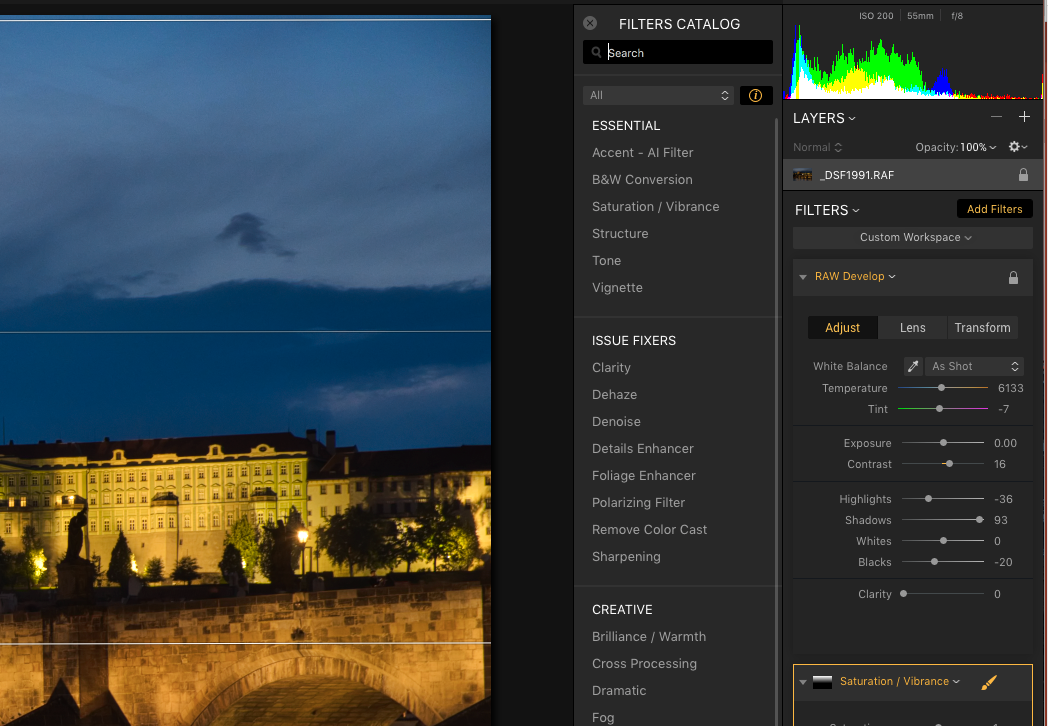
To further enhance our image we can now add more filters. To do this click on Add Filters from the top of the toolbox.
A whole range of filters, stacked into categories is now available for you to use. Clicking on any of them will add them to below your preset, where, again you can fine tune them to suit. To delete any filter simply hover the mouse over it and click the red X icon.
Luminar is an incredibly deep image editing program whose, simple interface belies its complexity. The beauty of this is that it makes it simple to do quick edits on the go, whilst still having the ability to make complex corrections if required.
In a future tutorial we will take a look at working with Layers in Luminar, an important feature for any rival to Photoshop.

