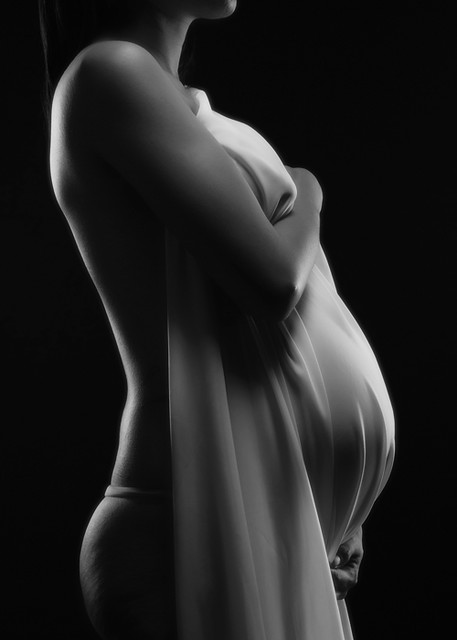
Most people take low key for granted, and think that one just needs to underexpose and all is set. The reality, however, is quite different. First of all, when it comes to low key photography, especially for portraiture, knowing light is essential. It is not just about whether you will use harsh or soft light, or one or multiple sources. It is often more complicated than that.
Light and Distance
Before everything, you need to be able to anticipate how much light is lost over distance, therefore you’ll be able to work out light placement in order to achieve black background. There is something called inverse square law of light. The simple way of understanding it is to get that illumination decreases by the square of the distance. Intensity = 1/Distance Squared. Therefore for 2 meters, you have ¼ of the initial light output. For 3 meters you have 1/9 of the initial light output. For 10 meters you have 1/100 of the initial light output and so on. Not so complicated, right?
This is particularly useful when it comes to positioning the light sources and the subject relatively to the background. Simply put, the further the background is the less light it will receive. Remember that.
Photo by j3ffm4n
Different Materials Reflect Light Differently
However, there are other variables in play, such as reflection. Different materials and different colors reflect different amount of light. For example, if you were to place a light in a room with dark walls, you’ll need shorter distance for black background when compared to a room with white walls, per se. This also applies for reflective surfaces, such as windows, some types of glossy wall paint, also some textile, such as silk, which have reflection factors which bounce more light around hence making it harder to be controlled.
Ambient Light and Lighting Considerations
Now comes the matter of ambient light. Usually it is easier just to filter it out using fast shutter speeds and lower f-stop. But that doesn't mean you can’t utilize it. Ambient light in low key photography is usually avoided due to the fact that you’ll probably need higher ISO in order to capture what you need and that brings some noise to the image. With flash you can stick to 100 ISO (or even lower with some cameras) to get that clean image.
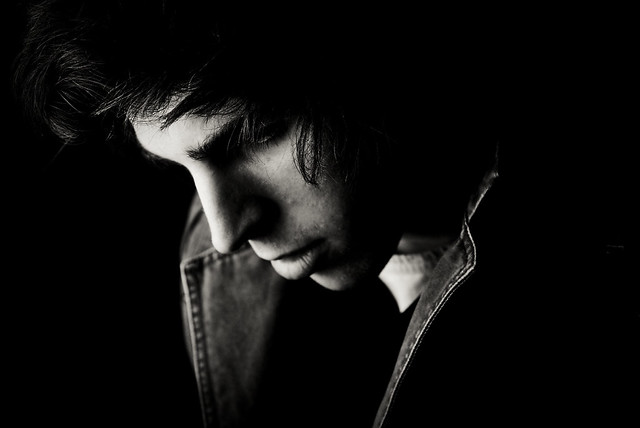
Photo by seanmcgrath
Once you have most of the physics figured out, it is time to move on to the practical uses.
First of all, it is wise to point the light away from the background and then use a flag to stop stray light to reach the background in order to keep it black.
If you are starting out in low key photography, especially in portraiture you’ll probably be best off recreating Rembrandt style of light, since it usually requires only one light source. It is easier to control it having one light and you can learn how to manipulate it easily. When you feel confident enough, toss in another light, or a reflector. With low key you usually don’t need many light sources, however everybody has a different creative process.
Camera Settings
Remember, use the lowest ISO possible, your aperture controls the flash power, while your shutter speed controls the ambient light. Your aperture also affects the ambient light, but the shutter speed doesn't affect the amount of flash.
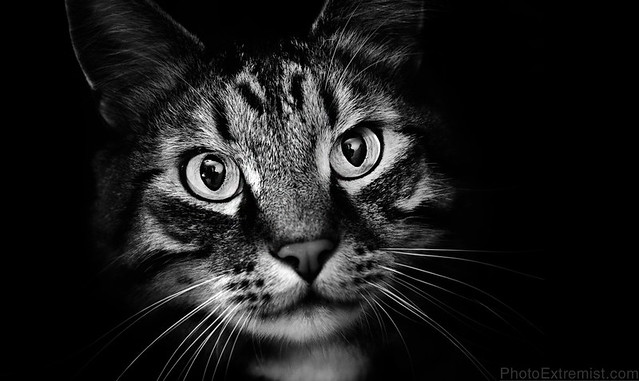
Photo by Photo Extremist
So it is wise to stick to the fastest shutter speed possible (usually 1/200 with most common flashes and flash triggers), and then tone down the aperture until there is no visible ambient light. Then set your flash power on your flash if possible, if not use the aperture to compensate.
Be careful though, you’ll need to hit the exposure spot on. Overexpose and you’ll be stuck in Photoshop for hours correcting the exposure levels in order to fix all the light leaks that might create. Underexpose and battle noise when you will recover the exposure in Photoshop afterwards.
I know many people that practically fake the effect in Photoshop by dodging and burning, or completely painting the background black, but you can easily tell that it has been post processed since the light would not feel right. Of course there will be some pictures where you can pull off post processed low key, but there aren't many such scenarios. So get it right in camera if you want the safest way to go.
Got some low key work done? Feel free to share it in the comments below.

4 Comments
Reading this just helped me choose my photography specialty. I love this form!
02 06 shadows.JPG by Joan McCormack on Light Stalking
Thanks for this article…it helps to have things explained this clearly.
I took this using my Canon T3 on manual
f/5, 1/50 sec, ISO 800
Thanks for the article. Think i’ll experiment this weekend 🙂
I love low key shots. They project an intimate feel that is so unique.