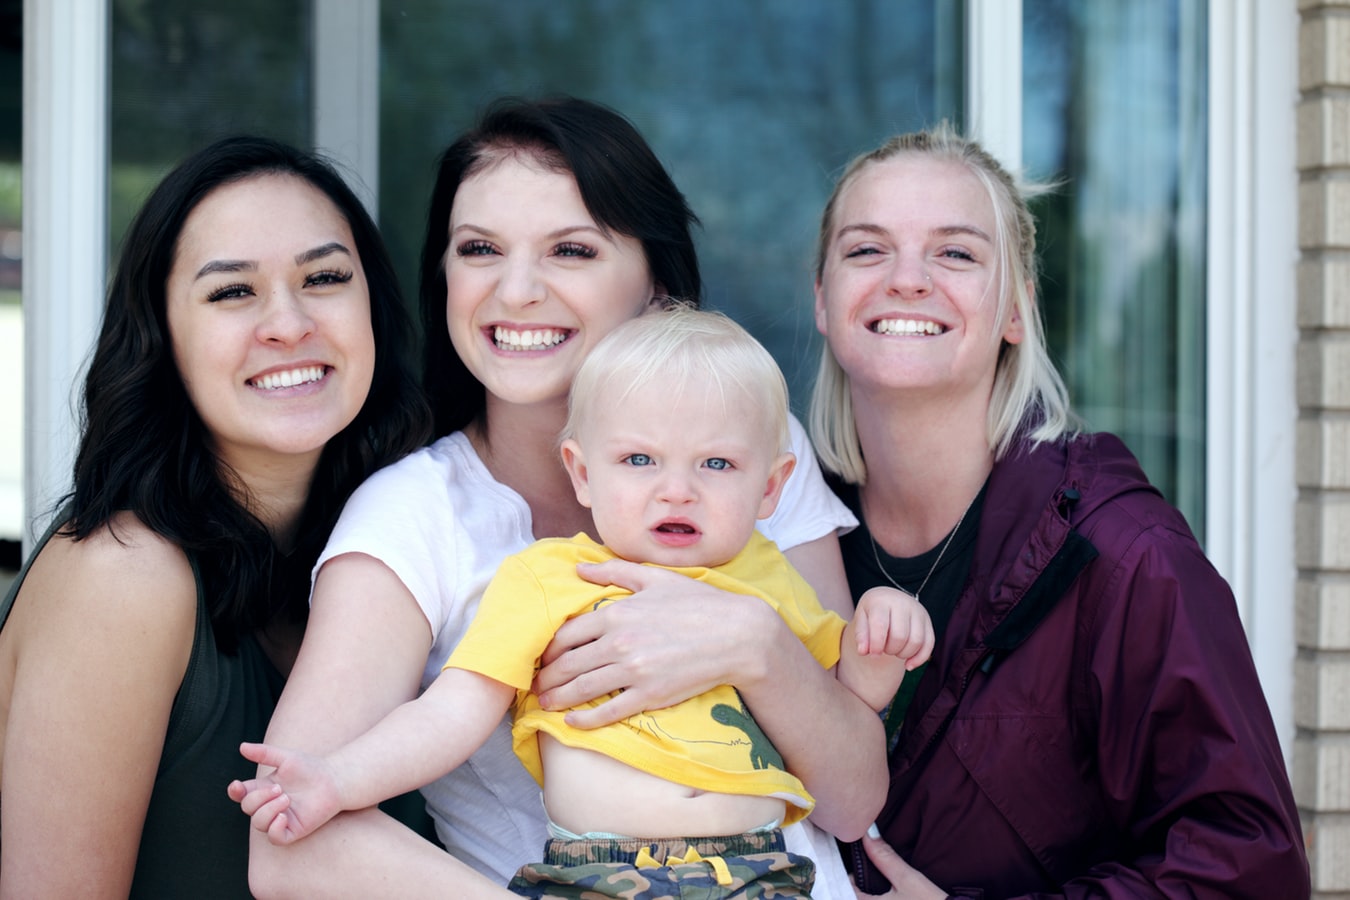
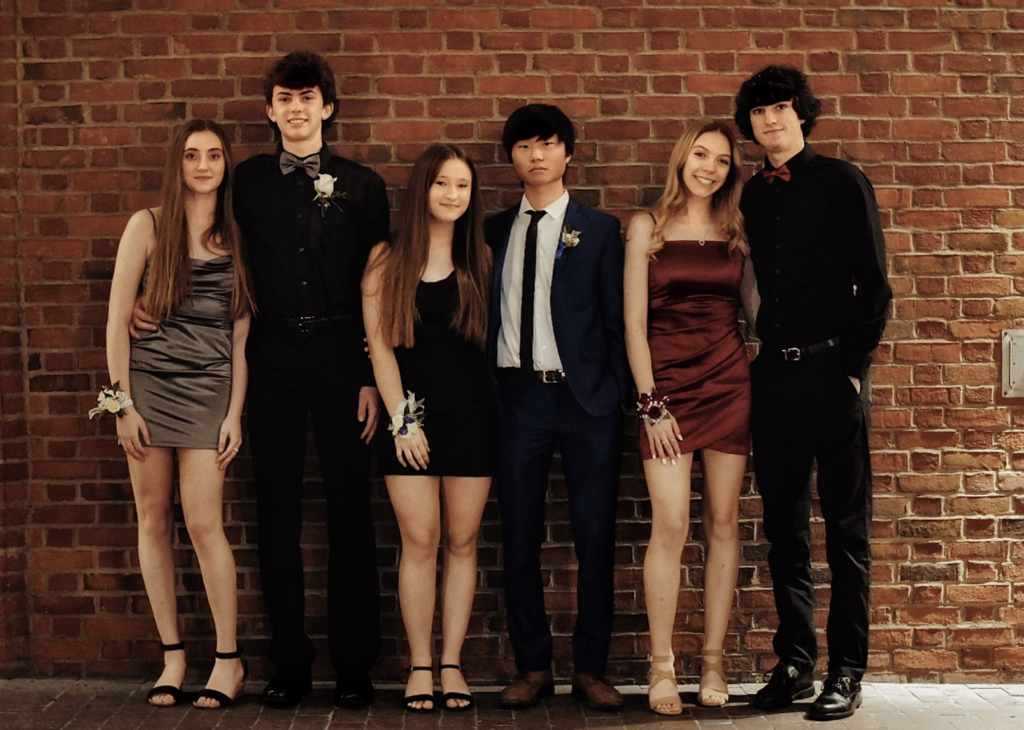
Many amateur portrait photographers feel intimidated by group portraits and it is not without reason. Group portraits require a great deal of technical knowledge and patience to pose everyone correctly. In addition to this, those truly creative group portraits such as band photo-shoots also require unconventional or humorous ideas.
Getting your head around portraiture as a topic is a huge undertaking. Take a look at Kent DuFault's excellent guide to The Art of Portrait Photography for a deep dive on the topic.
If you want your group portraits to be more than just mediocre photos, consider the following tips and tricks!
1. Choose a location wisely
You shouldn’t use a location that is too busy or has many distracting details. Places like wide-open landscapes or peaceful meadows with no houses nearby are usually great choices. Of course, if your clients want something more adventurous, you should plan it well ahead. Locations such as rooftops or other urban areas aren’t always available for photo-shoots and might require a shooting permit, so you have to make sure that you are fully prepared for this kind of session.
2. Ask everyone to wear solid colors
While this is not something you need to stick to, solid colors will make sure the attention is drawn to the faces, not the clothing of your clients. Graphic details like logos and stripes often look too distracting and you should probably avoid them. For more traditional group portraits, neutral colors such as beige, grey or black will work great. On the other hand, if you’re shooting a group of artists, you can experiment with bolder colors as well.
3. Mind the horizon line
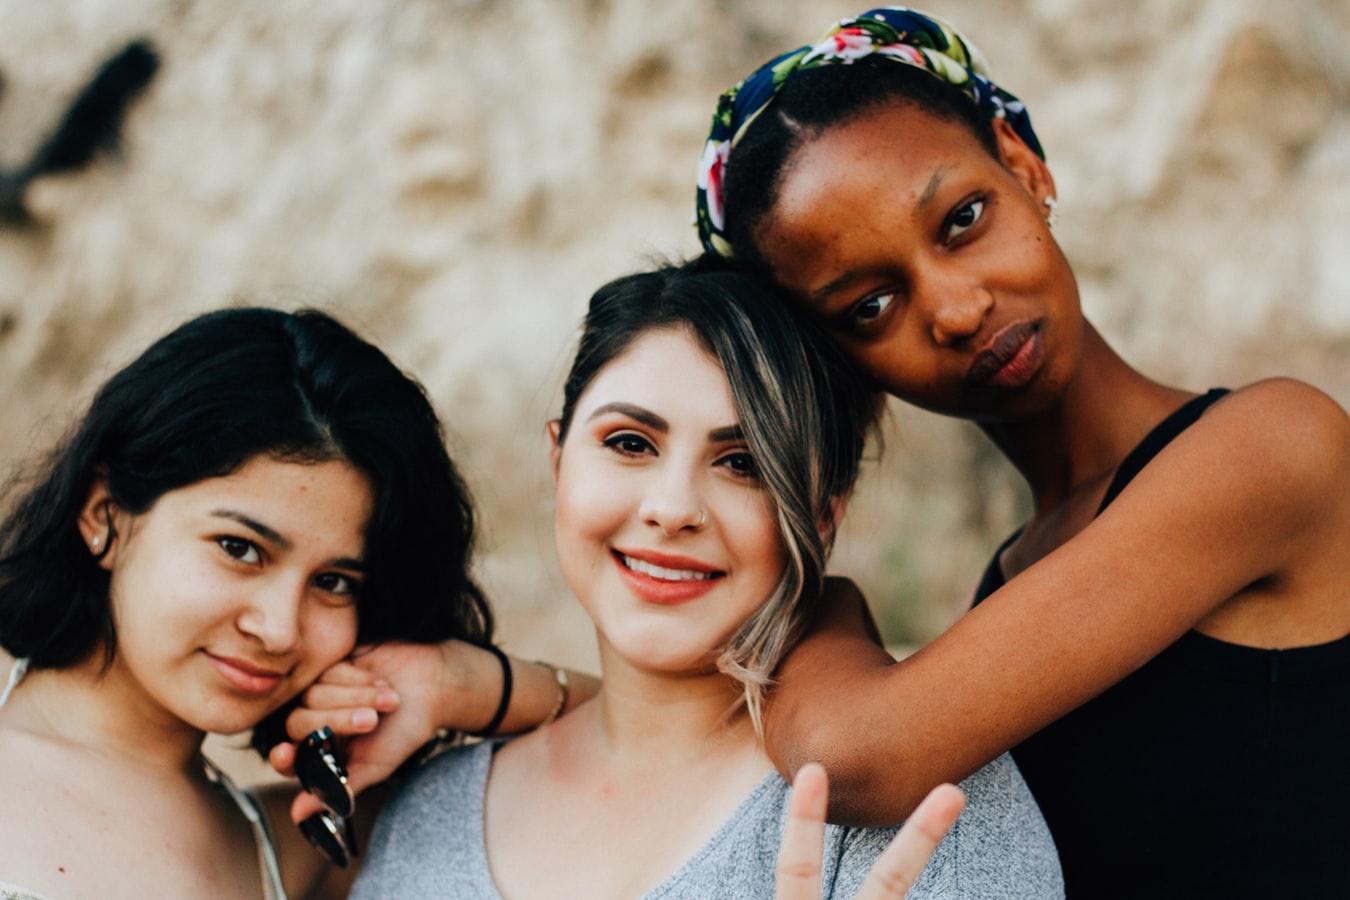
Heads of your models shouldn’t be in the horizon line because their faces will look more prominent if they are framed by solid colors, such as the sky or the ground (but not both of them at the same time!). In order to achieve this, you should shoot the group slightly from below or from above. If this doesn’t work, you can also change the position of your group completely, so that their heads have a non-distracting background.
4. Be careful about your aperture
Very common mistake found in amateur group portraits is a shallow depth of field. In order to have everyone in focus, set your aperture at f/8 or even higher, depending on the other settings.
5. Don’t take a long time to pose people
You will definitely lose the attention and cooperation of the group if you take too long to pose them and if you don’t know what you’re doing. This is especially true if you have to work with kids. In order to avoid this kind of unpleasant scenario, have some posing ideas prepared before the actual photo-shoot.
6. Use props and take some spontaneous shots
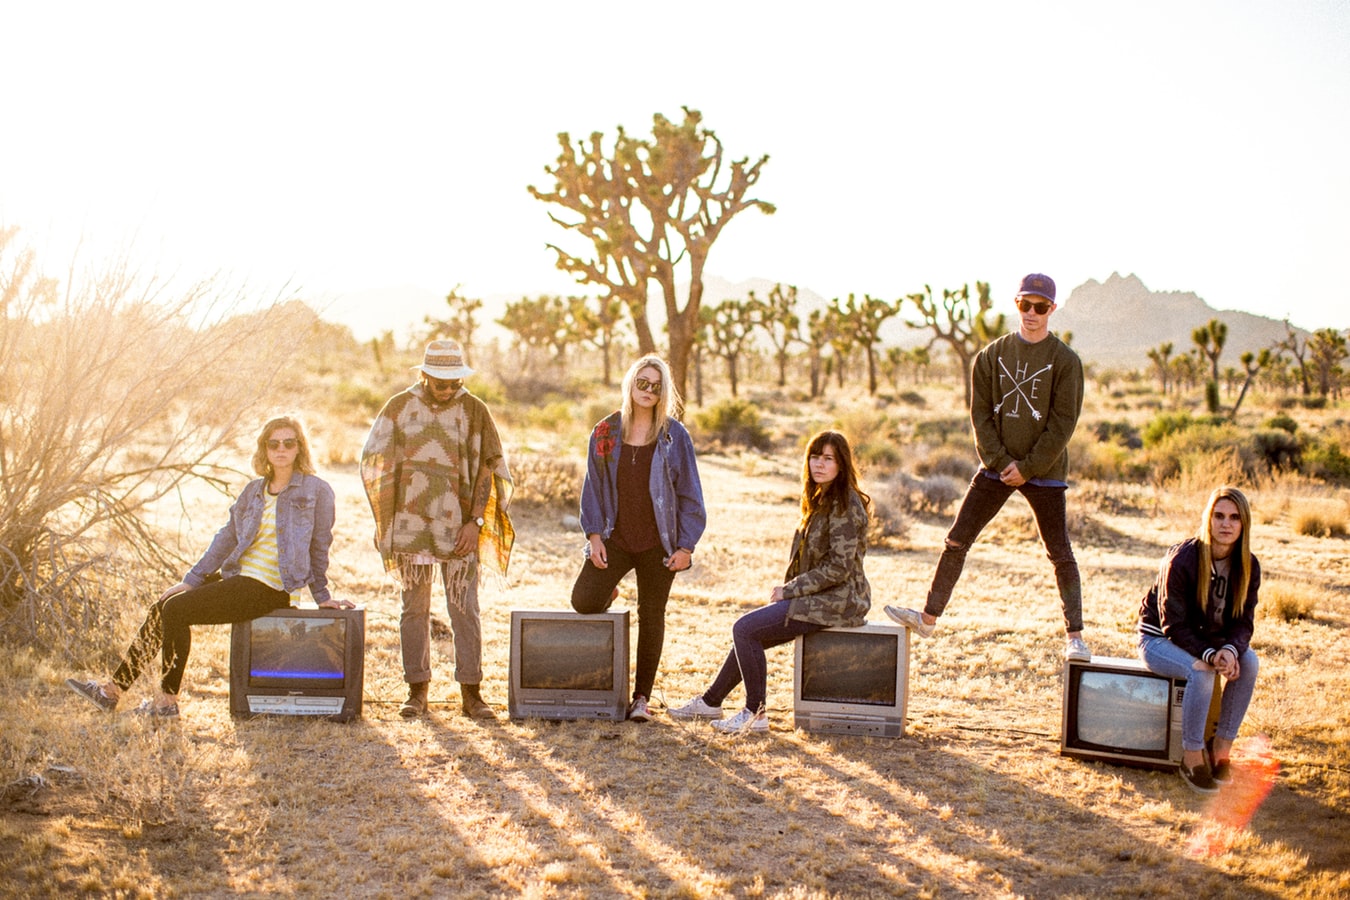
Props can bring your group portraits to a whole new level! Don’t be afraid to experiment with various pieces of furniture or bicycles, cars, flower pots, empty boxes and so on. In case you run out of posing ideas, ask your models for a piece of advice or let them do something totally unexpected and spontaneous. You might be surprised by how creative these candid images can be.
If you want to learn more about the secrets of posing and shooting larger groups, feel free to check out the links below.
Further Resources:
- 12 Tips for More Enjoyable Group Portraits
- 4 Secrets To Creating Great Family Portraits
- Want to Know how to Take Amazing Group Photos?
Next Steps in Portrait Photography
Portrait photography is a huge topic. Take steps to master this essential part of photography with The Art of Portrait Photography by Kent DuFault.



5 Comments
I get asked to do group shots all the time. I am still not very good at it, but I am quite pleased with this one: https://c2.staticflickr.com/8/7811/39975589583_1529f3db67_b.jpg
Indeed, you did a great job with positioning your models 🙂
Useful tips. Even more challenging when you need to be photographed in the group too.
In group photo, what will be the primary motto? Details record of each & every face of group or artistic existence in print photo?
Hi Jasenka! These articles have come at a great time. We are going to visit my husband’s family for July 4th and i planned to bring my camera, 2 lens, a tripod, reflector and extra batteries to try my hand at group shots. All this information will be very helpful!