Lately, all the new cameras boast high resolutions (high-res): The Nikon D810 boasts 36 megapixels, the Sony A7R II offers 42 megapixels, while the Canon 5DS comes with a whopping 51 megapixels!
What all that means is a great amount of detail. Which is great, but the question remains, do you really need it?
It all comes at a cost. High resolutions can provide a greater amount of detail, true, but in order to make the most of it, you’ll need higher quality lenses. In fact, you’ll need lenses of the utmost quality, most of which cost a fortune.
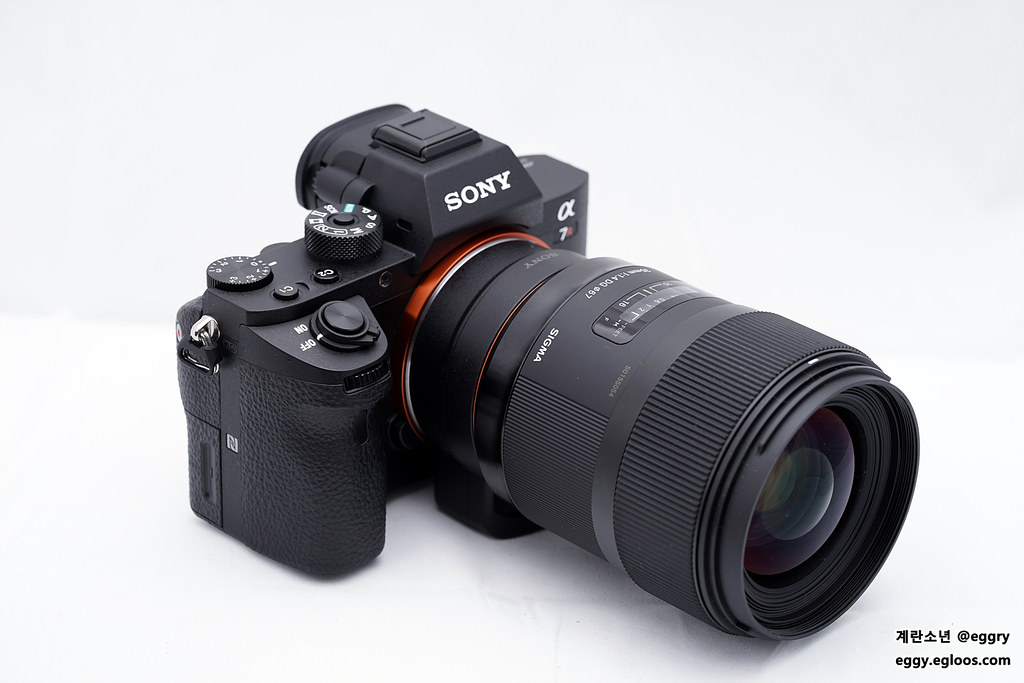 Photo by Dongheon Shin
Additionally, higher resolutions = bigger files. Not a big concern when you’re printing an image for a large billboard, but when you have to process 1000+ shots from an event, it gets tiresome fast.
Before we start, learning the essentials of post processing is crucial when trying to understand how you should be optimizing your exported output sizes of your photographs. This course will run through what you need to know about using Lightroom – “Super Photo Editing Skills“.
Images For Web Use
Most of the gigs I shoot are for web use, particularly social media. Parties and events tend to upload the pictures right after the event to keep the momentum of the audience until the next event comes by.
In this case, speed is imperative, and quality as well. But in order to have both, I need to make compromises: If I use the highest resolution I can get (20.2MP, ~30MB per RAW file, I’m allergic to JPEG) I get a slightly better noise performance (due to downscaling) but nothing that can be easily noticed if you don’t compare the images side by side.
Performance & Speed
On the other hand, if I shoot mRAW (11MP, ~16MB per RAW file), it cuts the load times, preview creations, export, increases the number of files per SD/CF card, while also filling up the buffer of the camera more slowly thus allowing me to have almost infinite bursts.
Smaller file size means that writing to the SD/CF card is faster, transfers to the PC and editing are faster (due to the fact that it will require less resources) and that the images can be exported slightly faster to the desired size.
For a 1920×1080 file, a resolution of 11MP is more than enough, plus it speeds up the workflow by a half, if not more.
 Photo by Yu Morita
This means that if time is of the essence, and the pictures are intended to be used on social media or similar web purposes which do not require higher resolutions, you can safely go to a smaller resolution (something around half of what your sensor is capable of, but make sure you keep it above 10 megapixels at least) and gain the benefits of smaller file sizes.
This is especially useful when you need those bursts at sports shows, car rallies and the like.
Preparing To Print
When it comes to printing, the game is completely different – everything that applied for web use doesn’t apply here. For prints you really need the highest resolution possible.
This is due to the fact that it allows you to have different sized prints: you can always downscale for smaller prints, but you still have the bigger ones as an option.
For example, the Canon 5Ds at maximum resolution will produce a print of 57.9″ x 38.6″ at 150 DPI, which is really great quality. Yes, 300 DPI would be better, but with quality printers the difference isn’t noticeable.
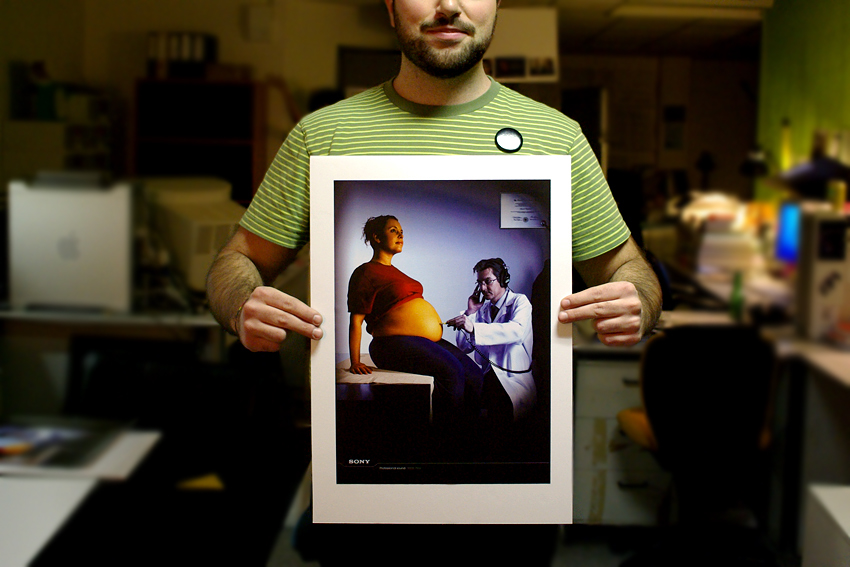 Photo by Matteo Mastronardi
Of course, with the high resolutions you’ll get more quality, but the editing times and file sizes can be staggering.
With 50 megapixels, the Photoshop files with several layers can easily get up to 5GB, which will create some issues with saving (since .PSD can’t be bigger than 2GB, you’ll have to go to .PSB which is a bit weird when it comes to compatibility.)
Downscaling Your Images
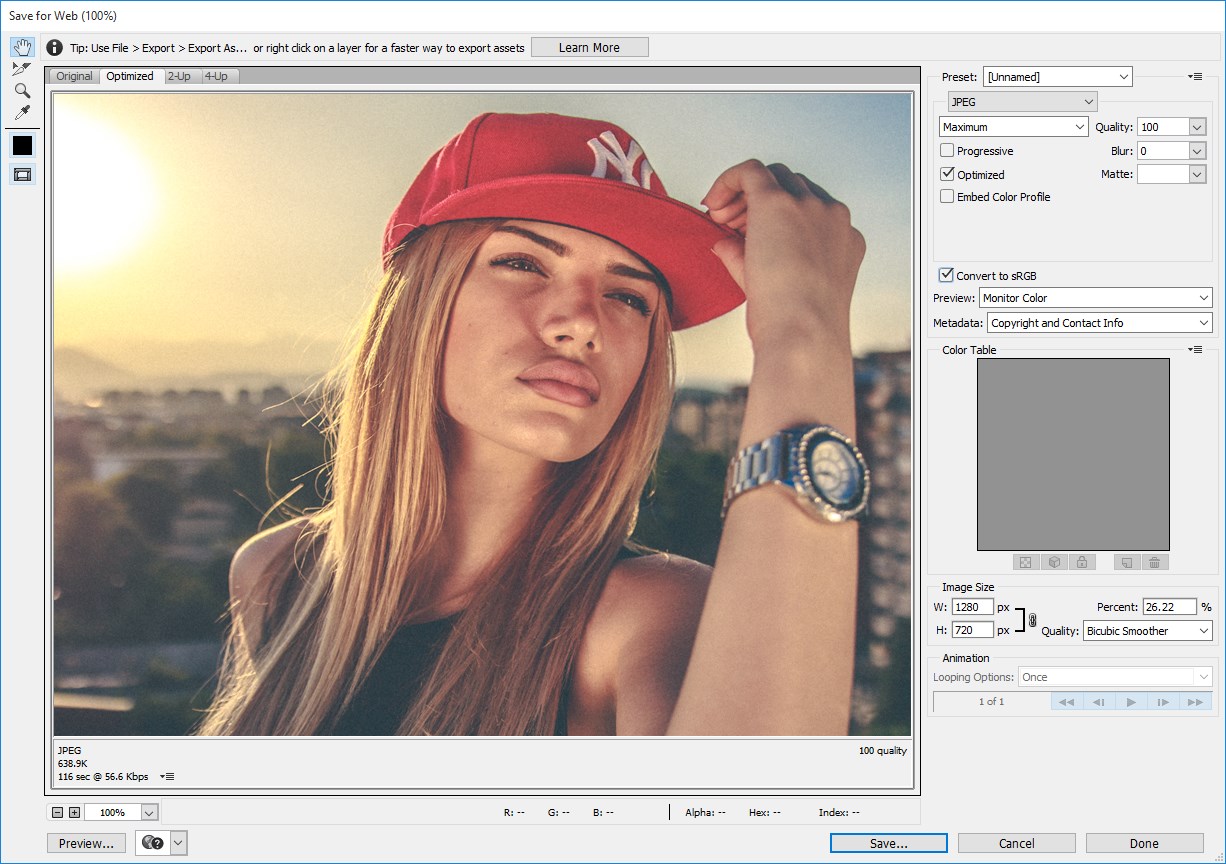
Having greater resolutions means that you can downscale more to gain better quality in a smaller image. There are several software solutions (some integrated within Photoshop) to downscale the image for web or other use, and while doing so to average-out the pixels in order to slightly reduce the perceived noise.
This is especially visible if the reduction is 4:1. Note that this would be something in the region of 1 stop of perceived noise reduction (since there are less details).
Additionally, since the image will be reduced you can proceed to apply a more aggressive noise reduction to the higher resolution counterpart before downscaling.
Summary
Pick your resolution for your needs – if you don’t really need it, it is pointless to use it since it will just slow you down.
When you need speed and web use, 10-15 megapixels will do just fine, but if you need to have large prints, then opt for the highest resolution you can get (even shoot panoramas if necessary).
It is all about optimizing your workflow, and the resolution you use for certain occasions is a good place to start. A final word of caution: always make sure to check if you have the right settings in place.
Be careful: Sometimes we lower the resolution on the camera but forget to increase it, and end up shooting something important where high resolution is key.
Learning the essentials of post processing is crucial when trying to understand how you should be optimizing your exported output sizes of your photographs. This course will run through what you need to know about using Lightroom – “Super Photo Editing Skills“.

