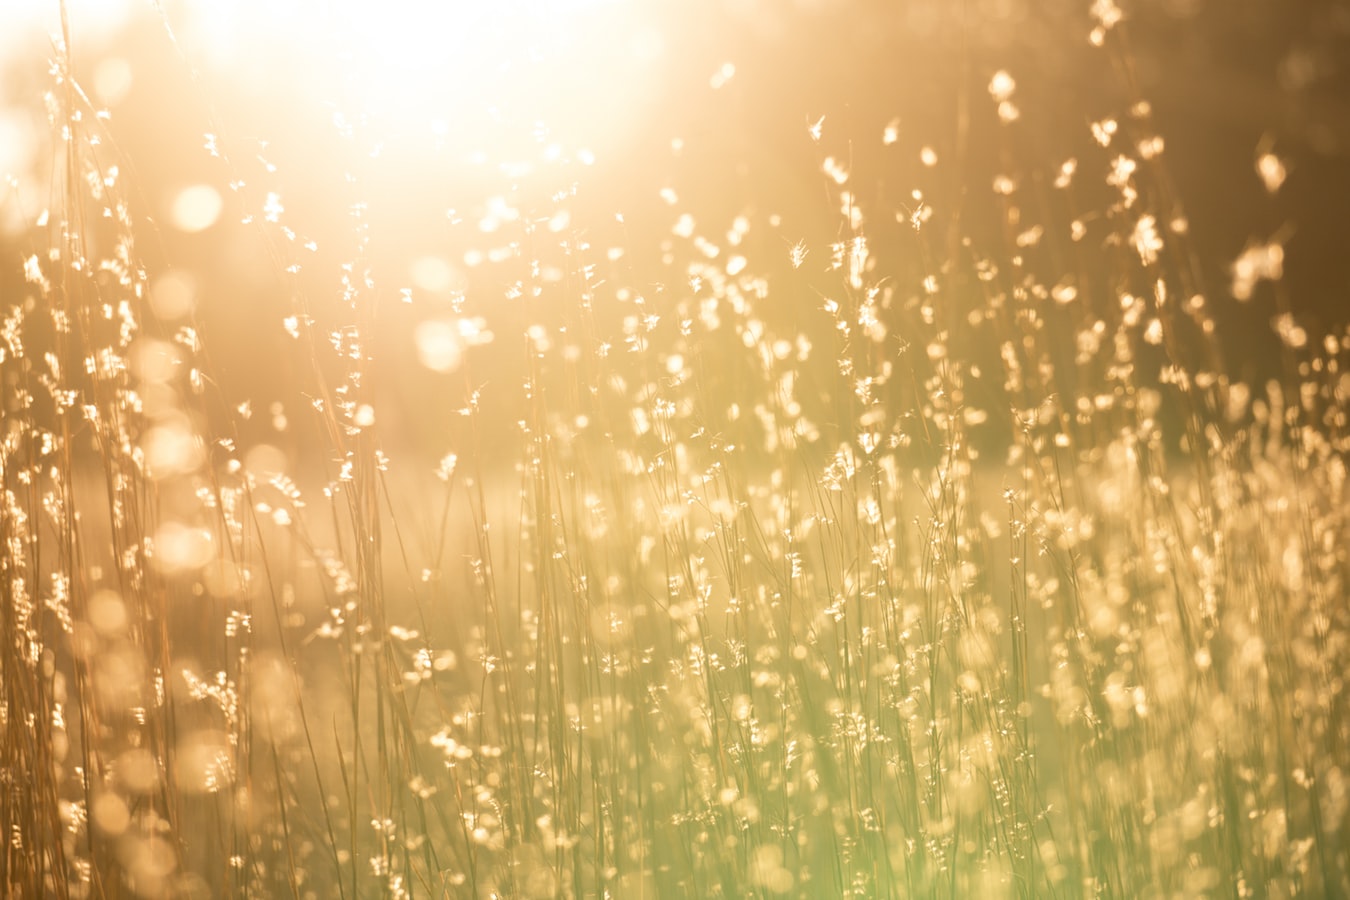
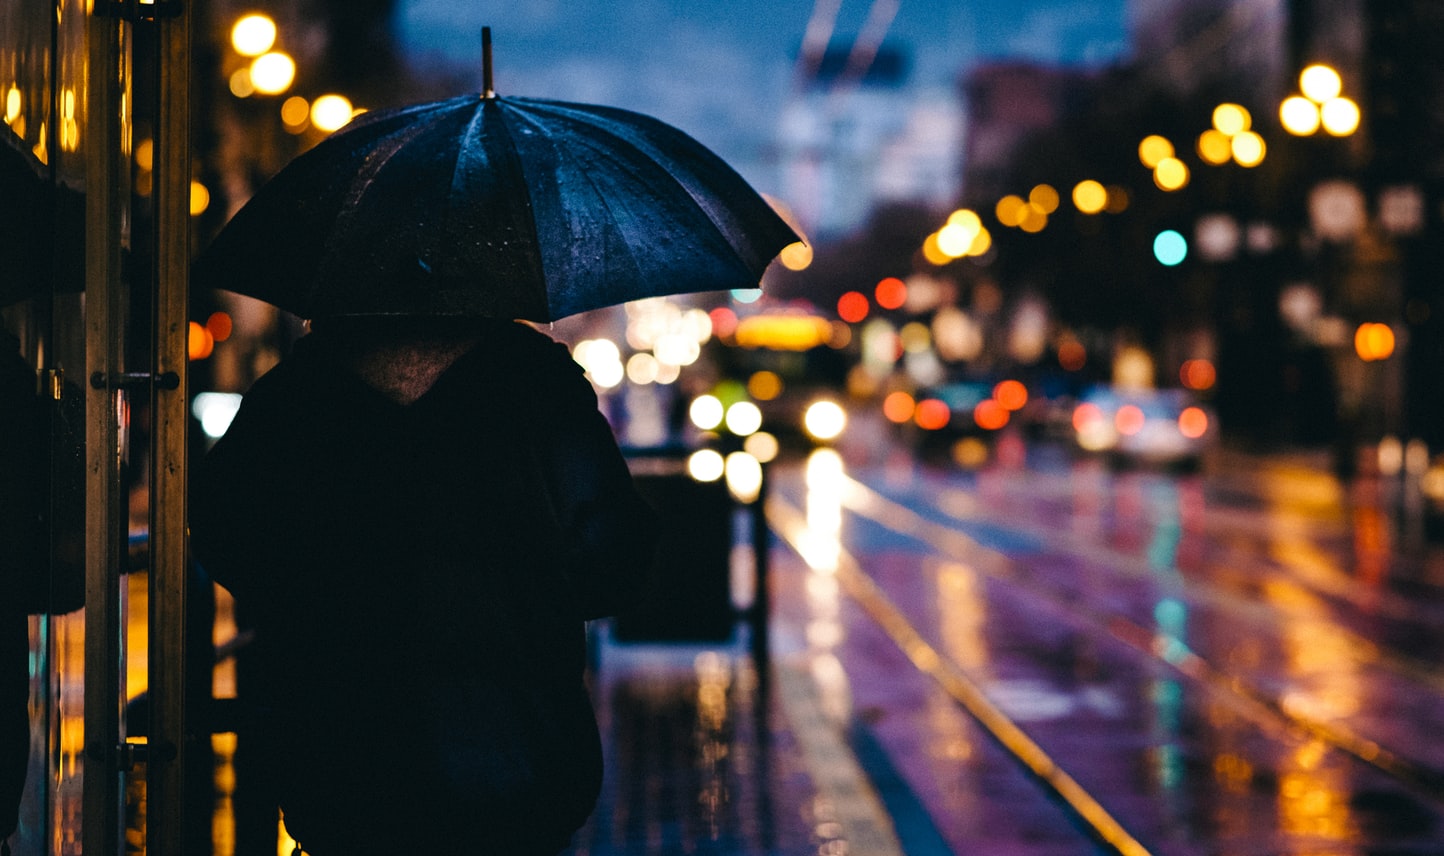
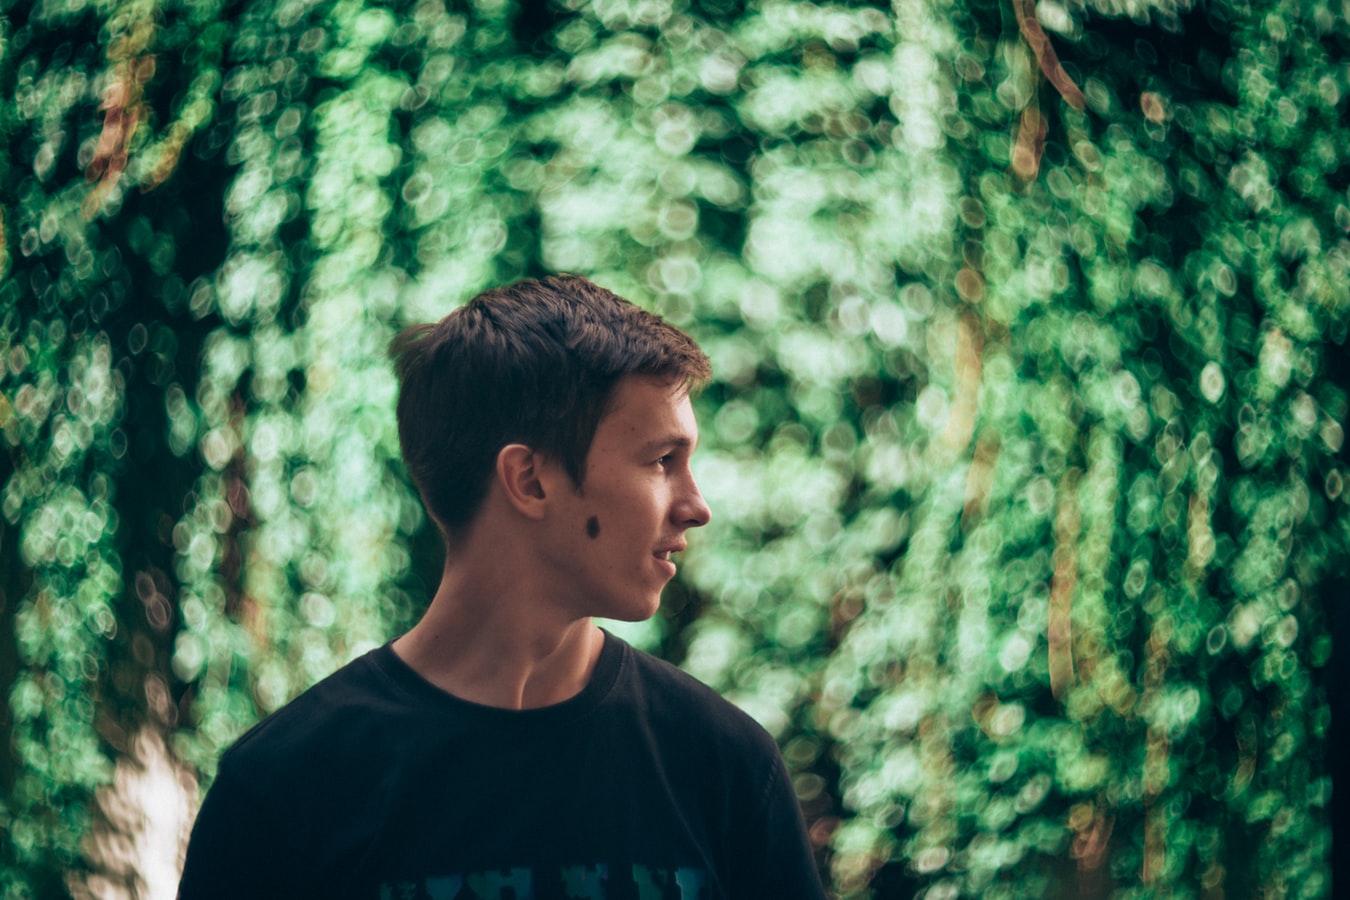
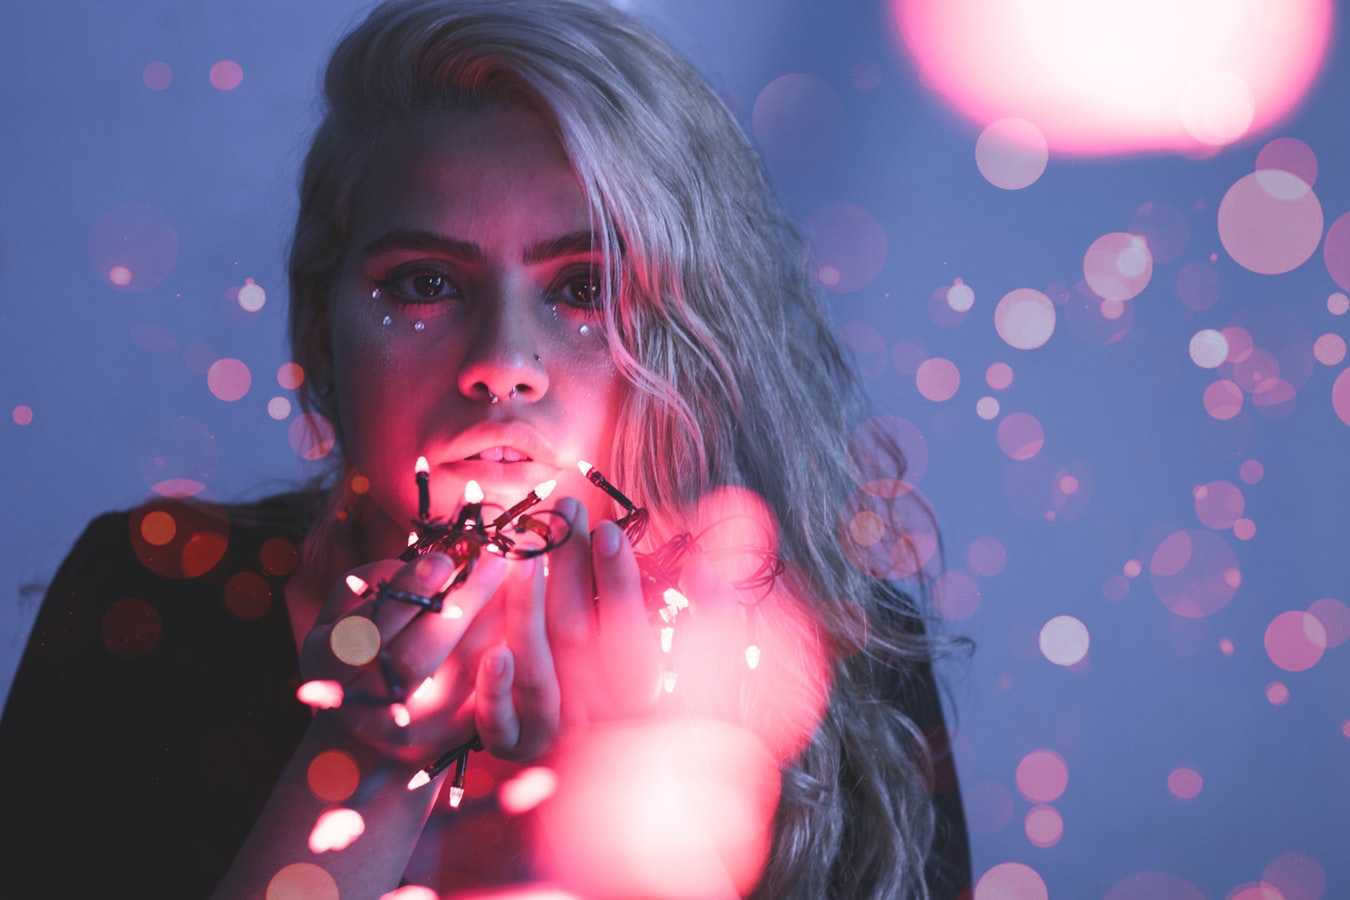
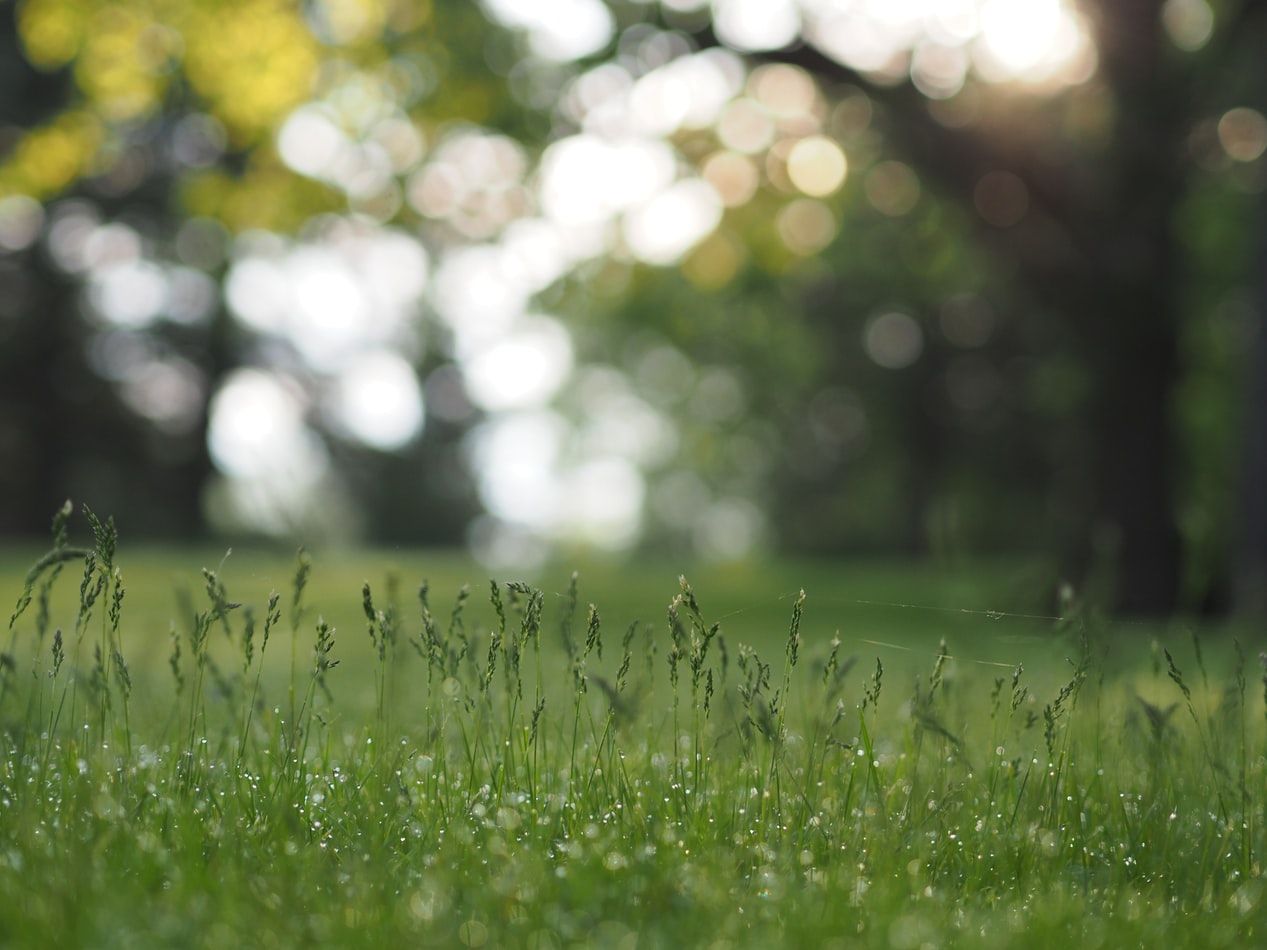
For those who maybe don’t know it, bokeh has been defined as the way the lens renders out-of-focus parts of an image. To put it simply, bokeh is the blurry background (or sometimes even foreground!) with a beautiful artistic effect. Bokeh is very common in portraiture, product, and macro photography and it can easily make images more dramatic because it helps separate the subject from the background.
If you’re not an experienced photographer, you might be wondering what’s the best way to achieve a perfectly creamy bokeh that you can often see in professional portraits and product photography. There are a few different factors that contribute to the bokeh in a photo and we’ll cover all of them in this article.
For starters, you should know that you don’t need the most expensive lens in order to achieve a stunning bokeh. You can actually achieve it with a simple kit lens once you know how it works.
Set A Wide Aperture
Before you start experimenting with bokeh, you should learn how to change the aperture of your lens. The aperture setting is important because it controls the depth of field of an image, which means how much of the image is in focus.
Typical ranges of apertures used in photography are about f/2.8–f/22 or f/2–f/16. The smaller the f-stop, the shallower the depth of field will be and vice versa. In other words – the smaller the f-stop, the more prominent the bokeh will be.
If you want to achieve a truly dramatic bokeh, you should use an aperture of around f/2.8. Some fast lenses have f/1.8 or f/1.4, which are ideal for stylish portraits.
Work With Long Focal Lengths
The quality of bokeh also depends on the focal length of your lens. The longer the focal length, the creamier the bokeh. If you’re wondering what’s the correlation between the focal length and the bokeh, you should know that longer lenses have a compression effect where they pull in the background and make it appear magnified and closer to the subject. This compression effect is also magnifying the bokeh effect.
This is clearly visible in portraits done with longer zoom lenses or longer prime lenses, such as 70-200mm, 85mm or 125mm. These lenses will give your images a lot of compression and in return a lot of beautiful bokeh.
Get Closer To Your Subject
Another important factor that can easily affect the bokeh is the distance between the camera and the subject. The closer you are to your subject, the shallower the depth of field. If you are able to get really close to your subject (if you’re a portraitist that shouldn’t be a problem!), you can achieve truly wonderful bokeh which will make your images rather poetic.
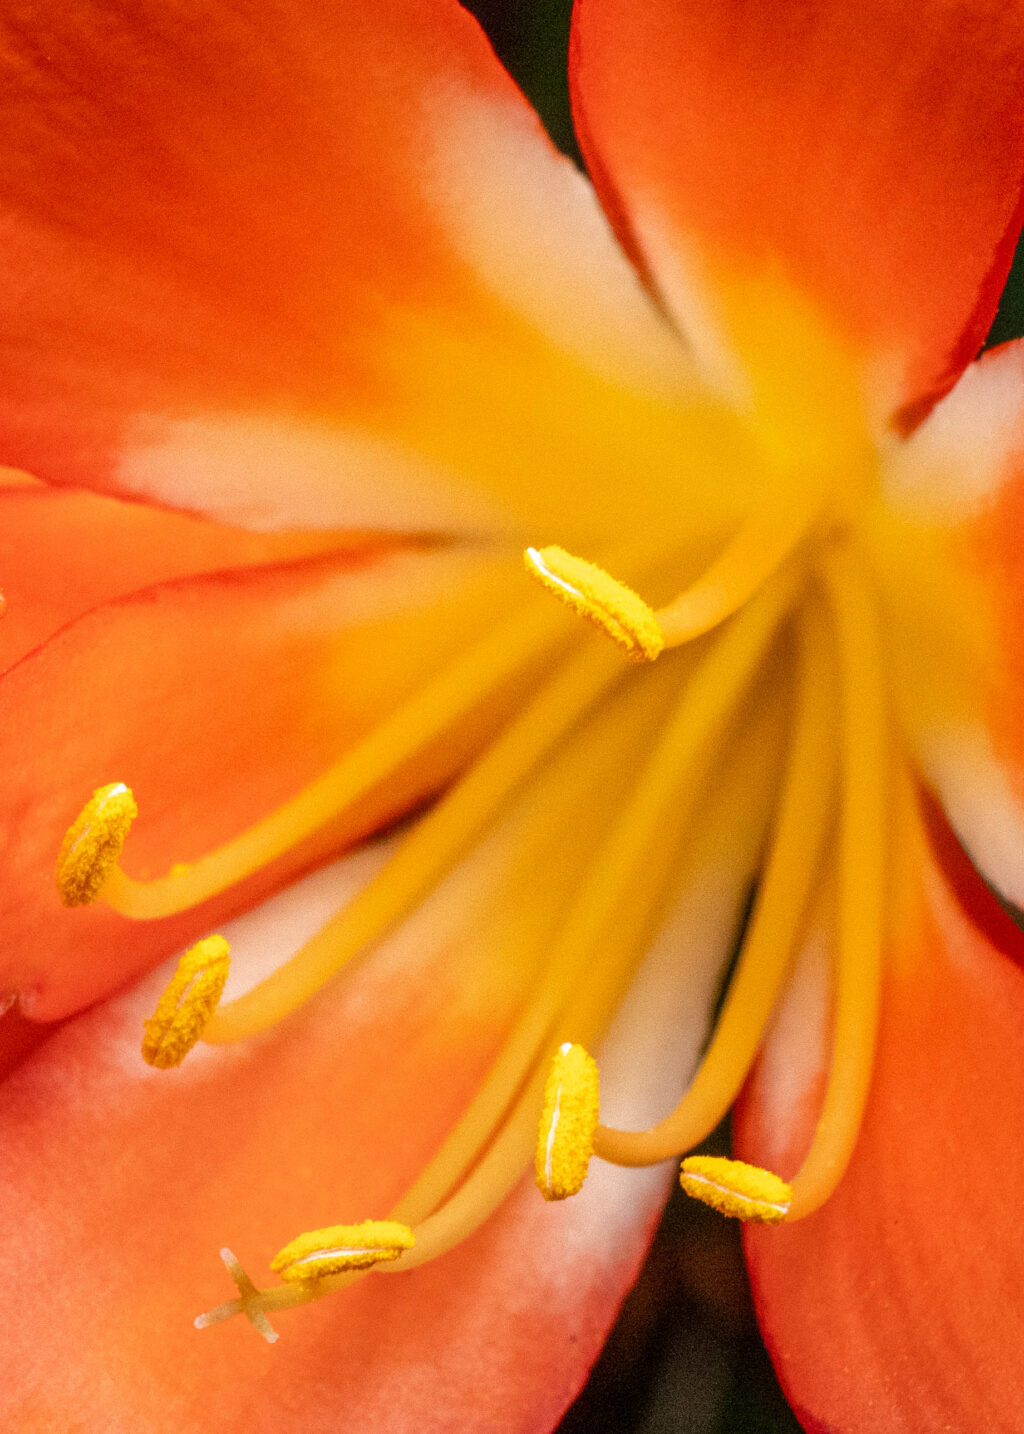
The distance between the camera and the subject is extremely important in macro photography. If done right, macro images are perfect examples of razor-sharp subjects and soft blurry backgrounds. The same goes for close-up images in portraiture and fashion photography – in this case, only the model’s face will be in focus, surrounded by soft and dreamy background.
Mind The Distance Between The Subject And The Background
There is one more factor you should be aware of if you want to get remarkable swirly bokeh – it’s the distance between the subject and the background.
The farther away the subject is from the background (such as trees, backdrop or some urban environment), the blurrier the background will be. You should use this simple trick whenever you need to achieve more bokeh – just pull your subject a little farther away from what’s behind them. This trick is quite versatile and it can work in various environments, it doesn’t matter if you’re shooting in the studio or on location.
What’s really useful about this trick (altering the distance between the subject and the background) is the fact that it can help you fix cluttered backgrounds. Bokeh can make any kind of background appear softer and less distracting.
If you want to learn more about bokeh, feel free to check out the following links!
Further Resources:
- How To Get A Blurry Background In Your Photos
- The Art And Science Of Bokeh
- 6 Tips For Mastering Bokeh
- Bokeh For Beginners
- Understanding Bokeh
- How To Achieve Nice Bokeh
- A Step By Step Guide To Faking Bokeh In Photoshop

